The Shrine of Hungering beckons sailors of Sea of Thieves with promises of loot and lore. Hidden within this shark infested shrine are five journals. You’ll need these, as well as the journals from five other shrines, to unlock the Mysteries of the Sunken Kingdom commendation.
It’s a perilous endeavor, but with your wits, and this handy guide, those journals will be yours in no time.
Sea of Thieves Shrine of Hungering Journals Locations
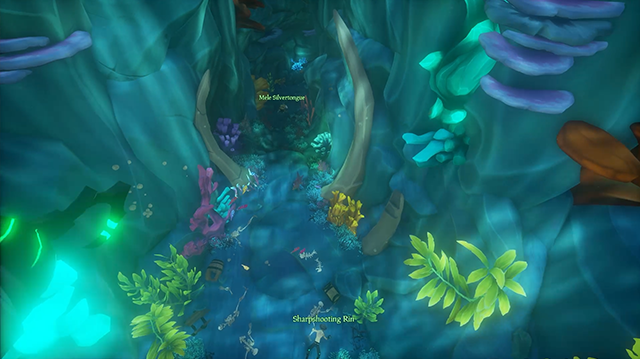
The map on your ship will guide you to the Shrine of Hungering. Sail your vessel there and dive into the water where there is a bright glow.
Make your way beneath the surface until you reach massive skeletal remains embedded in the seafloor. These mark the entrance to the vast underwater cave that forms this shrine.
Journal 1: Shrine of Hungering
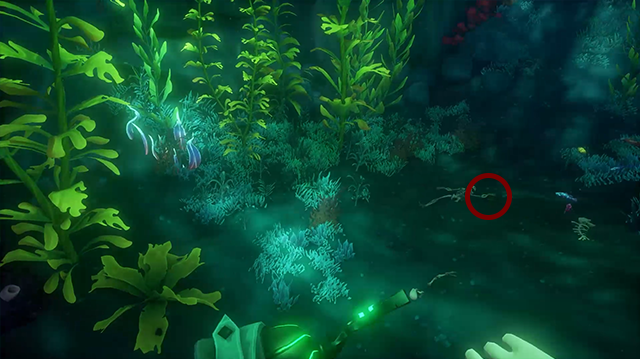
Enter the shrine, and fight past a small cluster of sharks. Follow the cave as it winds around, and you will soon find a skeleton embedded in the soft soil of the seabed.
The journal is just in front of the skeleton’s outstretched hand.
Journal 2: The Warrior
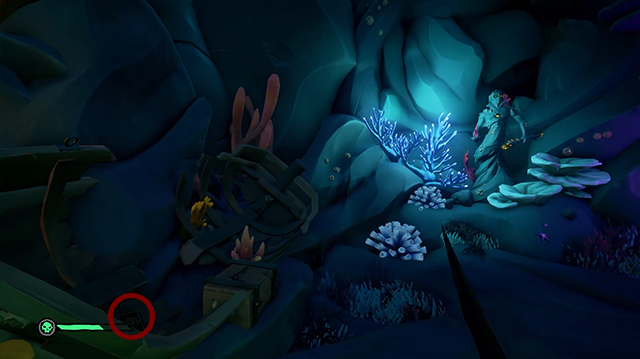
Proceed further into the shrine and you will soon reach a large room. You will need to solve a siren puzzle to raise the water level. Doing so grants you access to an upper area with a geyser, which fires onto an even higher platform.
Look for an ammo box on a wrecked rowboat, to the left of an illuminated siren statue. The journal is near what remains of the bow of the rowboat.
Journal 3: The Warrior – Unmasked
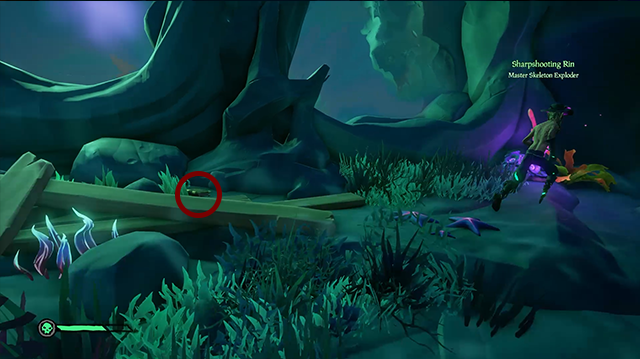
Keep progressing forward until you complete a second siren statue puzzle. You will climb the bones of some long dead sea monster, then up a broken mast to a platform near a geyser.
The journal is tucked behind a pile of planks, near the wall and some purple sea stars.
Journal 4: The High Priest
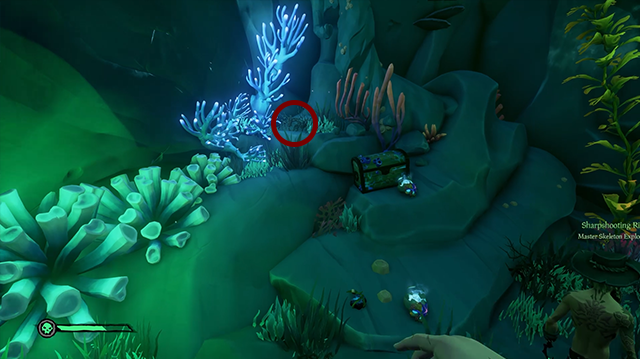
Immediately after you read the third journal you will see a massive jawbone from a megalodon. Don’t go through them just yet. Instead, look to the right for a series of platforms made of bones embedded into the wall. Cross these to reach an isolated shelf.
The journal is atop some rocks, near a glowing coral formation.
Journal 5: A Great Evil
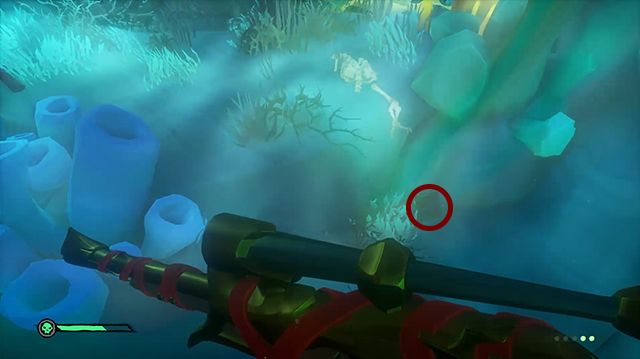
At the top of the shrine, you will swim to a chamber sealed by a transparent barrier. You need to shoot the coral at the top of the barrier, and battle a shiver of sharks.
Once those fishy fiends are dispatched, you can read the final journal, located on the ground near the transparent barrier you passed through.
That’s five journals down, twenty-five to go. You still have a long road ahead of you to unlock the Sunken Kingdom Commendation.
Check out some of our other Sea of Thieves guides here on GameSkinny:
- SoT Legend of the Sunken Kingdom Voyage Walkthrough
- SoT Shrine of Ancient Tears Journals Walkthrough
- SoT Shrine of the Coral Tomb Journals Walkthrough
- SoT Shrine of Ocean’s Fortunes Journals Walkthrough
- SoT Shrine of Tribute Journals Walkthrough
- SoT Secret Waters Commendation Guide
- Where to Find the Kraken in Sea of Thieves
- SoT Dark Desires Commendation Guide
- SoT Strike Your Colours Commendation Guide
- SoT Lost Shipments Voyage Guide


Published: Oct 1, 2021 02:39 am