Player versus Player (PvP) tends to be fun, but can be pretty infuriating if you don't know what to do. If this is your first time playing PvP in Rift, then you've probably watched people rush forward to objectives and leave you behind. You may have noticed other players blaming you for simply not knowing what to do yet.
Using this guide, you will be able to discover what you should be doing. If you are looking for tips on a specific map, here is the table of contents below:

The Blighted Antechamber
5 to 15 man Warfront. 15 minute timer.
Based off of the Greenscale's Blight raid, The Blighted Antechamber is a Capture the Objectives type map. To win you have to reach 1,000 points, using either the enemy flag or the three different objectives.
Strategy
The full version strategy of the map is that both teams have a flag that can be captured and turned in on the enemy side for points. The fastest way to win this match is to capture the enemy flag and repeatedly turn it in. Failing that, you need to aim at grabbing the objectives, and slowly gain points to reach 1,000.
With a 15 minute time limit, most victories happen by combining both objectives, with the flags being gridlocked. A gridlock happens when both teams are holding the other's flag, and unless you can kill the enemy flag carrier and recover your flag, you are forced to rely on the 3 points.
In this match, classes and builds that can increase movement speed or stealth excel. For instance, bard specs have an AOE movement speed buff, which helps with the capture-the-flag train. Also, since there is a lot of movement for this match, stealth users who can hide at points until the coast is clear can capture points that aren't otherwise capturable. But be careful of the teleports littered over the map. If you are stealthed and stand on one of them, you will drop the stealth and be transported.
A cool about stealth players however, is that if you watch the characters to see what direction they are facing and sneak behind them -- even if you unstealth -- since you didn't pass their line of sight they won't expect you to be behind them. So if you are stealthed and unnoticed, you can stand in the middle of a group of enemy players and steal the flag with them none the wiser. Just be prepared to run like crazy.
Remember to communicate with your team from the beginning, and do not throw all of your eggs into one basket. So ask who wants to stay behind and protect your flag, who wants to form the flag running team, and who wants to aim to capture objectives.
Holding the Flag
If you are holding the flag, you can't teleport using abilities or with the teleports in the map. So the best idea is to run back on the outside of the map, hopefully through the objective you have. If you are being chased, run to the closest teleportation device. While you can't teleport - any melee characters standing next to you will.
Another location you can't go to is the top of the spire, which is the middle objective of the map. What happens if you do have the flag is that a wall will pop up and prevent you from entering. What most people don't realize about this wall is that while it does affect you, it also prevents everyone else from entering or exiting the point.
So if the enemy team is centered around the spire and if you have the flag, then consider climbing up near the top and locking that team in. You will basically be winning through points from the two objectives outside. But be prepared to get lots of hate mail from the opposing team!
Protecting your Base
The best way to protect your flag is to use a few high CC (crowd control) and HP characters. The idea is to be able to prevent a large amount of people from casting the pickup skill, and if you are holding the post solo you can sustain with your high health until backups from your team can come help.
Note: If you are surrounded by enemies, take a screenshot.
So an ideal team setup for a 15 man group is:
- Flag Train: 1 tank/tanky DPS (to hold the flag), 1 support (bard), 1 healer, 3 DPS
- Defense Team: 1 CC tank, 1 healer
- Capture Objectives Team: 6 DPS (remember stealth players shine in this match), 1 healer.
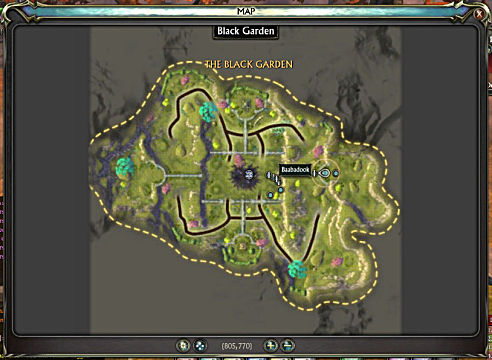
The Black Garden
5 to 10 per Team, 15 min Timer
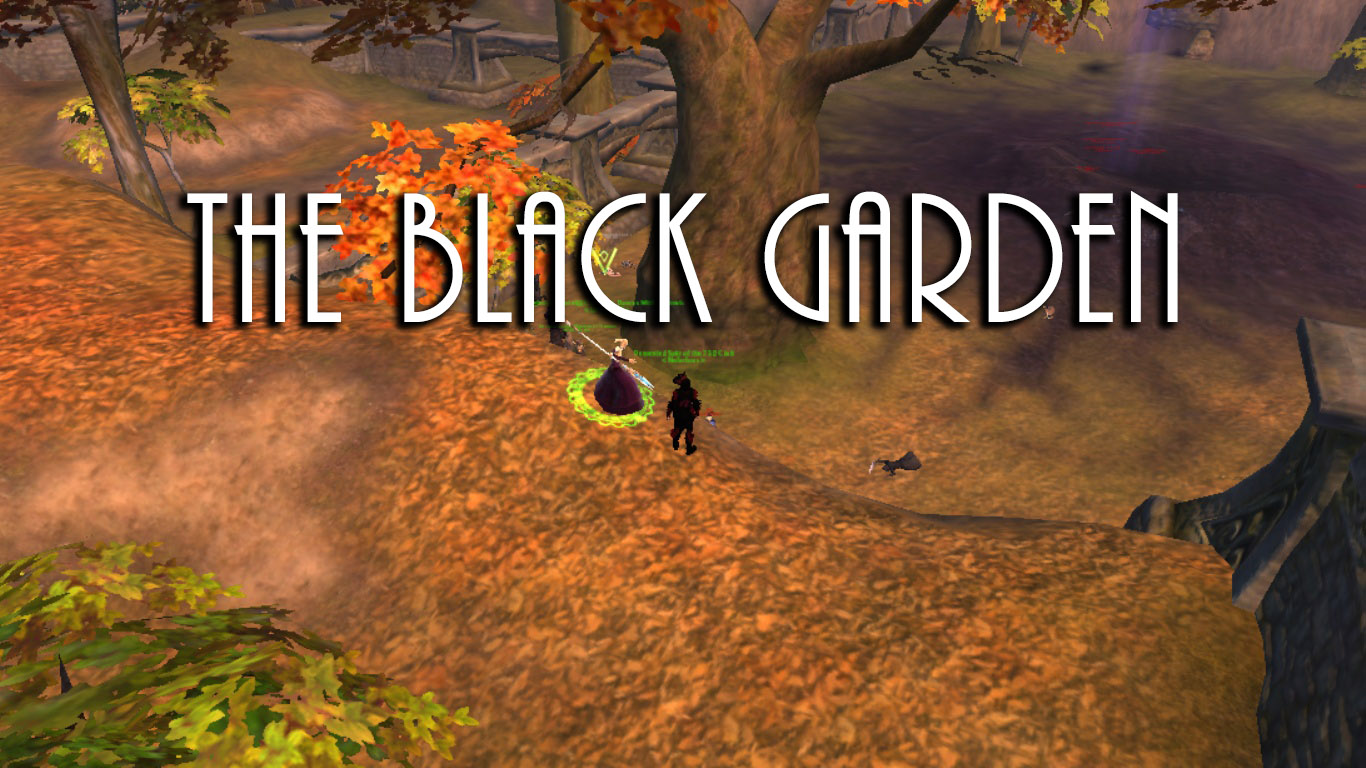
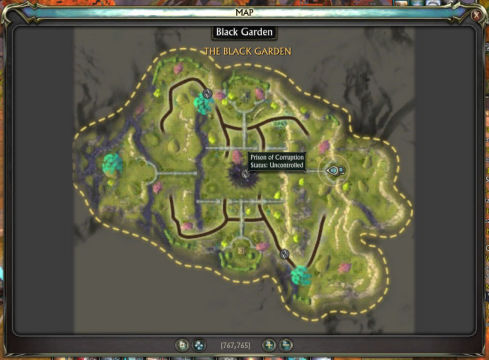
For the Black Garden, you need to capture the "Fang of Regulos" at the center of the map. Holding on to the Fang will give you points each tick, and you need to reach 500 to win. Killing enemy players will also give you on average of around 2 points per kill.
Strategy
The Black Garden is a Capture The Flag type game -- with the exception that the Flag does periodic damage against you, marks you as a target against players, reduces the healing you receive, and slows your movement speed. Oh, and the points that it gives you depends on how close you are to the center of the map, from 1 point on the outskirts to 6 points at the center. But other than that, it's just your standard CTF match.
So in order to win, you need to keep in mind a few things that are around the map. For one, you can use the spires around the center to cut off LoS, or Line of Sight. Cutting off the LoS means that if any player is casting a skill or magic against you, the channel is cut off and fails.
The second major thing is that on both sides of the map, there are buffs you can pick up to boost your damage. You will find them under these small huts, so if you do decide to grab them, make sure to rush back to the center to defend your flag carrier.
The third thing is that there are walls around the map that you can access before you jump down to the pit that is the Black Garden. You can run on top of them to attack or heal from range. Melee attackers can't attack you, but instead of hiding in between your teammates you are marking yourself as a target.
Since we covered the environment, lets start talking about how you can steal the Fang.
Stealing the Fang
Remember how we mentioned cutting of line of sight? Usually in this match you have the two teams in a slug-fest against each other from opposite sides of the map. But with the spires in the way, you can stand at the edge and try to pick up the Fang. Just be careful not to grab the enemy's attention while doing so.
Another way to grab the Fang is to kill the enemy player who picks it up, or pick it up from a teammate that drops it. If you do grab it, remember to keep in mind that at the center of the map you are getting around 6 points per tick. If you do not have the healing power to withstand both the damage you will get from the enemy and from the Fang, you can also pull the Fang back to the tree on your side. These trees can be used to cut line of sight, and can provide an easy looping exit in case people chase you.
Team Setup:
- 3 healers
- 1 support
- 6 damage dealers
Area of Effect attacks help stop the enemy from stealing the Fang, but single target attacks are better for taking down targets one by one.
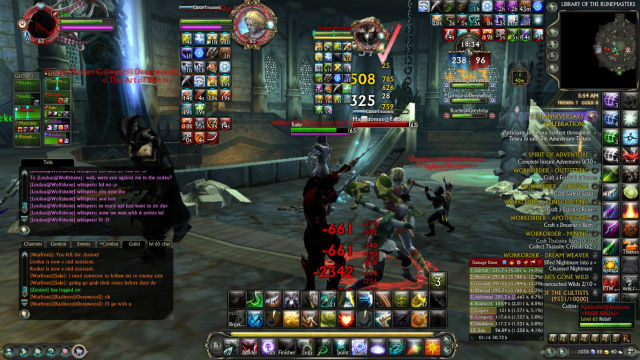
The Library of Runemasters
5 - 15 per team. 15 minutes timer.
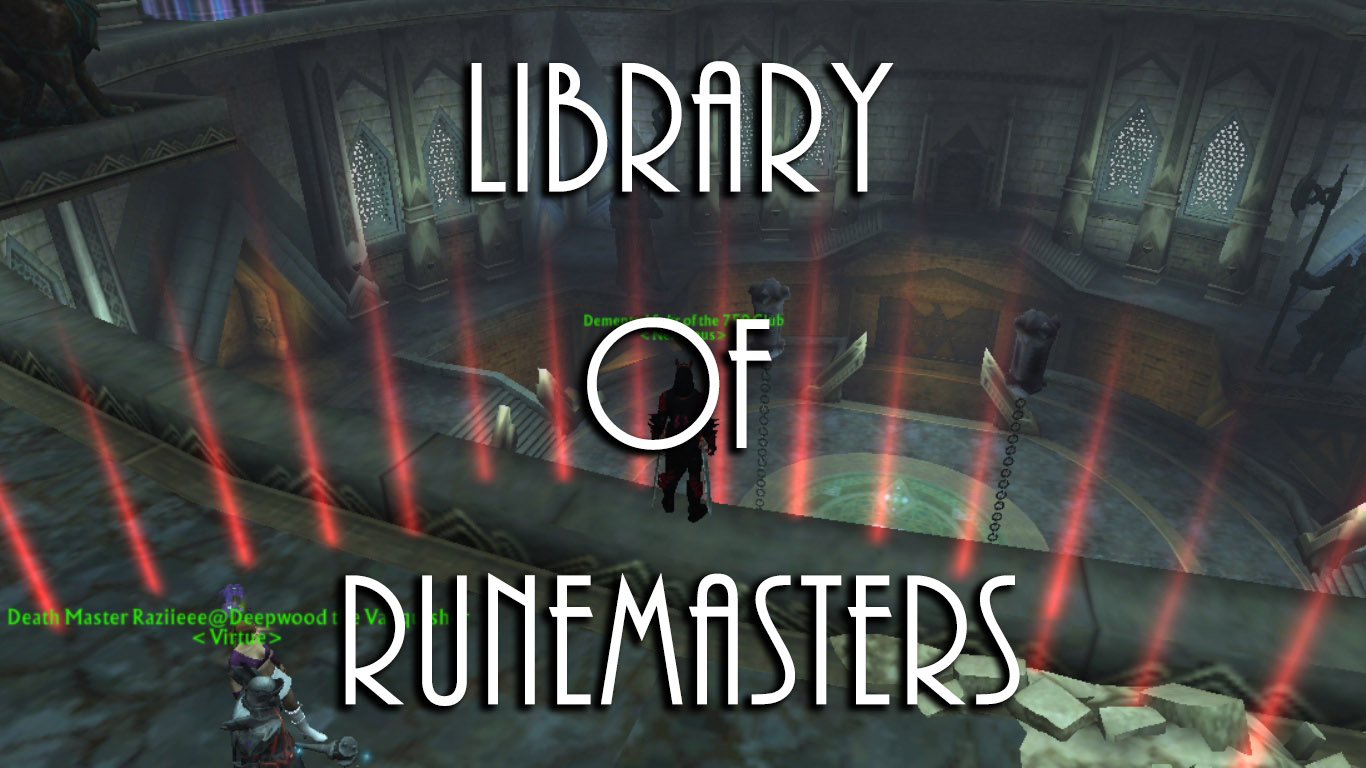
Based off of the Hammerknell raid, the goal of this match is to reach 1,000 points to win. In order to do that, you need to capture the runes placed around the map, and hold onto them. Think of it as a CTF, or Capture The Flag match -- with the exception of there being six flags instead of just one.
Strategy
From the start, you will find 2 runes on both sides at ground level and the basement level. Towards mid game, another set of runes will be added at the bridges for a total of 6 in game. So when the game starts, you should split up the group so that you can cover both sides. Holding on to these runes will give you the points you need in order to reach 1,000 and win.
The second way of getting points in the game is through killing enemy players, but in comparison to holding the runes the points are minimal. So if you do have the runes, you should group up with your teammates for support and healing.
If you are trying to kill the enemy players who are holding the flag, it would be useful to use abilities that cut down on steal healing. These things, coupled in with the damage dealt from holding the runes themselves, will help out with stealing the objectives.
Team Setup:
People who can grab and hold on to the runes should switch to tanks for their high health and armor. Otherwise, it is better to have a few key DPS and healers. Single target damage is better than area of effect, as well as abilities that cut down healing as mentioned earlier.
Jumping from the frying pan into the fire.

The Codex
5 to 15 per team, 15 minute timer
The Codex is one of the three maps where you can use your mount in the warfront. There are 4 main capture points, being The Codex, Thontic Statue, Translation Scope, and The Vault. In order to win, you have to reach 1000 points, which are gained through controlling points or killing players.
Strategy
Points are divided up into three main groups. The first being killing enemy players, which award 2 points per kill. The second, is by controlling The Vault, Thontic Statue, or Translation Scope. Each of these gives 3 points per tick. The Codex gives 5 points a tick. The time it takes to capture a point from neutral is 10 seconds on your side, and 30 seconds if you are capturing the enemy neutral point.
If you are stealing an objective from the enemy team, keep in mind that it takes 30 seconds to successfully capture it. If the enemy grabs that said point during those 30 seconds, it immediately reverts to whomever controlled it before. If an objective that is controlled is being switched over to the other team though, that objective does not reward any points during the ticks.
How to win:
The standard method that you would probably see in most fights is that team A and team B would grab their side's objective, then do a free-for-all at the Codex to grab it. Don't do this. Instead, forget about the Codex and designate one person from the start to grab the Vault and another person to grab your objective. (Depending on the side, it can either be scope or statue). The rest of the team would then go to either the statue or scope, depending on which side you are on and grab it within the 10 second window of first time enemy capture.
Why should you do this? Because by the time you are 30 seconds in, you would have successfully grabbed 3 points, giving you 9 points a tick for every 5 that the Codex gives. Plus -- and this is important -- you will force the enemy team who is gathered at the Codex to split and try to grab the other three objectives. When that happens, and it always will because you can't win the match with just one objective alone, you should zerg (rush) the point, and with superior numbers you will win and grab it.
In the mean time, you can send one or two of your team members to protect your points, and eventually push the fight to their respawn point. If you do this, and grab a 200 point lead, then even at 850 points if you lose all but 1 objective, you will still win.
You can also find 4 buffs around the map, one behind The Codex, Scope, and Statue which would boost your damage, and another at The Vault that will boost your movement speed. These boosts can be picked up if you are invisible and won't force you to de-cloak.
Team Setup:
The ideal group is to a split between high CC members and single target DPS. For every 3 DPS, you should have 1 healer and 1 support of each type. If you get 3 bards, then the skills will overlap each other and you won't gain any benefits. If it isn't possible to get different supports, then it will be better to switch to DPS.
Ideally, you should also have at least one rogue assassin, who would sit under the rocks at the Codex. If you can hold that point, which is next to the water, with a tracking vial you can keep tabs of the entire enemy team's movements, and report that information to the team.
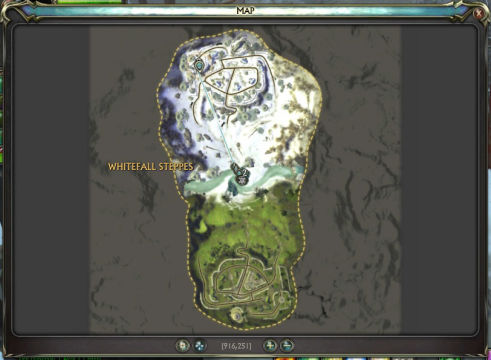
Whitefall Steppes: Escalation
5 to 15 per Team. 15 minute timer.
The Skinny
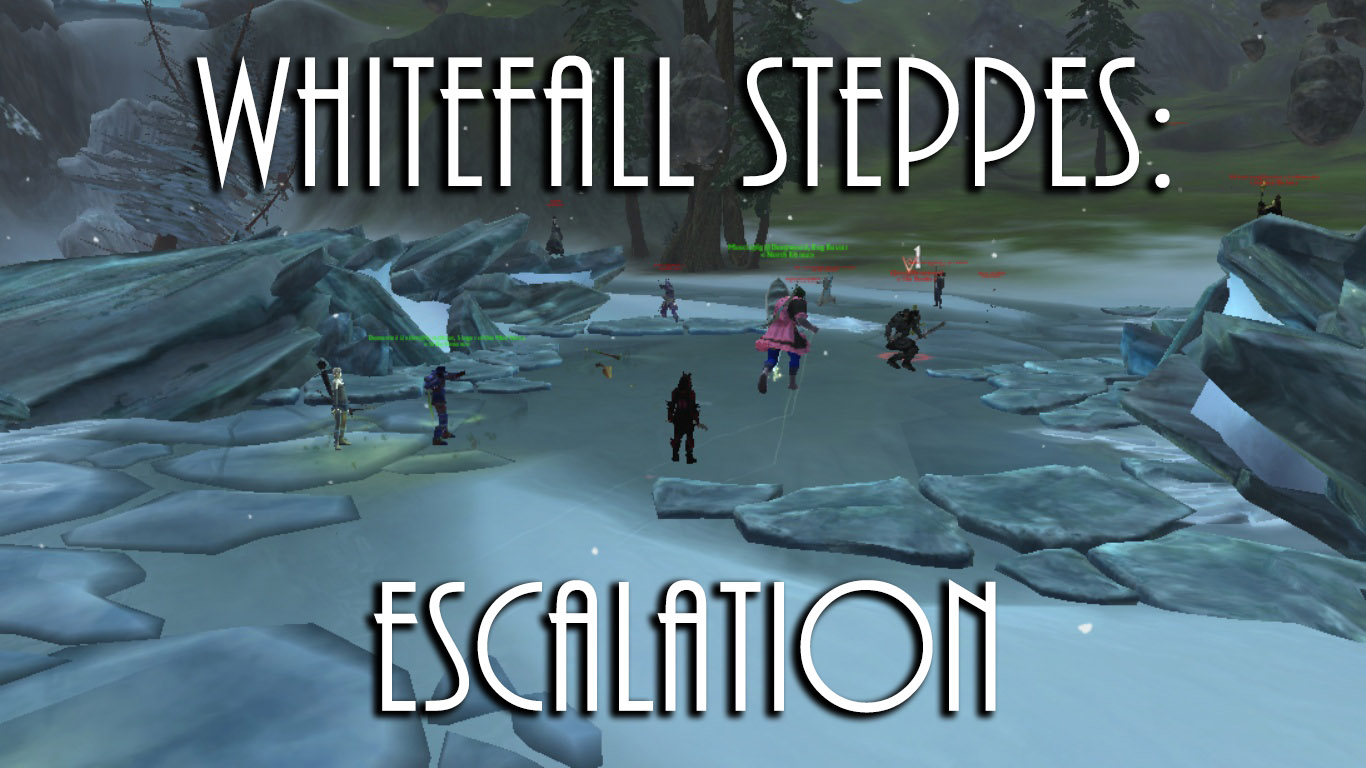
The Whitefall Steppes is a Capture the Flag game, with each side aiming at grabbing 3 flags. Each of the flags, or sourcestones, spawn at regular intervals depending on if the flag was turned in or not. The first way you can win at this match is if you have 3 flags turned in, which is an automatic victory. The second way is to have the most sourcestones turned in by the time the timer ends.
Strategy
The sourcestone spawns in the center of the map, and has two main behaviors behind it too. The first is that if it is turned in, the next one will spawn after 30 seconds. The second is that if it isn't turned in the next sourcestone will not spawn.
If you hold the sourcestone, you will have 2 debuffs placed on you, one that cuts down the healing your receive, and another that makes you run a bit slower. So single target heals help here, as well as movement speed buffs. If you use any type of "cleanse debuff", it temporarily removes the movement speed debuff too.
How to Win:
Strategy here splits up for situations. The first situation is control of the center. If you have the sourcestone but do not control the center of the map, don't turn it in. If you do, then the next few spawns will go to the enemy team and they will win.
If you do have the sourcestone and you have control of mid -- but both teams are on the low side of 7 to 5 people, also don't turn it in. Because the funny thing about Rift is that when people are added from que to a match, the numbers can change the tides pretty quickly. So unless you are confident of your team, it is better to play it safe instead.
If you have control of mid and don't have the sourcestone, then you can pick up the remaining spawns and send thieves to steal the sourcestone from their base.
If you have the sourcestone, but you do not have control of the map, you should move your entire team close to your base, but do not stay within line of sight of the goal. The reason is because it is possible for the enemy team to pull you with tank abilities and force you to turn in the flag. If this happens, then they have 30 seconds till the next spawn comes and they can steal the sourcestone from you for two points.
And finally, if you don't have control of the map, the timer is counting down to 0, and the enemy team has 1 or 2 sourcestones turned in there is one thing you can do to force a tie. A point is scored if the sourcestone is placed at your or the enemy base. But if the flag is held by any team, it becomes temporarily neutral. So it is possible to steal both flags at the last moment and force the tie, which gives better rewards than a loss.
Team Setup:
For this match, support builds trumps all. Support isn't usually played by players, who pretty much want to just do damage. But if two teams are evenly matched, the damage boosts from supports will make the difference.
The second most important thing is that it is better to have single target DPS than AOE (area of effect abilities). But this depends on if you have control of the middle or not. If you don't, area of affect abilities like DOTS (damage over time) can help cancel the cast time when picking up the sourcestone.
Also, AOE damage can help hit a larger range of targets. For instance, if you have a hit range of 30 meters, and if an AOE has a radius of 20 meters, that means that if you throw down an ability at max range you are also hitting targets 40 meters away. But since that damage is weaker individually, it's better to go single target DPS.
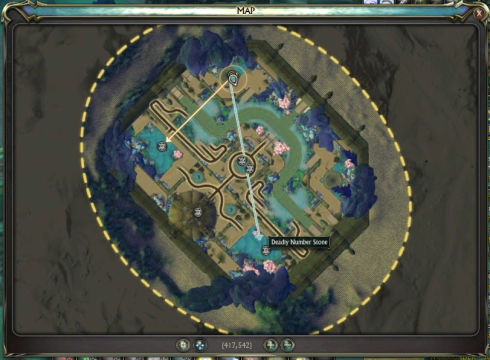
Ghar Station Eyn
5 to 15 per team. 15 min timer.
The Skinny:
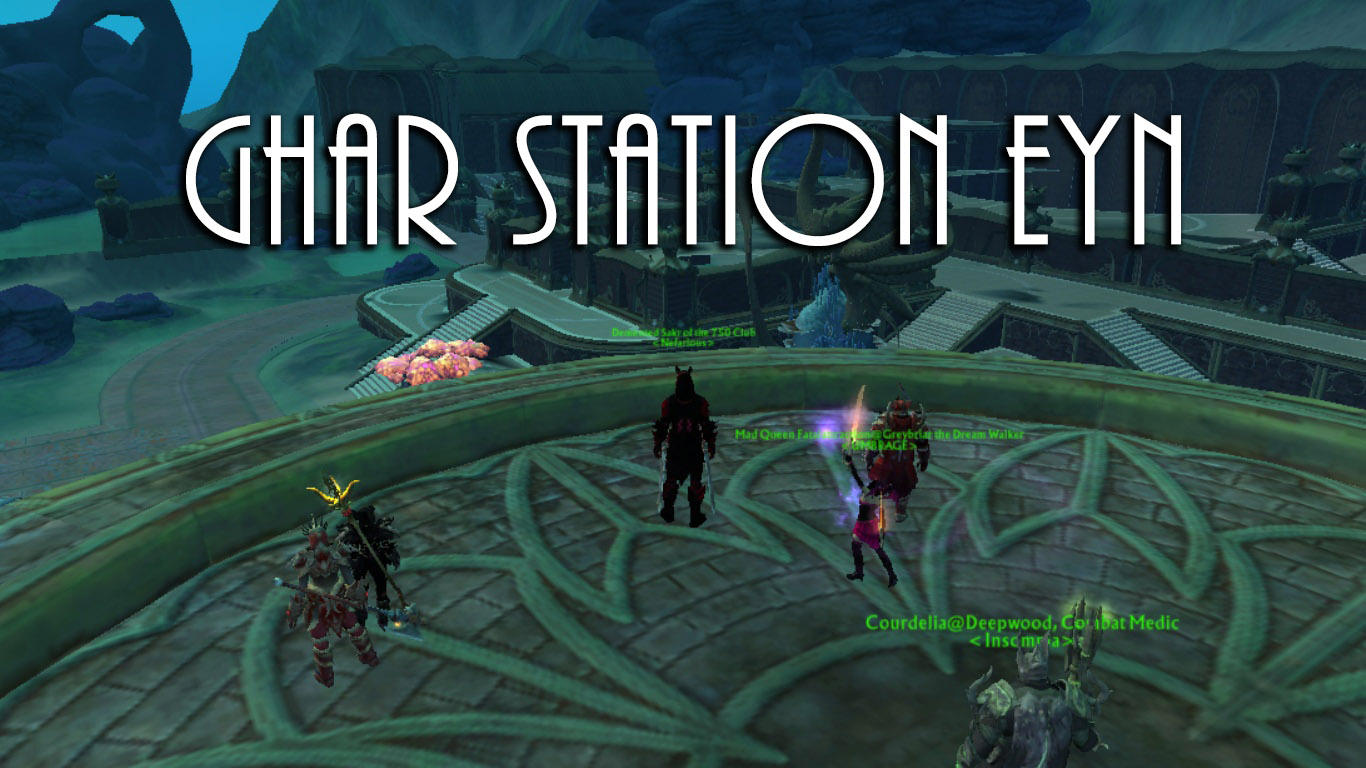
The goal of this map is to gain control of the Deadly Numbers and reach 1000 points. There are three ways to do that. The first is to grab on to the stone. The second is to hold the Deadly Number and click on any of the four "Manugo Stations" on the map. And the third way is to kill the enemy.
Strategy:
Ghar Station Eyn is a mess of a warfront. It came out with the Nightmare Tide Expansion, and the focus revolves around grabbing the Deadly Numbers around the map and clicking on the stations to get more points. While holding on to the numbers, you gain a huge damage boost, but in return you are dealt periodic damage.
There are some dos and don'ts that should be followed for this map. One of the don'ts that should always be followed is: Do not stand next to each other if you are holding a number.
If two people holding numbers stand next to each other, the damage they get is increased. But if you are on the enemy side, and want to force people to drop the numbers, then you should try to push or summon them together.
Another thing is that if you have a number, you should always go for a station and click. If for instance the enemy team holds 3 sourcestones while you hold 2, your team can easily win if you click on the stations more than they do.
If you need to get around on the map, you are able to use your mount. You can jump over the barriers in this map to cut off line of sight, and also to get to other points faster.
If you have the ability to summon enemy targets, then you will find a wall next to the corner stations. If you stand on the other side of the wall, you can summon the number holders and cut them off from their support.
Team Setup:
People who can grab and hold on to the Deadly Numbers should switch to tanks for their high health and armor. Otherwise, it is better to have a few key DPS and more healers than not.
The DPS would be split up into two groups. The first group's goal is to protect the people who are holding the Deadly Numbers. The second group's goal is to stop the enemy from clicking on stations.
And remember. If you do not click on the stations with the objective, you will not win. Even if you have a lead in points.

Assault on Bronze Tomb
5 to 15 per team. 15 min timer.
The Skinny
Assault on Bronze Tomb is a King of the Hill type game. Each team takes a turn attacking the defending team, which has three rooms to protect till they lose. There are no points in this match, but instead it comes down to who captured the most rooms. If the captured rooms are equal, then it comes down to a tie.
Strategy
For all the bugs in this warfront -- and there are bugs -- this match is pretty fun. In each room there are artifacts that can boost your attack or heal you. There are also sections that boost your movement speed, and room with two giant guns that kill everything they touch and two artifacts that will make the user invulnerable to all AOE damage.
It is a messy game, but you don't need to worry about any of the artifacts except for the big guns at the end. You do need to worry about traps. Did I mention the traps? Lets split them down per team, and what you will need to worry about for each one. And to make things easier, lets add two main directions: North and South.
Defenders:
As a defender, the best way to win this match is to keep control of the first room. Failing that, keep control of the second room. But since we are on the first room, you need to make sure that everyone in the raid is either a tank, a healer, or a support. Don't worry about DPS, since the entire purpose is to build the strongest high CC meat shield you can. You should always keep at least 3 or 4 defenders per side, and have the rest of the team move between the two points depending on how many people are attacking.
If you fail in defending the point, run to the next point and defend that one. So, team setup should be:
Tanks / Healers / Support. Don't worry about DPS.
Attackers:
The easiest way to grab control of the first room is to split the team into two groups. The first group is the decoy group, which is your standard group of players who are a mix of DPS, support, and healers. The second group is the stealth group, which would in the beginning of the match move to the enemy side in a straight line.
While the decoy group is attacking, the stealth side should remain in stealth until the side with the smaller player count moves to help where it is apparent that the entire enemy team is. That is when the stealth should come in, incapacitate the enemy players and steal the point. If you are on the stealth side make sure you don't kill the enemy players. The reason for this is simple. If you can stop a player from moving for 45 seconds and steal the point, it is better than stealing the point and having him respawn and waiting for you at the second point with his friends.
So team setup should be:
Movement speed boosting support, Rogue Assassins, Regular DPS, AOE heals (chloro builds help)
Karthan Ridge
5 to 15 per team. 15 minute timer.
The Skinny
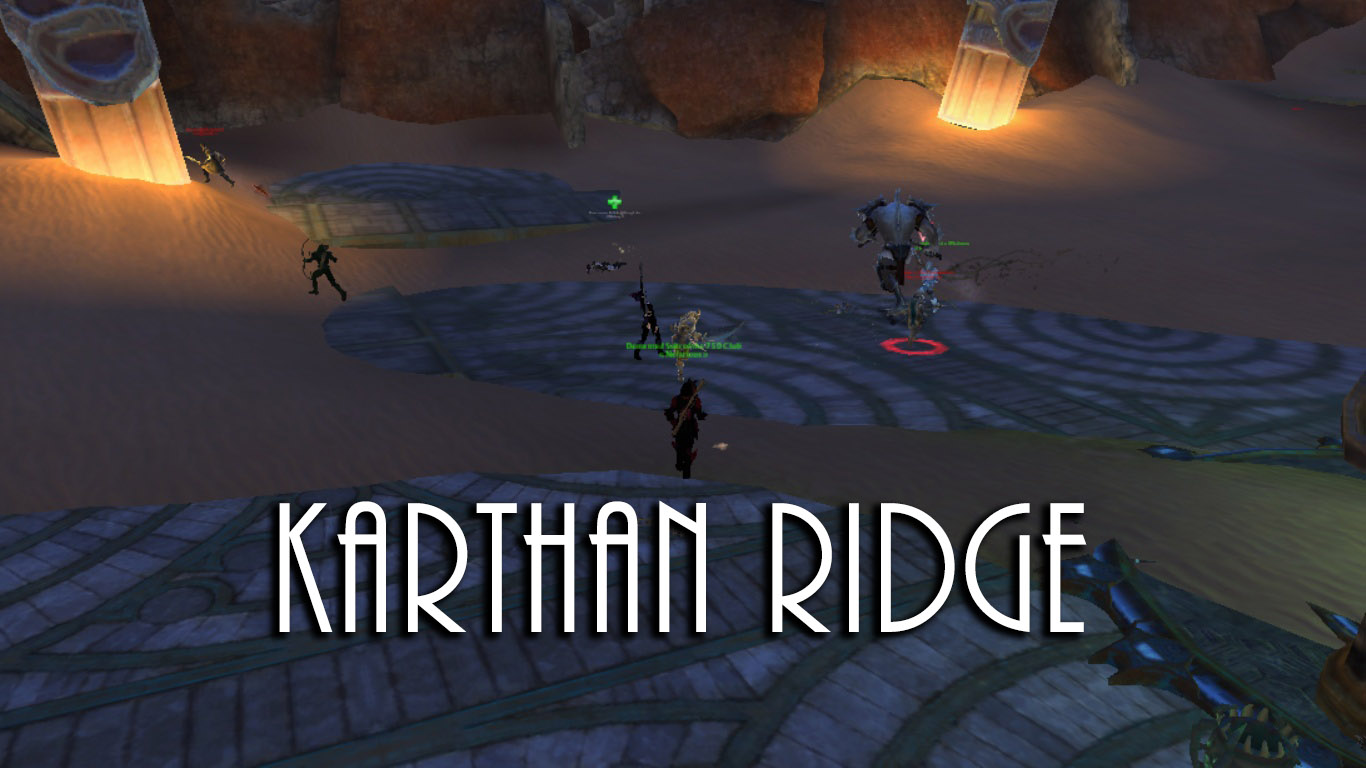
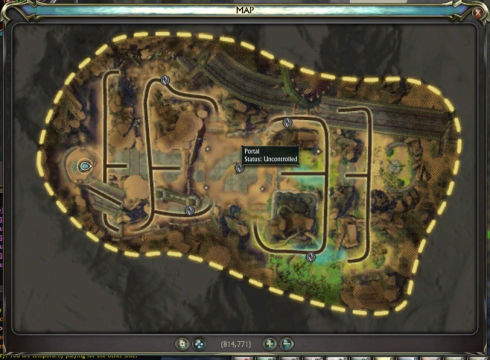
In Karthan Ridge, each team has three objectives each that must be defended from enemy attack. In order to destroy the opposition's objective, you must take control of one of two sourcestones in the center of the map and carry it to the enemy objective. The winning team is the one that has the most of the containers at the end of the match.
Strategy
From the start in Karthan Ridge, you need to rush towards the center and try to capture the sourcestone. The sourcestone is placed on either side of the large center arch, so you can cut off line of sight like the Black Garden match to pick them up. If the enemy team picks it up, then you should aim at killing them so that they would drop it.
If no player picks up the sourcestone, then it would reset back to the center. This is the same if you manage to destroy an objective.
Objectives
On the subject of objectives, you have three objectives on each side of the map, blue for the Guardian team and red for the Defiant team. If a player who has the sourcestone tags the objective, and completes a 3 second cast time on it, they can destroy it. This cast time can be interrupted with damage.
But if you have the sourcestone, then the best practice is to have both on your side and move as a group towards the enemy base. Your aim should be to destroy the center enemy objective first, since that will be the hardest one to reach to towards mid and end game.
When you do destroy the objective, then you should have someone run back to pick it up again, and then loop back to join the rest of the group.
Team Setup:
For this match, support adds an advantage against the enemy. With things like boosting the damage dealt by 15%, or by giving all your teammates a shield, or even removing curses and debuffs placed by the enemy, it is something that should exist in every match.
Aside from that, you shouldn't worry about tanks to hold objectives, but instead should focus on setting up a 1 to 4 ratio of healers to DPS, rounding up. The damage dealers can be either single target or area of effect, but if there are less players you should be on the single target side than AOE.

The Black Garden: Domination
5 to 10 per Team, 15 min Timer
The Skinny
For the Black Garden: Domination, you need to capture any of the three objectives and hold them for the longest time possible. In order to win, you need to reach 500 points. Points are awarded for holding an objective for every tick. Killing enemy players will also give you on average around 2 points per kill.
Strategy
On either side of the map there are two buffs. Each buff will boost your damage, so if you are under control of the map (or if you aren't), rushing to grab the red orbs can change the tide. From the start of the match, the best thing to do is to split the groups into two and grab both of the outskirt objectives.
If you are on the Guardian side or Defiant, when reaching for your objective you will need to keep one person to grab the point as quickly as possible, and the rest of the sub-team to be prepared to intercept incoming players. Afterwards, always make sure you have one or two players holding the post.
Now if all goes well, you would have two main points and it would become a war of attrition...except that the enemy team has to capture another point in order to win, so they will split up. When they split, that's when you should grab mid, force it to convert, and go back to defend your point.
Team Setup:
3 healers, 1 support, 6 damage dealers. Area of Effect attacks help stop the enemy from stealing the objective, but single target attacks are better for taking down targets one by one.
Karthan Ridge: Domination
5 to 10 per Team, 15 min Timer
The Skinny
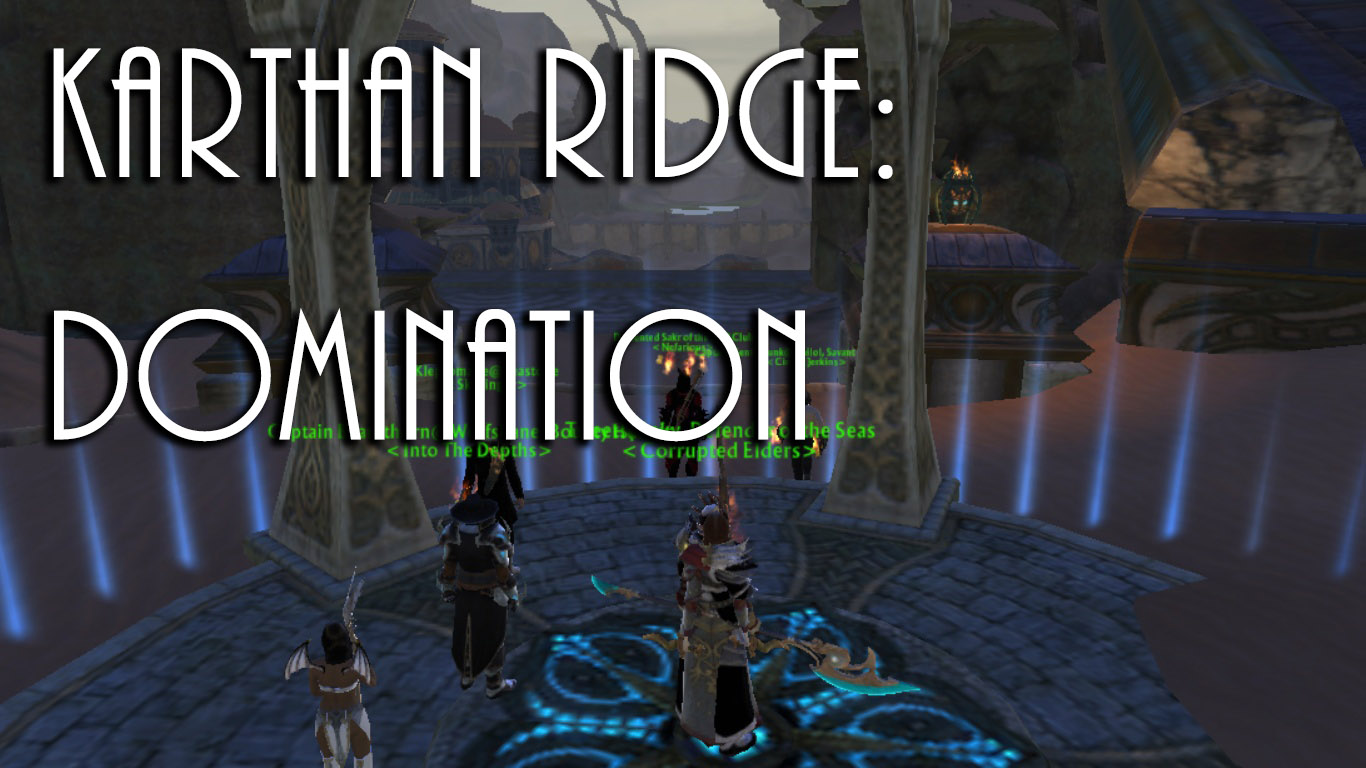
For the Karthan Ridge: Domination, you need to capture any of the five objectives and hold them for the longest time possible. In order to win, you need to reach 1000 points. Points are awarded for holding every objective for every tick. Killing enemy players will also give you on average around 2 points per kill.
Strategy
Since there are 5 main points on this map, versus the Black Garden's version of Domination, what you will need to do is to move as one group to the center. When you jump down the ledge into the playing field, two people should split to grab the points on your sides.
After that, there is a second ledge that you have to jump to get into the center. By that time, you should be prepared to fight against the enemy to see who grabs the center point. The two people on the sides, if they can stealth, should then go and grab their outlining objectives. If they can't stealth but are DPS then when they enter the fight, that can be the additional push needed to win.
If you are on the Guardian side or Defiant, when reaching for your objective you will need to keep one person to grab the point as quickly as possible, and the rest of the sub-team to be prepared to intercept incoming players. Afterwards, always make sure you have one or two players holding or watching over the post.
Now if all goes well, you would have three main points and it would become a war of attrition...except that the enemy team, in order to win has to capture another point, so they will split up. When they split, that's when you should grab the outside points, force it to convert, and go back to defend your points.
Team Setup:
3 healers, 1 support, 6 damage dealers. AOE attacks help stop the enemy from stealing the objective, but like The Black Garden, single target attacks are better for taking down targets one by one.
The Battle for Port Scion
10 to 20 per Team, 20 min Timer
The Skinny
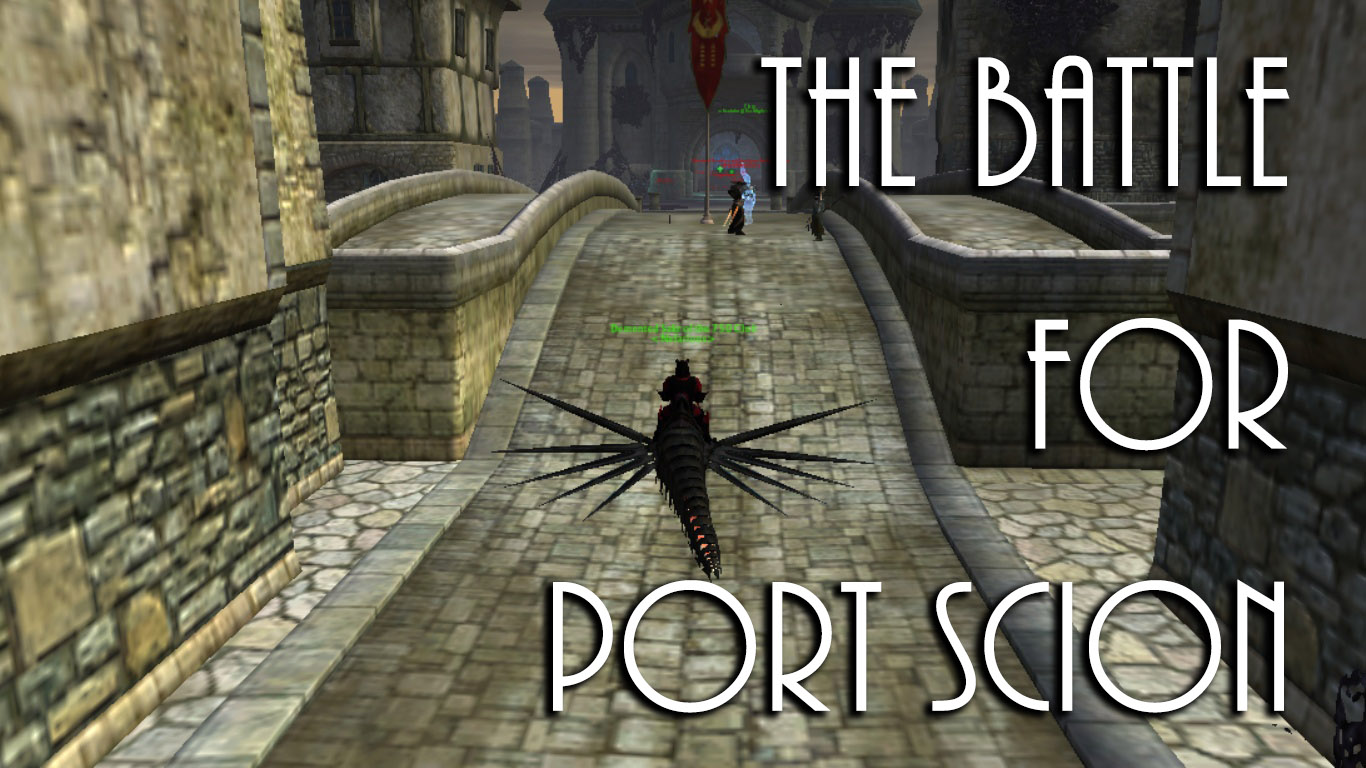
In the Battle for Port Scion, the goal of the match is to reach 1000 points. Victory goes to the team who reaches the goal, has the most points after 20 minutes, or kills the enemy boss. You can get points from capturing the bridge, killing enemy combatants, or turning in sourcestones.
Strategy:
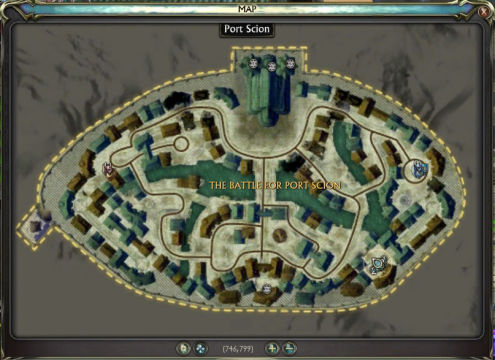
With its huge size Port Scion is pretty fun, considering all the nooks and crannies you can hide in to gank enemy players. You get points by killing enemy players, which gives around 2 points per kill. You can also get points by destroying the enemy "idols", which gives you 100 points and lowers the points the enemy gets from sourcestones by 10. And you can get points by turning in sourcestones, which would be around 30 per turn in
The main goal would be to capture the church, which spawn 2 sourcestones at either corner inside the building. The church will be found at the north center of the map. The second place that has a sourcestone spawn is at the bottom center, both of which are on either sides of the bridge.
The bridge is basically a spawn point, where instead of spawning at the furthest reaches of the map, the team that controls the bridge can respawn there. But be careful, if you are not in control of the map but control the bridge, you're basically giving the enemy an easy 2 kills per spawn.
The bridge can be captured the game starts by 1 minute, so don't place that as a priority as much as controlling the Church. There is also one more way of gaining points, which is by completing any of the repeatable quests in the map. Each quest that is turned in gives 25 points, and any of the objectives that are completed by anyone in the raid counts for the entire team. So it would be possible four people to stand near the quest giver and repeatedly turn in the quests for 100 points every pop.
The final way of winning is by killing the enemy boss. The boss has around 23 million health and high damage. So without a prepared team (and properly geared) it will be a tough way to win.
Team Setup:
Since this is a large raid fight, it is best to have area of effect healers, and single target damage dealers. Support's that can increase movement speed help as well. Remember that you can't mount if you have the sourcestone, but you can jump over walls to reach your base faster.
That's it for our PvP guide, but if you have something that you want to add that might help new players out, make sure to include it in the comments. Best of luck and happy hunting!









Published: Apr 1, 2016 07:00 am