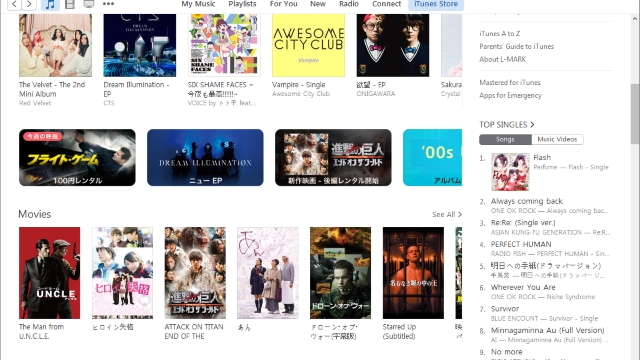
There are a few reasons to sign up for a Japanese Apple ID, but the biggest reason is by far the slew of Japan-only iOS games.
It used to be a huge pain for non-Japanese speakers to create Japanese Apple IDs, but today it’s as easy as knowing what to do — whether on your iOS device or on your PC.
Signing up for an account is easier on PC than it is on an actual iOS device, if only because you can easily copy and paste the Japanese text required for part of the sign up process. In any case, you don’t actually need a Japanese credit card. If you do it right, you can simply slide your way into Japan’s iTunes.
This guide will cover doing this on iTunes on a computer. It’s quick, easy, and ultimately worth it if you can deal with with the language barrier in the long term.
Step 1 – Download iTunes
If you don’t have it, download and install it. Simple as that.
Step 2 – Change your iTunes region
Make sure you are not signed into an iTunes account before you go through with this step.
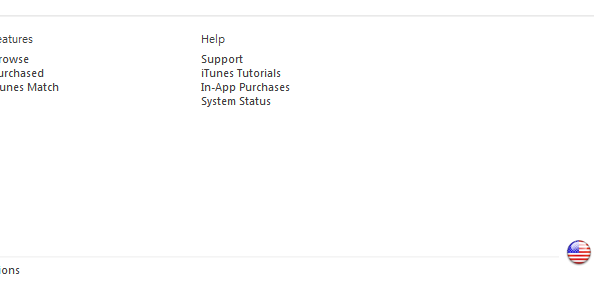
Scroll to the bottom and look for a circular flag icon to the right. I’m located in the United States, so that’s my flag.

You’ll be given several regional options, but you need to scroll down to ‘Asia Pacific’ and find Japan.

Click it and be ready for the next step!
Step 3 – “Get” a free app
In order to sign up without a credit card, you need to “get” a free app before you start the sign up process.

This is pretty easy and does not require a download. You can choose literally any free app to nab up. I simply searched for “Apple Store” and got that.
You must do this part to avoid having to enter a Japanese credit or debit card number.
Step 4 – Initial sign up
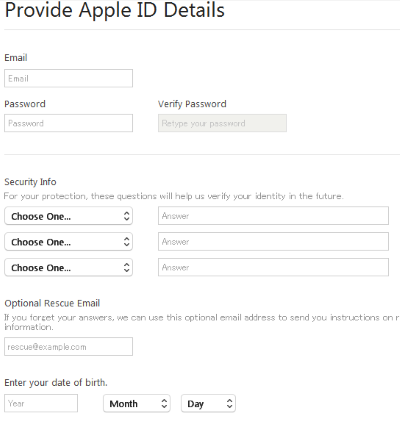
You will be prompted to sign into or create a new Apple ID account at this point. Do not try to sign in with your standard account! Instead, you need to make a new one. Luckily it’s all in English.
Go ahead through the standard terms of service acceptance and fill in the details requested on the next page.

NOTE: You do need to use a separate email from the one your standard Apple ID is attached to.
Do it up and move onto the next step.
Step 5 – Skipping the payment method and entering your “billing address”
If you did step 3 correctly, you will see a “None” option in the payment method input screen.

If you do not see “None”, you need to go back up to step 3 and click “Get” on a free app.
The billing address is the tricky part of the sign up process, but it’s not as hard as you might think.
You can essentially use any valid Japanese phone number and address pair to sign up, but here’s what I used:

You can choose to type the katakana phonetically if you’d like or simply copy it from below.
First name phonetic: マイ (mai)
Last name phonetic: ネーム (ne-mu)
…and that’s it!
From here, Apple will send you a verification email and then you’re all done.
If you don’t want to use the address information provided, you can simply choose any valid phone number and address pair. Hotels or any business will fit the bill, as long as the two are actually registered for the same location.
See? That wasn’t so hard now, was it? The ease of this process is refreshing compared to before, especially since you can now bypass the need for a payment method.


Published: Mar 17, 2016 03:07 pm