There are over 150 Shrines to find in The Legend of Zelda: Tears of the Kingdom. I haven’t even seen a fraction of those so far, but of the ones I have, the TotK Mayachin Shrine might just be the most clever. Naturally, that means this Shrine’s puzzle might trip you up as they did me. Our guide tells you how to complete the Mayachin Shrine and solve its puzzles.
Tears of the Kingdom Mayachin Shrine Walkthrough
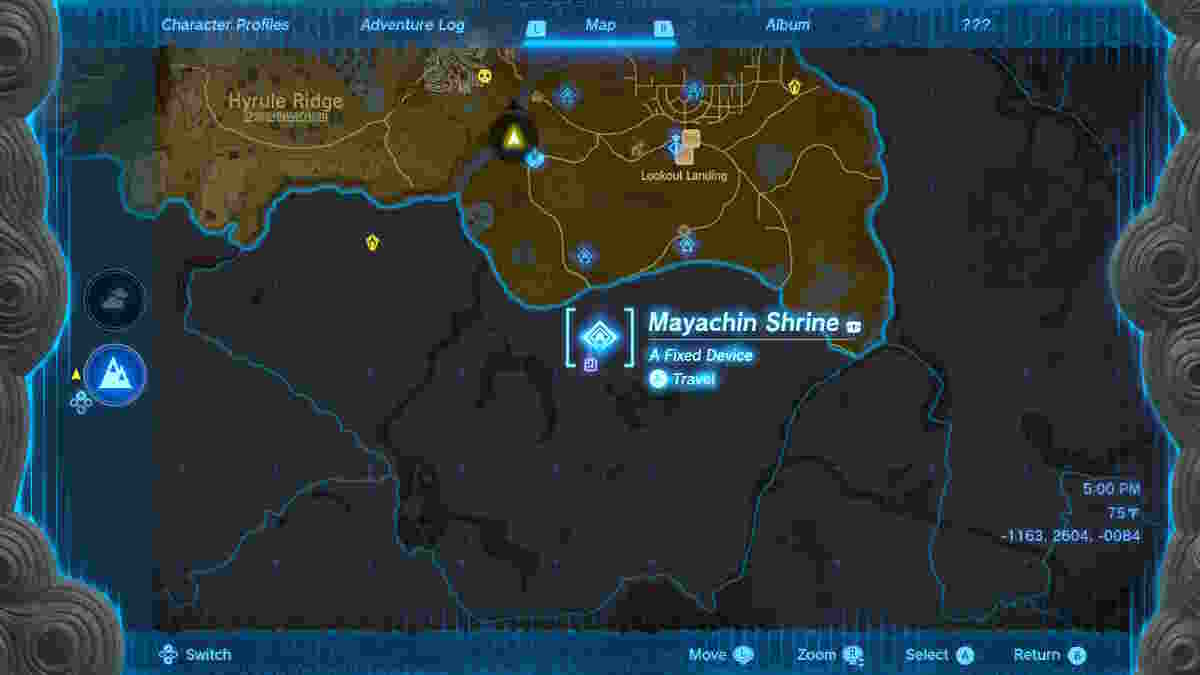
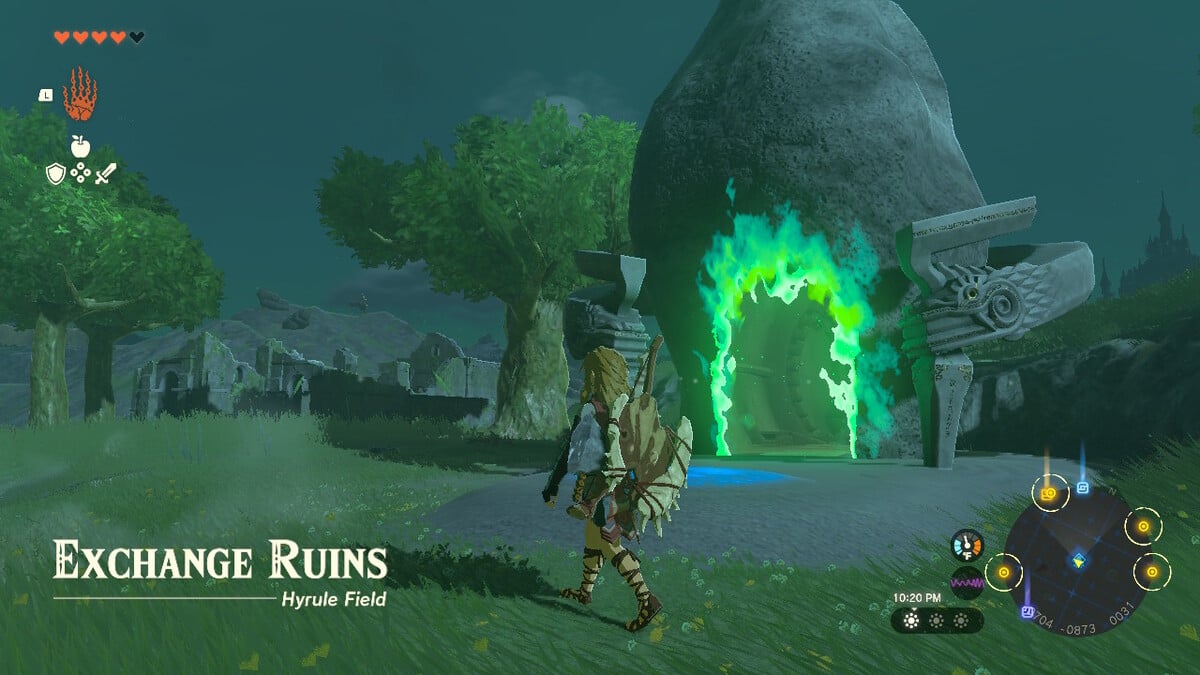
First, to complete the Tears of the Kingdom Mayachin Shrine, you need to find it. This puzzle Shrine is found to the southwest of Lookout Landing, an early hub town that I’ve found to be a good point of reference, in the Exchange Ruins. The Shrine can be found in the region south of Central Hyrule. For reference check our map photo below.


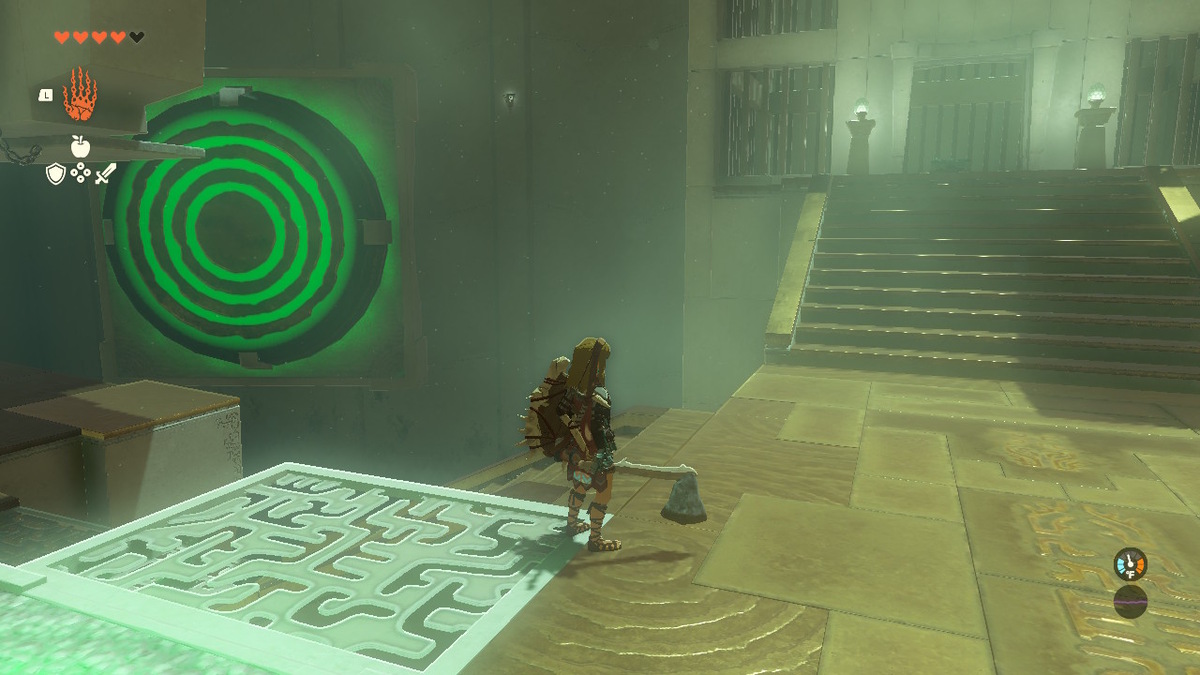
Once you’ve entered the Shrine, you’ll need to cross a spinning platform to get to the only puzzle you need to solve. You can use Recall to move it backward and cross quickly, or you can just wait for it to go the full rotation.
Mayachin Shrine Puzzle Solution
To solve the puzzle of the Mayachin Shrine, you’ll need to use your noodle and construct a device with the tools given to you.
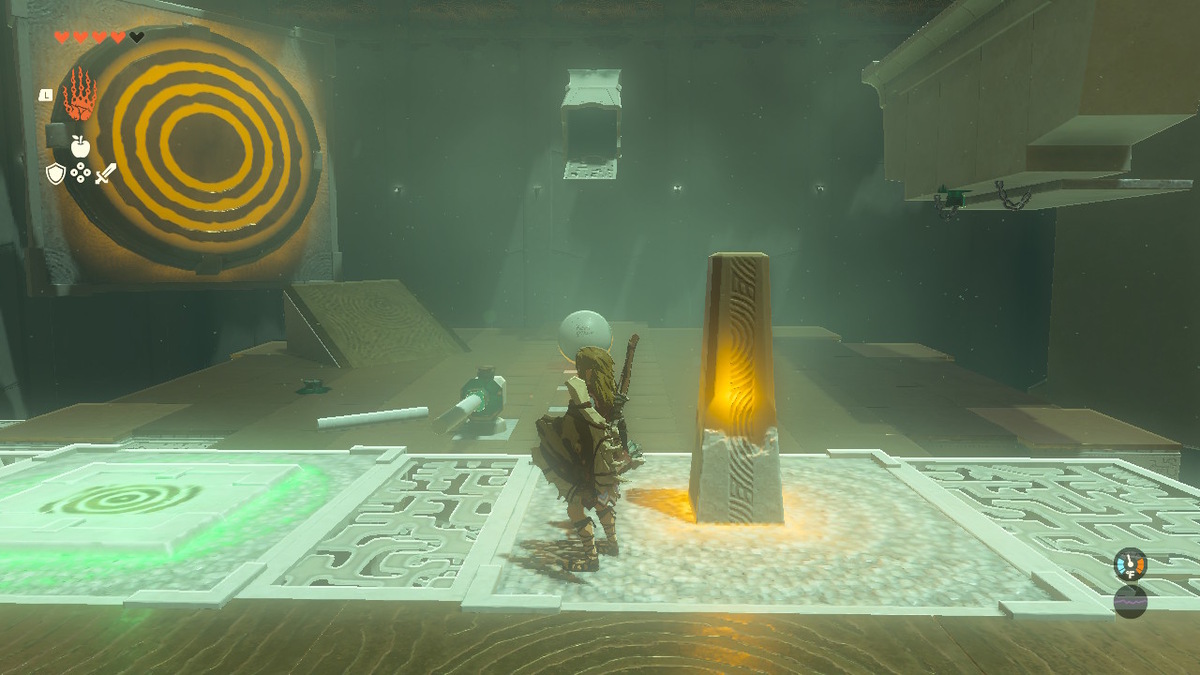
First step up to the ledge where you’ll see a panel and a crystal switch. It will change colors each time you hit it. Below you, there’s a platform with a device in the middle and a ramp to the left. A ball is continually rolling down toward you and into a gap.
At first, I didn’t realize the switch to my right was there, so make sure you hit it a few times to clock how it rotates the device down below. Then, step on the panel so the targets reveal themselves. The primary one will appear on the left above the ramp.
How to Make a Lever

To solve the puzzle, make a pinball lever out of the device. To do so drop down to the platform. There will be stakes pinned into the ground that you can grab using Ultrahand. Grab the one directly in the metal ball’s path, and place it inside the large end of the rotating device. This will now act as a connector between the device and the pole you have to attach next.
Grab one of the white poles from the ground and attach it to the end of the stake so it sticks out horizontally. Now, you’ll be able to hit the crystal switch to swing your creation like a pinball paddle. From here, all you have to do is figure out the timing.
It took me some trial and error but I eventually found the sweet spot. Right before the ball hits the last white tile on its path, swing and you should have the timing right to launch the ball into the target. This will allow you to proceed to the Shrine’s rewards and exit.
Mayachin Shrine Chest Rewards

Before you go, head back down to the platform. There’s a hanging metal sheet blocking another target to your right. Grab the stake in the ground beneath the hanging sheet and flip it to stick it in the ceiling above. Now, grab the sheet and rotate it so it’s flat before attaching it to the stake. This will clear the path to the target.
To hit this one, perform the same operation as before, just delay your swing by quite a bit. Not hitting the crystal until the ball is lined up with your paddle will get you close and from there, it’s all just fine tuning.
Once you’ve hit this second target, a door on your right will open and lead to a chest. Loot it to pick up a helpful Energizing Elixir.
That’s how to complete the Mayachin Shrine and solve its puzzle in The Legend of Zelda: Tears of the Kingdom. For more on how to find and complete the Shrines inTears of the Kingdom, head over to our larger TotK guides page.


Published: May 18, 2023 02:03 pm