The Legend of Zelda: Tears of the Kingdom Fierce Deity Armor Set can be yours in the game. Not only does it increase your attack power, but it also looks stylish as hell. Here’s our guide to help you get the full Fierce Deity Armor Set and the Fierce Deity Sword in Zelda: Tears of the Kingdom.
How to Get the Fierce Deity Armor Set and Fierce Deity Sword in TotK
The TotK Fierce Deity Set comes from the Misko’s Treasure: Fierce Deity side quest. Here’s the kicker: you don’t actually need the quest itself to start looking for items. In fact, it’s possible to stumble upon these goodies while you’re just exploring. I personally found a couple while roaming around, well before I got the related quest.
In any case, just to avoid confusion, I’ve organized our Zelda: Tears of the Kingdom Fierce Deity guide in a way that explains each step/location as though you’re starting with the quest. I’ve also marked down the important locations that we’ll visit as we start collecting loot.

Misko’s Treasure: The Fierce Deity
For starters, you’ll want to go to Cephla Lake Cave in Eldin Canyon. You can either glide southwest from the Ulri Mountains Skyview Tower, or north from the Upland Zorana Skyview Tower. The Kisinona Shrine is also nearby.

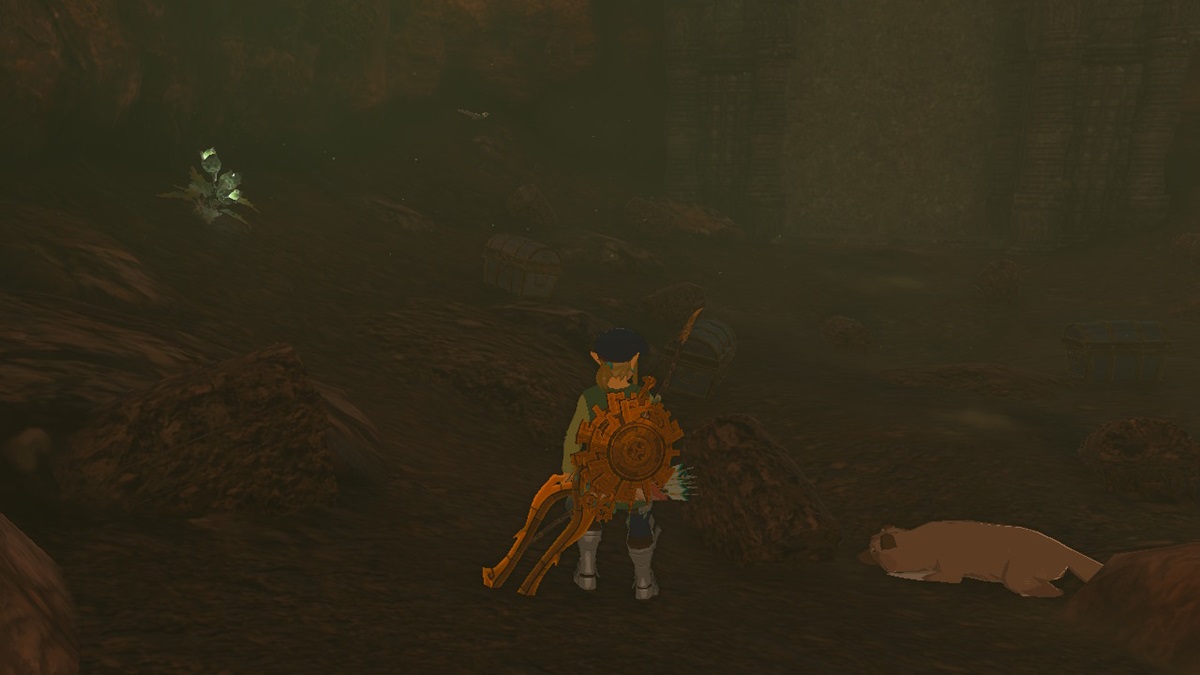
Upon reaching the area, you’ll see two treasure hunters complaining that the cave has too many chests. Unfortunately, like a prank, everything seems to contain only one rupee. They do give you a clue about having a dog’s nose for treasure. And it just so happens that there’s a dog nearby. Here’s what you need to do:
- Walk up to the dog and open your inventory.
- Select up to three Raw Meats for you to hold, then drop them in front of the fluffster.
- After a few seconds, the dog will eat them all, and you’ll see a bunch of hearts pop up.
- It will run inside the cave. Follow it until it lies down in front of one specific chest.
- Use Ultrahand to pull the chest out of the ground.
- Open the chest to receive the Ember Trousers. That’s part of an entirely different set. It’s not what we’re looking for, but it’s nice to have.
The Message in a Bottle Clues
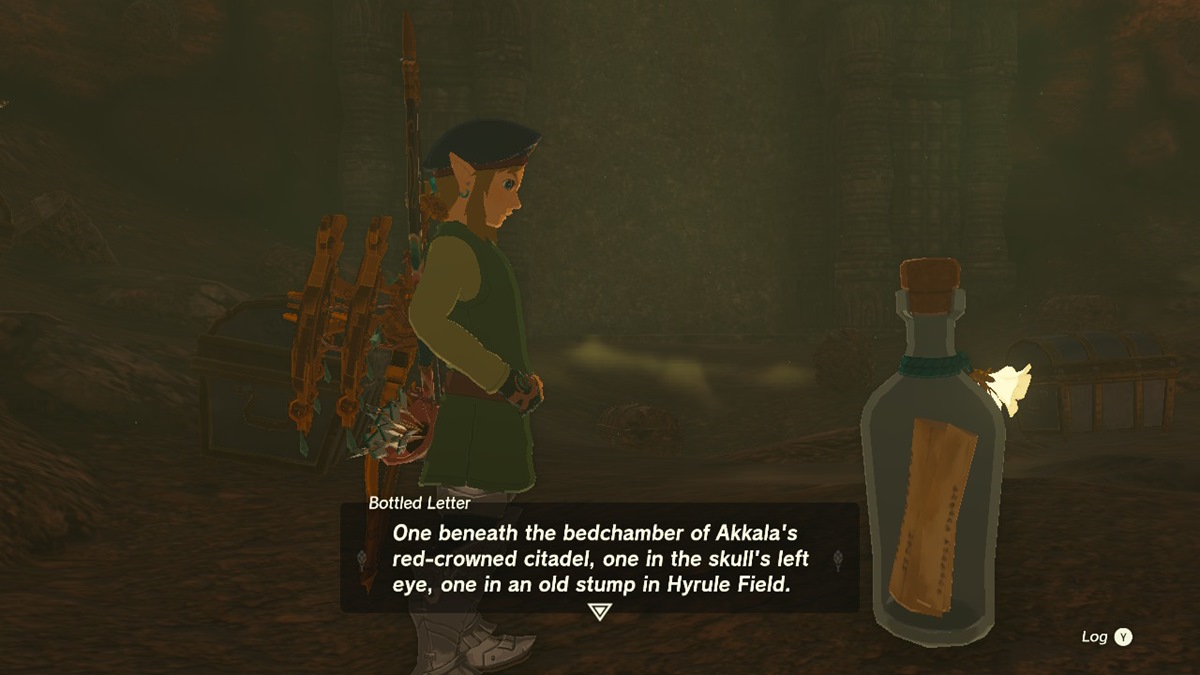
Anyway, the two treasure hunters will show up, surprised at what had happened. This will reveal a message in a bottle, one that has important clues. It tells you about how you can find the Fierce Deity Sword nearby. However, you need to obtain the armor pieces first. Here’s the hint:
“One beneath the bedchamber of Akkala’s red-crowned citadel, one in the skull’s left eye, one in an old stump in Hyrule Field.”
The Bedchamber of Akkala’s Red-Crowned Citadel: Fierce Deity Armor
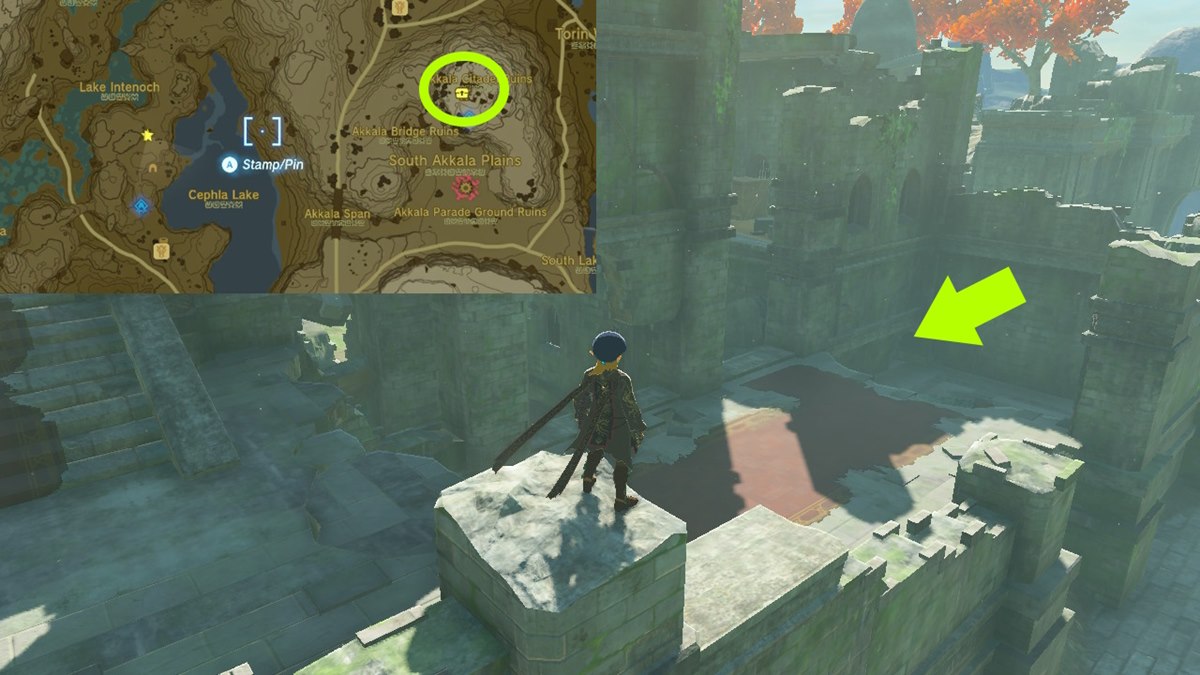
This one is the closest, so let’s get to it. To find the Zelda: Tears of the Kingdom Fierce Deity Armor, you’ll need to head to Akkala Citadel Ruins. It’s basically just east of Cephla Lake.
When you see the citadel, climb up the tower so you can tag the Domizuin Shrine. Then, head to the eastern wall. You’ll see a crawlspace that lets to a small room with a chest. Watch out because there’s a Gloomy Hands in this area, too.
The Skull’s Left Eye: Fierce Deity Mask
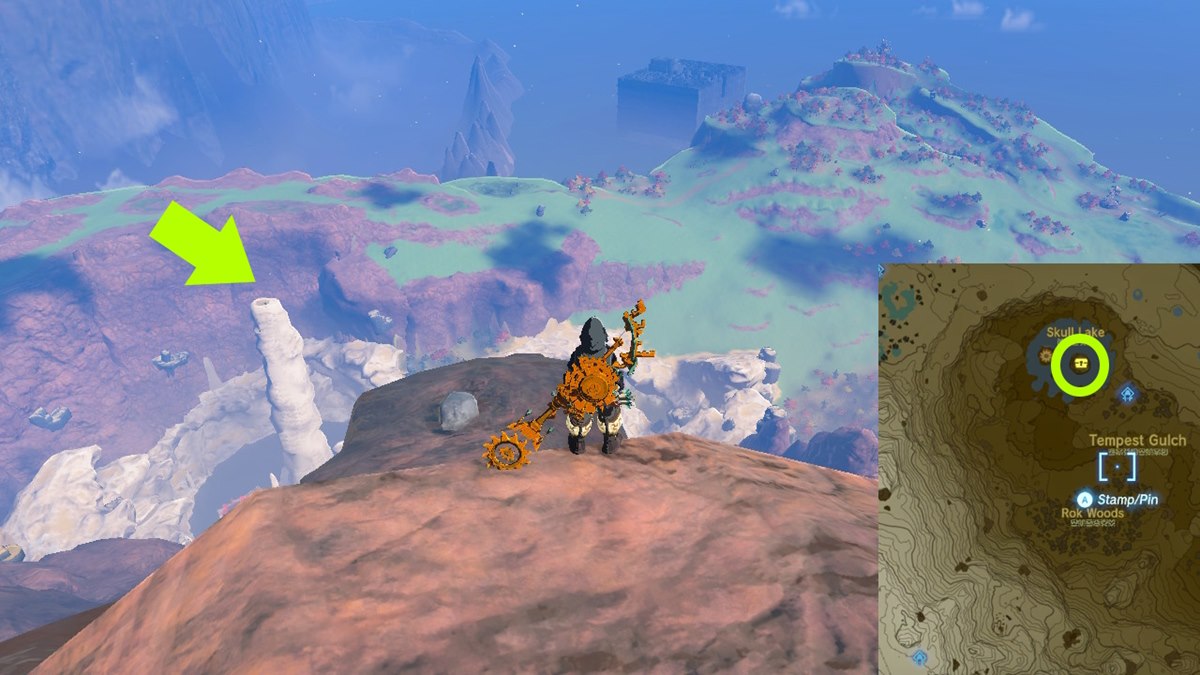
For this one, we need to look for the skull’s left eye. The clue pertains to Skull Lake in the northern portion of Akkala. Specifically, the lake has two key features: a chasm that leads to the Depths (and we don’t want to go there), and a tall pillar, which happens to have a hole in the middle. The idea is to skydive from a high vantage point to reach it. I suggest using the Momosik Shrine near the summit of Death Mountain, and gliding from there.
You’ll be at the Skull Lake Cave upon reaching the bottom of the pit. Avoid the Bokoblin skeleton mobs and head to the main cavern. There, a Skullnox (i.e., skeleton Hinox) will emerge. You don’t need to fight it, though, since the chest is on top of a rock formation.
And Old Stump in Hyrule Field: Fierce Deity Boots
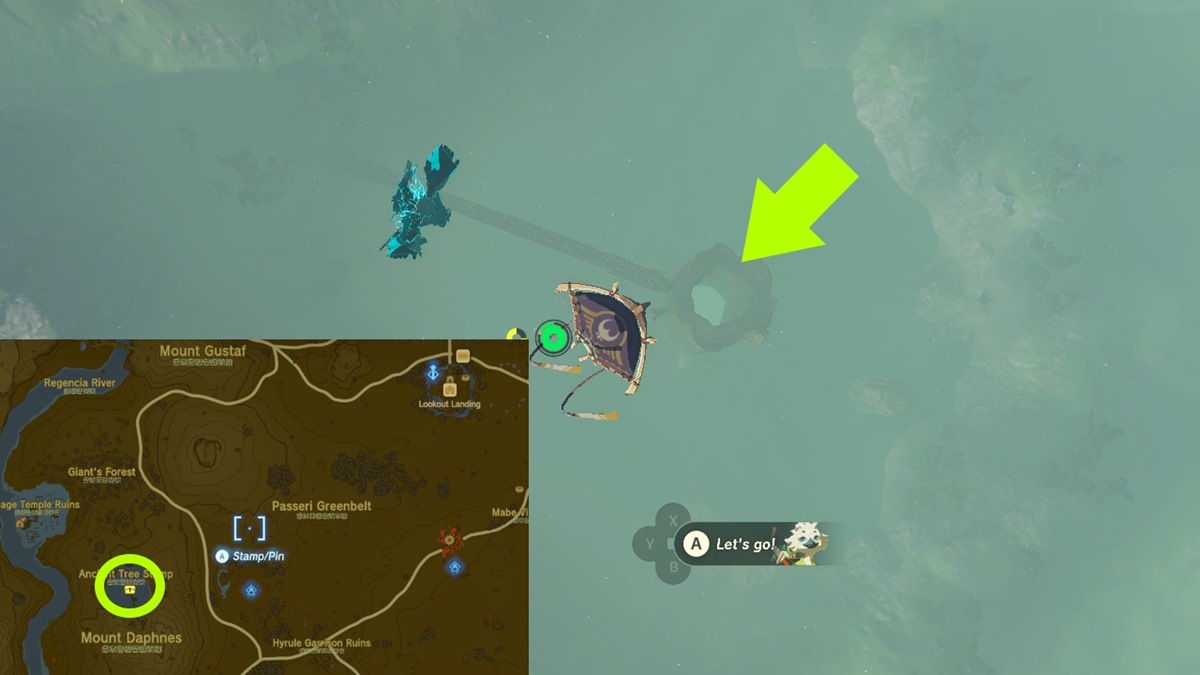
This might be the easiest clue to figure out. In Hyrule Field, just west of the Susuyai Shrine, you’ll see the Ancient Tree Stump. And, yes, it also has a hole at the top that leads all the way down. You can use the Lookout Landing or Hyrule Field Skyview Towers. Alternatively, just drop from any higher vantage point.
At the bottom, slash or burn the vines that are blocking the way. At the end of the cave system, you’ll find the chest.
The Fierce Deity Sword
Now, you have the Zelda: Tears of the Kingdom Fierce Deity Armor Set, which means it’s time to get the Fierce Deity Sword. Remember the Cephla Lake Cave where we started this adventure? Return to it (i.e., fast travel via Kisinona Shrine).
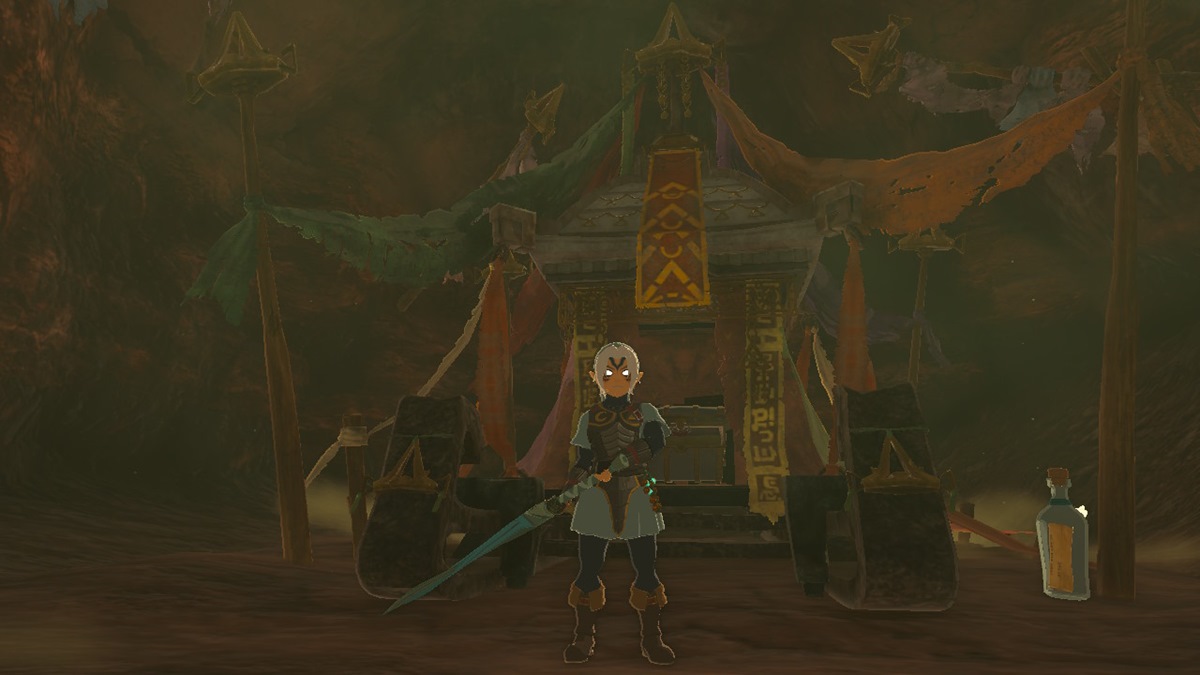
Inside the cave, make sure you equip the full armor set. This will cause the wall to part, revealing another chamber with a chest. Open it to receive the Fierce Deity Sword. This will complete the Zelda: Tears of the Kingdom Fierce Deity Misko’s Treasure side quest.
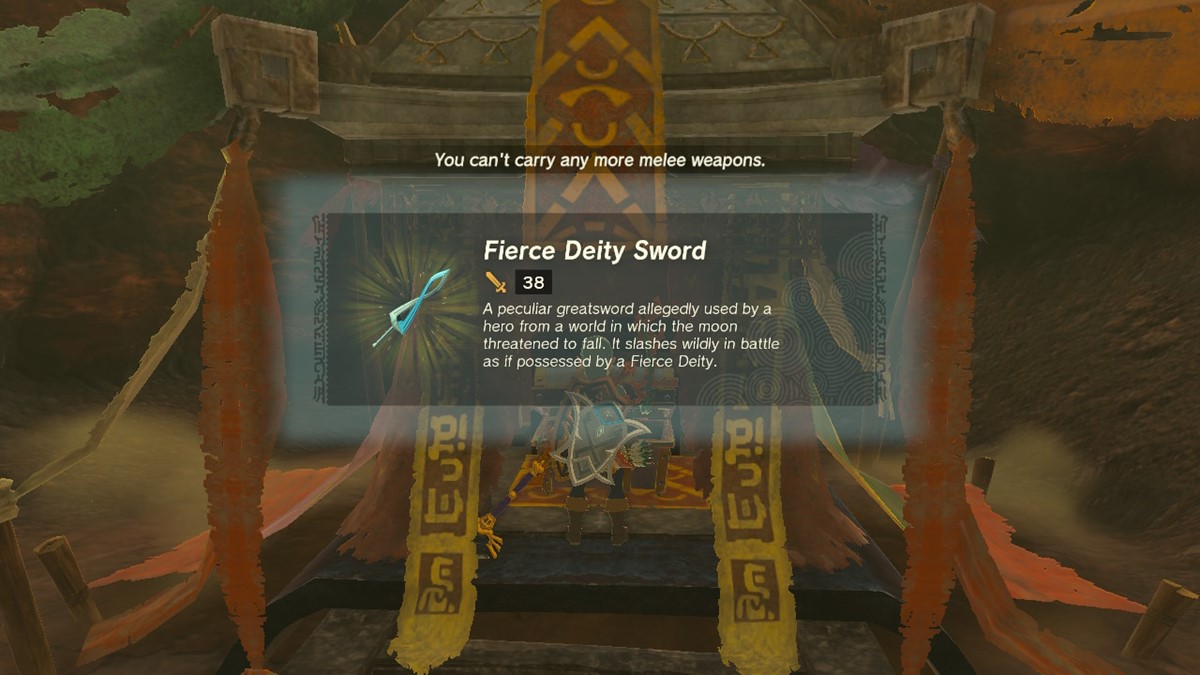
As mentioned earlier, the Fierce Deity Armor set provides bonus attack (with all three pieces, you gain +3 attack power). Sadly, the full set only gives +9 armor rating in total. As for the Fierce Deity Sword, it has an amazing +38 attack power, and that’s without any Fuse Materials added.
You might be apprehensive about using it in case it breaks. However, since this is a unique item, you can rebuy it from Bargainer Statues in the Depths. In any case, the Fierce Deity Armor Set and Fierce Deity Sword are part of a huge assortment of items that can be obtained in the game. For more tips and walkthroughs, visit our Zelda: TotK guides hub.



Published: May 22, 2023 01:26 pm