As you progress through Xenoblade Chronicles 3, there will be areas you can’t access immediately. Some sections are protected by powerful monsters well above your current level, but other areas are gated by traversal elements you can’t yet interact with. Even in the first several chapters, you’ll come across ropes that act like zip lines. To use them, you’ll need the rope sliding skill.
This Xenoblade Chronicles 3 guide will tell you when you unlock the rope sliding skill and how to use zip lines to reach out-of-the-way areas, many of which hide coveted materials or elite monsters.
How to Unlock Rope Sliding
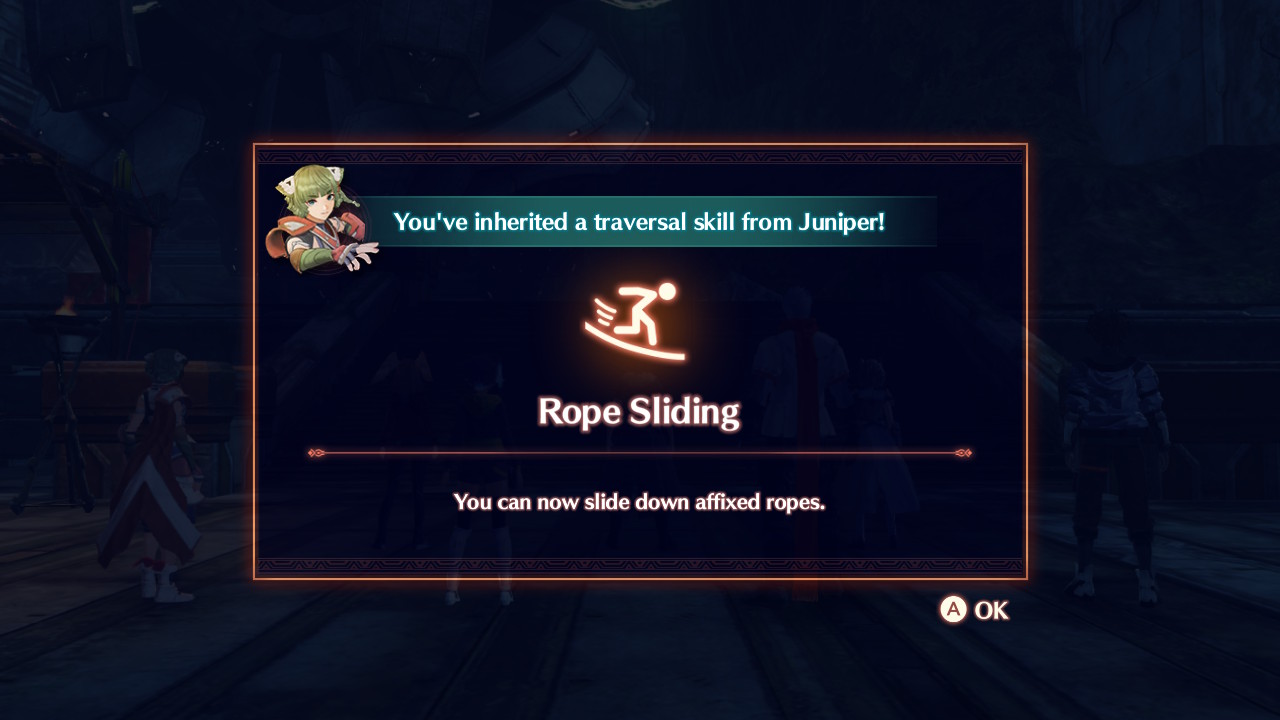
Just as with the wall climbing skill, you must inherit rope sliding from a hero character; it cannot be learned otherwise. In the early stages of Chapter 4, you’ll enter High Maktha Wildwood, quickly discovering the Vista of Rhonnar landmark. Just beyond the landmark, you’ll encounter Juniper from Colony Tau, automatically beginning the Natural Selection Hero quest.
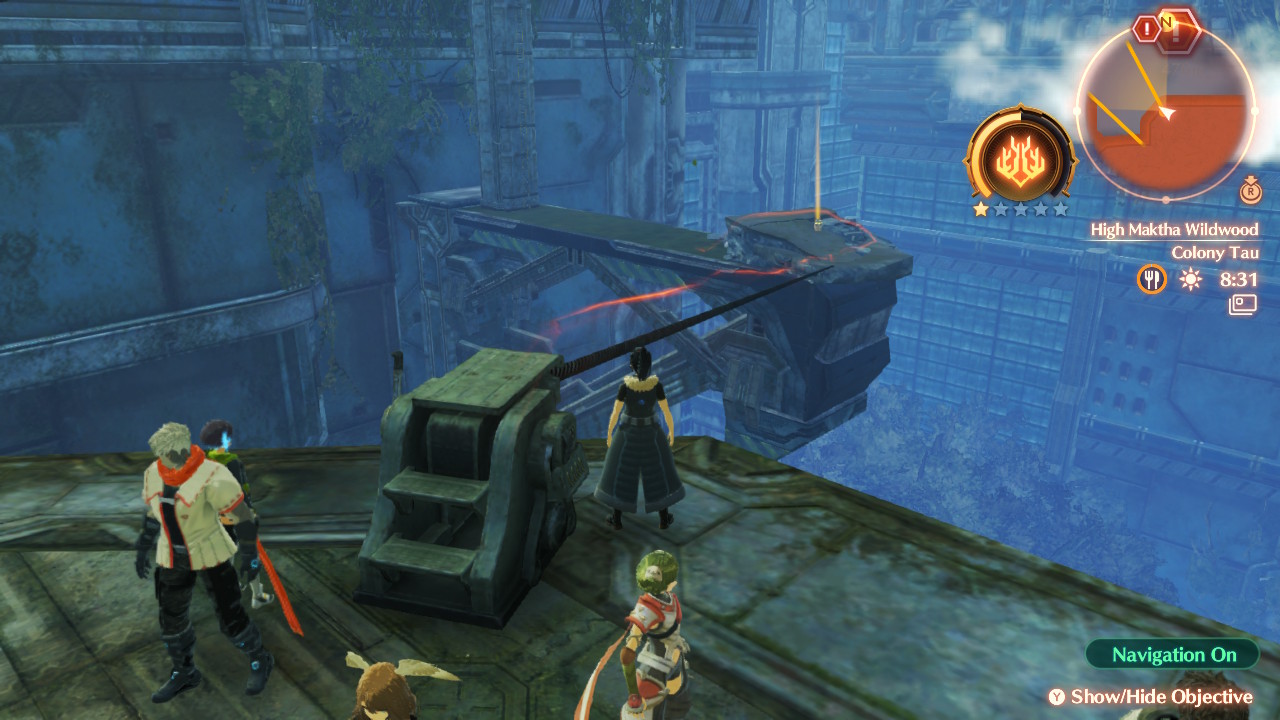
After the combat section, go to Colony Tau. Speak with Juniper and the soldiers there. Complete this segment, and you’ll unlock the rope slide skill at the end.
How to Rope Slide
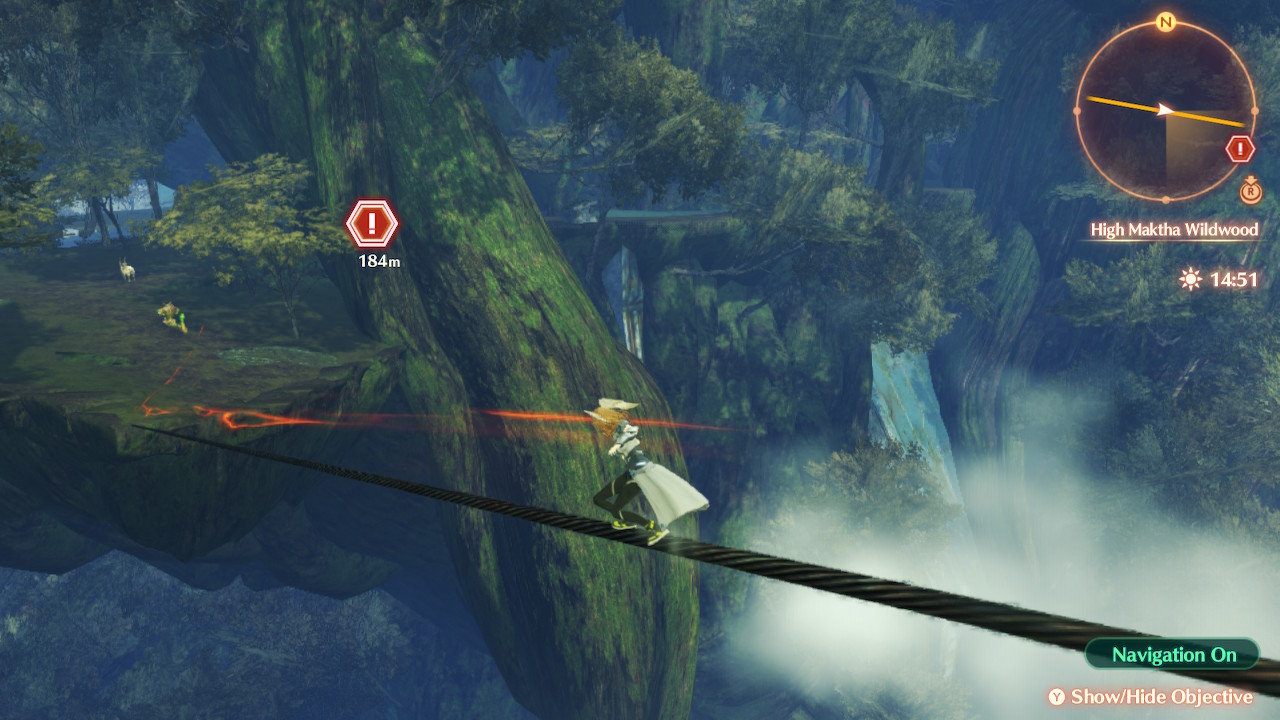
Luckily, once you gain the rope sliding skill from Juniper, actually using zip lines to get from A to B is super easy. Simply approach a zipline, and jump on it. You’ll automatically surf from the top to the bottom; there are no balancing mechanics or anything of the sort. Importantly, zip lines only allow you to travel in one direction, so keep that in mind when using them.
You can jump off zip lines by pressing “B”. Just be careful not to jump off too high — or into an abyss — killing your party in the fall. Because of the autosave system in Xenoblade Chronicles 3, you may start further back than you anticipated.
With the ability unlocked, you can return to earlier regions to access previously-inaccessible areas full of containers, items, and husks you may have initially missed.
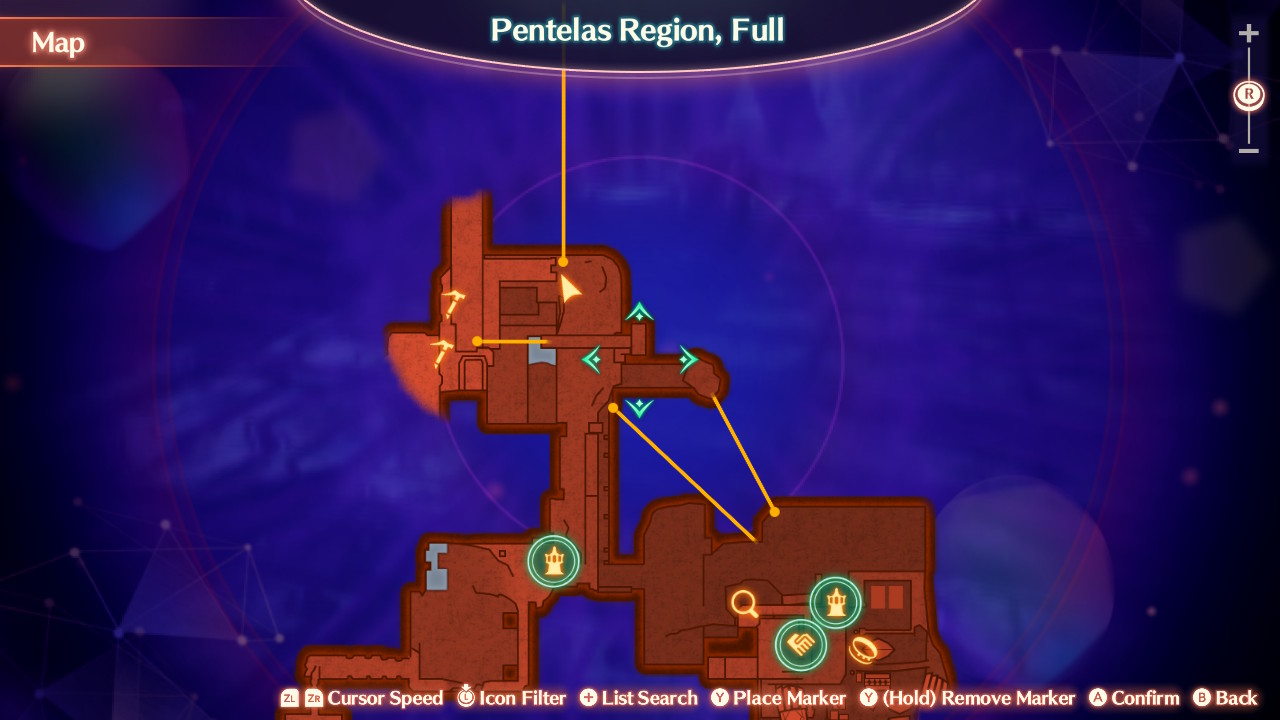
Tip: Zip lines are indicated on your area map by small circles with lines extending from them. The circle is the top of the wire, with the line indicating the direction in which the wire travels and its endpoint.
And that’s essentially everything you need to know about rope sliding and zip lines in Xenoblade Chronicles 3. It’s a simple mechanic that’s easy to understand once you gain the skill from Juniper, but it’s a long time coming, forcing you to do a bit of backtracking if you want to see everything Aionios has to offer. For more, check out our guide to wall climbing above or our guides on how to enter first-person mode and the game’s best classes.


Published: Aug 12, 2022 10:35 am