The extremely wild ride that was Wolfenstein 2: The New Colossus isn’t over just yet! Get ready for even more nefarious Nazis and outlandish heroes with The Adventures Of Gunslinger Joe.
This short DLC puts you in the role of football star/Nazi slayer Joseph Stallion, who needs to escape captivity and foil a plot to destroy the Midwest. Below, we walk you through the full expansion from beginning to end.
While all the standard gameplay elements of the base game are on display, the main difference here will be in utilizing your Unnecessary Roughness ability while sprinting to take out enemies or bring down walls to access new areas.
Part 1 – Escape From Research Station Omega
After the opening, chat with your buddy through the broken wall, then crash through the wall to explode the Nazi guard in a gory shower of blood (you’d think that would hurt without shoulder pads, but apparently Joe is made of sterner stuff than the average man).
Grab the health pack under the rubble, then turn around and grab the other one near the toilet back in your cell. Search the other cells to find a Prisoner Diary, then sprint through the yellow slatted wall and press the red buttons in the control room. Make sure to grab all the weapons on the wall and the final health pack on the chair as the shooting is about to begin.
Follow the blood trail and break through the weakened wall at the end of the hallway to enter the first area where enemies are roaming. You can easily get the drop on the first soldier off to the right, then use the large cement pillars for cover to take out the rest.
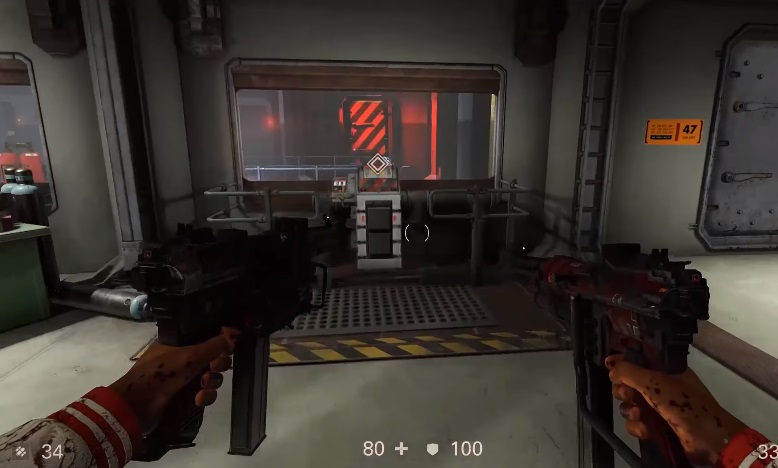
Check a side room with a bunch of supplies to find some armor, then take out the weakened side wall to enter the locked room. Pull the lever to change the lights from red to yellow and open up access to the next area.
While following the path of this indoor level, make sure to break crates you find and check the walls for extra ammo. Throughout this next part, you can actually get through four or five enemies just by sprinting quickly and taking them out with your shoulder sprint, conserving ammo before anyone notices you are there.
Be on the lookout for dogs and soldiers coming down the stairs. Don’t get stuck in one room to survive here. Instead, keep running around the first floor ring, or go up to the second floor ring and shoot at soldiers as they spawn near the vault door.
When you’ve got some breathing room, run up to the platform on the second floor to dismount a lasergeweher, as two armored goons will eventually spawn. After they are dealt with, head into the room on the second floor with the TV screens, and smash through the yellow slats again.
In the medical bay, look on the counter in the red-lit computer room to find a collectible note, and be sure to grab the armor sitting near the door leading out to the stairs. A dog will rush down when you head up, so be prepared!
This next area is full of tight hallways, so either rush through quickly, or use the barrels and beds for cover to advance more slowly. When you hit the wide-open area where you can look down on the lower floor, hit the med station side nook for some extra health and armor.
After the enemies are down, break through the recessed section of concrete wall near the large cylindrical power devices. Head up the two flights of stairs (you can break the next wall section on the in-between floor if you want, but it’s just some ammo). When you reach the top and can hear the commander talking, sneak and take out the enemies from stealth, or you will get quickly overwhelmed.
 Take these guys out quietly without guns
The commander is in the room down the right side hallway, but you can’t enter that way, and your goal is to never be seen by him so that he doesn’t call in reinforcements. Head down the stairs and up the other side, then smash through the yellow wall to enter the room from the other side. Take out the commander quickly before he can alert anyone, then pull the big red lever.
Now you can freely roam the area without having to be stealthy, so grab any supplies you need in the side rooms. If you have trouble with the robotic enemies that spawn, another detachable laser gun is available up on the second floor.
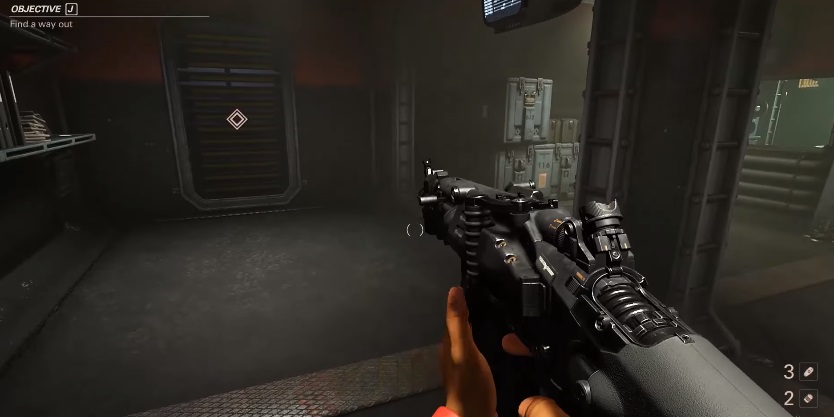
When the enemies are gone, use the laser gun to destroy the side of the steel container down on the bottom floor and access a panzerhund you can ride out of the facility.
 Take out this shipping container to get a robotic hound!
Out on the city street, use the panzerhund’s flame-breathing ability and throw grenades to take out any opposition until you reach a door the pooch can’t go through. Dismount and grab the note on the countertop near the chair, then shoot your way to the top floor of the hotel, breaking through walls when needed.
Part 2 – Confront Metze
Sadly, there’s no safe haven at the resistance headquarters. Instead, there’s an American who never got over the South losing the Civil War who has decided to throw in with the Nazis.
When you wake up, survive as long as you can against the Nazis and KKK members on the flaming football field, but you can’t live forever, and you’ll eventually go down no matter what. When you wake up, either stealth through the tight hallways, or run as fast as possible and headshot everyone from behind to get through this area quickly.
Head down the stairs to an area filled with containers and forklifts. Be sure to check all the side nooks for armor and ammo, and if you need a better vantage point, go through the open door and up the stairs to a platform looking down.
When the enemies are down, head into the side control room (the room with all the glass windows), and pull the green lever.
After taking out a large robot enemy, head off to the side to find a room with a giant crack in the floor where you can jump down into the sewer. In these tight tunnels, be on the lookout for drones flying above head level to frequently pop out of any given corner.
Head up the yellow ladder to return to street level, then sneak into the blue door to start facing off against regular KKK enemies. You can stealth kill many of the enemies here as you make your way through the house and onto the streets of Springfield.
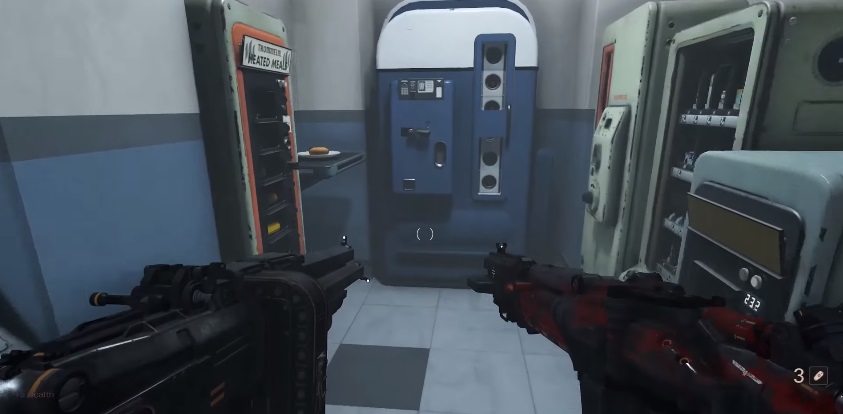
Go into the restaurant at the end of the street for more supplies, then walk through the back alley and up the stairs to reach the next segment. Use the open shipping containers to sneak past the robotic guards and access the auto garage. From there, you can return to the street and enter the police station. Don’t forget to grab the donuts on the table in the side room for extra health!
 I wonder what happens to Krispy Kreme in Nazi America?
Break through the steel door with the yellow strips on the top and bottom (next to the jail cell), and hop over the barrier to the next section. Go downstairs and wait for the voice over the intercom to finish berating you before the door opens into a locker room where you can pull another lever. This one unlocks the cell door leading down another flight of stairs. Follow the opening cell doors to reach the end of the level.
Part 3 – Space Center
This part shifts location to the Topeka Space Center in Kansas as Metze hides from you. By now you should know the drill. Break yellow openings as needed, and either run and gun like mad or stealth through the corridors of the Space Center. Always check the side rooms, and look on countertops for donuts and spare ammo.
When you reach the lounge with the chairs arranged around a projector, look on the back side of the small, brown wall to find a newspaper collectible. After the voiceover segment ends and Joe mentions a hidden opening, activate the red button on the countertop (it sort of looks like a mine) next to all the film reels to open a doorway.
If you’ve got the patience, stealth is a really good way to go here so that you don’t set off an alarm and get swarmed by enemies. As you cross the metal grating area and go up towards the launch site, eventually you’ll come across mechanical enemies, and you’ll need to dismount a heavy weapon to proceed.
When you reach the next open area, go back to stealth for as long as possible, as again alarms will fill this area with never-ending Nazis until you kill the commanders. When the enemies are gone, head down to the bottom floor (underneath all the Swastika flags) and look for a large metal crate you can open and hide in to hitch a ride to Venus.
 Riding a cargo container into space sounds perfectly safe!
Part 4 – Venus
This area should be familiar if you finished the base game, as the layout and designs are very similar to the previous Venus segment. Use the luggage and small, white barriers as cover when necessary until you reach the green-tinted steam pipe area away from the main red visitor section.
Kill the commanders to prevent alarms from being broadcast in the area with the vehicle on the ground floor. When you hear the beeping sound, head up the stairs onto the side to find the coolant, which has to be pumped into your suit so you don’t die in the hot Venus atmosphere.
When the enemies are dead and your coolant is full, you can run up the second-floor platform through a door labeled Eintreten that will open as you approach. You can stealth through here, or use the big red balls as impromptu explosives to take out groups of enemies.
Work your way through two more of the Eintreten doors to return back outside to the surface. Take out enemies as they approach, then use any downtime you have to destroy the weak points on the arms of the giant flamethrower robot.
Head through the final Eintreten door to face off against Metze and complete the Gunslinger Joe DLC.
Special thanks to YouTube channel Game Intros & FInales for some of the screenshots. Did you use any other tactics in the Gunslinger Joe levels, or are you having trouble passing any section? Let us know what worked for you in the comments below!


Published: Dec 18, 2017 02:19 pm