Fancy roaming around the galaxy in search of xenos in need of help? For this mission, you’ll need to travel to several star systems to find a cache for your companion Yrliet. Here’s how to complete Aeldari in Distress in Warhammer 40K: Rogue Trader.
How to Complete Aeldari in Distress in Warhammer 40,000: Rogue Trader
You can complete Aeldari in Distress in Warhammer 40K: Rogue Trader by visiting three star systems and helping the Aeldari survivors from Craftworld Crudarach. Companion quests require you to be kind to your party members. If they ask for your help, accept the proposal to start the quest proper.
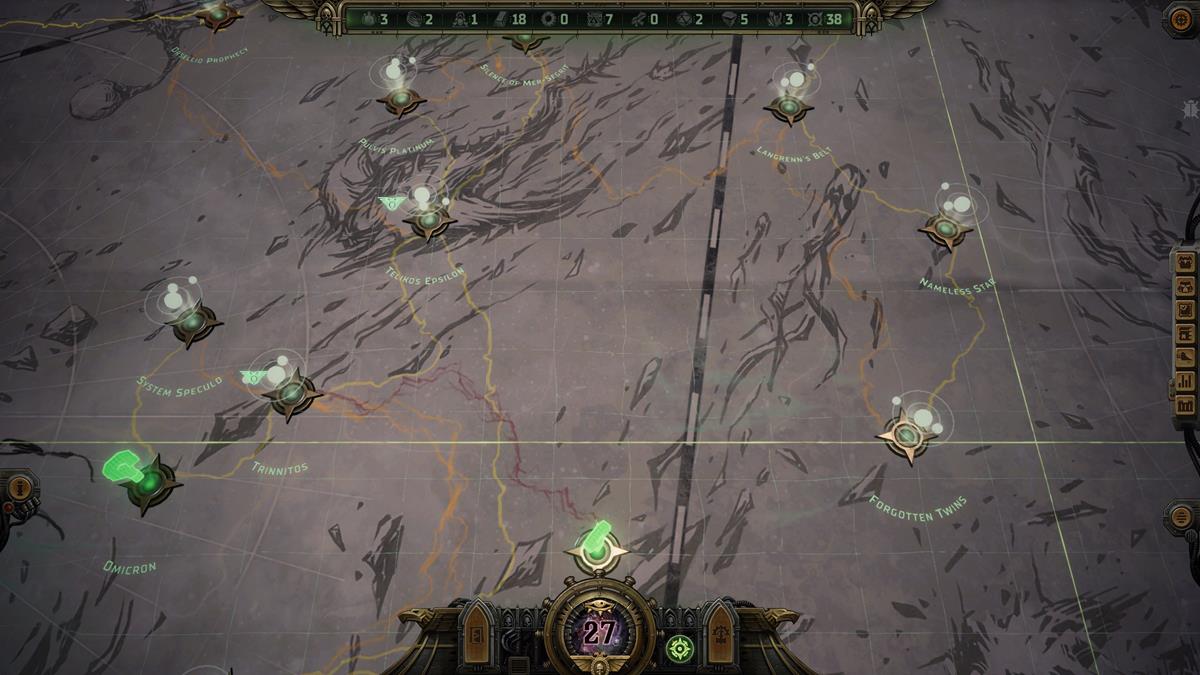
The three star systems you’ll need to visit are found on the Koronus Expanse map. Since they’re a good distance apart, be sure you have enough Navigator’s Insight to reach the destinations. I also suggest having the best voidship upgrades, like Swing Run and Reinforce Shields, and your best voidship companions set to deal with the enemies you’ll face along the way. Finally, due to events that transpire a bit later in the game (which I don’t want to spoil here), you’ll want to complete this quest during Act 2.
Where to Find the Forgotten Twins Location
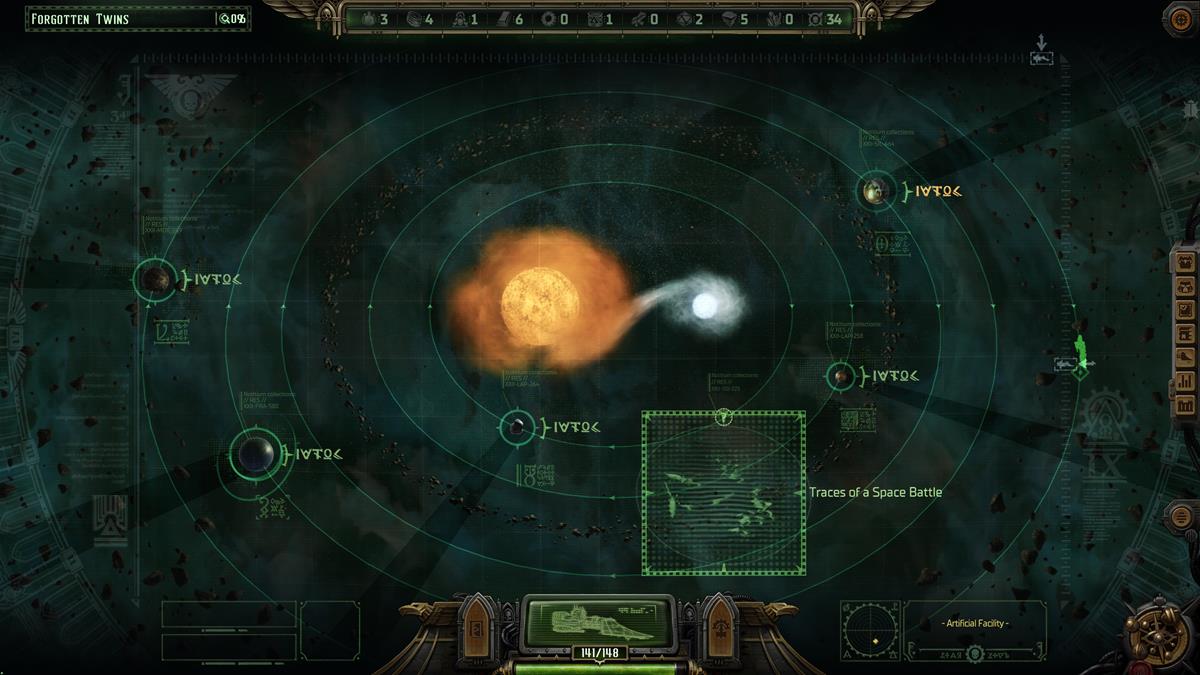
The Forgotten Twins system is located in the eastern portion of the Koronus Expanse. Just follow the path from Langrenn’s Belt to Nameless Star. Then, in the Forgotten Twins system, you’ll see the Traces of a Space Battle point of interest. By the time you reach it, though, it seems there are no survivors.
Where to Find the Location of Odaenathus XI
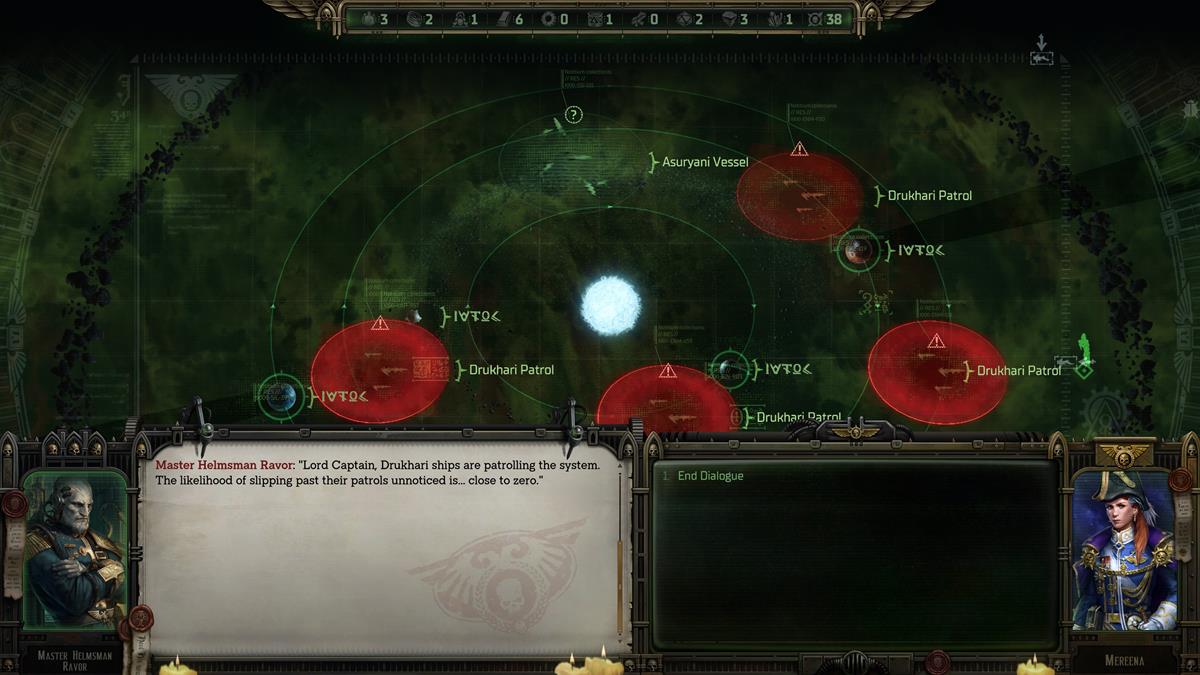
Next, head to Odaenathus XI, which is in the northeastern corner of the Koronus Expanse. I suggest saving before entering this area. There’s an Asuryani Vessel point of interest, but there are around four Drukhari patrols in the area. This leads to a lengthy battle where you fight multiple waves of Drukhari ships.
Be forewarned that there are potential Rogue Trader bugs that can derail your game if you attempt to load saves made in the middle of a battle, be it on land or in space. This means you have to complete the battle in one sitting, as sluggish as the pace might be.
Once you’ve eliminated all hostile ships, it’s time to see what else is in store for the Aeldari in Distress quest. You can have some personnel attempt to breach the vessel, but you still won’t find survivors. As far as I can tell, the skill checks/dialogue options only net you a bit of XP, but the outcome remains the same.

Where to Find the Location of Tenebris Aquae
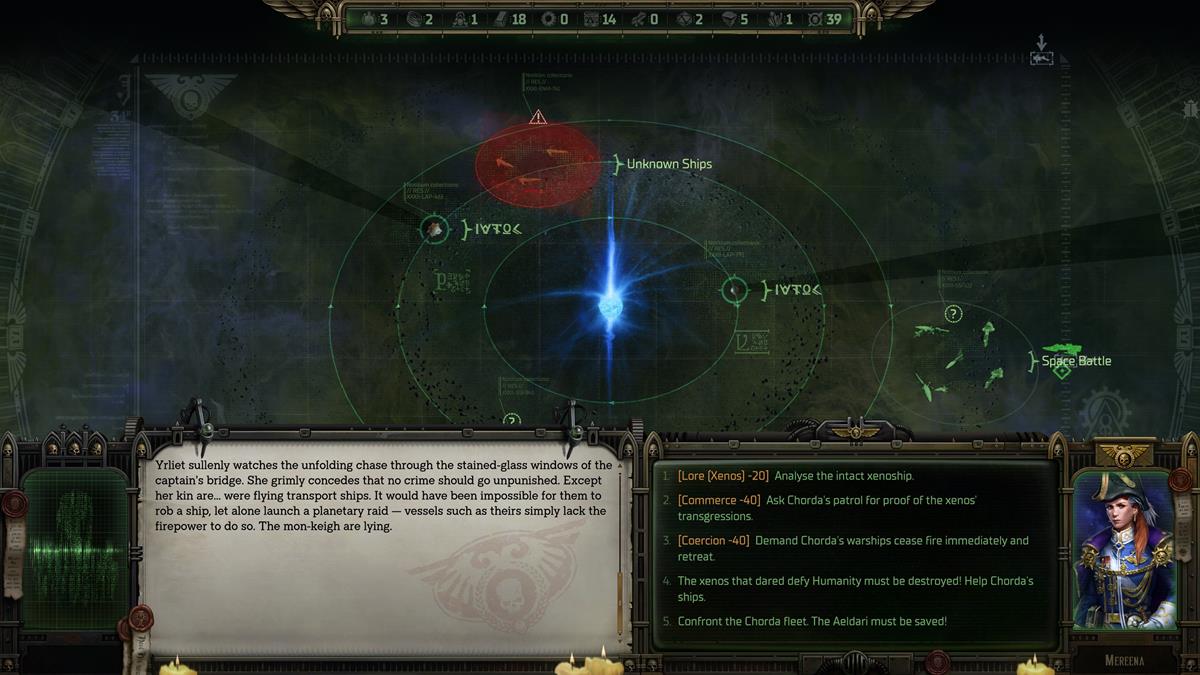
The third task entails heading to Tenebris Aquae, which is west of the Orsellio Prophecy system. Again, save your game before entering the system because there are several skill checks that follow.
I chose the Lore (Xenos), Commerce, and Coercion options, one after the other. After you’ve done that, send a message to Incendia Chorda’s fleet, ordering them to stop the battle, which leads to a Voidship bout pitting you against a couple of Imperial warships.
After winning this fight, try the Persuasion option to let Yrliet speak with her kin. Even if you fail the skill check, the quest will still progress.

Where to Find the Aeldari Cache
The final objective in this Warhammer 40K: Rogue Trader quest is the discovery of the Aeldari Cache. You’re told that it’s in a star system known as the Last Chance of Cyrene, which is close to the center of the map.
If you can’t find a path to the Last Chance of Cyrene, you may need to complete some main quests, such as those in Dargonus or Kiava Gamma. The important thing is that you don’t proceed to the Atlassian Reach (a different system), as that leads straight to Act 3.
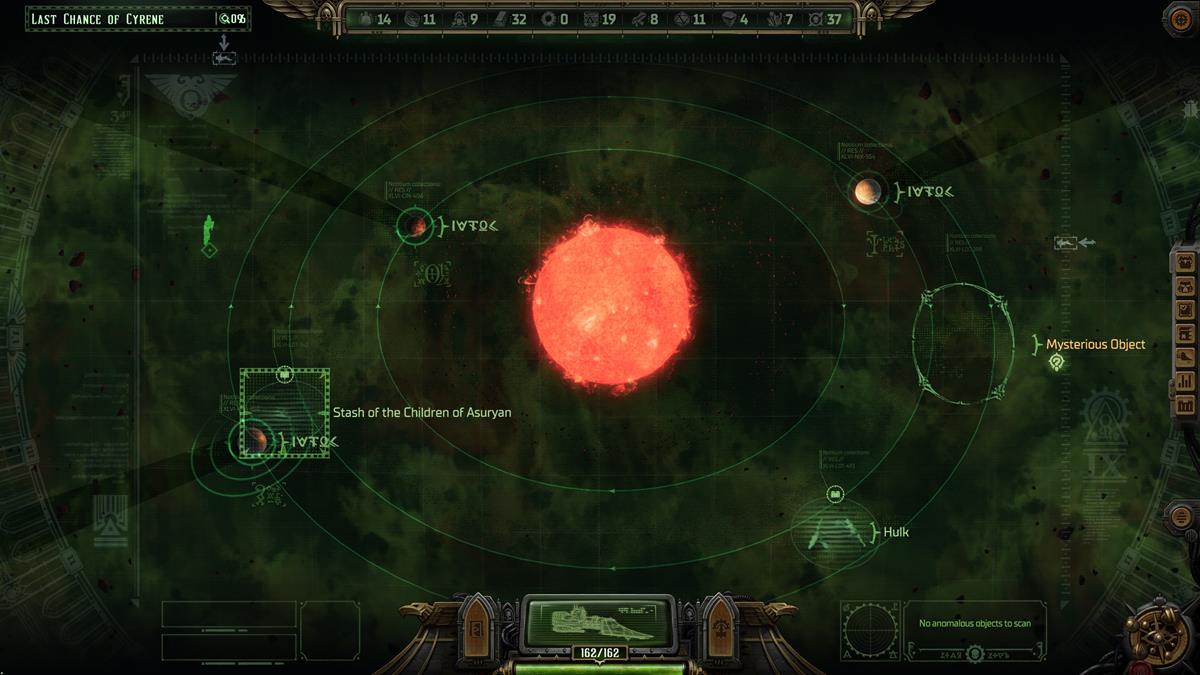
Upon reaching the Last Chance of Cyrene, you’ll see a dust cloud with loot. For your efforts, you’ll receive the following items:
- Cloak of Shadows: Dealing damage with an attack-of-opportunity shrouds your character, causing them to automatically dodge when attacked. If triggered, the shrouded effect is removed until the next time you damage someone with an attack-of-opportunity.
- Hallucinogen Blade: +15-22 damage and 15% armor penetration; +10% parry and -10 to enemy Weapon Skill when hit.
That’s how to complete Yrliet’s Aeldari in Distress quest in Warhammer 40K: Rogue Trader. While you’re helping people in need, you might want to learn about other companion quests, such as Jae’s Mercatum Tabula Officiale and Heinrix’s Secrets of the Cult. For other tips and tactics, you can check out our WH40K: RT guides hub.


Published: Dec 7, 2023 10:18 pm