You’ll have to use a little math to get through the Main Computing Cathedral. It’s not calculus, but it can be a headscratcher that stops your progress. Here’s our guide on how to solve the Drifting Voidship puzzle in Warhammer 40K: Rogue Trader.
How to Solve the Main Computing Cathedral Drifting Voidship Puzzle in Warhammer 40,000: Rogue Trader
You can solve the Warhammer 40K: Rogue Trader Drifting Voidship puzzle, also known as the Main Computing Cathedral puzzle, by selecting the correct terminals to get a total of 10.
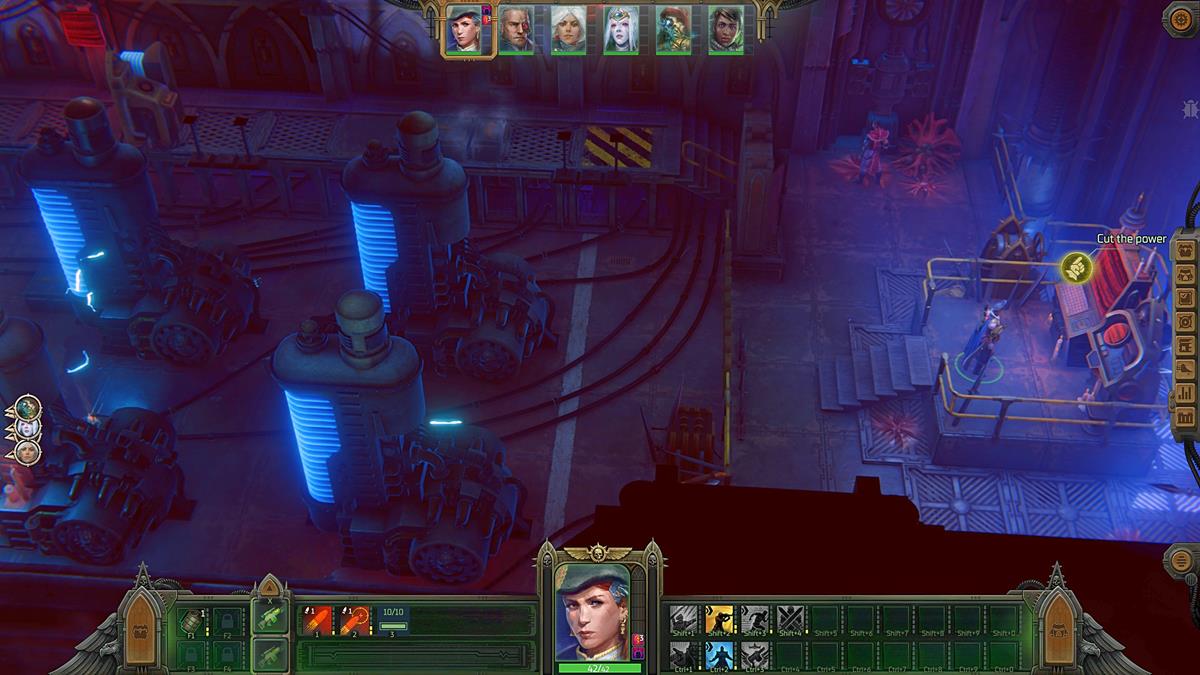
The Drifting Voidship is a point-of-interest located in the Aviorus star system. Upon entering, you’ll see several members of the Machine Cult. The main doorway to the next area is locked since you still need to delve deeper into the facility. You can get past the electric turret traps by sending one companion and interacting with the lever at the end. This prevents multiple party members from taking damage.
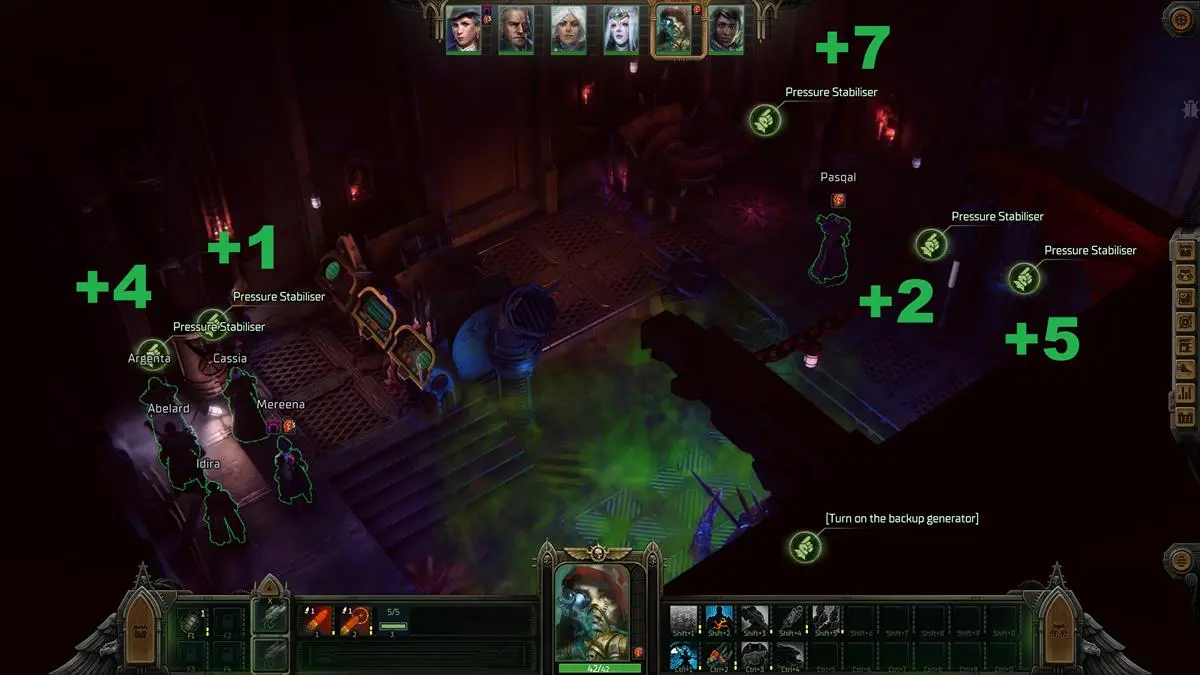
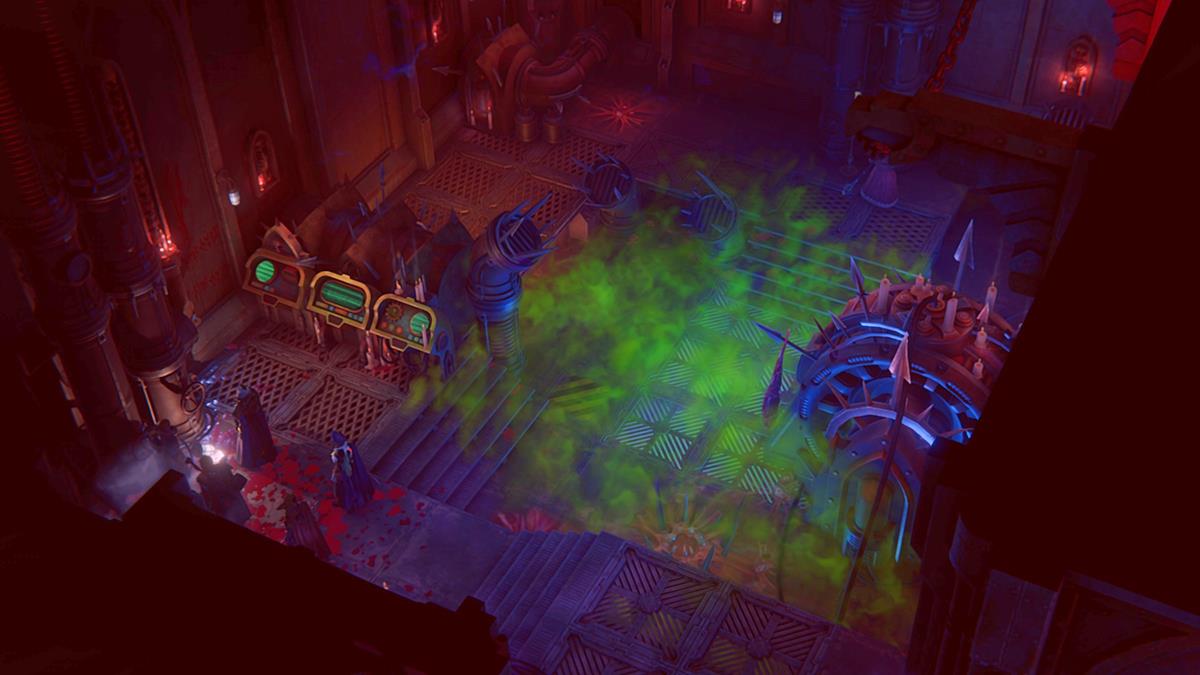
You’ll find the Augmented Gloves nearby – +10 Weapon Skill and +5 Strength, and at the opposite end of the hallway, you’ll see the backup generator. There are also five pressure stabilizers that you can interact with. The ground near the generator has poison gas, too. There’s a lot going on here besides the puzzle, so tread carefully.

Drifting Voidship Puzzle Solution
Like me, you’re here because you’re a bit confused about how to solve the Drifting Voidship puzzle. You’ve interacted with the switches, but nothing happened. Learn from me: I realized that it was because I had the text log minimized. Click the icon with three lines in the bottom-right corner of your screen to show the text log so you can see what each terminal does.
once you’ve done that, the goal here is to interact with only the correct pressure stabilizers so that you can reach the total value of 10. Here’s what you need to do:
- Have one companion stand next to the first two valves near the entrance. You can interact with both of those (one after the other). These valves add +4 and +1 to the value, respectively.
- Have another companion go to the opposite side. They should then interact with the pressure stabilizer that’s the furthest to the right. This valve adds +5 to the value.
- You should then have a total of +10. Interact with the backup generator to power up the facility. Just make sure you heal your companion if they suffered injuries due to poison damage.

What Happens After Solving the Drifting Voidship Puzzle?
Once you’ve solved the Drifting Voidship puzzle, backtrack to the main area with the door that was shut earlier. You’ll need to battle the crazed Machine Cultists from earlier. The nearby loudspeakers will buff your enemies, making them harder to kill. It’s important to destroy the loudspeakers using ranged attacks or a Psyker‘s Chain Lightning spell.
Then, in the final area, there’s a Mechanicus Tech-Priest that’s been left behind. Before you continue, I suggest saving your game. Then, have most of your party members hang back near the opening to the chamber. Send only one character — preferably your tank — to talk to the NPC.

How to Beat the Forgefiend
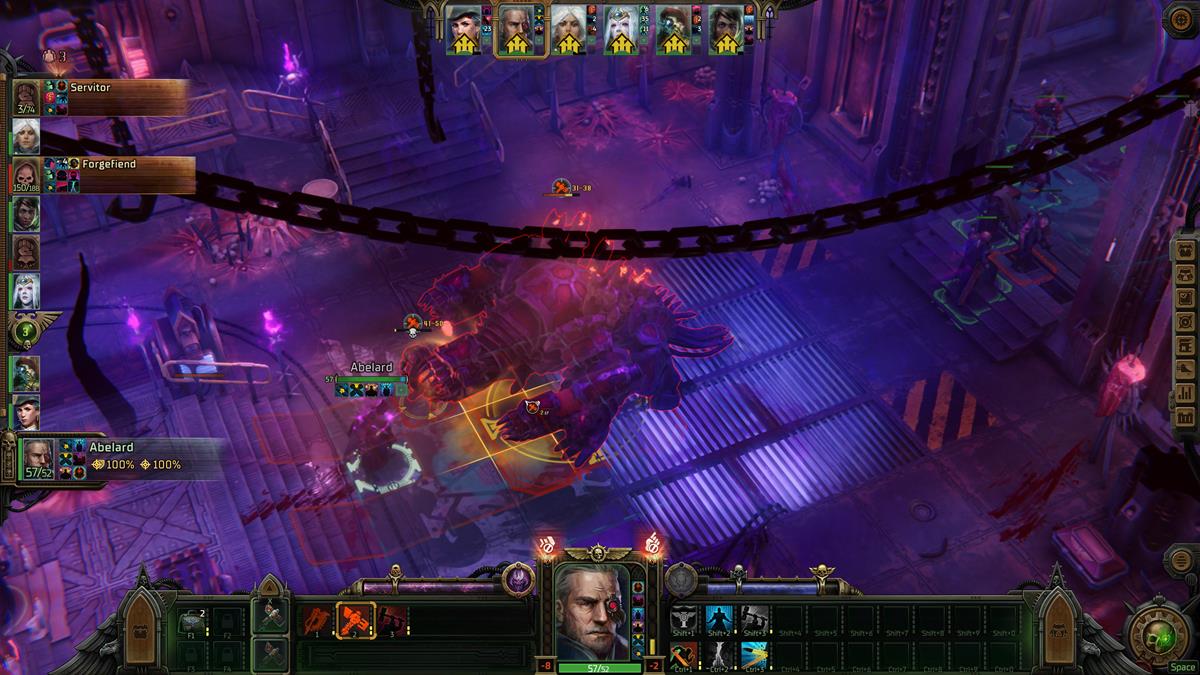
Talking to the NPC causes a Forgefiend boss to spawn. This corrupted machine’s passive perk causes it to attack random targets whenever it takes damage. The reason why you’ll want your party members further back is so that they can eliminate the other enemy mobs first. Your tank, meanwhile, should stay close to the boss to force it to become its priority target.
While you whittle down the other enemy mobs, bolster your tank with defensive buffs so that the character can survive in melee combat. Then, when your ready, unleash everything you got to solely target the Forgefiend. Beware since the mech could still strike your other teammates even if your tank is its priority target.
Defeating the Forgefiend allows you to loot various goodies in the area. These include:
- Diagnosticor: +15 Medicae.
- Headhunter Light Carapace (light armor): +30% armor; extra armor based on Awareness divided by dodge stat.
That’s how to solve the Main Computing Cathedral and Drifting Voidship in Warhammer 40K: Rogue Trader. While you’re exploring the Koronus expanse, you might want to know about other points of interest, such as the Ancient Bunker and the Distress Signal. For other tips and tactics, you can check out our WH40K: RT guides hub.


Published: Dec 7, 2023 10:36 pm