So you’ve reached level 30 in The Division, you’ve killed all the bad guys, and you’ve uncovered the origins of the plague that has effectively destroyed Manhattan. Congratulations, now you get to participate in the endgame that The Division has to offer.
In lieu of a traditional raid, The Division features Challenge mode as part of its daily activities that reward Phoenix Credits. Challenge mode lets you replay a main mission at a significantly higher difficulty, to the point that it is mandatory to have a full fireteam before you attempt it.
What makes Challenge mode challenging
The easiest way to make any game challenging is to give your enemies significantly more health and damage. To that end, the enemies that you face in Challenge mode will all be level 32 yellow barred enemies, which means that they will be able to withstand hundreds of thousands of points of damage. On top of that, there will be more enemies, and more enemies of different types that wouldn’t appear in lower difficulties.
For example, if the Russian Embassy is the Challenge mode mission of the day, then you will encounter Last Man Battalion medics in the first room, even though they usually appear much later in the mission on any other difficulty.
How to beat Challenge mode, even with matchmade randoms!
The gear
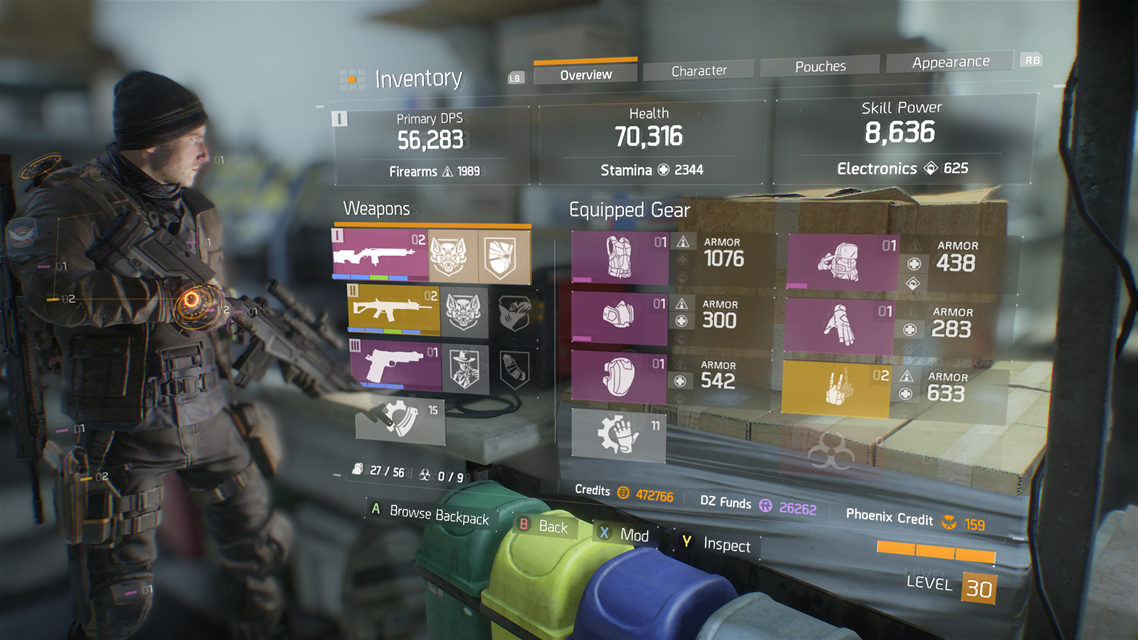
Naturally, with such odds stacked against you, you have to exploit the weakness of the AI to have any chance at getting that sweet, sweet High End gear. This means that you and your fireteam must have complementary abilities and weaponry.
Ideally, every member of your team should have at least a basic healing ability and some kind of assault rifle or submachine gun. This ensures that each of you will be able to fight at every range, and it puts less pressure on the dedicated healer of the group.
The aforementioned dedicated healer should have a long range weapon and abilities that can revive people. This would let them stay back in relative safety, plus it lets them have some flexibility with their stat breakdowns.
At least two other members of your team should have either a flashbang sticky grenade or the flamethrower turret, along with weapons of their choice. This would let them exploit the most valuable status effects in the game against the AI: burning and disorientation. The importance of this cannot be understated because of how the effects stop the AI from moving, and more importantly, shooting. Unless of course, you want to be rushed by seemingly invincible enemies at close range.
The last member of your team can be slightly more flexible. Additional flashbang bombs or flamethrower turrets would be useful, but keep in mind that being able to make cover out of thin air or reducing the cooldowns of your allies can be the difference between life and death.
Priorities!
Once you worked out who is doing what, keep in mind that The Division is an RPG first. This means that your team must concentrate their fire on high priority targets before all else to avoid being overwhelmed. What constitutes “high priority” is up to your team but generally speaking, any enemy that can flush you out of cover should go down first. This means that any enemy with a melee weapon, shotgun, grenades, and things of that nature must die before everyone else, unless you like dodging an endless volley of grenades.
Map control, at home and abroad!
If nothing else, remember that there is no such thing as retreating. Instead, think of it as advancing towards future victory. If you need to move backwards to force the enemy into a chokepoint, do that. If your group needs to run back hundreds of feet to fight in a better position, do that. If you want to bait the enemy to run forward into a trap, do that too.
In other words, controlling the map is one of the most important lessons that you should learn, regardless of what game you’re playing. A team that can control where their enemies come from, where they are fighting at, and where they can go to harass the enemy will be able to beat a larger force simply because they are choosing the battlefield.
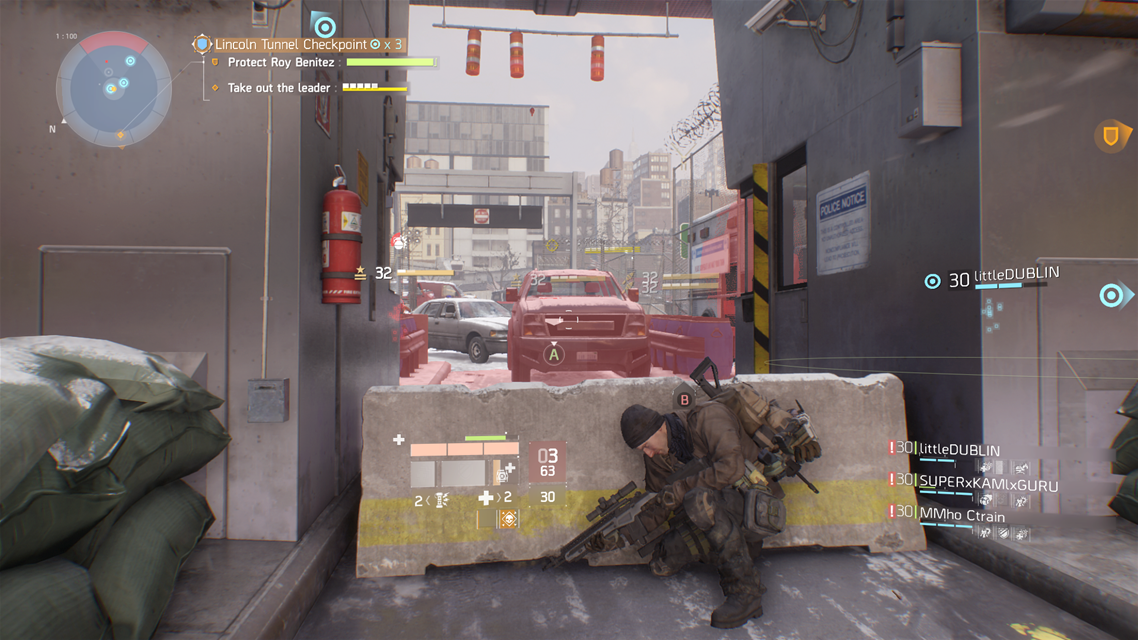
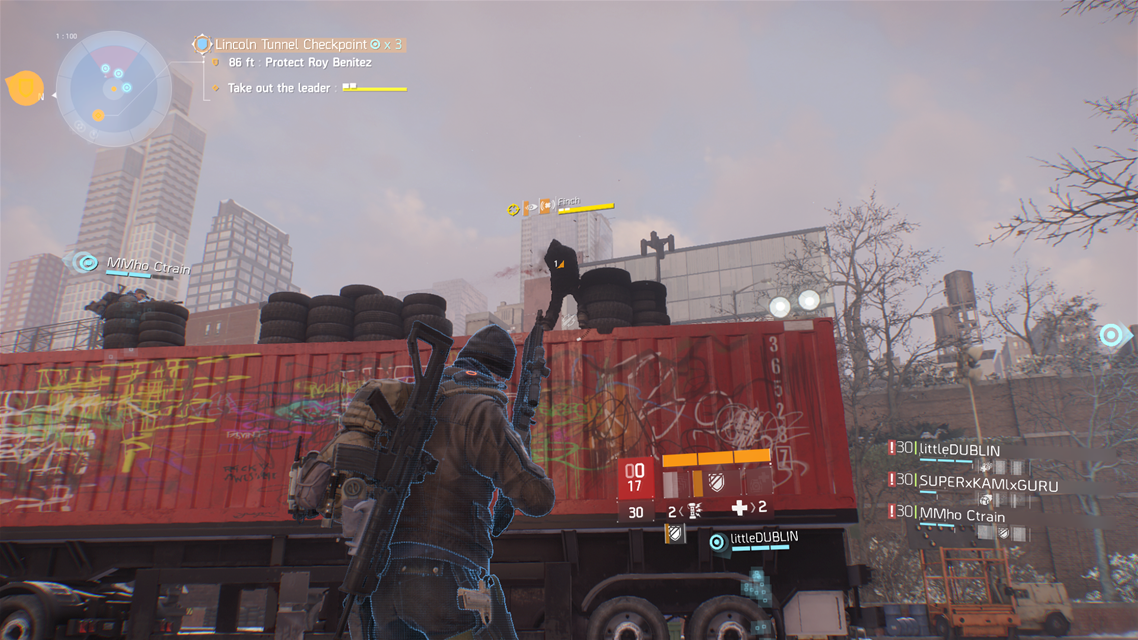
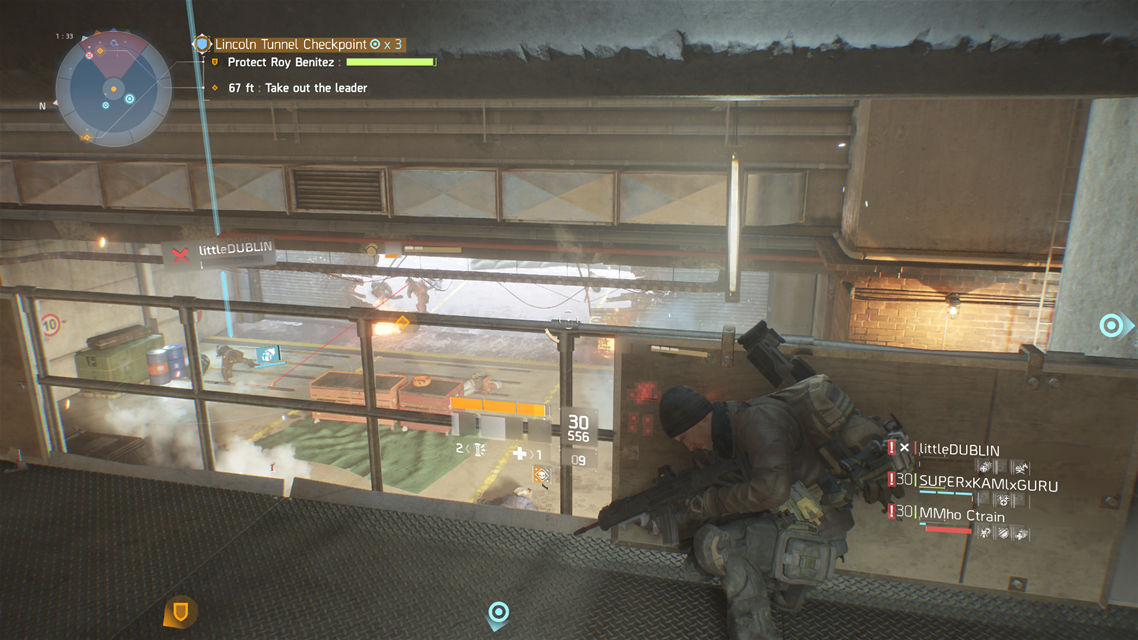
Take the Lincoln Tunnel mission for example. While the enemies are numerous, they can be bottlenecked in almost every firefight they are in due to the nature of the map. This makes grenades much more effective, letting you disorient multiple enemies at once. Furthermore, it makes it that much harder for enemies to use their numbers to their advantage.
Case by case
Ultimately, some missions will be more difficult than others, but remember this: it is not a race. Your team doesn’t have to beat every mission on Challenge mode every single day if one of the missions proves to be too difficult.



Published: Mar 16, 2016 01:15 pm