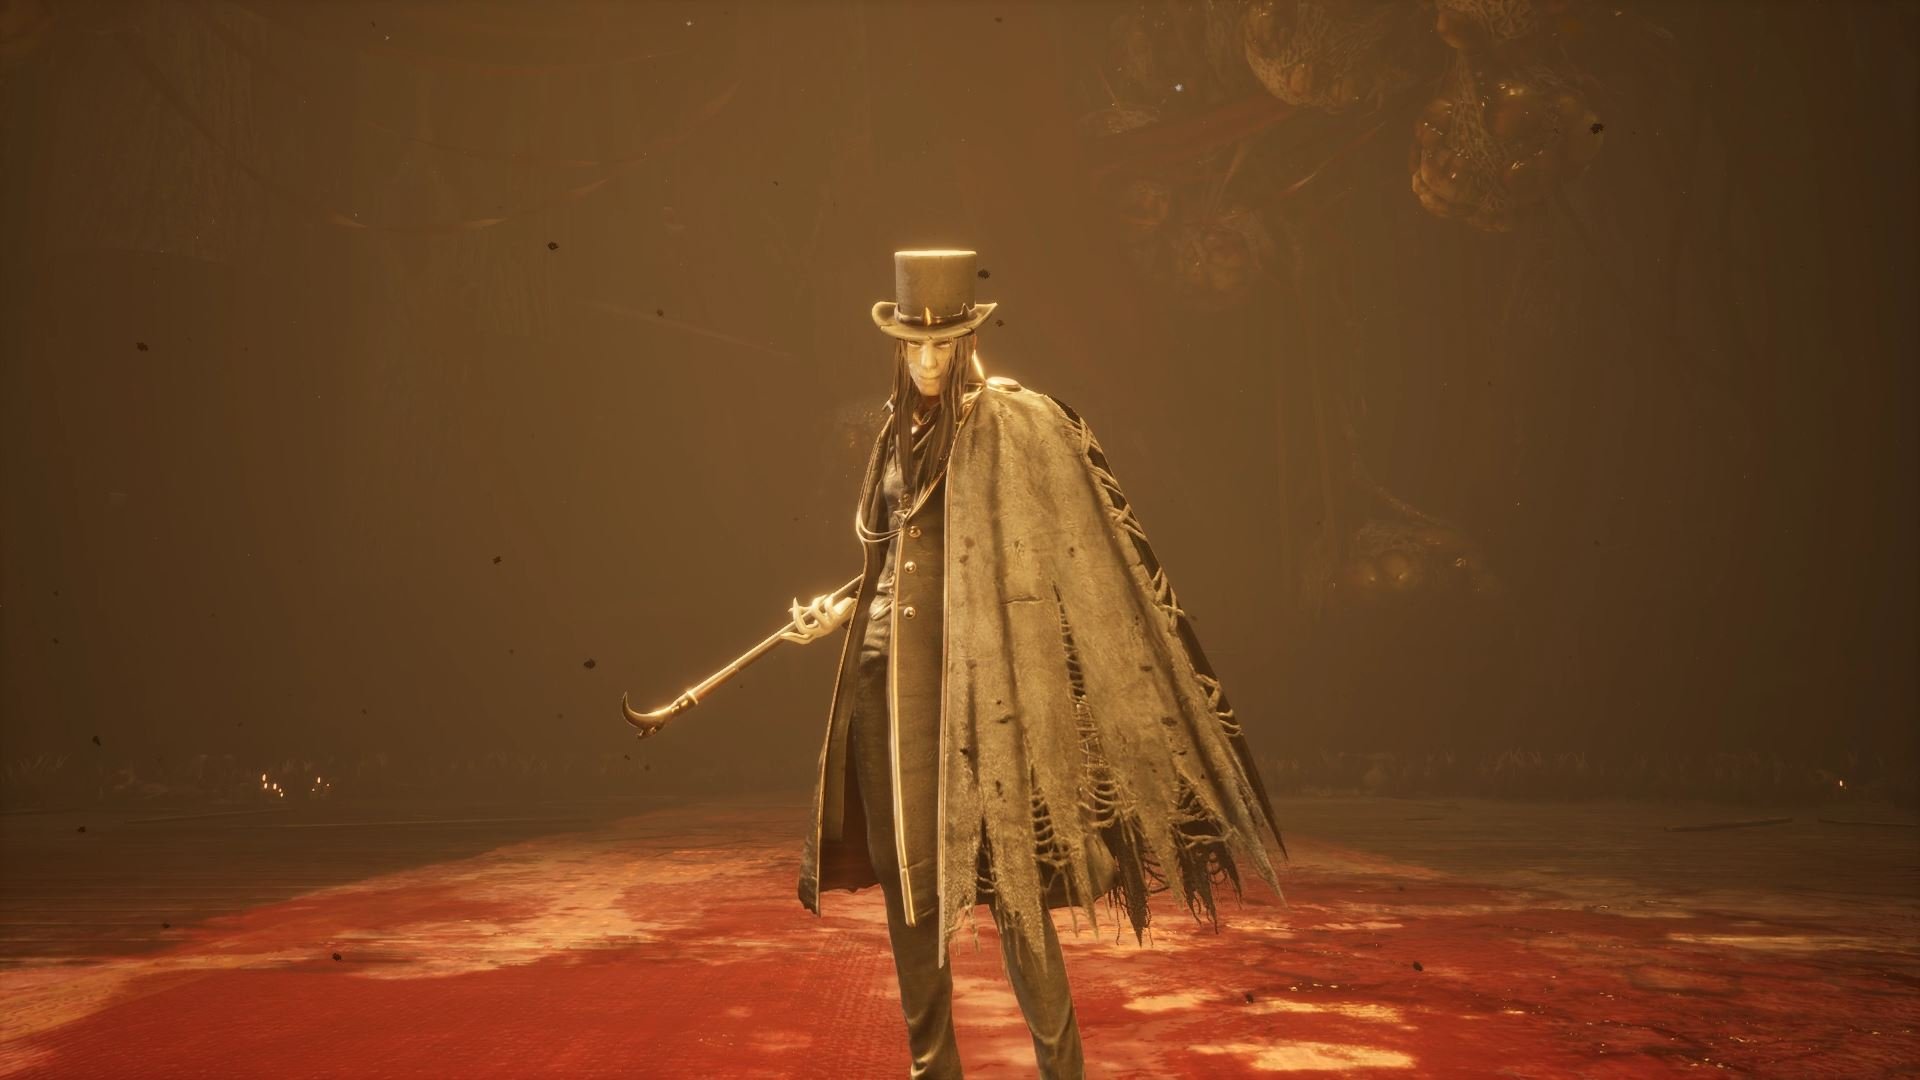
Thymesia‘s bosses are some of the best to come from outside of FromSoftware’s mainline Soulsborne franchises, with plenty of variety and interesting mechanics. Like Sekiro: Shadow’s Die Twice, Thymesia has no RPG character customization, so the developers always know how the player will fight a boss and can fine-tune encounters based on that knowledge. From that attention to detail come some excellent fights, and Odur, the first boss you’ll encounter after the death-is-certain start, is a great introduction to the game’s ultimate challenges.
This Thymesia guide will cover all his attack patterns, so when you face him, you have all the knowledge necessary to fight him on even grounds and get the Long Lasting Potion. To learn how to beat the Hanged Queen, here’s how to beat Thymesia‘s second boss.
Odur Phase 1 Attacks
Odur, like most of the bosses in Thymesia, is fast, hits hard, and has delayed and immediate attacks designed to catch you off guard. He’s got a lot of mix-up potential, and until you learn to deflect his combos and avoid his ranged attacks, don’t expect to come out on top.
The first phase of the Odur fight builds the core of both phases, as he uses most of the attacks here later.
Double Strike Into Cane Stab
One of Odur’s more common attacks, he’ll reach for his cane sword, then swing twice in front of him. He’ll do a quick twirl, and, with his back turned to you, he’ll stab you with the end of the cane. This attack has no delays, making it easy to learn the deflect timings.
Wind Up Strike Into Kick
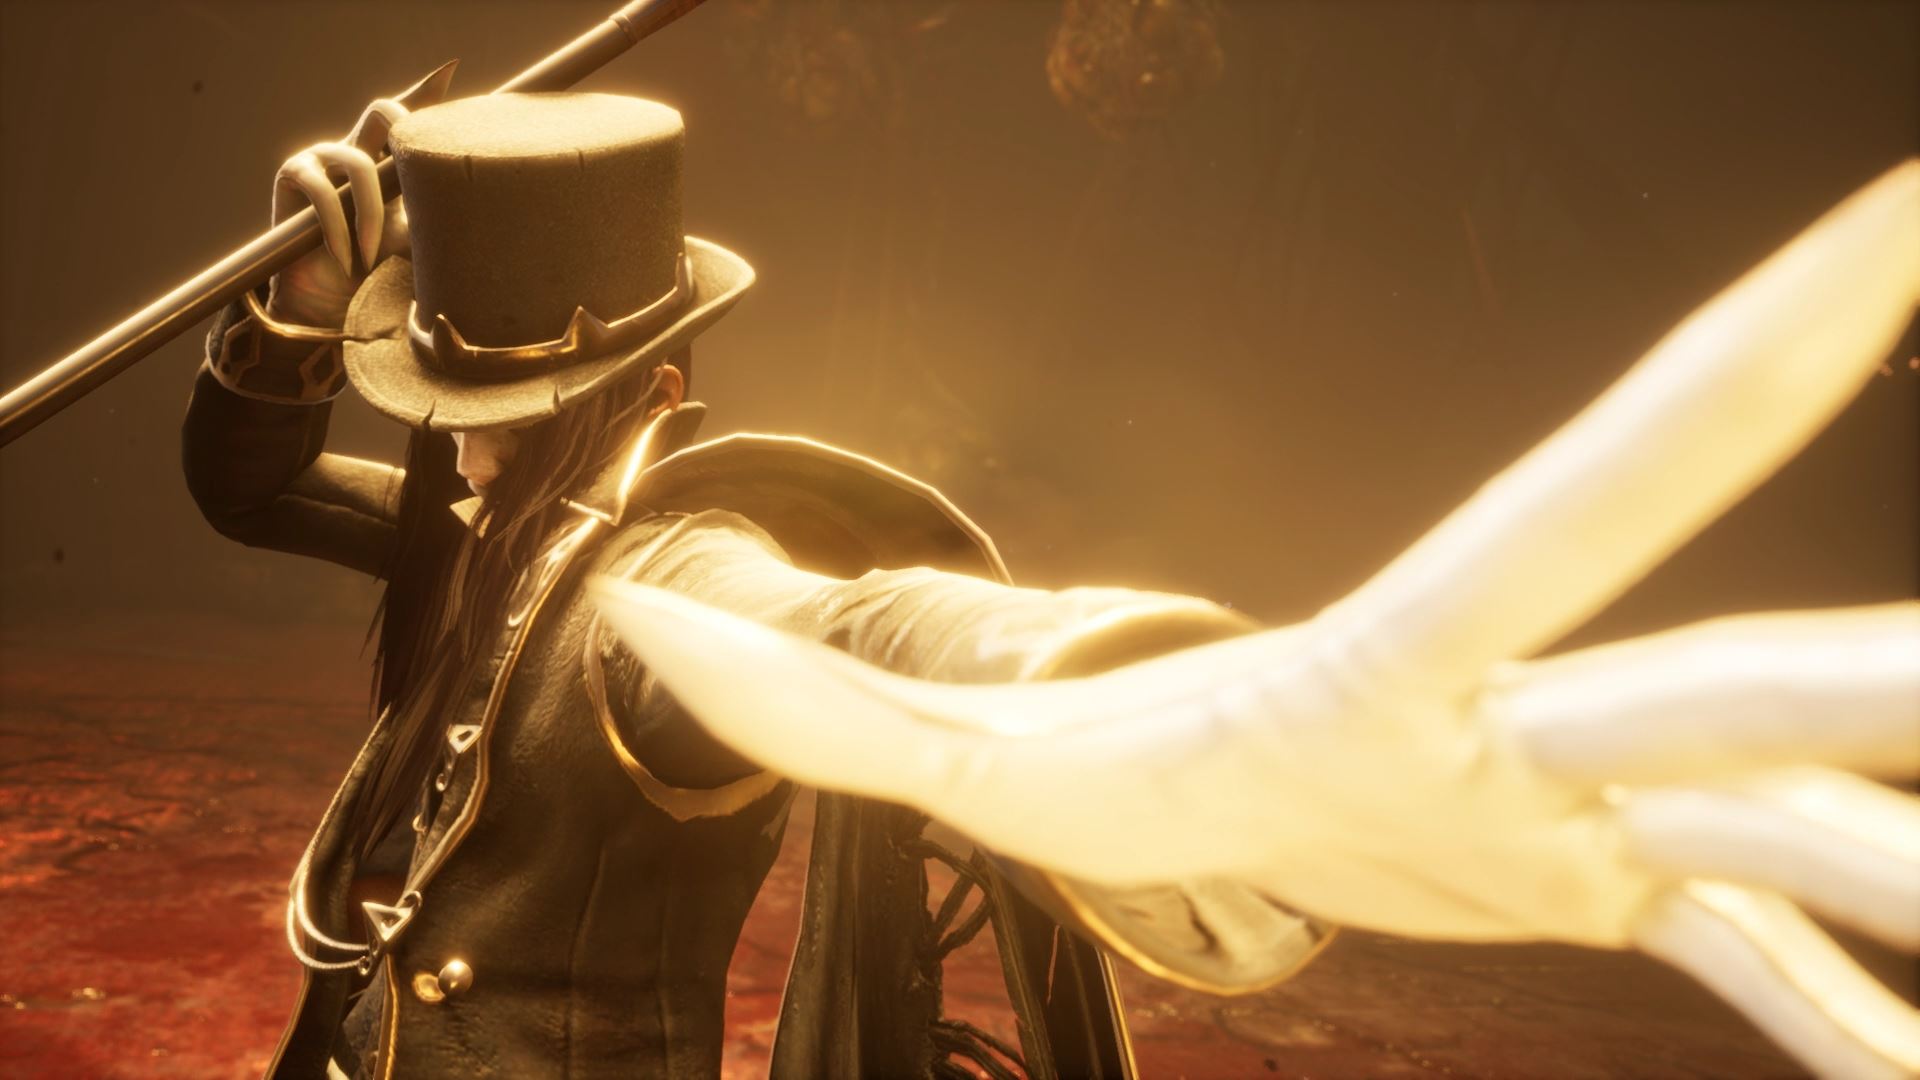
Odur bows, holding his hat to his head with one hand and stretching his cane arm behind him. Then, after about a second, he’ll strike across his front and spin around to kick you. The delay on the kick timing can be deceiving, but manage to deflect both attacks, and Odur will be vulnerable for a short window. You can dodge backward to avoid the attack entirely.
Double Kick Into Cane Strike
This attack starts with the boss standing straight up and cocking his right leg back, then kicking your midsection twice. After about a second, he’ll spin around, attacking with his cane as he does so. The kicks are fast, and there’s very little space between them, but the spin delay is easy to underestimate. Odur also tends to dodge backward after this combo, so it can be difficult to punish it even when deflected.
Counter Back Kick
As you attack enemies in Thymesia, especially with the Saber, they build up the ability to counter. Odur has two counterattacks. The first sees him repel from the sword clash, then lunge at you, spin, and strike you with a single heavy kick. You can choose to deflect or dodge the attack, but if it manages to hit you, you’ll be knocked back and stunned for several seconds.
Counter Double-Strike
Like the counter back kick, Odur is initially repelled after the blade clash, then bends over and reaches across to his cane in a blade draw stance. After about half a second, he lunges forward and strikes twice with his sword in quick succession. As with the kick, you can deflect or dodge these attacks.
Double One-Card Flick
At 50% health or so, Odur will begin backing up, likely reaching one of the walls of the arena. He’ll hold his hat in one hand and, after a few moments, snap his fingers and flick a weaponized playing card at you. You can deflect the card to negate its damage, but your better option is to dodge forward and to its side to close the distance between you and the boss. Odur flicks two cards in this attack and will not cease the animation unless staggered out of it or the second card is out of his hands.
Five-Card Flick
After the double one-card flick, Odur sometimes takes time to charge additional cards, crossing his main hand across his chest and gathering strength. The charge takes almost two seconds, and then he will flick five cards in a shallow arc in front of him. These cards deal additional health and knockback damage, and while they can be deflected, the timing is tighter, making dodging through them or breaking Odur’s stance a better option.
Odur Phase 2 Attacks
Phase 2 of this boss fight is a faster, more chaotic version of the first phase. The boss has a few more attacks now, but generally, he’s much more aggressive and gives you much less time to breathe.
Vanish Into Five-Hit Combo
One of the more common attacks in the second phase, Odur will grasp the handle of his cane in a draw stance, then vanish and begin dodging toward you. He’ll dodge three times before entering a five-hit combo. The first strike is with the cane sword, then the scabbard shortly after. He’ll thrust the cane sword at you to cover any distance you might have dodged away.
His final two strikes come after a brief spin and are of a similar speed to his opening strikes. If you manage to deflect his last pair of attacks, he’ll be locked in a recovery animation.
Critical Attack: Line Energy Flash
Odur will back up and slowly reach his hand over his head, eventually reaching the handle of his sword cane. Shortly after, he’ll flash green and quickly swing his sword vertically from the ground up. A line of invisible energy erupts from the ground in the direction his sword swung. You can deflect the initial swing, but you can also avoid the attack entirely with a well-timed dodge just before the eruption occurs.
Ultimate: Charge Into Four-Hit Cinematic Combo
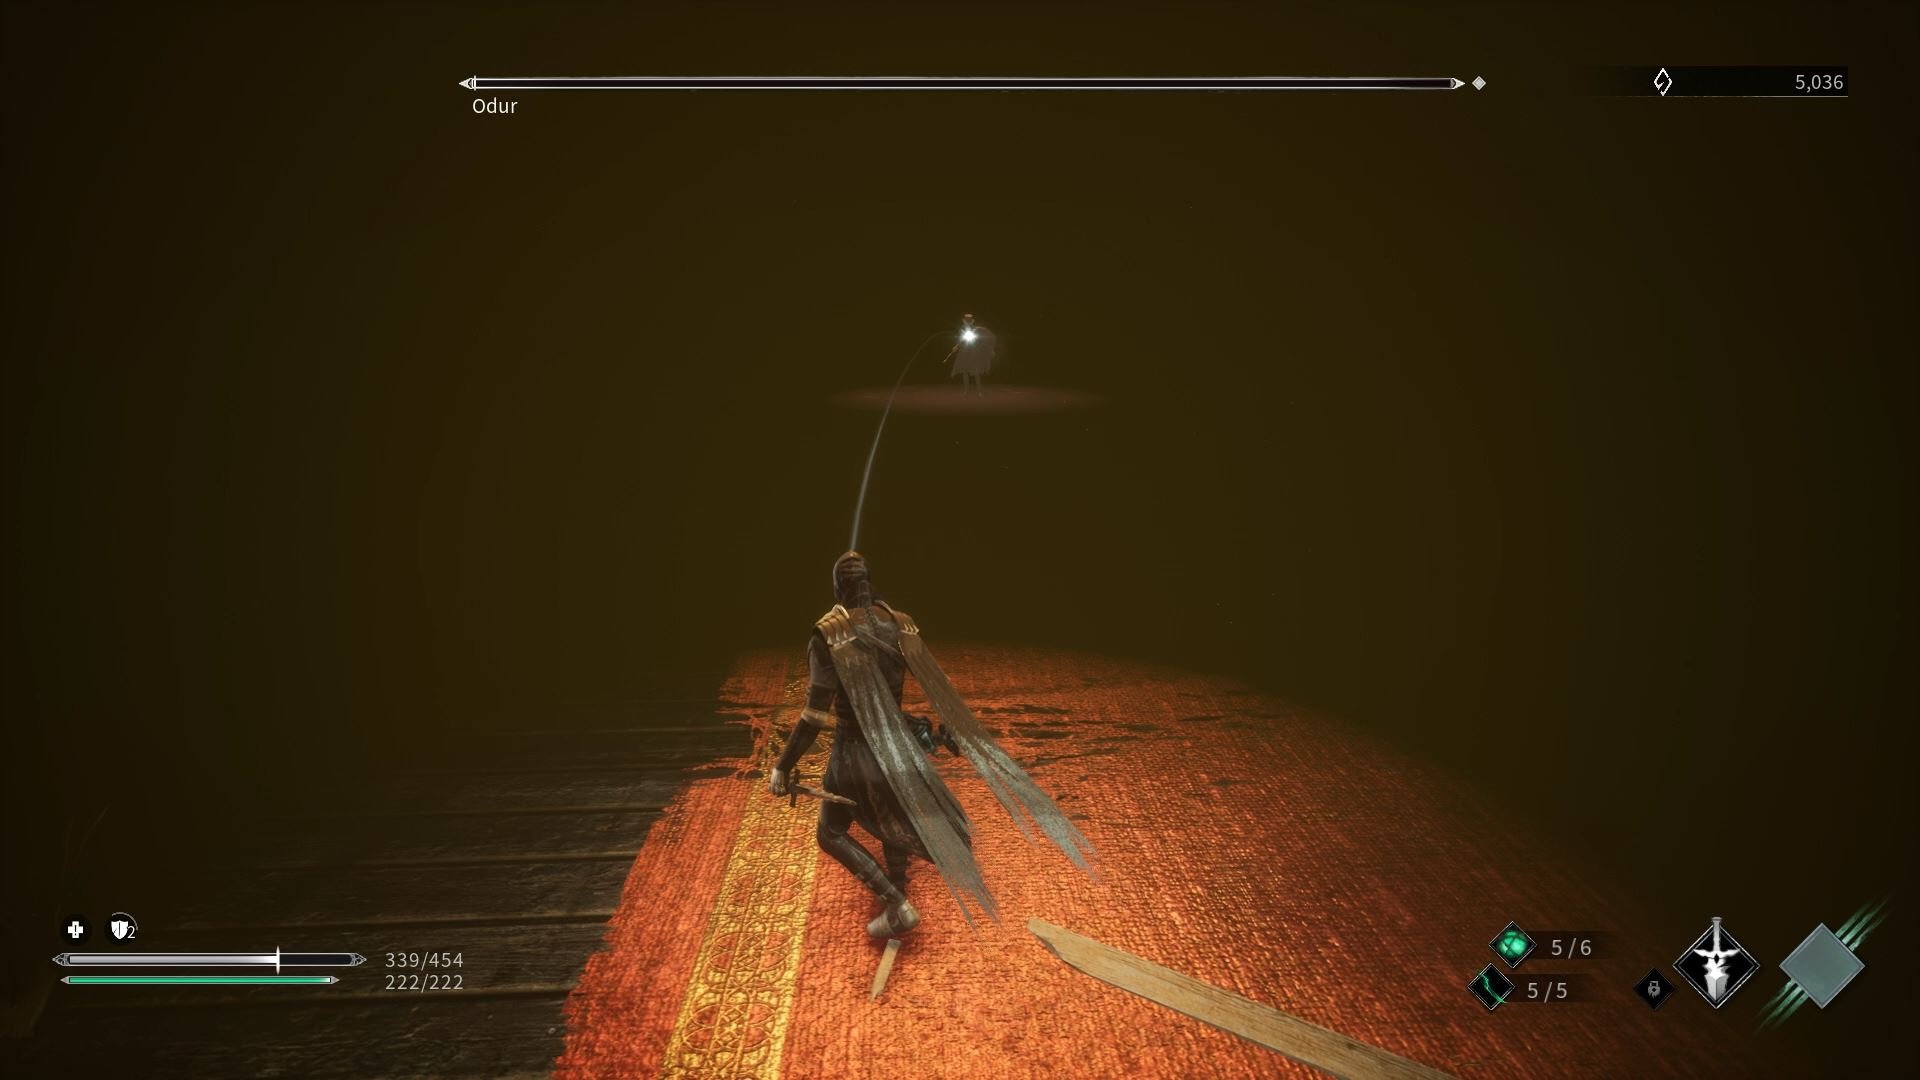
Every boss has an unblockable, undodgeable Ultimate attack, and the only answer is to run away. Odur’s is no different, and he’ll begin by taking a much more dramatic draw stance as he takes in red energy. The instant you see this animation, get as far away as possible. The draw attack covers a frightening distance, and once you’re caught, you’ll take 175 damage no matter what. The fight resumes as normal once the Ultimate animation is over.
With that, you now know how every attack in Odur’s arsenal works. There’s no way we can teach precise dodge and deflect timings, but you know what to look for with each attack, and knowledge is king in Souls-like fights. Once you defeat Odur and teleport back to Philospher’s Hill, you’ll receive the Long Lasting Potion, which provides 150% healing over the standard Potion but heals you over time rather than all at once. For more tips, head over to our Thymesia guides hub.


Published: Aug 8, 2022 06:55 pm