While fighting off hordes of shambling skeletons, zombie pirates, and wizard mummies, your group of pulp explorers will need to tackle a variety of puzzles in the Strange Brigade campaign mode.
Not sure how to get beyond a barricade and complete a level? We’ve got you covered with a rundown of each puzzle type and the easiest ways to find the solutions!
Strange Brigade Puzzles Guide
If you find yourself stuck in an area with no clear way to progress, keep in mind that anything that turns red when you zoom in can be destroyed.
This is usually the key to opening up a barrier or gaining access to a new area. You may need to shoot objects out of your immediate range in areas you can’t reach yet to remove barricades, whether by dropping rocks onto pressure plates or burning up flaming pots next to thick vines.
Besides blowing up red objects, there are seven main types of puzzles found throughout the campaign.
Note that there aren’t any specific puzzle answers listed below, as the symbols and combinations for puzzle solutions change during each playthrough of a level.
They also change based on whether you are playing solo or co-op. Once you know the secret to uncovering a puzzle’s solution, they aren’t difficult to complete, however.
Symbol Order Door Puzzle
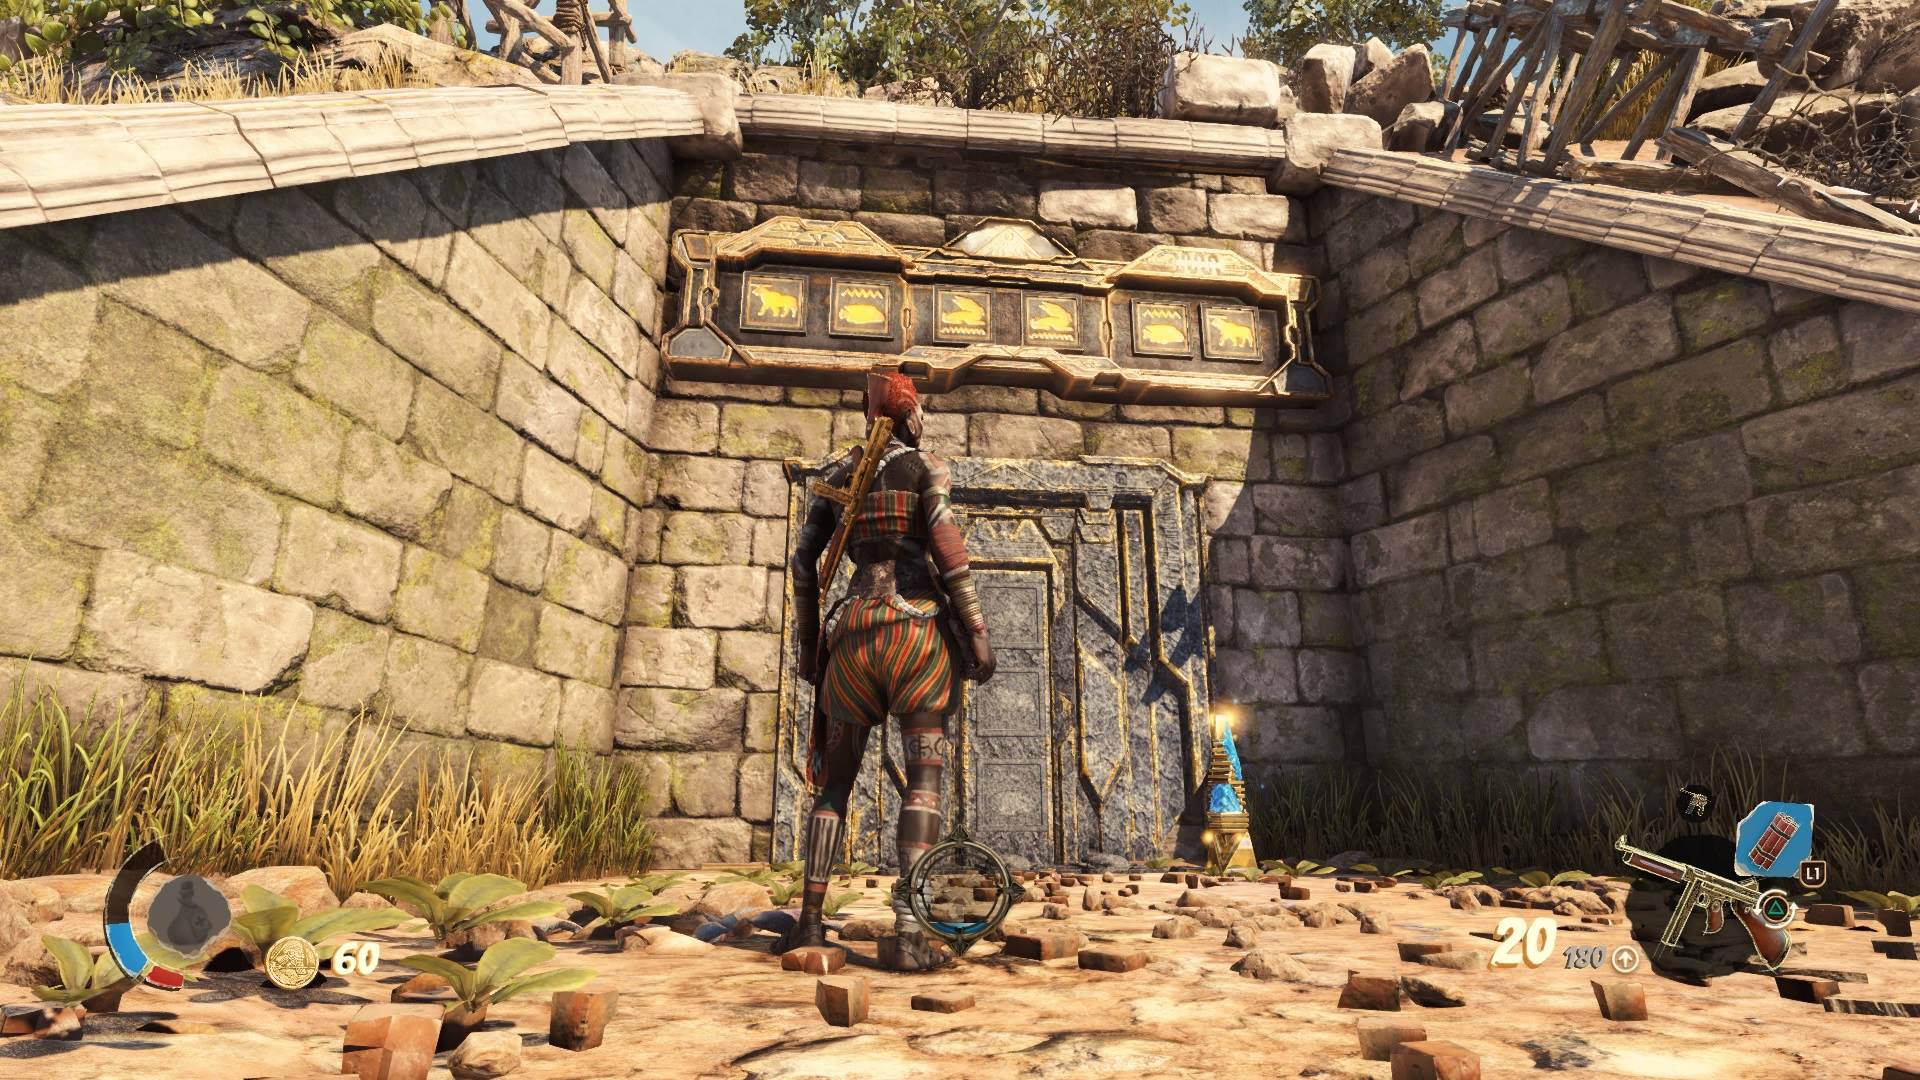
These locked door puzzles feature a series of symbols you need to shoot in the correct order. The first puzzle in Harbin’s Dig Site is nearly impossible to mess up since the correct symbol order is literally placed directly above the door.
Later puzzles of this type are harder, as the symbol order will be found elsewhere, and they aren’t always super close to the door in question. To complete these puzzles, always look near the tops of walls in the general area of the door.
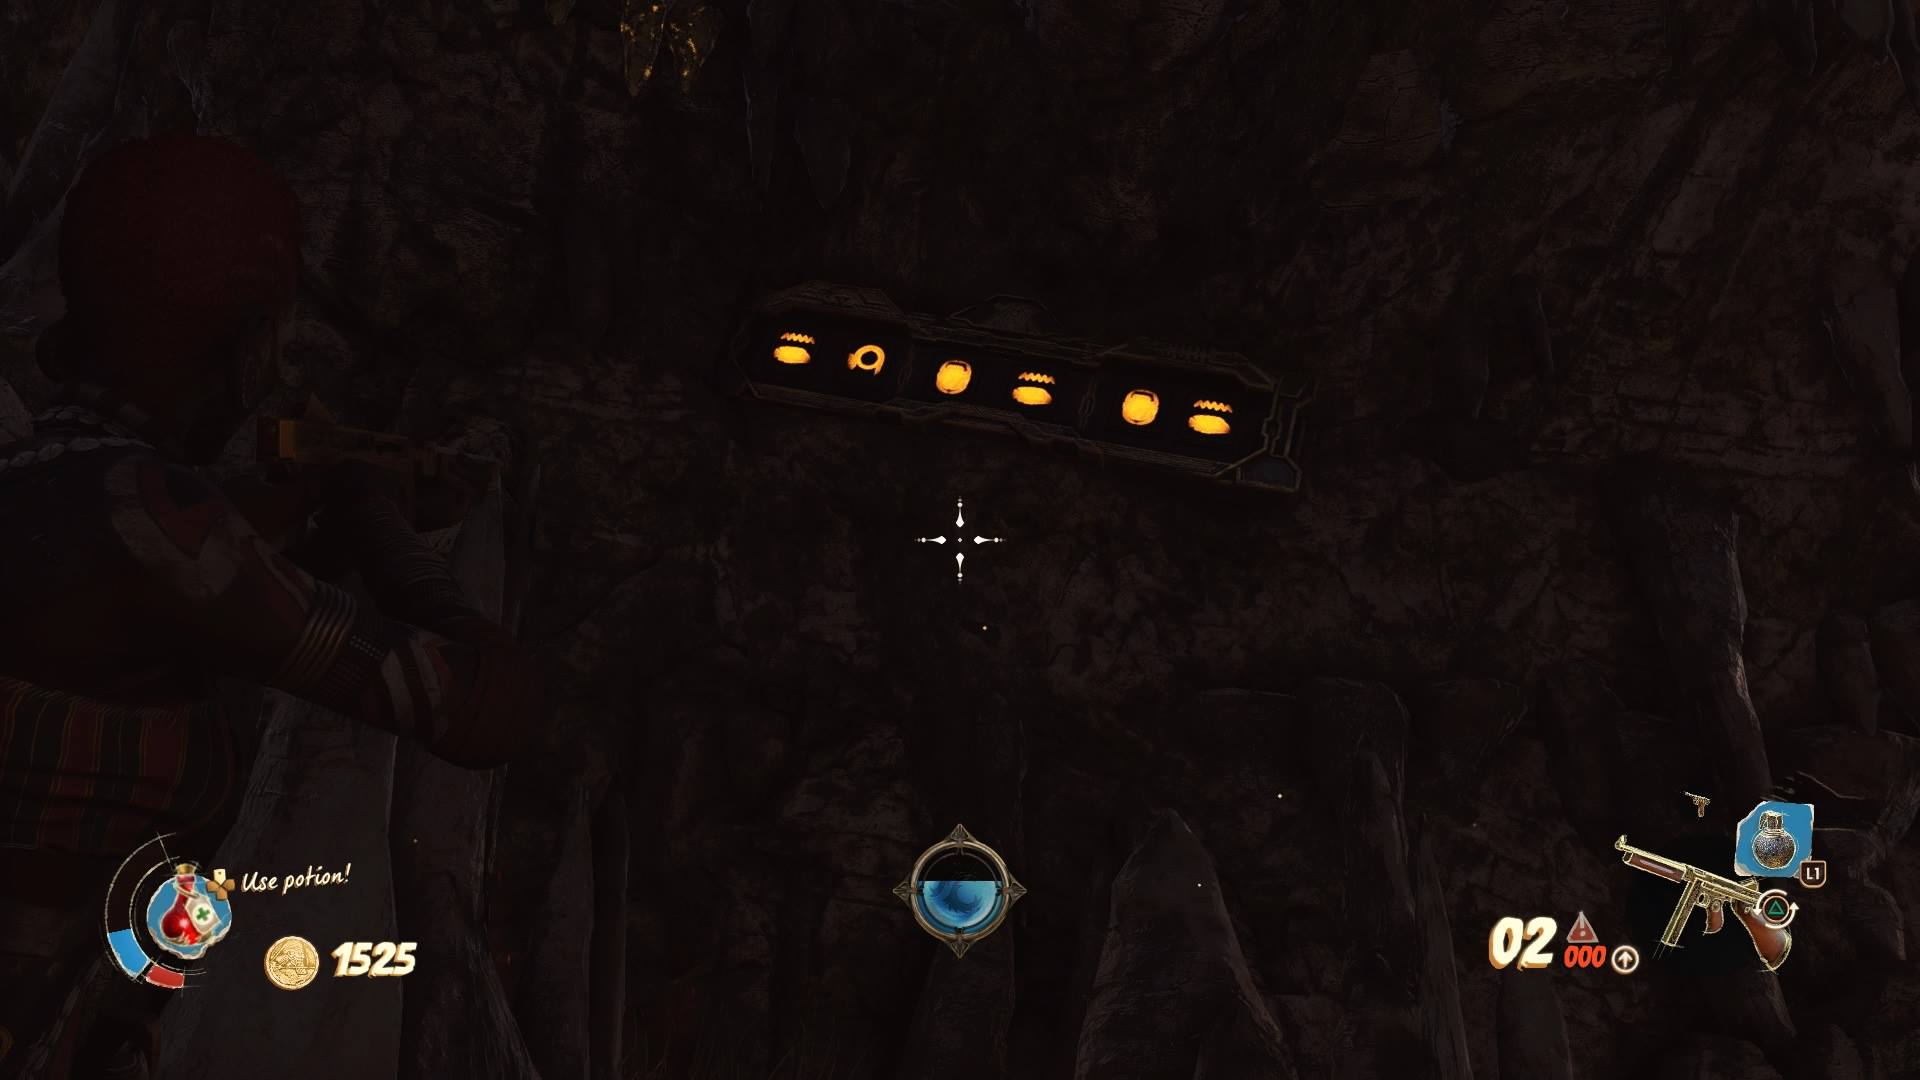
Sometimes they appear a long distance before a door, so to make this easy, anytime you see a series of symbols up on the wall, take a screenshot so you don’t have to memorize the pattern.
You can take a screenshot by hitting F12 on Steam, the Share button on PS4, and the Xbox Guide button followed by the Y button on Xbox One.
You get three attempts to shoot the correct symbol order with this puzzle. If you are still using the starter Marley .45 pistol as your side weapon, switch over to that gun to shoot each symbol.
It has infinite ammo and a slow rate of fire, so you won’t accidentally hit the same symbol twice in a row (which can happen all too often with SMGs). If you upgraded to a faster firing sidearm, the Westminster 1845 is another slow firing choice that works well here.
Floor Symbols Puzzle
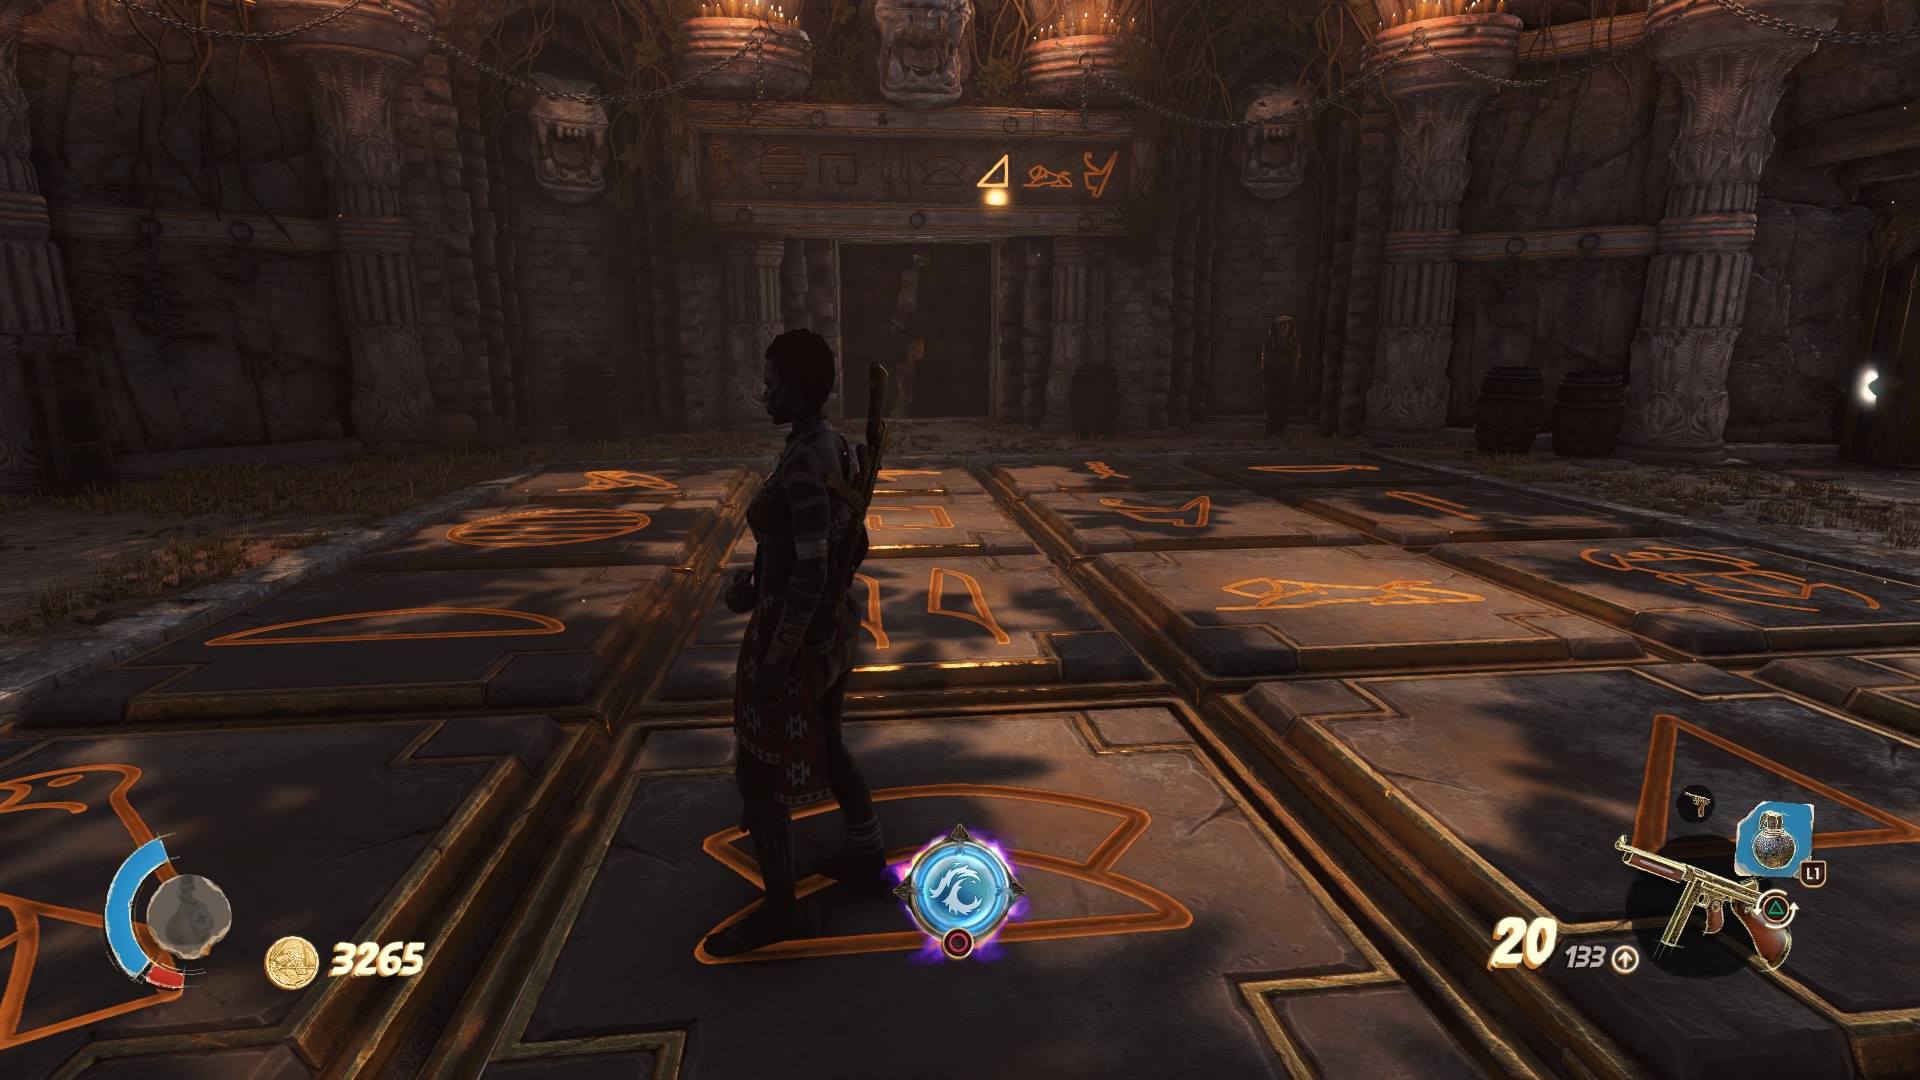
This one is the same basic idea as the door symbols puzzle, but it works by walking over pressure plates in the correct order instead of shooting them.
Like with the door puzzles, the answers aren’t always directly next to the pressure plates, so take a screenshot whenever you come across symbols on the wall.
There’s a big catch here — anyone walking on a plate will affect the puzzle, whether its a co-op team member or a shuffling zombie.
To make this much less frustrating, completely clear out the area first and only use a second member if absolutely necessary to complete the puzzle. Otherwise, people will just get in the way and reset the puzzle by accident.
Shooting Orbs Puzzle
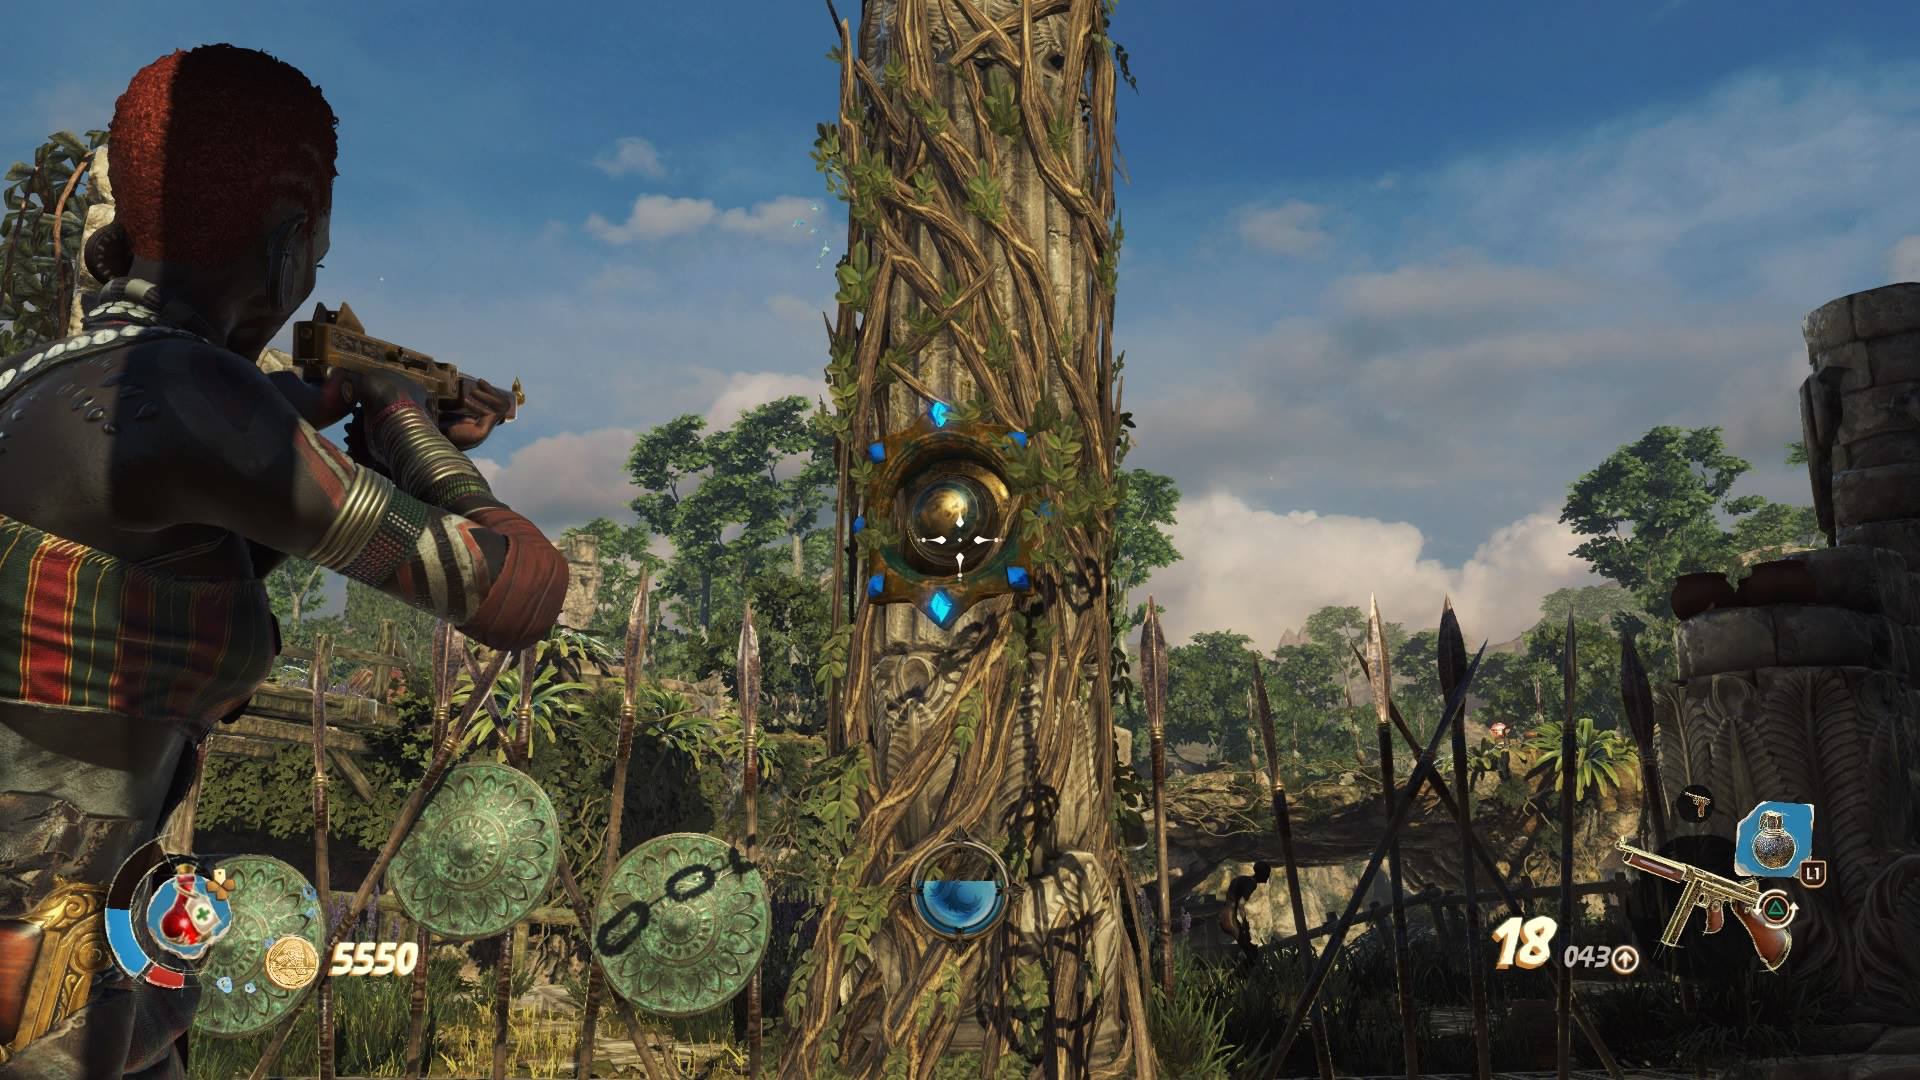
These puzzles are activated by using your amulet to pull up a stone altar, and are completed by shooting glowing orbs around the area. They don’t need to be hit in any order, so the puzzle is in finding them.
The locations get more devious the further you go into the game. Always turn around and look behind you, above you, or off to the sides of alcoves and hanging rocks to find hidden nooks and crannies.
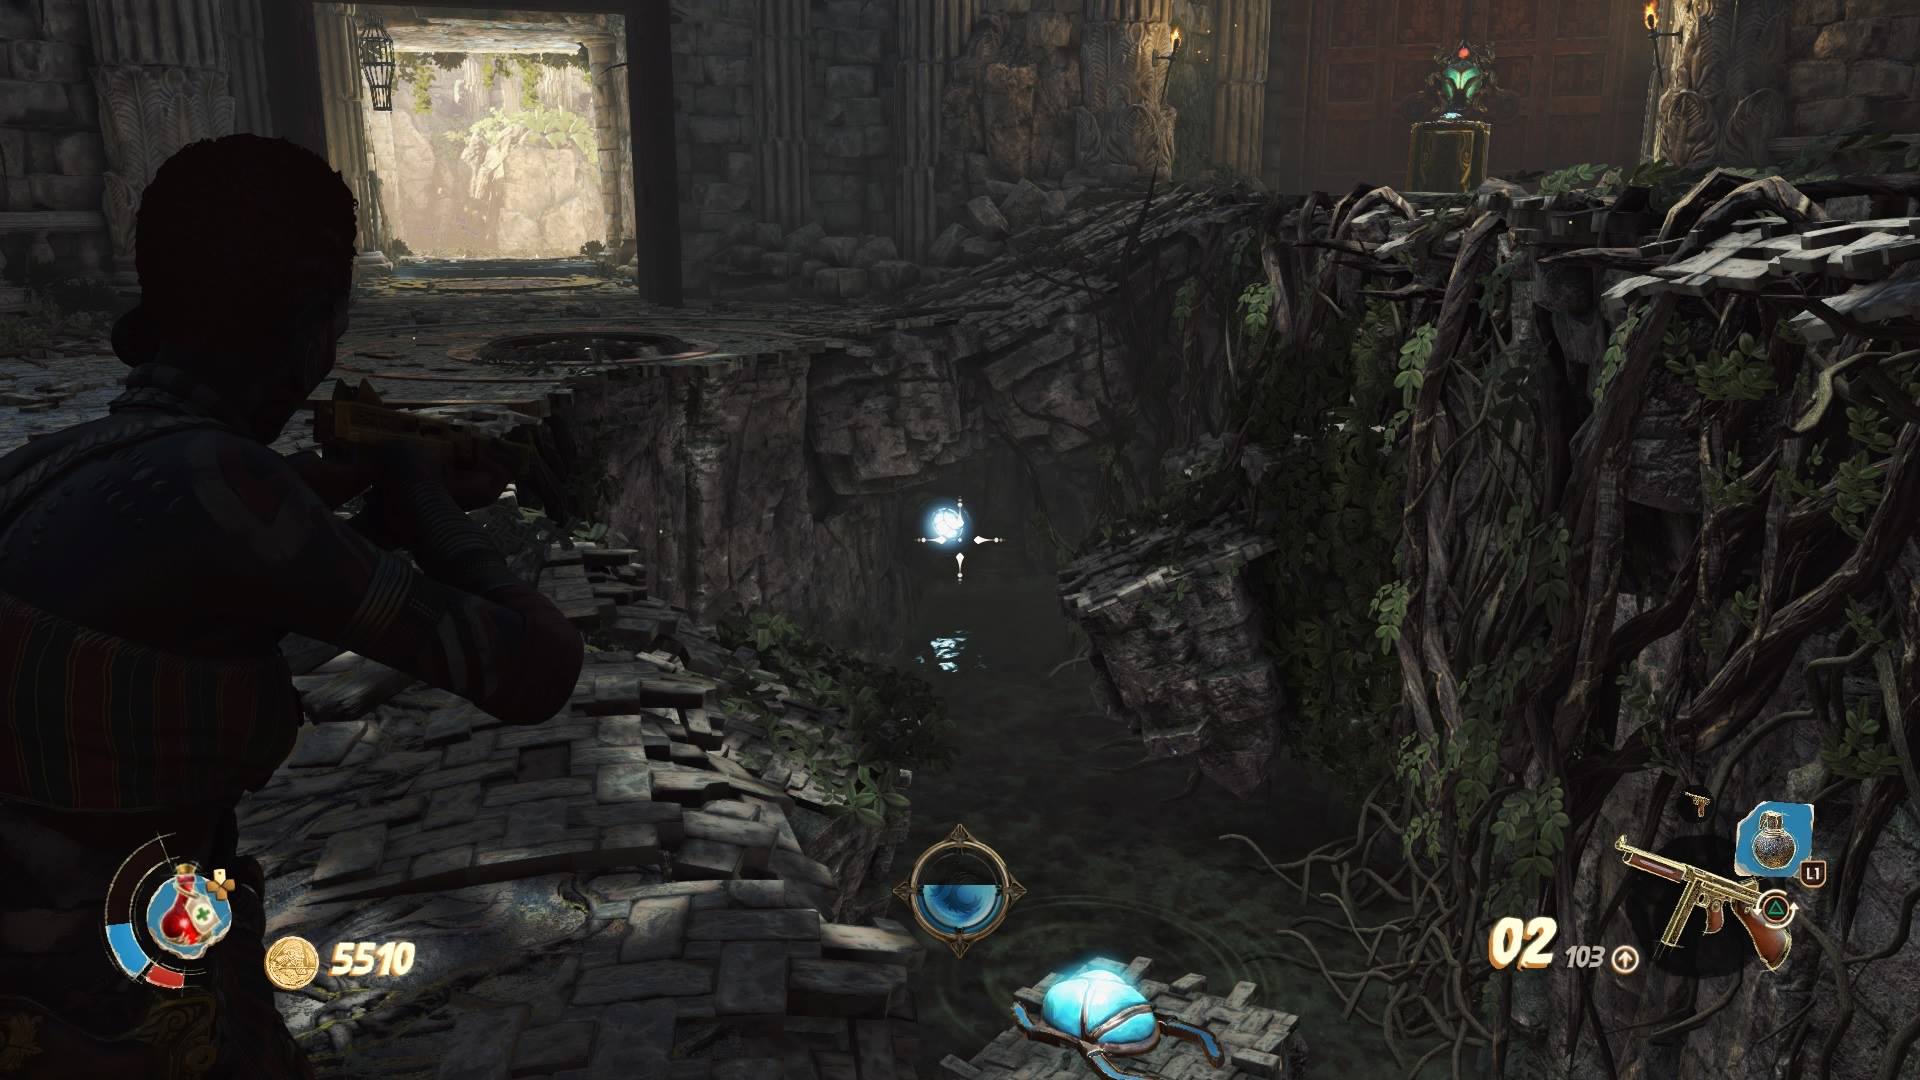
The orb in the picture below, for instance, can’t be seen when you first enter the chamber. Instead, you have to run around to the opposite side and specifically look behind you while aiming down to see it under the stone outcropping.
Pipes Puzzle
This is basically the hacking mini-games from Bioshock, but you have to shoot a panel to rotate the pieces of pipe. These are randomized, so there’s no specific answer to each pipe puzzle.
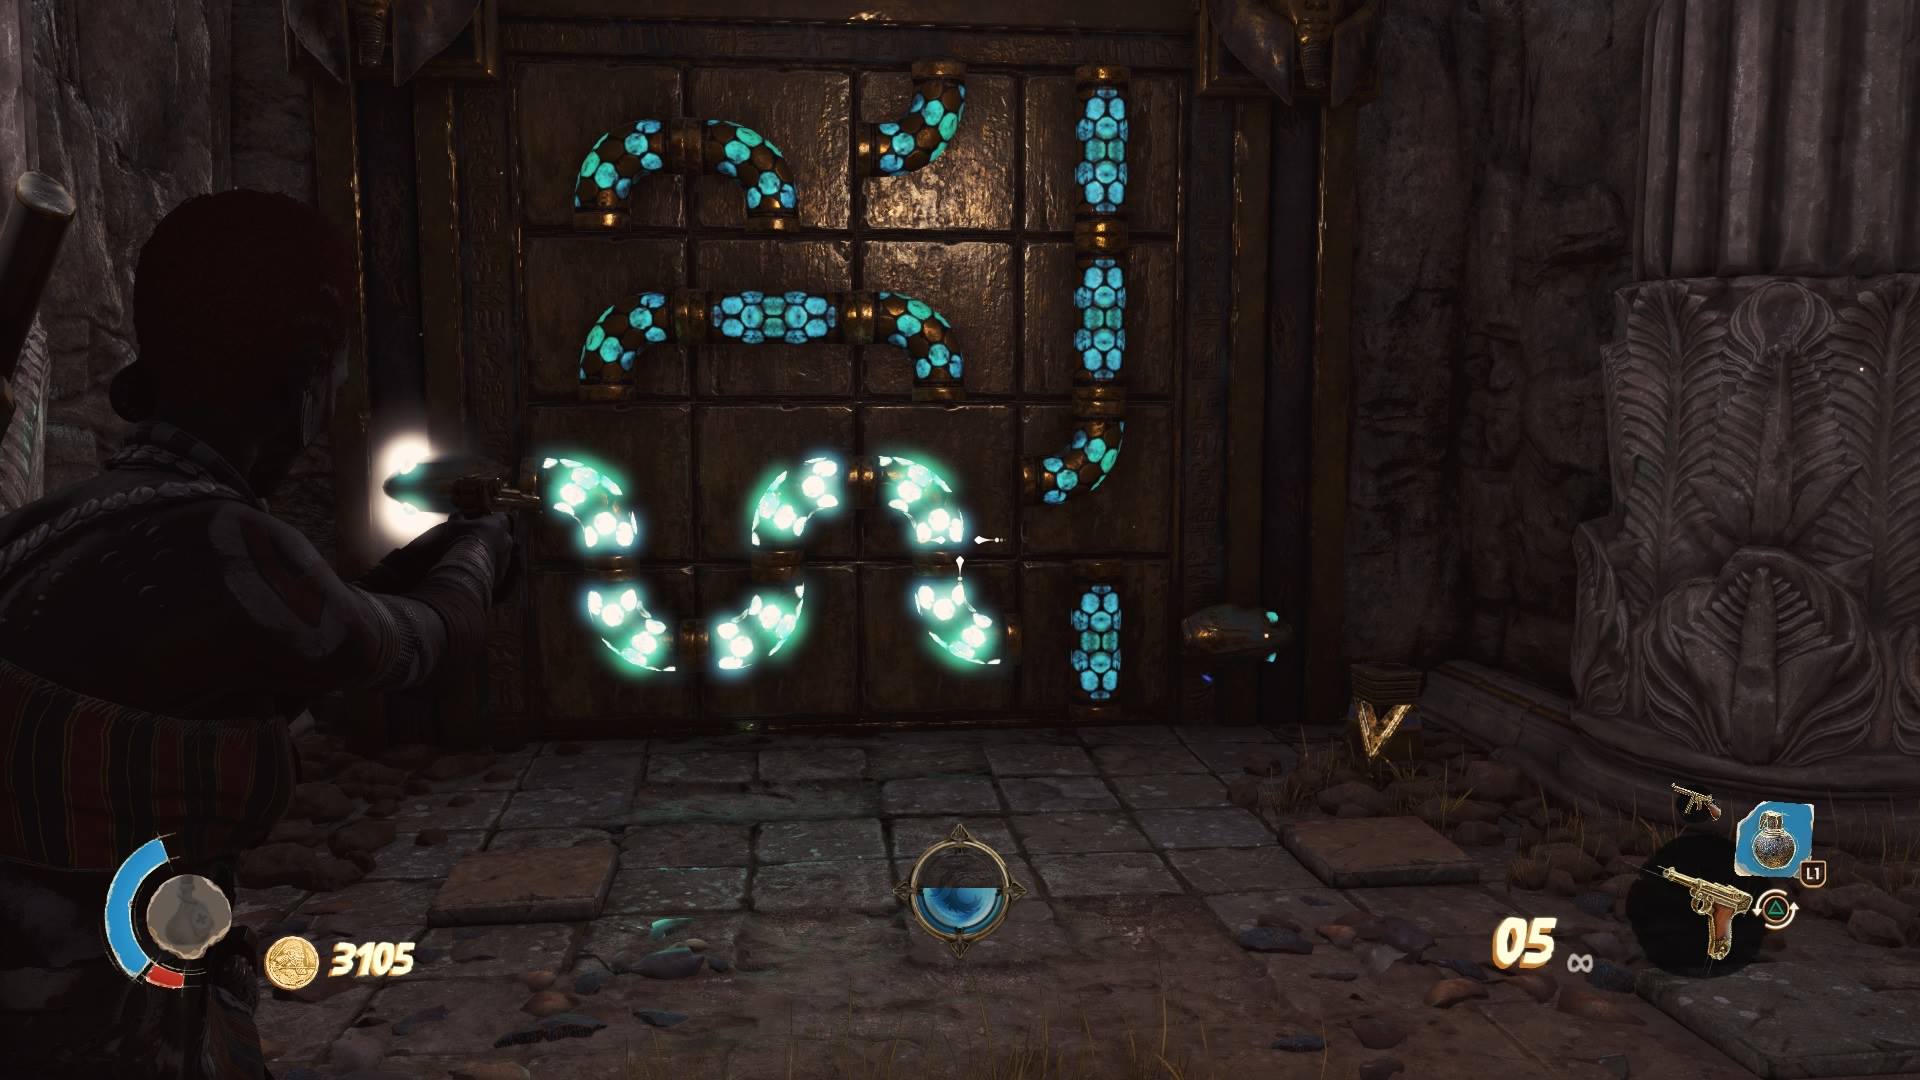
Your goal here is to create a continuous tunnel from the glowing start location to the end piece on the opposite side. In the image below, shooting the lower-right panel once will turn the vertical pipe piece into a horizontal segment, thus completing the pipe tunnel.
As with the door symbols puzzle, use your single shot, infinite ammo pistol to make this easier.
Time Trial Puzzle
This is one of the few puzzles that require agility instead of finding a pattern. Like the regular orb puzzle, this one is started by shooting an orb. This time, however, it will start to rotate and tick down like a clock.
To complete the puzzle, run around the area and find the second and third glowing circles on the floor. Stand on each circle and shoot the orb again from that angle to increase the timer.
For the final shot from the last glowing circle, you have to hit a secondary orb that will be located higher or lower than the first orb.
To make these easier, always clear out the area fully first, so you aren’t battling enemies while running around. Scope out the area to find each glowing circle before starting the time trial.
In co-op mode, it’s best to have everyone stand next to the glowing circles ahead of time if you want to beat the clock.
Numerical Puzzle
This one is really obnoxious at first with no clear answer, but it becomes astoundingly easy once you figure out the trick.
When there are multiple orbs and hitting one causes them all to stop glowing (and a wave of enemies to appear), you are in a numerical puzzle.
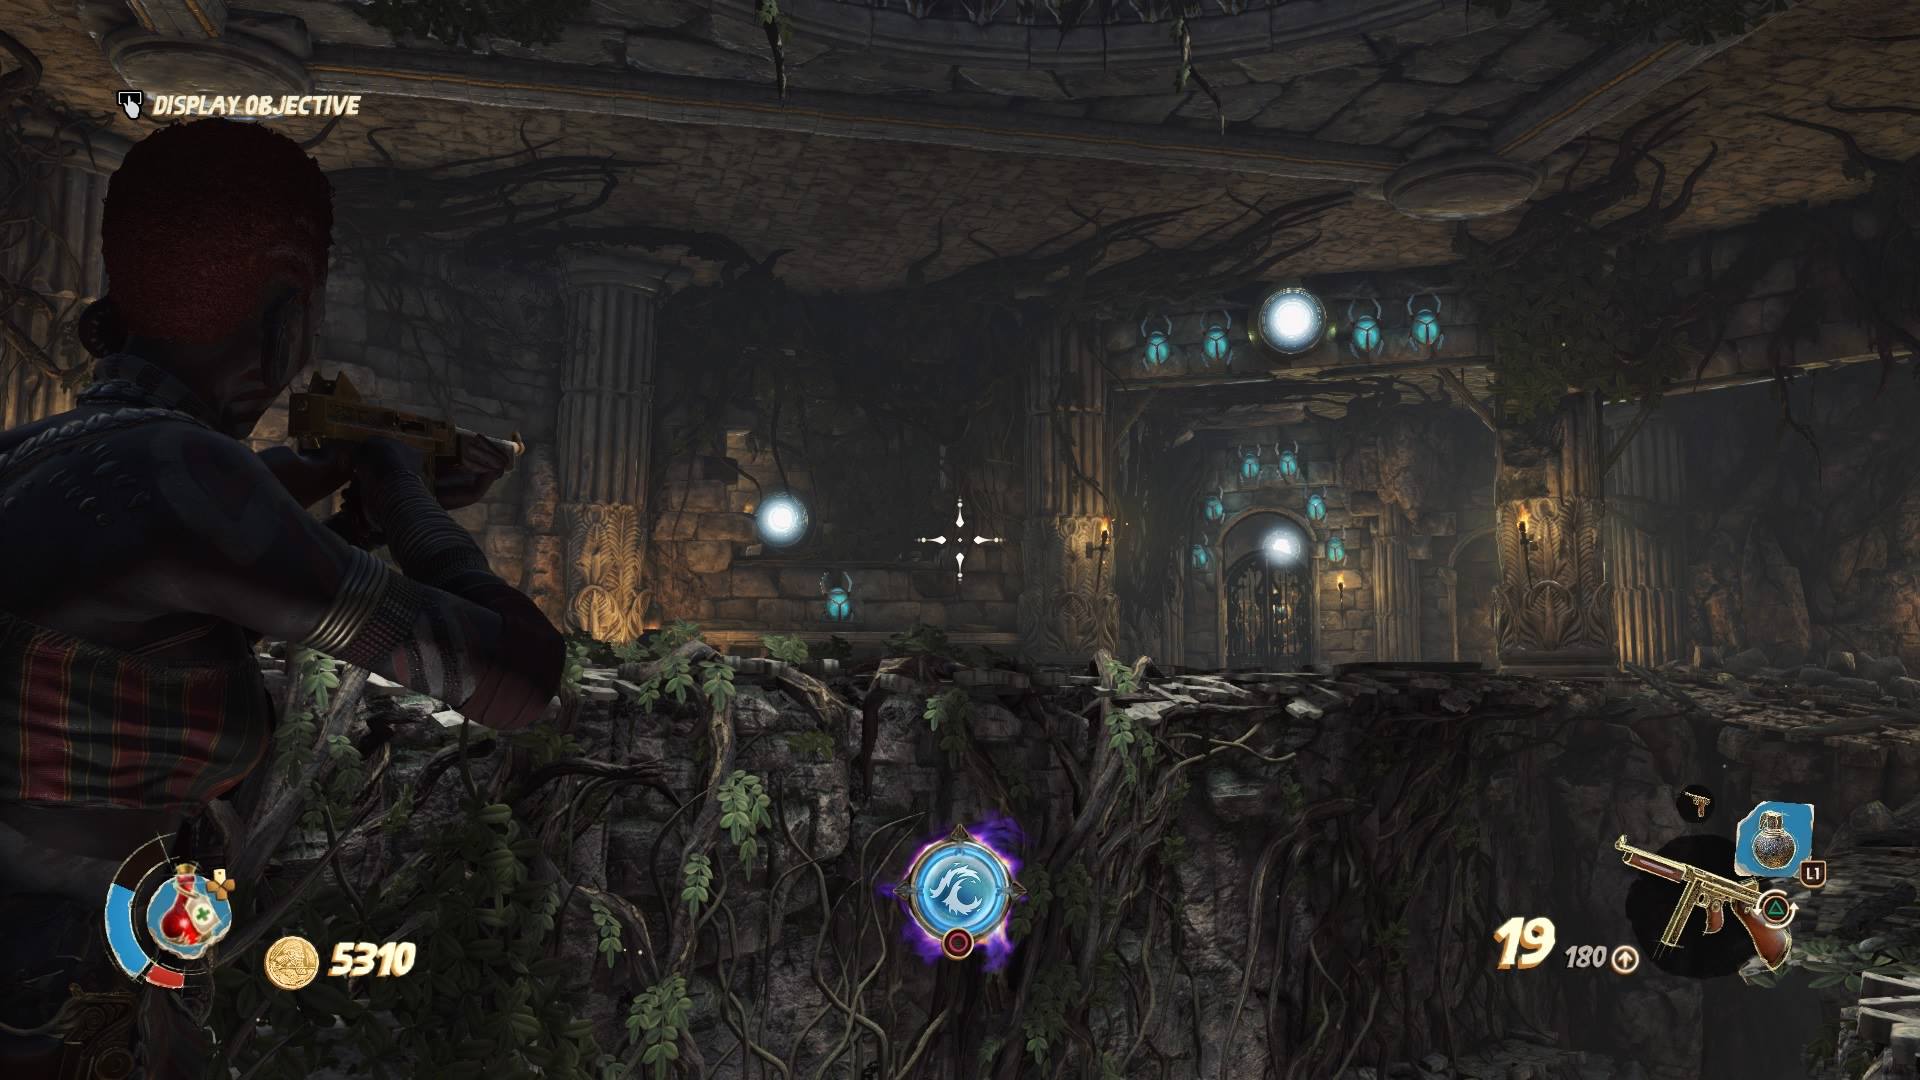
The secret here is to shoot the orbs in a certain numerical order based on the tomb motifs in the area. For instance, in the second level the motif is scarabs, so count the number of glowing scarabs to figure out the order.
Shoot the orb next to one scarab first, the orb next to two scarabs second, next to three scarabs third, and so on until the puzzle is complete.
Keep in mind you have to stay on the glowing circle that starts the puzzle while shooting or it will automatically reset!
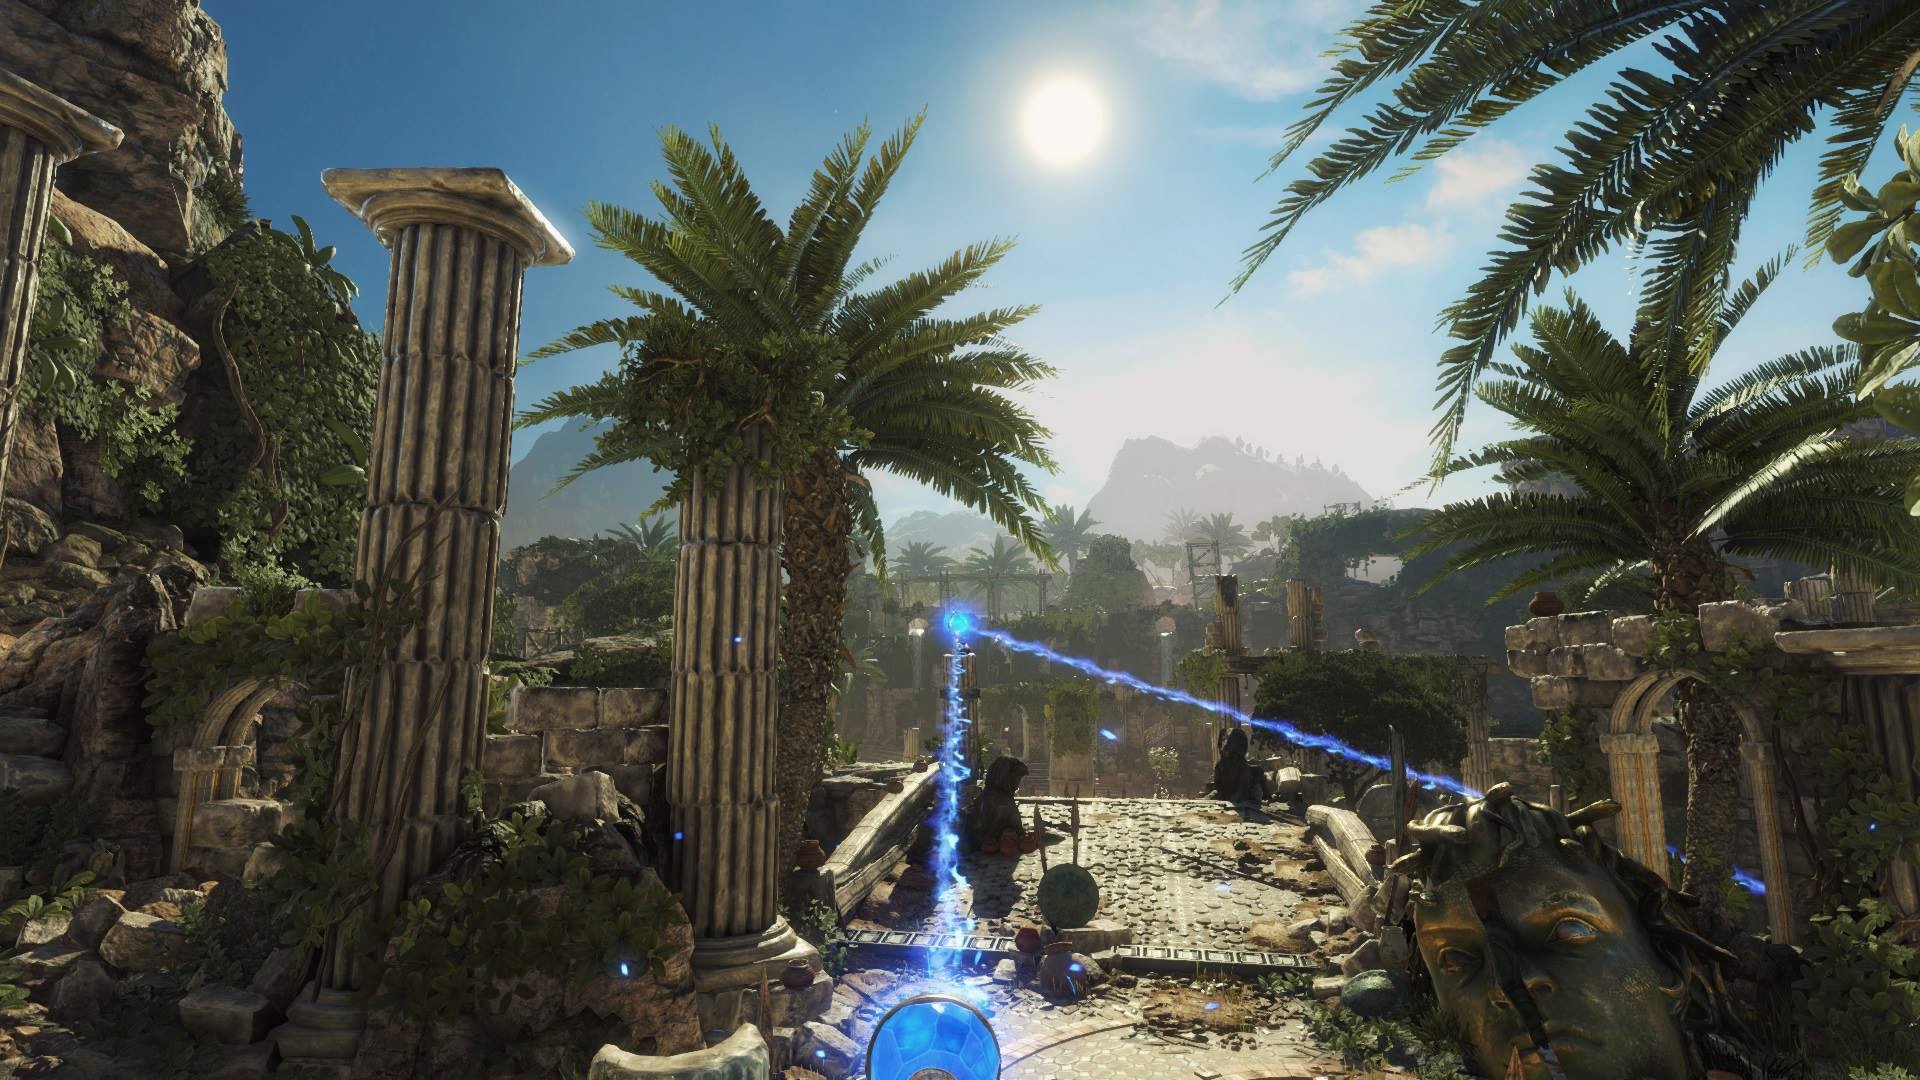
Energy Mirror Puzzle
These aren’t exactly puzzles, but they can be difficult to finish if you don’t know what you’re aiming for.
The only real problem here is in finding what the energy beam is supposed to hit, which isn’t always clear. Pop out of the energy beam view and zoom in with your gun to check the area for a reflective orb. They’re often hidden in foliage far away from the starting point.
In some cases, you may need to destroy obstacles first before you can complete the energy mirror puzzles as rocks or barricades might be in the way of the beam.
Have you come across any other Strange Brigade puzzles you can’t quite figure out? Let us know which one is stumping your squad and we’ll find a solution!
Make sure to check out our other tips and tricks for Strange Brigade here at GameSkinny!
Strange Brigade Cat Locations Guide: Harbin’s Dig Site





Published: Aug 27, 2018 10:32 pm