The Red Mile is the bloodiest sport across the Settled Systems in Starfield. Out in the elements, pitted against aggressive creatures, and expected to run a full circuit, the event often ends in a fatality. If you’re looking to keep playing your character after signing up to run, you’ll need to be prepared. This is how to survive the Red Mile in Starfield.
How to Survive the Red Mile in Starfield
What to Know Before Your Run
Whatever brought you to the Red Mile, whether it’s completing a run to get to Marco for the Freestar Rangers or just looking for some glory, you’ll want to stock up on ammo and aid. You want a high-damage weapon to deal with the area’s animals, and something like that can go through a lot of ammunition quickly.
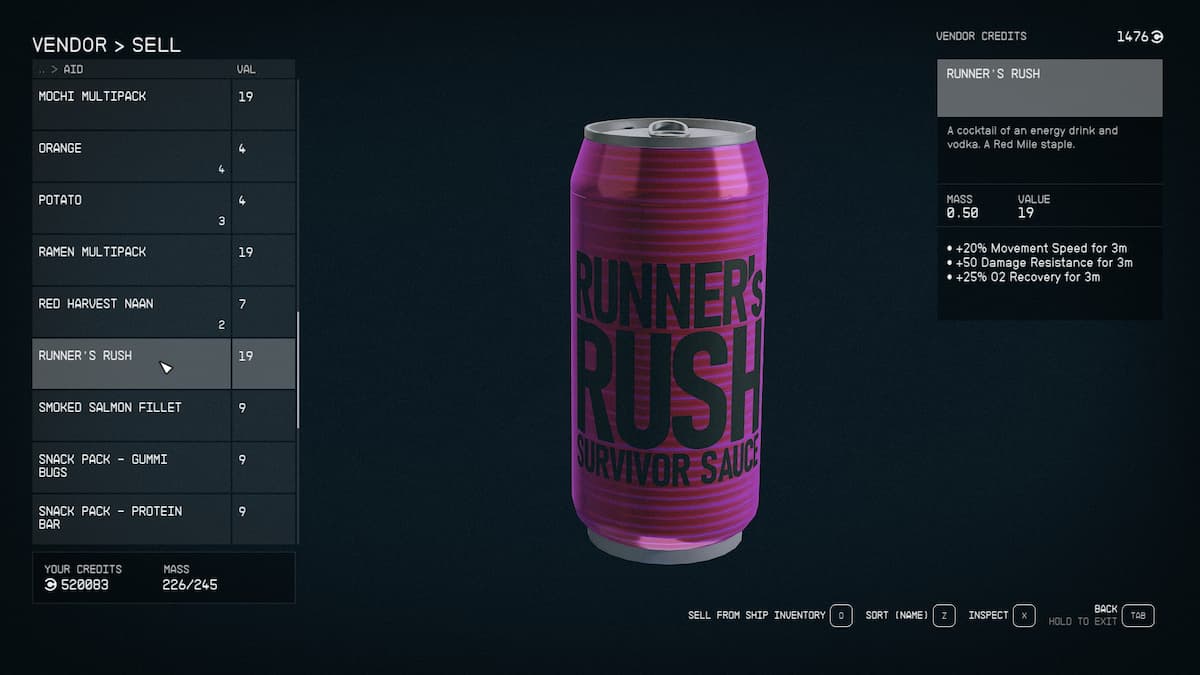
You’ll want the standard Med Packs and Trauma Kits, but you can also invest in physical damage reduction items. You can purchase different alcoholic items with damage reduction from the bartender, but you may also want to try out the Red Mile’s specialty item. Runner’s Rush is the Starfield version of Redbull and vodka and gives you:
- +20% movement speed for 3 minutes.
- +50 damage resistance for 3 minutes.
- +25% 02 recovery for 3 minutes.
Since you’ll end up fighting and running at the same time, this is a great beverage to buy before you head out.

Running the Red Mile
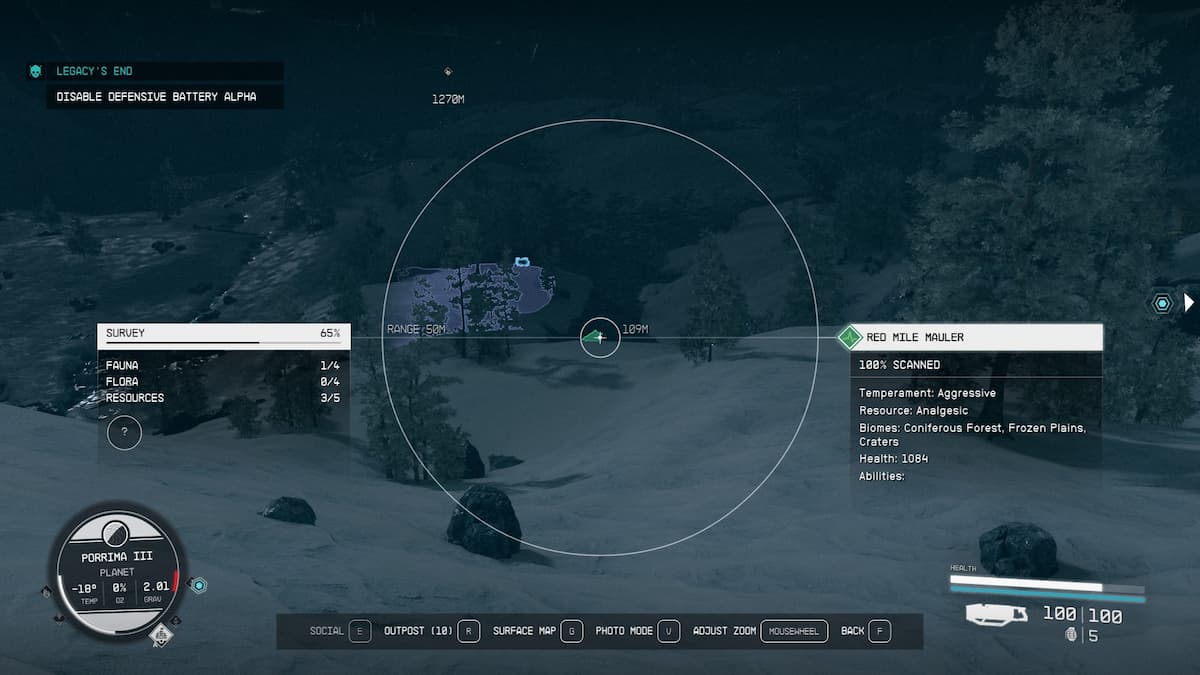
Outside, you’ll face packs of the Red Mile Mauler. A creature bred for its aggression with high health and thick skin, one can easily take down a runner. They often travel in packs of two to four, and can shoot ranged projectiles and attack up close. A Level 6 mauler will have approximately 800 health, while the higher level ones will have over 1,000 HP.
Slow-firing weapons with small magazines aren’t recommended here. You want to chew through these things as fast as possible. If they get near you, make sure to keep an eye on your health, as they can quickly bite through it. Use those med packs even if you’re only around the halfway point, just to make sure you don’t get staggered or caught off guard by multiple enemies.

I brought Sam Coe along with me since I was doing the Freestar Rangers missions, but having any combat-ready Starfield companion will greatly help. Not only is it another weapon dealing damage, but it’s another body the beasts can focus on.
I ended up running through my attempt at the Red Mile. Taking down every mauler takes time that I didn’t want to spend. It also felt like there was no end to the creatures. Instead, I took off like a rocket, boosting with my pack to get over obstacles to make it to the end zone. While I had to take out one or two maulers at the turnaround point, it was far more efficient to sprint past the bulk of them. After letting my 02 fill up, I followed the same plan of action to get back to the starting point.
That’s how to survive the Red Mile in Starfield. Running the gauntlet can earn you credits and make you famous, but it can also kill you if you’re not careful. Be prepared and watch out for large packs of high-level maulers so you can reach victory. For other Starfield walkthroughs, tips, or how-tos, sprint to our guides vault for help.


Published: Sep 15, 2023 12:19 pm