Harkening back to those 16 bit glory days when you fired endless streams of power blasts at leaping beasts and flying robots alike, StarBreak sees classic action platforming collide with massively multiplayer gaming.
Much like areas with respawning mobs in an MMO, StarBreak is divided into zones of varying difficulties, with many you will want to avoid until you’ve properly leveled, found some dank loot, and mastered the jump/crouch/fire mechanic.
Following the tutorial, your first real taste of the game will be the Fire Forest, which hides its fair share of secrets and can be tough for new players. Don’t worry, we’ll show you how to overcome all those annoying Goblings and gigantic bosses!
If you are just getting started with the game and aren’t sure what to do first, don’t forget to check out our StarBreak beginner’s strategies here.
Fire Forest Enemies / Traps
Goblings / Hoppers
These pig/boar things all look similar but come if a few different varieties. When first encountering them, hang back and see what kind they are before advancing.
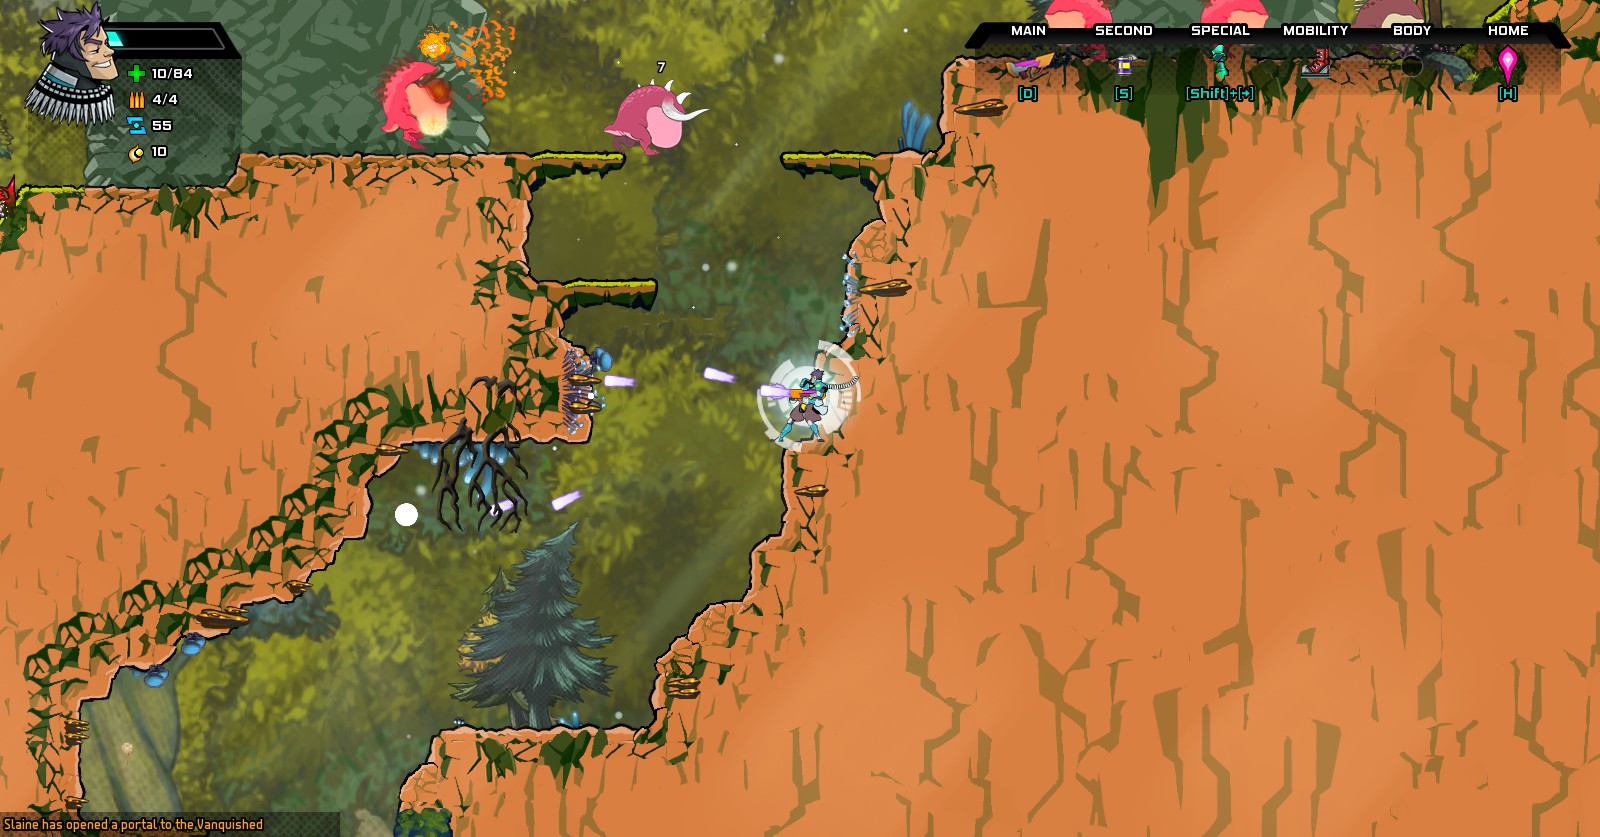
A Gobling will either shoot a fireball in a short arc that explodes on the ground, launch 1 – 3 fireballs horizontally, or charge directly at you for a physical attack. The hoppers also utilize a physical attack, but jump in a wide arc left or right.
For any variety, the best way to take them out is to utilize the Fire Forest terrain, hanging out at the edge of outcroppings and firing from above or below. You will be far less likely to be hit by ranged attacks or charges than if you approach directly from the left or right.
Gobling Nest / Volcano
These large hazards are easy to see and hit. The Gobling Nest hangs from the ceiling and points down, while the Volcano sits on the ground and points up.
The Nest is simple to take out by standing directly underneath and firing up, but you may want to let it survive for a while, as it will periodically throw out new Goblings that can drop loot.
The volcano launches fireballs that split in either direction when they hit the ground. Pay attention to the patterns, as this enemy is teaching you how to avoid the similar fireballs from the mid-boss coming up.
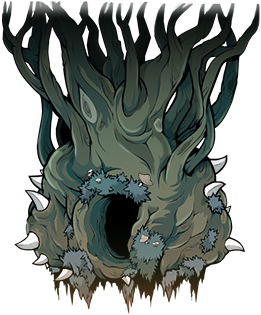 Gobling Nest
Spider Bomber
The aerial enemy of the Fire Forest, these fly in a clear pattern and launch a single projectile at a time. So long as you aren’t also busy dodging fire from Goblings, Spider Bombers are incredibly simple to take out by aiming diagonally towards the sky.
Spikes
These red pointy sticks of death seem easy enough to avoid, right? Just jump forward. You don’t actually want to right away, though. Before you pick up any nice loot that can be lost, jump up and down on the first patch of spikes you see until you die to unlock the “Watch Your Step” achievement!
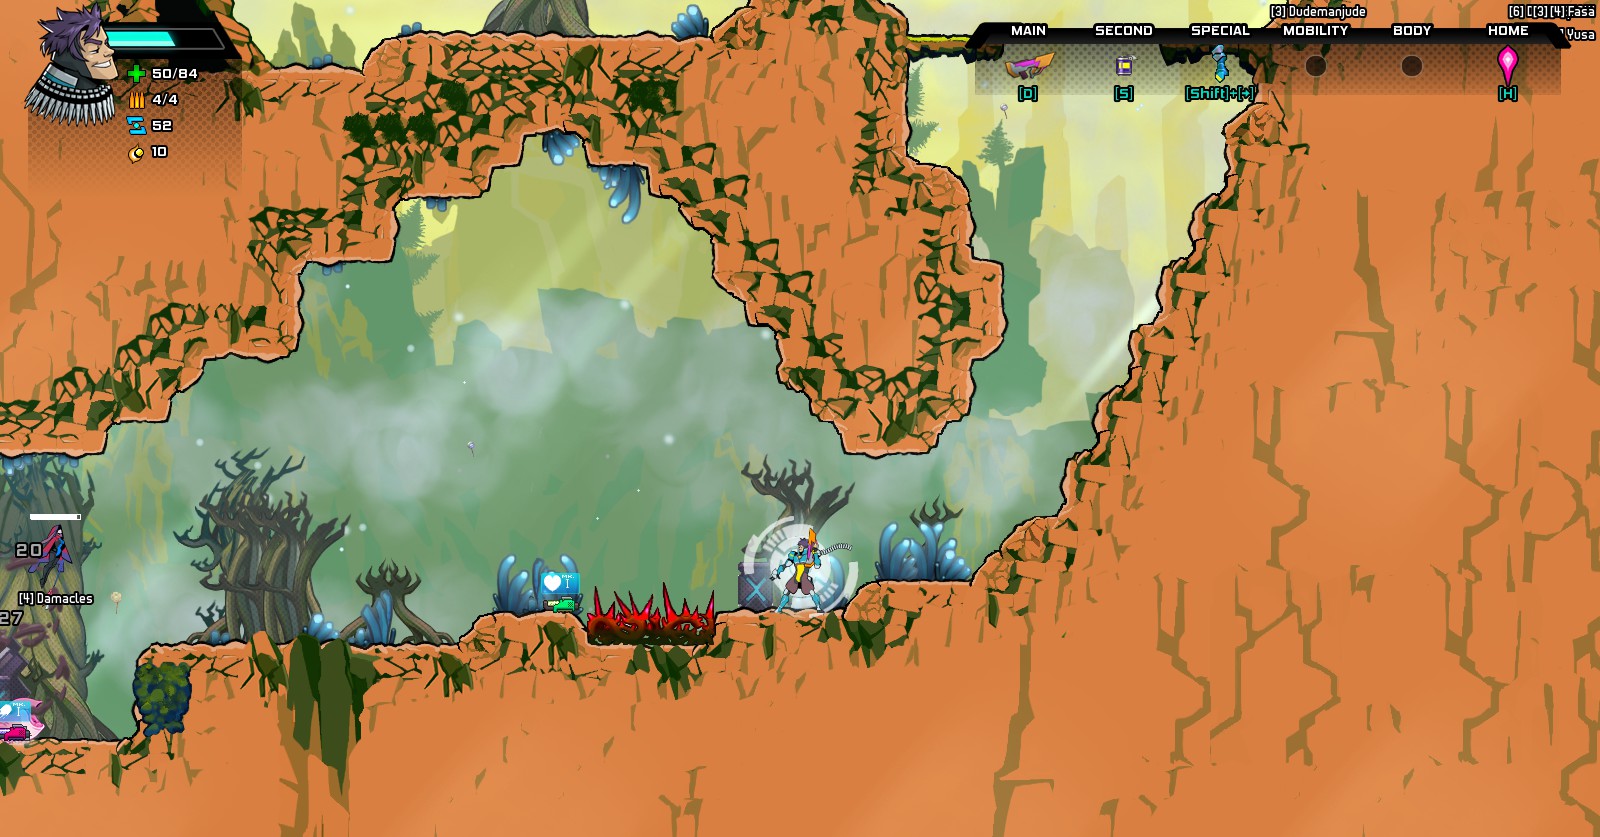 You say “intentional suicide,” I say “achievement unlocked!”
Fire Forest Loot
Any of the enemies you encounter can drop boosts, health, and EC, but not all of them will provide equipment.
If you are looking for new equipment, go after the Pink Goblings (the ones who launch a single fireball in an arc that explodes when it lands), as they are the only enemy – besides the bosses – who drop chests.
The chests will contain randomized loot drops for all shell types, but that’s actually not very useful since Fire Forest is designed for 1st level characters running a Wildfire shell. These are the objects that will matter to you and should be equipped as soon as you find them:
- Kantikoy Repeater (can drop with custom options changing the range or number of shots)
- Frag grenade
- Empowered blast
- Talons (armor)
- Trackers (armor)
- Jerkin (armor)
Fire Forest Secret Area
The Fire Forest is procedurally generated each time you open a new instance and won’t be the same every time, but there is frequently a secret room available. To access this area, you are looking for a small underground camber right before the final boss area.
The chamber will have a vine-covered wall on the right side and a small area you can leap up onto on the left side. Jump onto the ledge on the left and leap up to hit a small “z” shaped switch, which will move the vines and reveal a secret room with a free chest!
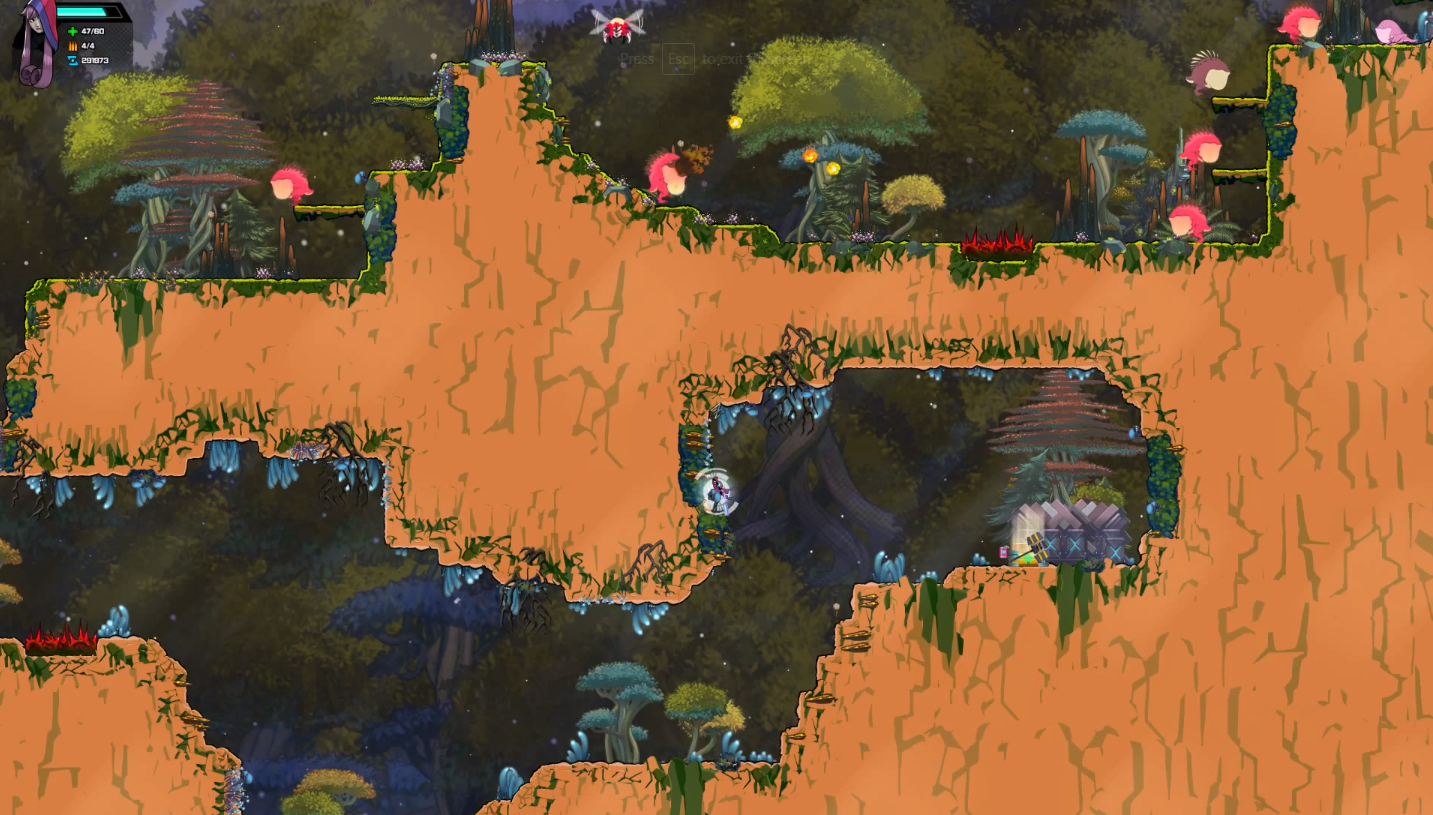 Accessing the Fire Forest secret room
Fire Forest Mid-Boss And Boss Guide
Hopper Queen
This gigantic, bloated Gobling utilizes two attacks: a fireball that splits into four smaller ones mid-air and fly off diagonally, and a fireball that lands on the ground and then splits into two that go left and right along the ground. Either version deals 10 damage.
They are easy to tell apart, so there’s plenty of time to dodge either variety once you learn the pattern. Although it seems at first like there’s a ton of fire flying across the screen when the Queen gets to belching, there’s actually a very easy way to get through this part.
The easiest tactic is to simply stand right in front of the Queen and fire facing up and to the right. Most of the small fireballs will miss you, and you will only have to move or jump slightly when a split fireball comes near. This is actually easier solo than in a group, and 2,000 HP later the Queen will go down and the blue wall will disappear.
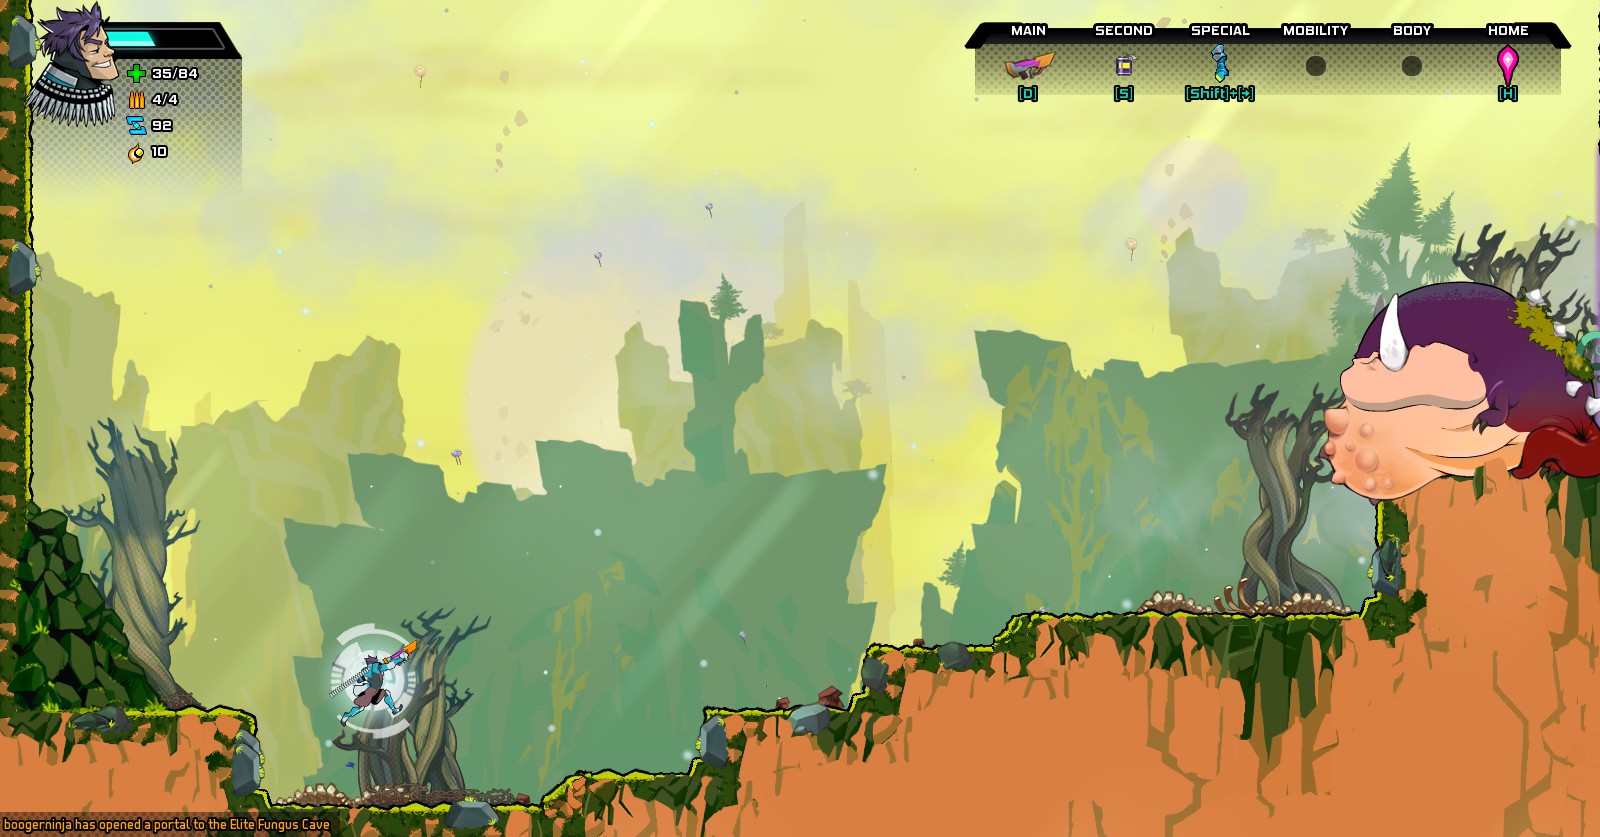
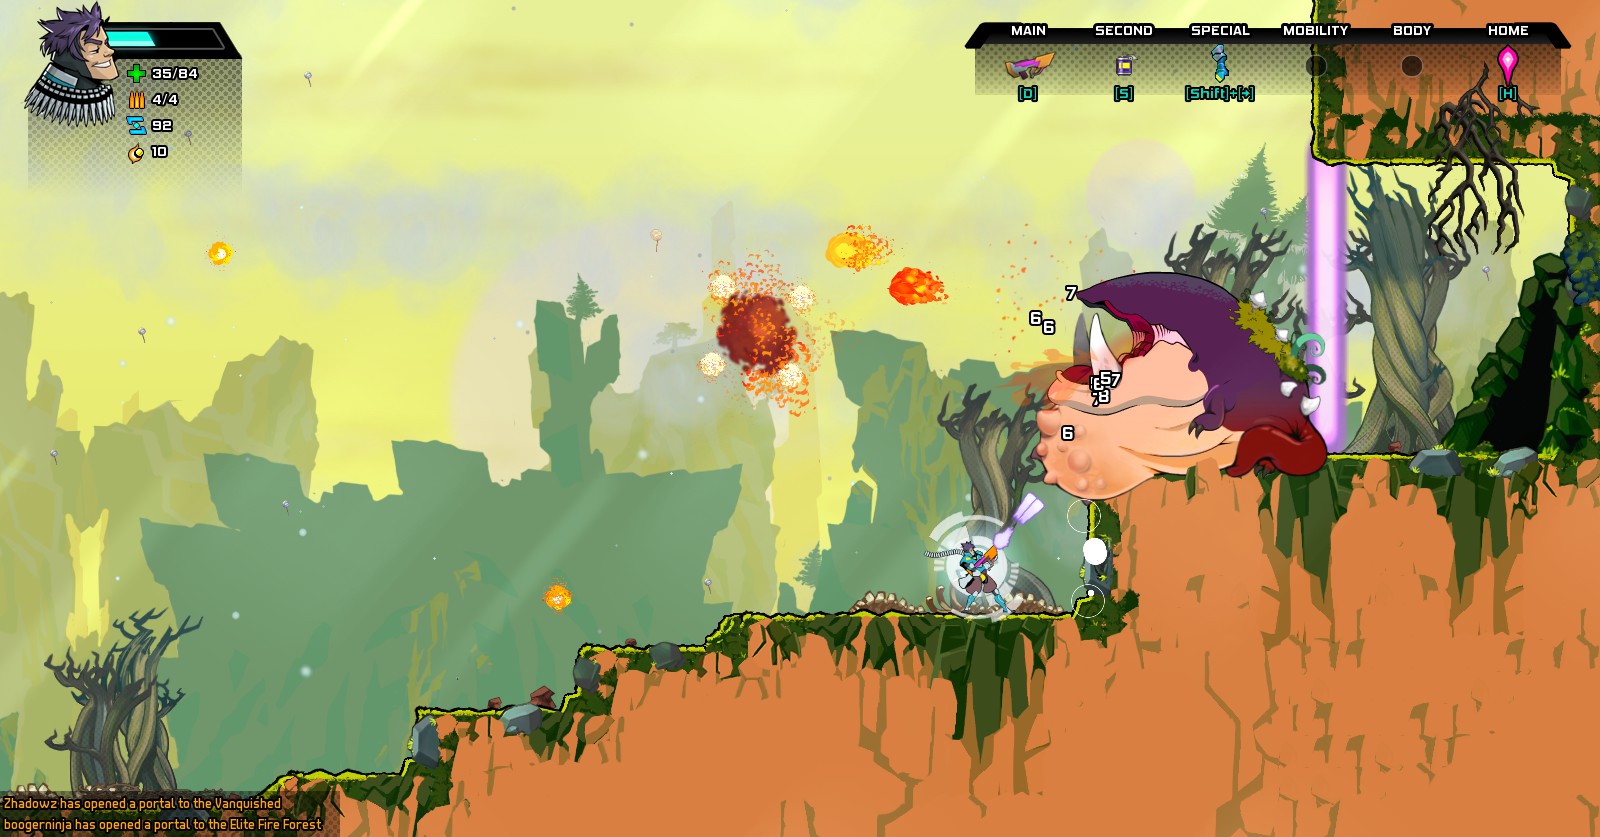 Where to stand to hit the Hopper Queen
Lobster
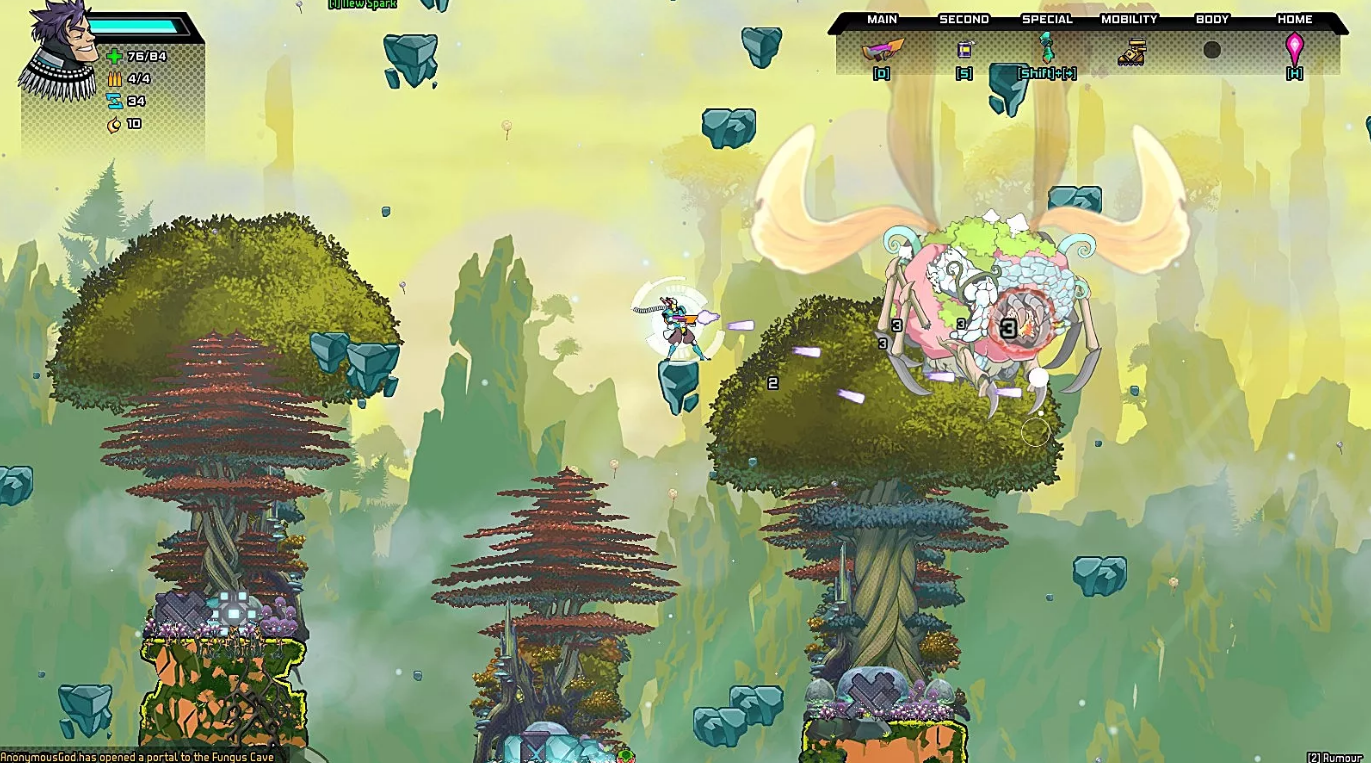
The actual boss of the Fire Forest is airborne and requires quite a bit of jumping around on floating platforms to hit. At first the Lobster will simply leap from column to column, giving plenty of warning. Stay on the floating rocks and fire diagonally to hit the boss, jumping down to a lower area when the Lobster leaps.
Next, the boss will grow wings and fly left and right across the entire screen. Your strategy is the same: leap to different floating rocks and jump either up or down to remain in an area where you have a clear line of sight for firing.
Try to avoid staying on the larger columns, as the Lobster will drop scuttling parasites that run across them and will damage you. Keep jumping and firing until the Lobster finally falls. Unlike the Hopper Queen, this battle is easier with lots of other players hitting the Lobster simultaneously from different angles.
Leaving the area after taking down the boss Lobster unlocks the King Crab achievement, and completing the zone also allows access to the Fungal Forest zone when you return to Eschaton Station. Congratulations on beating the first main area!



Published: May 11, 2016 12:57 pm