Uncovering all of the many chests spread throughout the galaxy in Star Wars Jedi: Survivor can seem like a tall task. However, there’s a secret that lets you reveal all the chests in various regions and planets without putting in the grind of tracking them all down. The rub is that you’ll need to progress further in the campaign to unlock it. Our guide to helps you through Phon’qi Caverns to reveal all chests in Star Wars Jedi: Survivor.
How to Reveal All Chests in Star Wars Jedi: Survivor
You’ll be able to reveal all chests in Star Wars Jedi: Survivor by delving deeper into Phon’qi Caverns. The area itself is accessible via Foothill Falls, which is just past the narrow valley from Koboh’s Rambler’s Reach Outpost.
Go ahead and eliminate the enemies in the cliffside area. You can also investigate the Abandoned Shack here to get a Stim upgrade. Your goal, though, is to use Force Pull on the cellar door.
Head down below and talk to T-1N8, who will become an Outpost NPC. From there, you should be able to tag a fast travel point.
Phon’qi Caverns Walkthrough
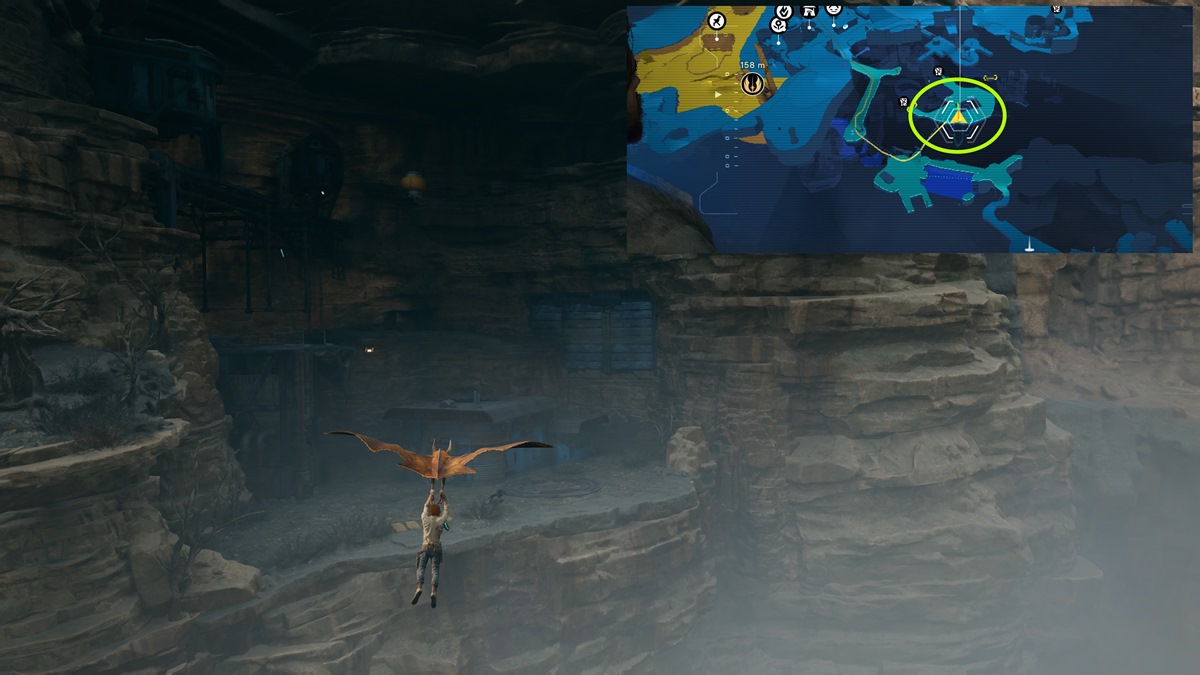
You won’t be able to enter the Phon’qi Caverns zone proper until you have the Lift and Slam ability, which you’ll earn that later in the campaign after the Lucrehulk mission. Once you acquire it, you can lift the large drill so you can head down the cave system.
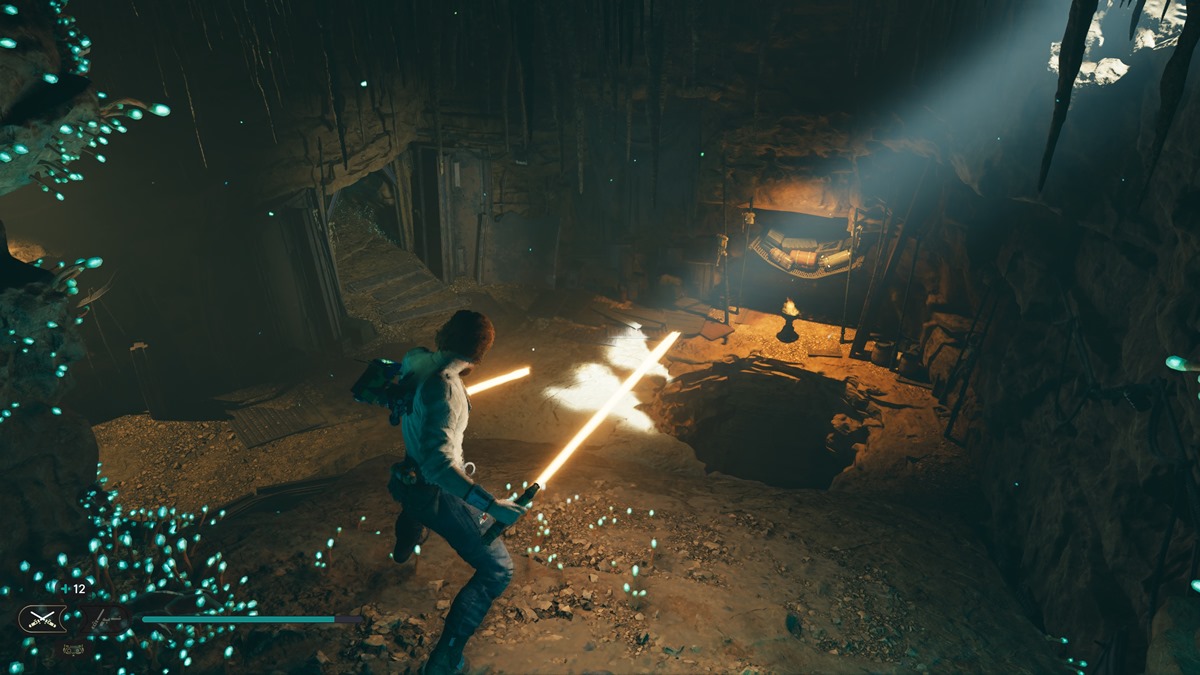
From the start, you’ll notice red pods or bulbs that will explode if you get too close. Make it across the chasm, then use your Force Power to drop the boulder to collapse the floor in the next chamber.
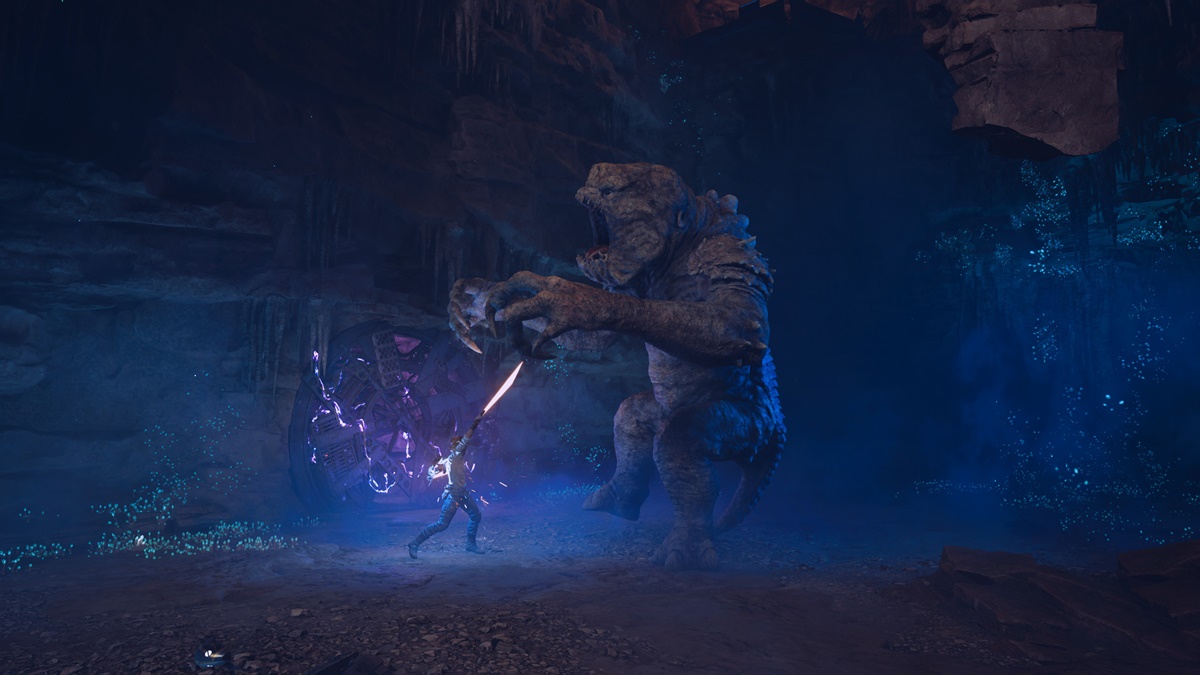
Below, you’ll find a Bedlam Raider behind a metal barricade. He’ll start goading you, and you have to fight a Rancor. You can learn more about besting this beast in our Rancor guide.
Heading Deeper Into the Caverns
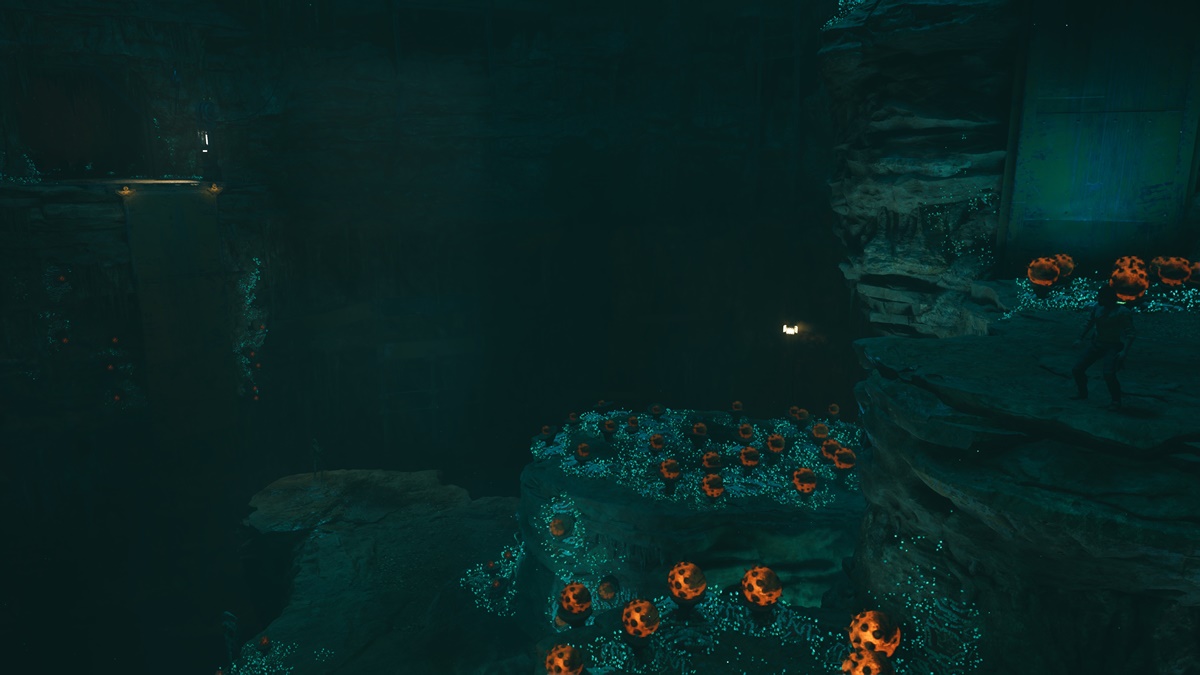
After tyou defeat the Rancor, proceed to the cliffside area. There, take out the B1 Battle Droids that will run up to you and explode. This area is also filled with exploding pustules, and you’ll need to cross the gap and jump to the top.
The next section has another Bedlam Raider, as well as several Magnaguards. Past this area, you’ll see a green barrier, as well as a flat wall section that you can climb on top of.
Cal will then fall and get trapped. At this stage, you’ll be able to use your Force Powers to grab and toss the explosive bulbs. Throw them at the metal barricades to make them melt.
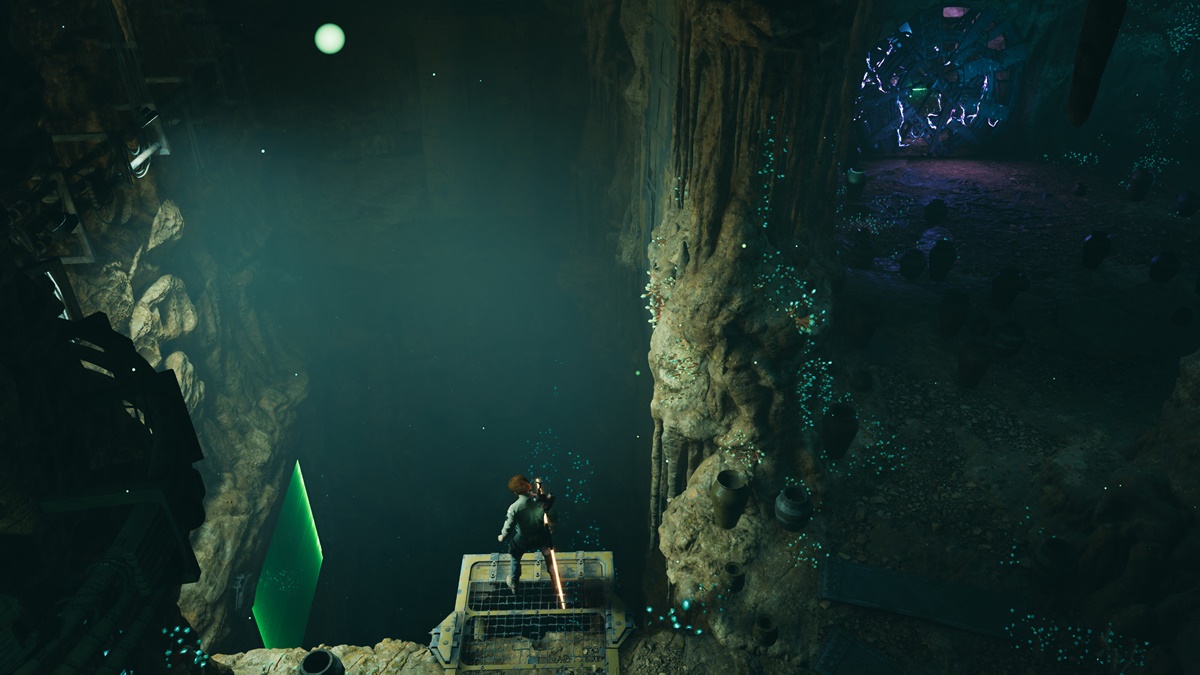
Bedlam Raider Trio Boss Fight and Map Upgrade
Proceed further, and you’ll end up battling the three Bedlam Raiders. Once you’ve finished the encounter, you’ll see a terminal. Interact with it to obtain the map upgrade to reveal chests.
Naturally, the chests will be represented by a chest icon on your Holomap, so you can just head to those locations to find what you seek. For other late-game unlocks, you can visit our Map Upgrades guide.

Other Loot and Important Items in Phon’qi Caverns
Now that you can see all the loot on your map, you can clear out the rest of Phon’qi Caverns. You’ll want to revisit the chambers that you’ve been to before. Take note of the metal barricades, including the ones that the Bedlam Raiders were hiding behind, as you can melt them by throwing an explosive bulb.
These are some of the goodies that you can find:
- Essence Crystal #1 — In the first large cave just as you enter Phon’qi Caverns, you’ll want to wall-run to your left and jump away from the pods.
- Emitter: Duelist — In the same area, throw one of the pods at the metal barricade. Then, drop the boulders to collapse several sections of the floor. One of the pits has a chest.
- Switch: Duelist — In the cave with the Rancor, you’ll want to carry one of the pods and melt the barricade where the raider was hiding behind earlier.
- Aquarium Fish: Viscid Lurker — In the chasm area that’s filled with pods, head to the lower section to find Skoova. You can learn about the other locations in our Aquarium Fish guide.
- Pommel: Duelist — Dive down the pool right next to Skoova.
- Grip: Duelist — Destroy the raider barricade in the chamber with the Magnaguards.
- Essence Crystal #2 — Go through the green barrier past the area with the Magnaguards.
- Slice: Magnaguard — In the same area with the aforementioned green barrier, wall run up the metal board so you can reach this terminal.
That’s how you obtain the map upgrade to reveal all chests fast in Star Wars Jedi: Survivor. For other tips and walkthroughs articles like this one for Phon’qi Caverns, visit our Jedi: Survivor guides hub.


Published: May 3, 2023 06:19 pm