Resident Evil Village Goats of Warding are just one type of collectible that can be found in the game. Finding all 20 of them scattered across the map will give you the Cynic and Heretic trophies and achievements. But before you do, you’ll need to know where to find them all.
Despite the description of the Resident Evil Village Goats of Warding you receive in a file that’s located underneath the first one you find, destroying them does not appear to have any particular effect on the rest of the game.
Each Goat makes a clacking sound once you’re within a few yards of it, so in a quiet room, they’re hard to miss. However, there are a lot of environments in the game that also passively produce a similar sound, like the creepy bone wind chimes in the eastern village’s wheat fields, so it can be maddening if you’re on a Goat hunt.
Note that destroying a Goat, like bobbleheads in the RE2 and RE3 remakes, saves your progress towards the trophy or achievement to your profile on the spot. This also permanently removes them from any future games played on any save slot related to that profile, unless you nuke your data and start over from scratch.
The 20 Goats are located at irregular intervals throughout the course of the game, so naturally, a guide to finding them all involves major spoilers about RE8’s events. You’re better off waiting to read the rest of this article until after you’ve beaten RE8 at least once.
Resident Evil Village Goats of Warding Locations
You can destroy a Goat of Warding with any weapon, including your knife, but many have to be shot due to where they’re located. If you miss a Goat in the castle, reservoir, or factory, they’re gone for good and you’ll have to grab them on your next run through the game.
This list is given in a roughly linear order, as you’d encounter each Goat on a typical run through Resident Evil Village. It’s useful to remember that the castle and reservoir both lock down after you defeat their respective lords, so any Goats left over after that point are gone until your next run.
Goat #1
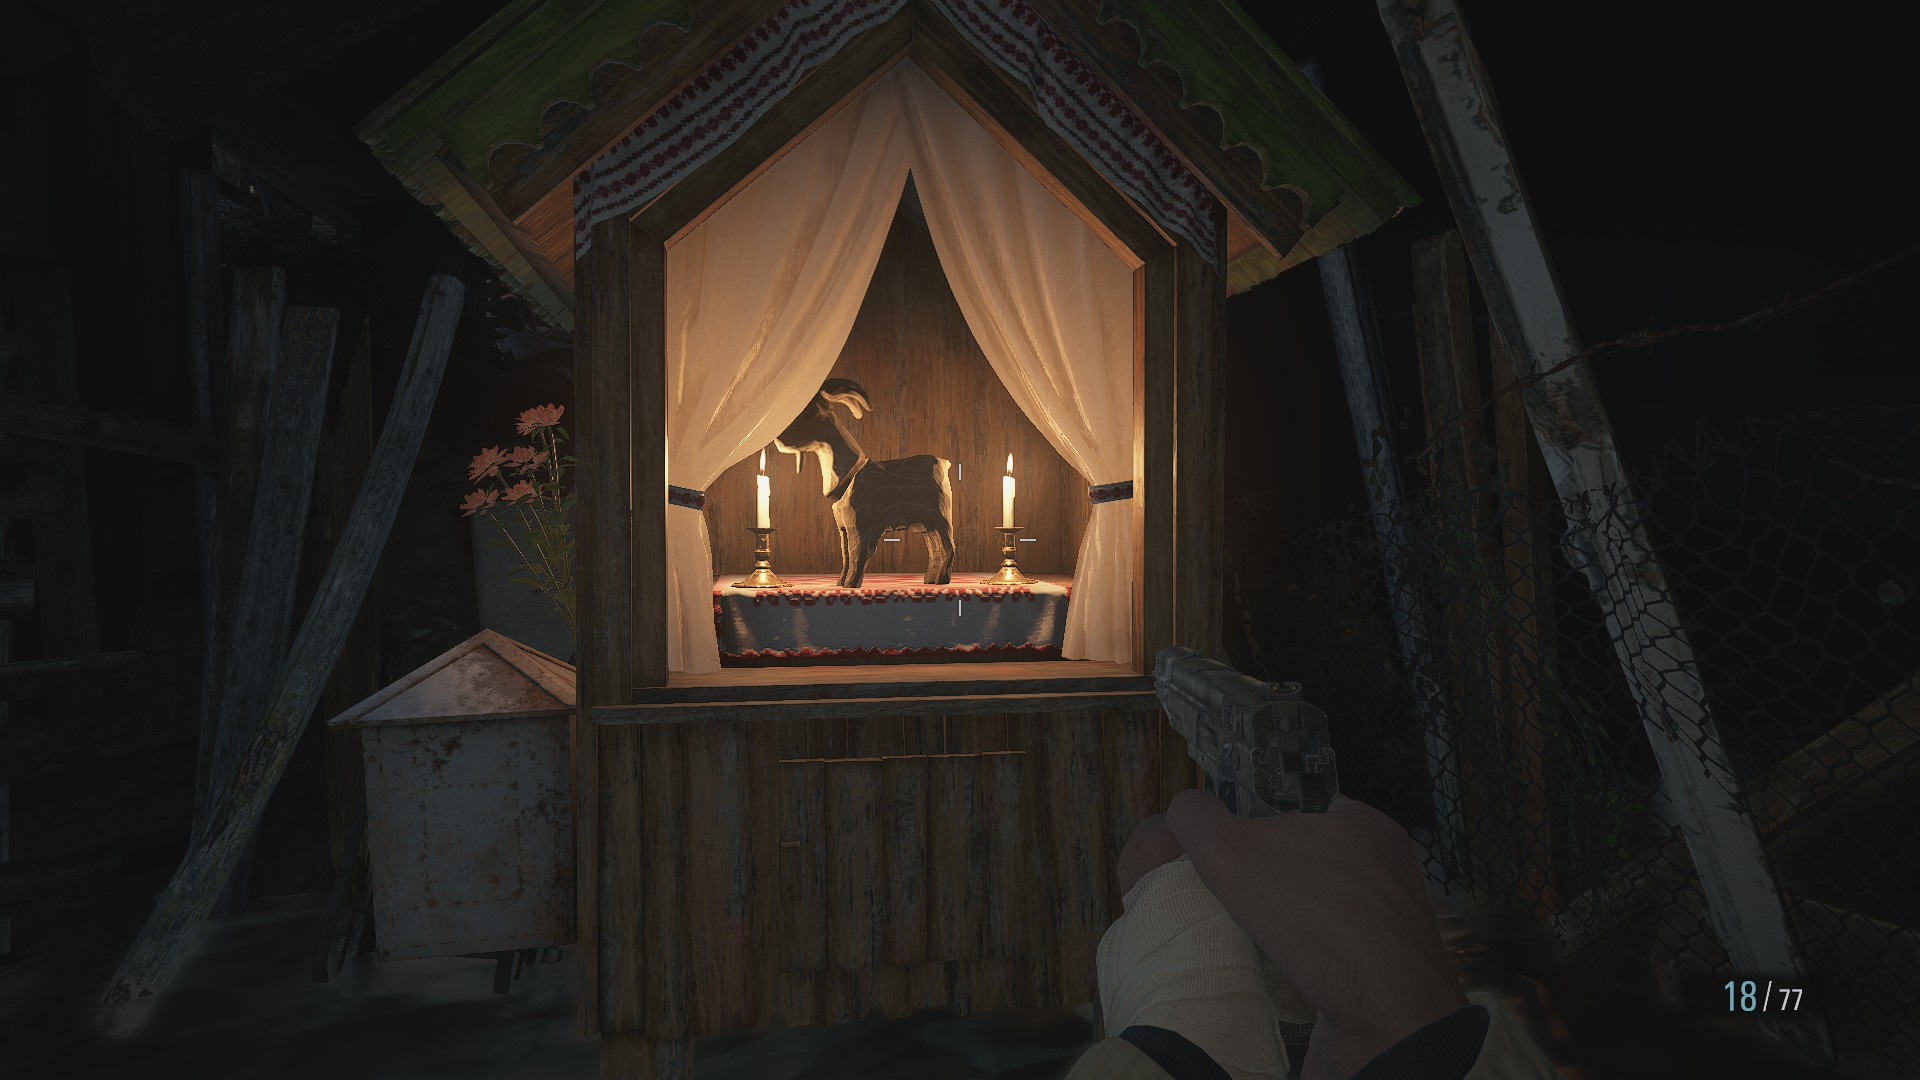
In a display in the village, south from the castle’s entrance. As an introduction to the collectible, this is pretty much a gimme.
Goat #2
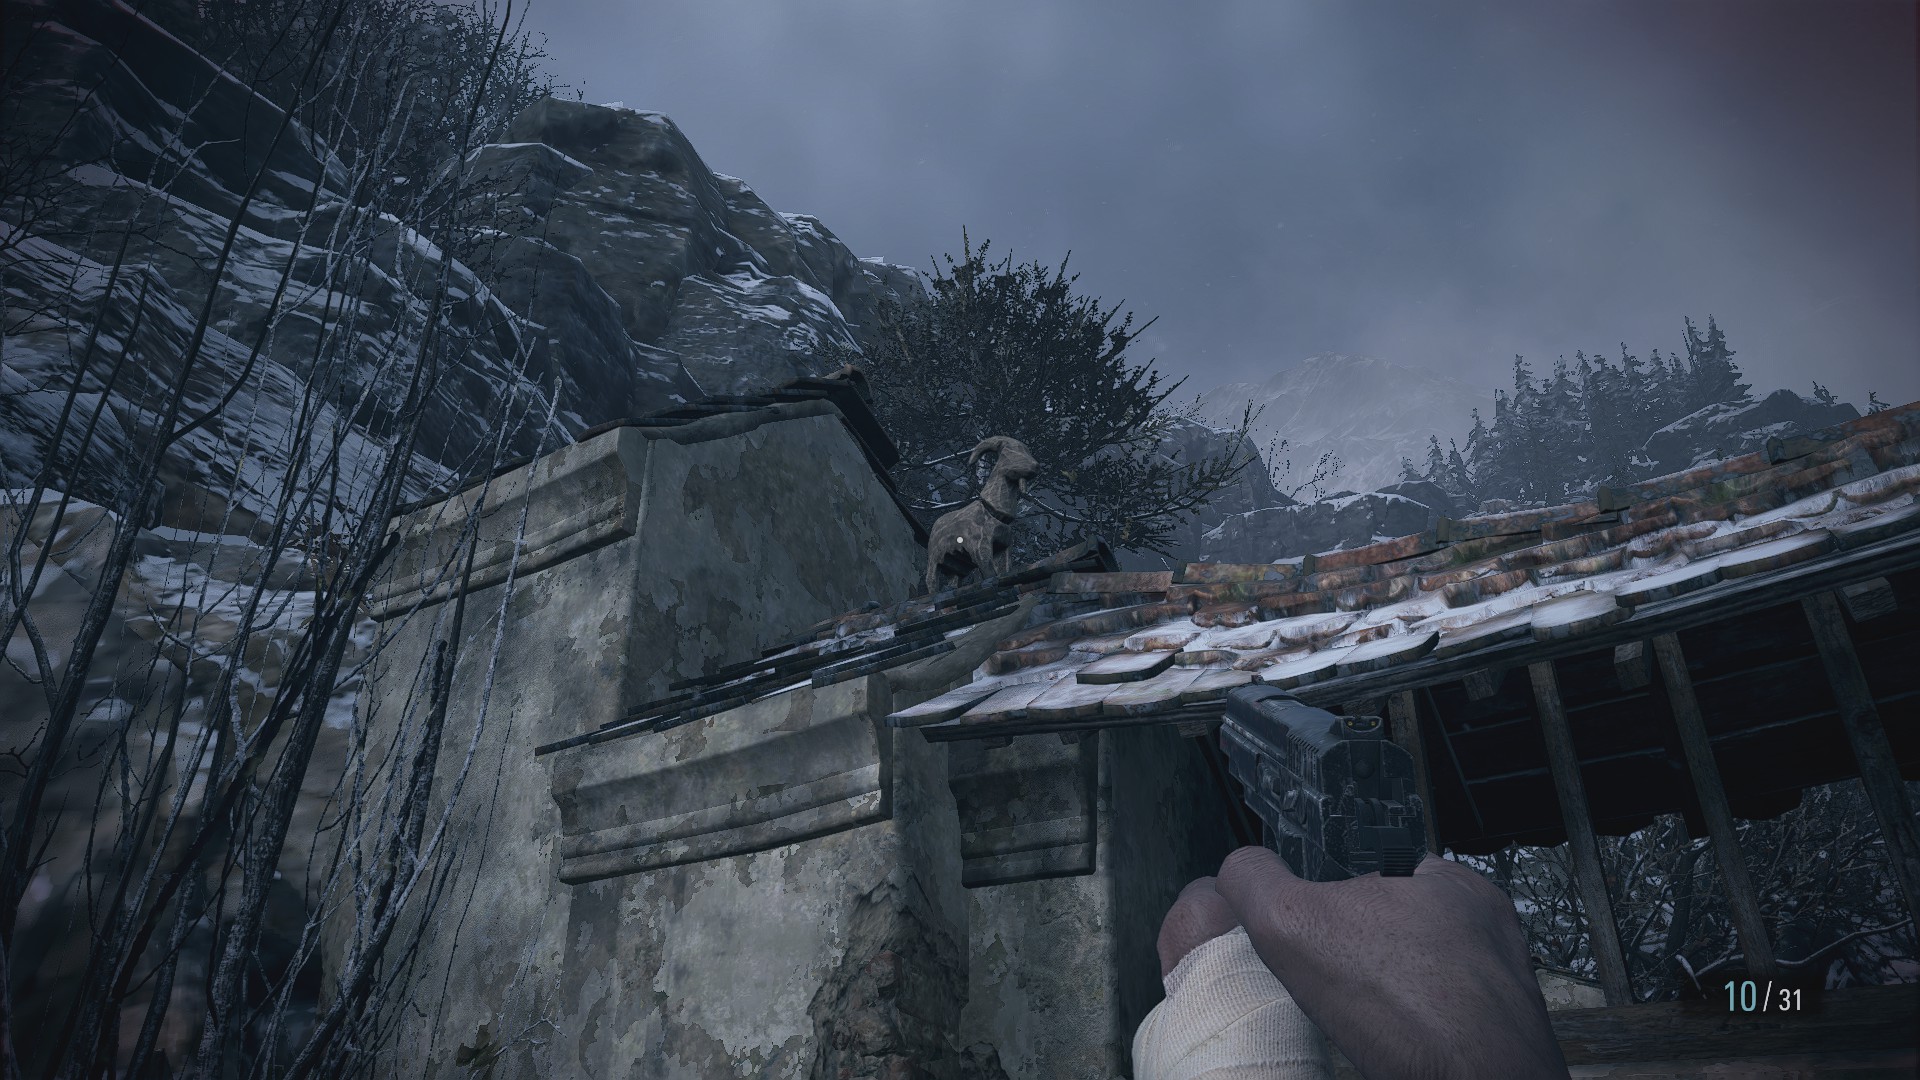
On a rooftop on the eastern side of the Fallow Plot, in the village.
It’s pretty much out in the middle of nowhere, as far as landmarks go, so here’s about where it is on the in-game map.
Goat #3
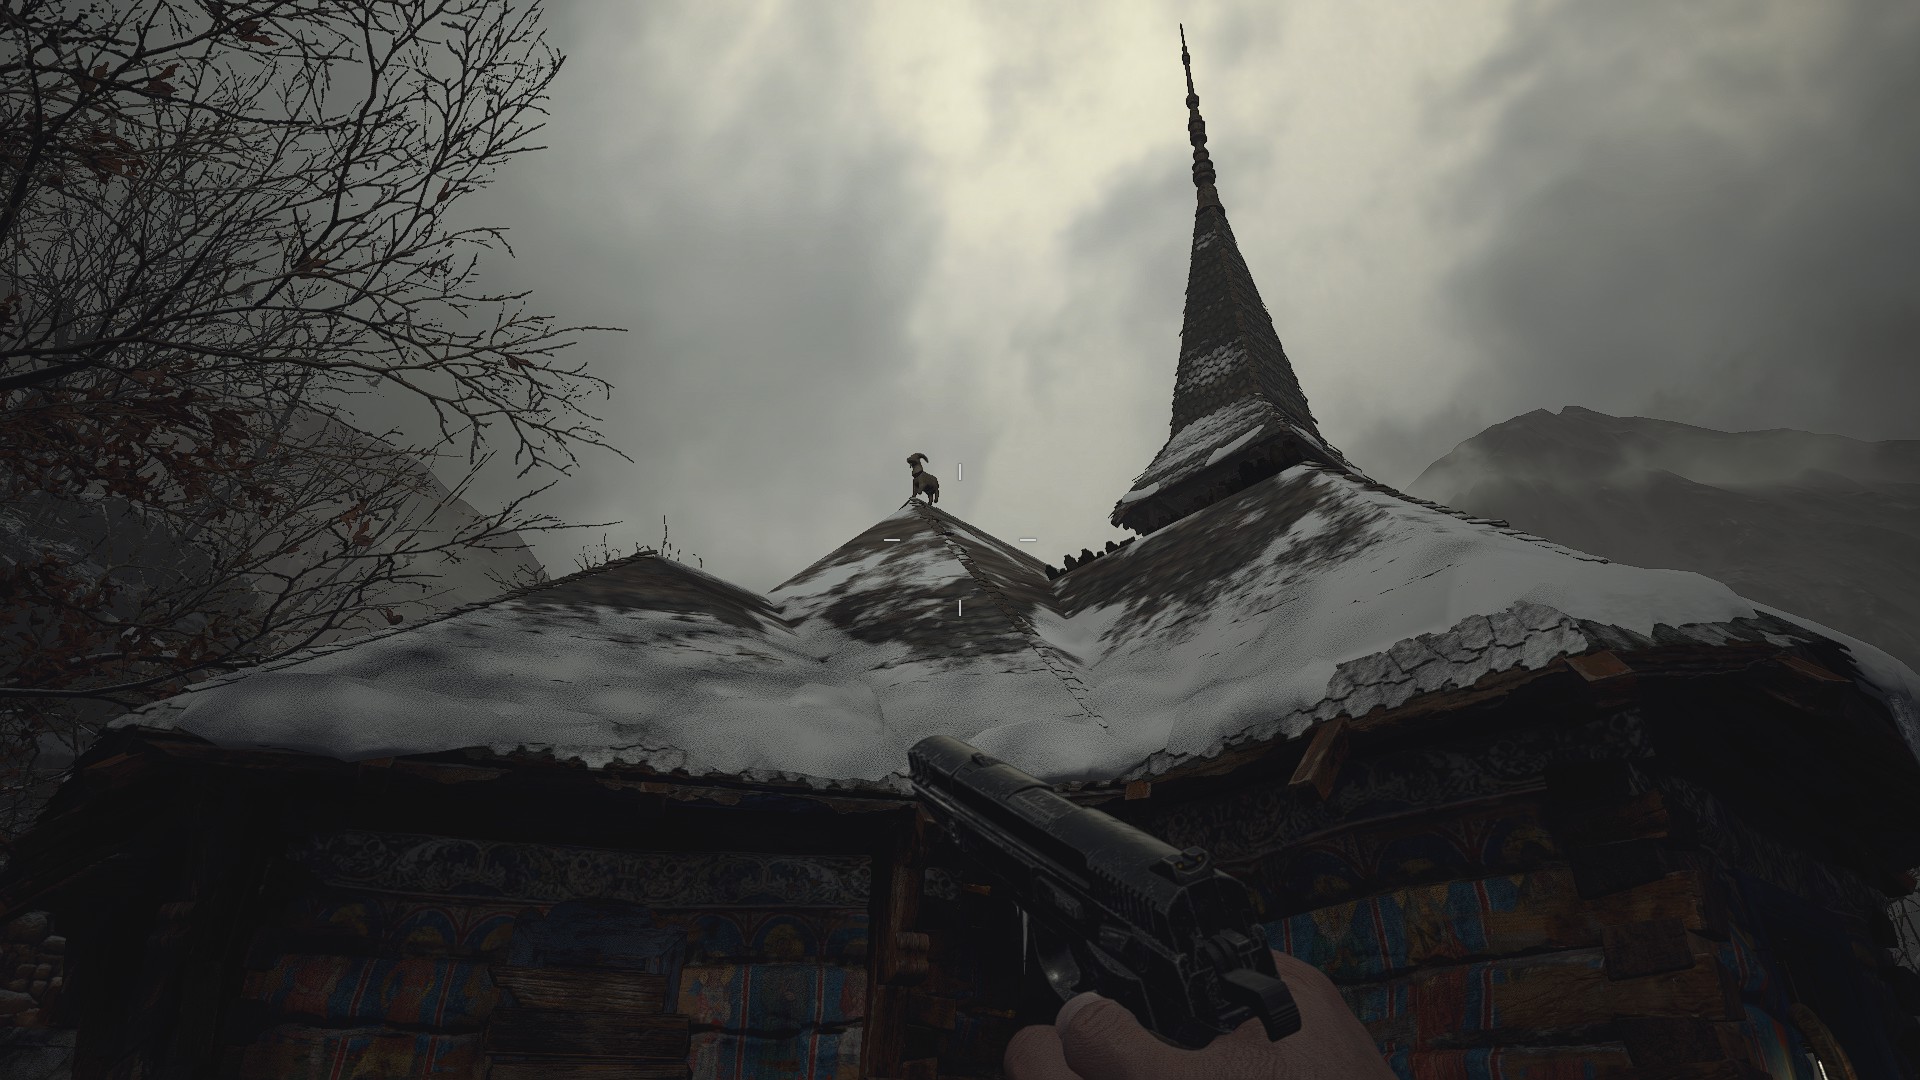
On the roof of the village church. (Note: the religious paraphernalia within the church itself always makes passive clacking sounds whenever you’re inside it, regardless of whether you’ve destroyed the rooftop Goat or not. There is not a second Goat hidden somewhere inside.)
Goat #4
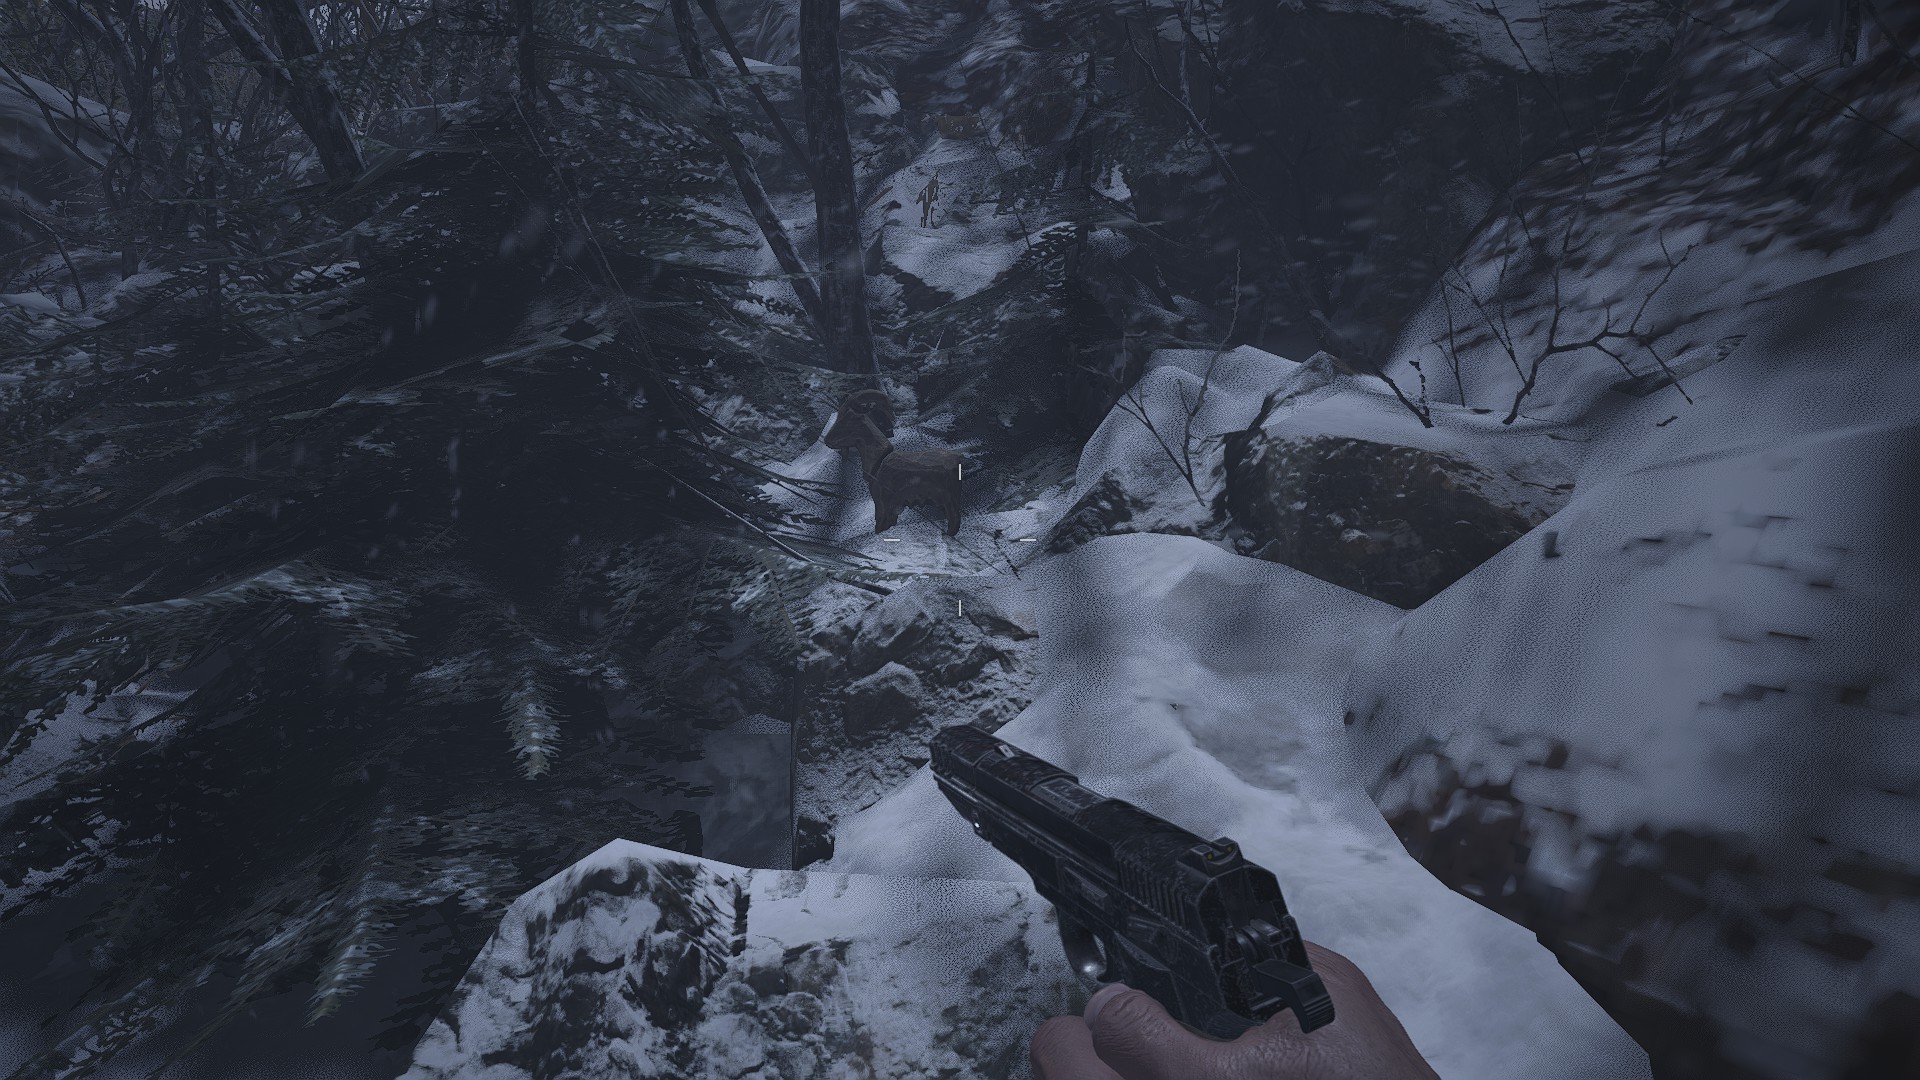
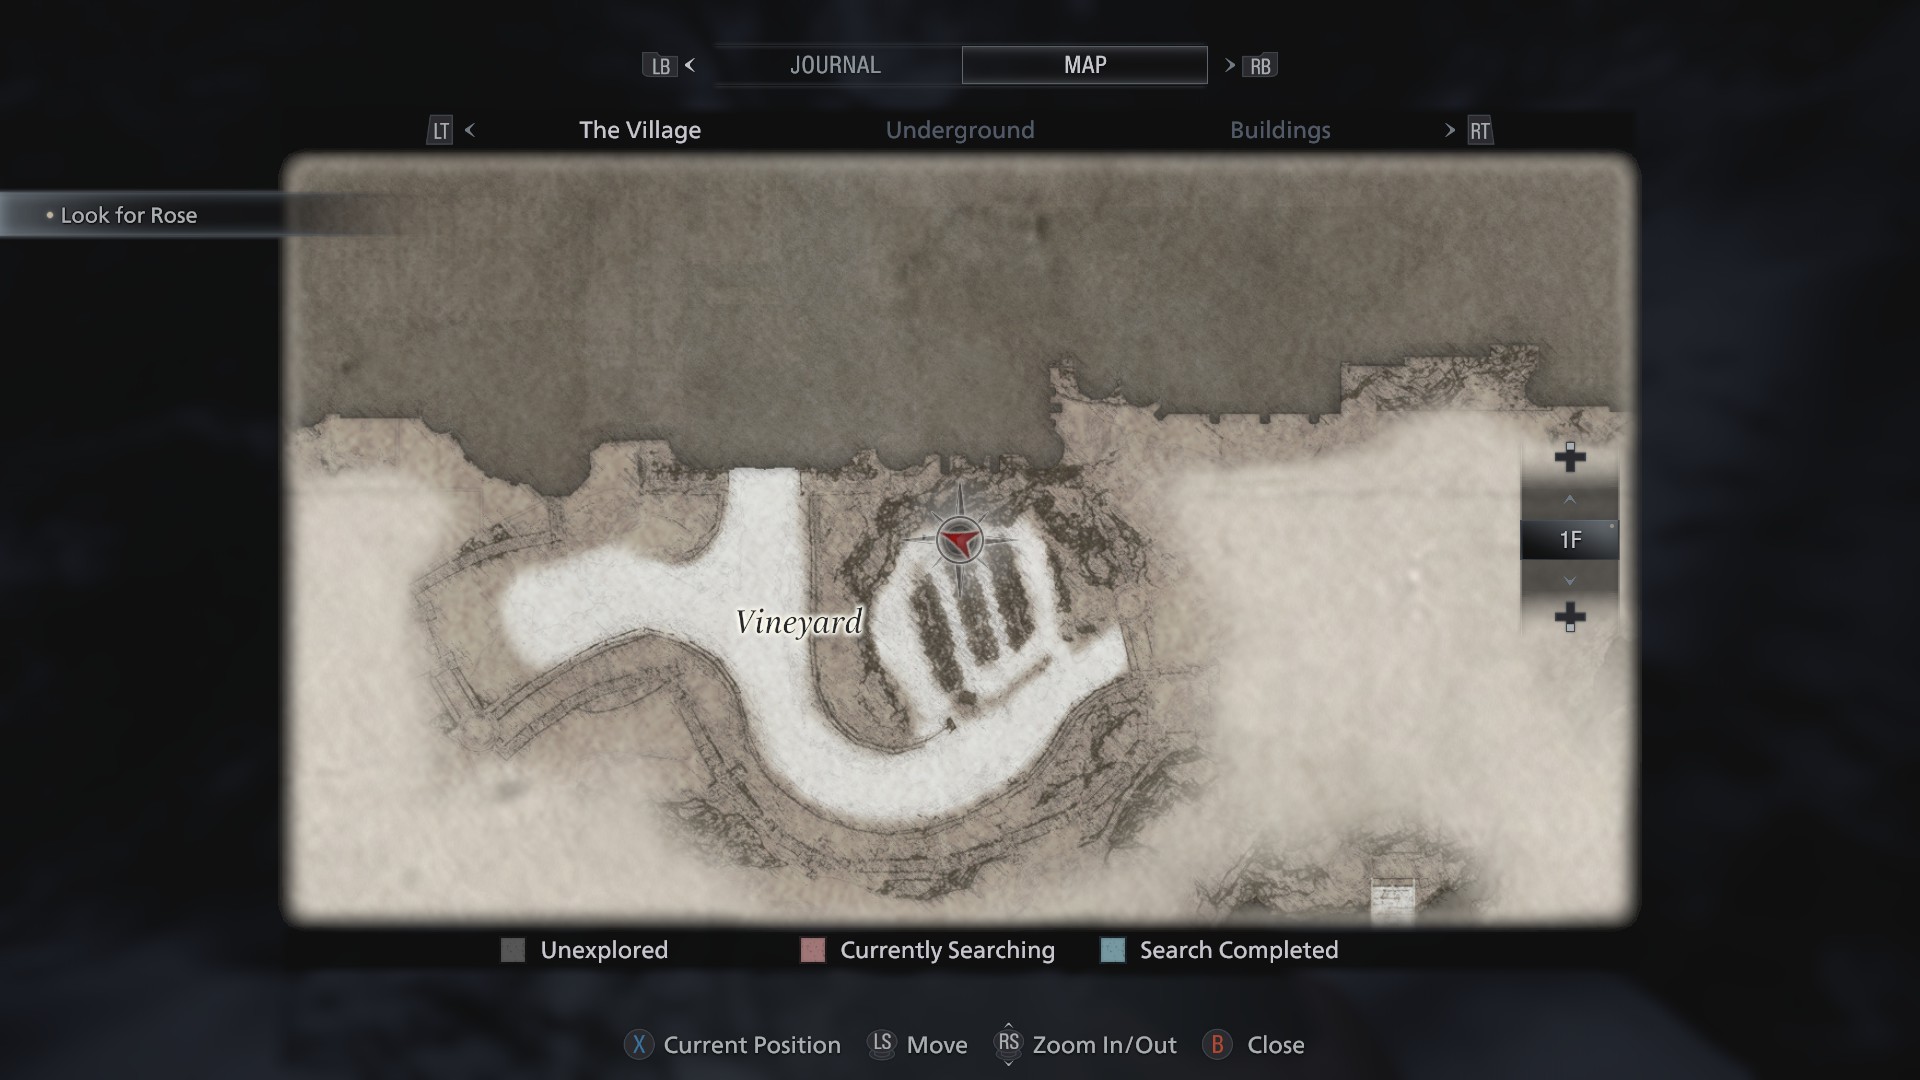
Just before you first meet the Duke, you can find this Goat behind a tree on the north side of the Vineyard.
There’s a very narrow window of opportunity for this Goat, since the drawbridge to the castle breaks after you beat Lady D and the front door to the castle gets locked down once you go inside.
For ease of reference, here’s the Goat’s location on the in-game map.
Goat #5
After you solve the statue puzzle in the castle’s Halls of Ablution, you should practically trip over this Goat on your way down the stairs.
Goat #6
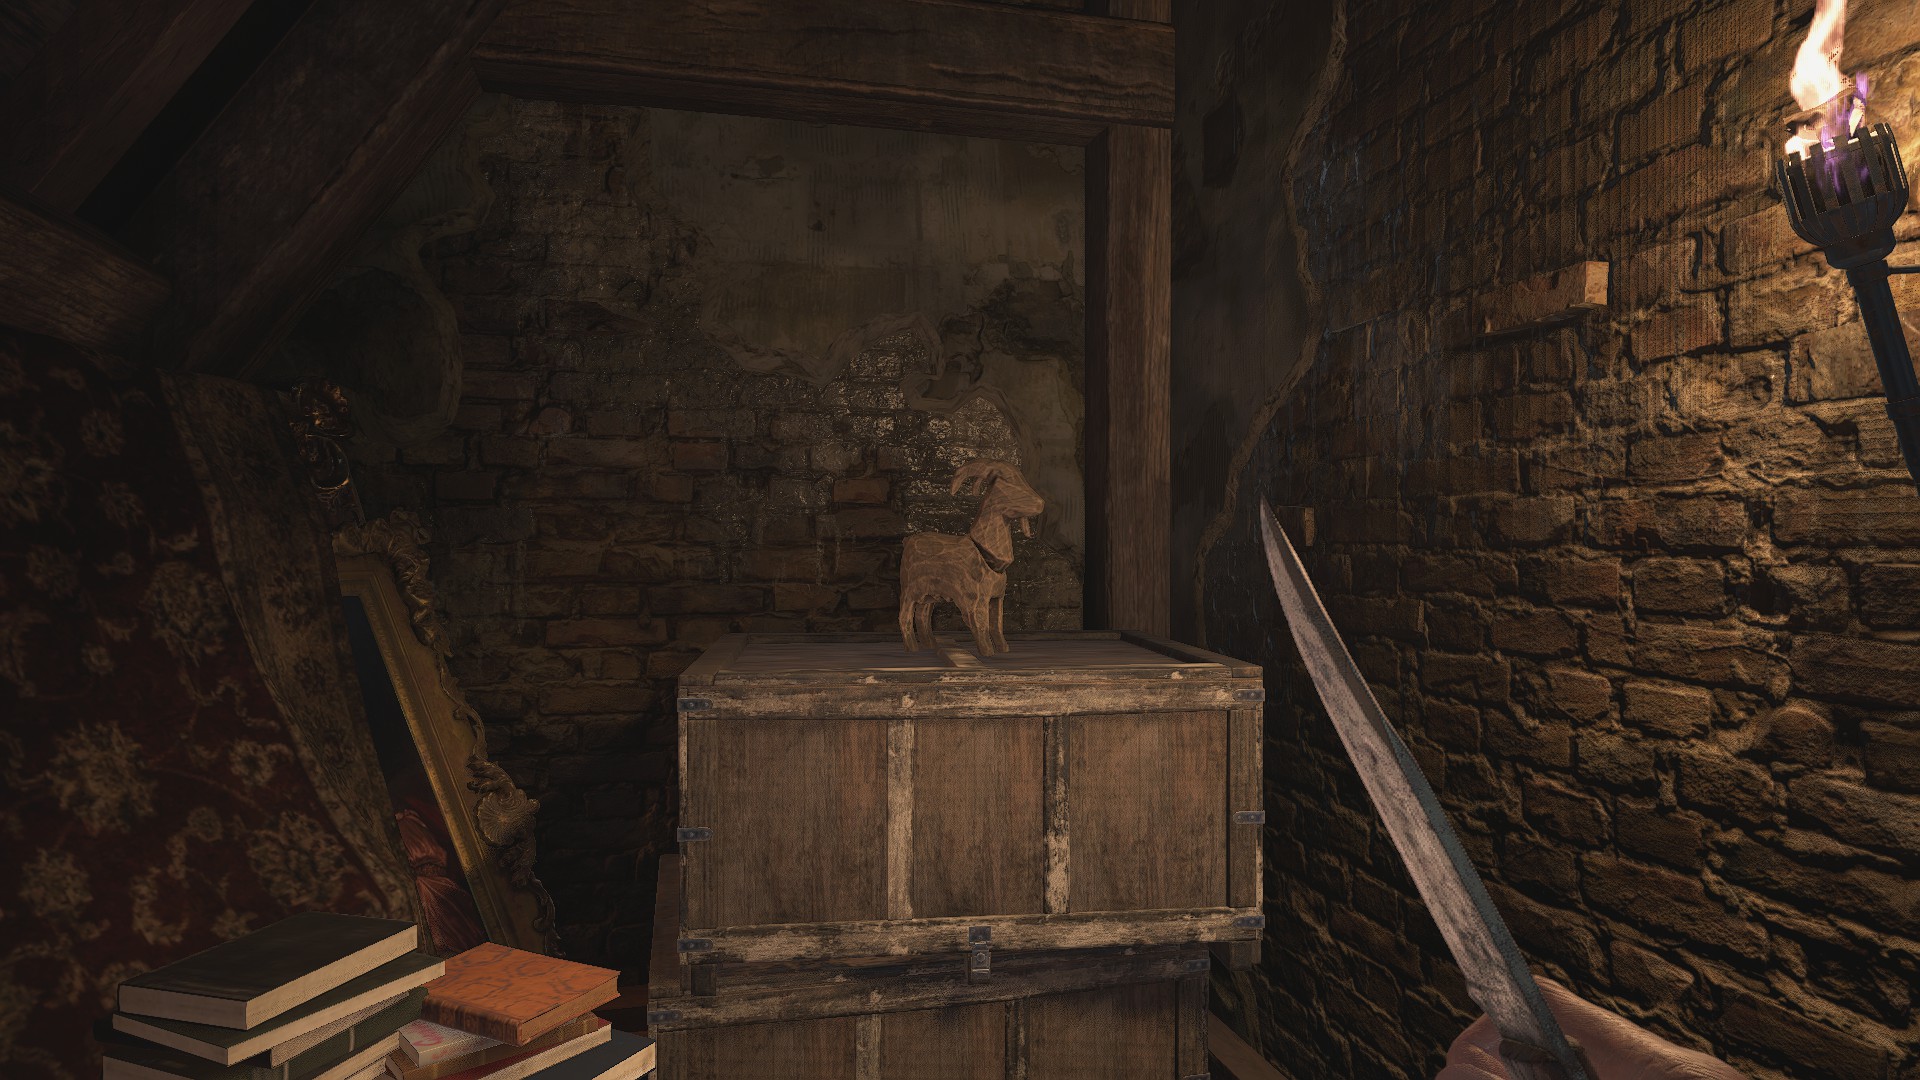
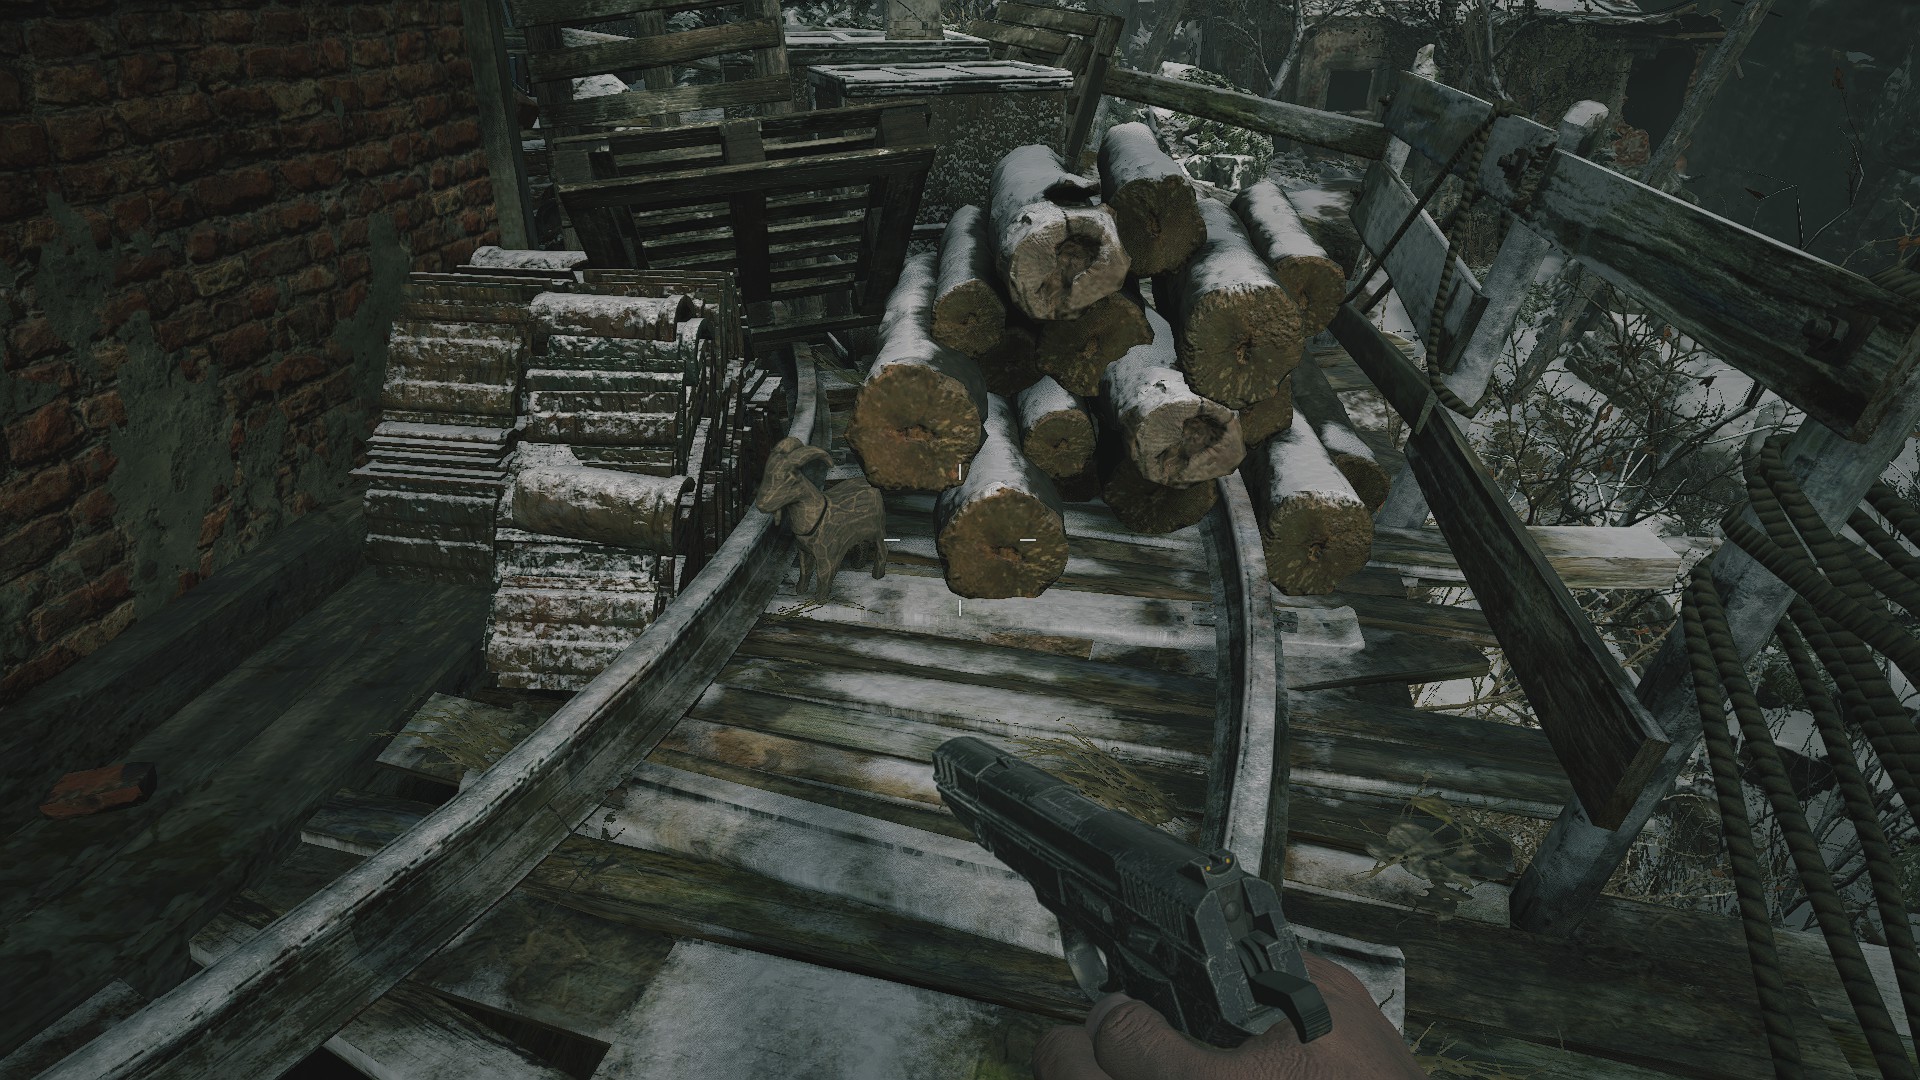
In the castle’s Attic, on a stack of boxes in the corner.
Goat #7
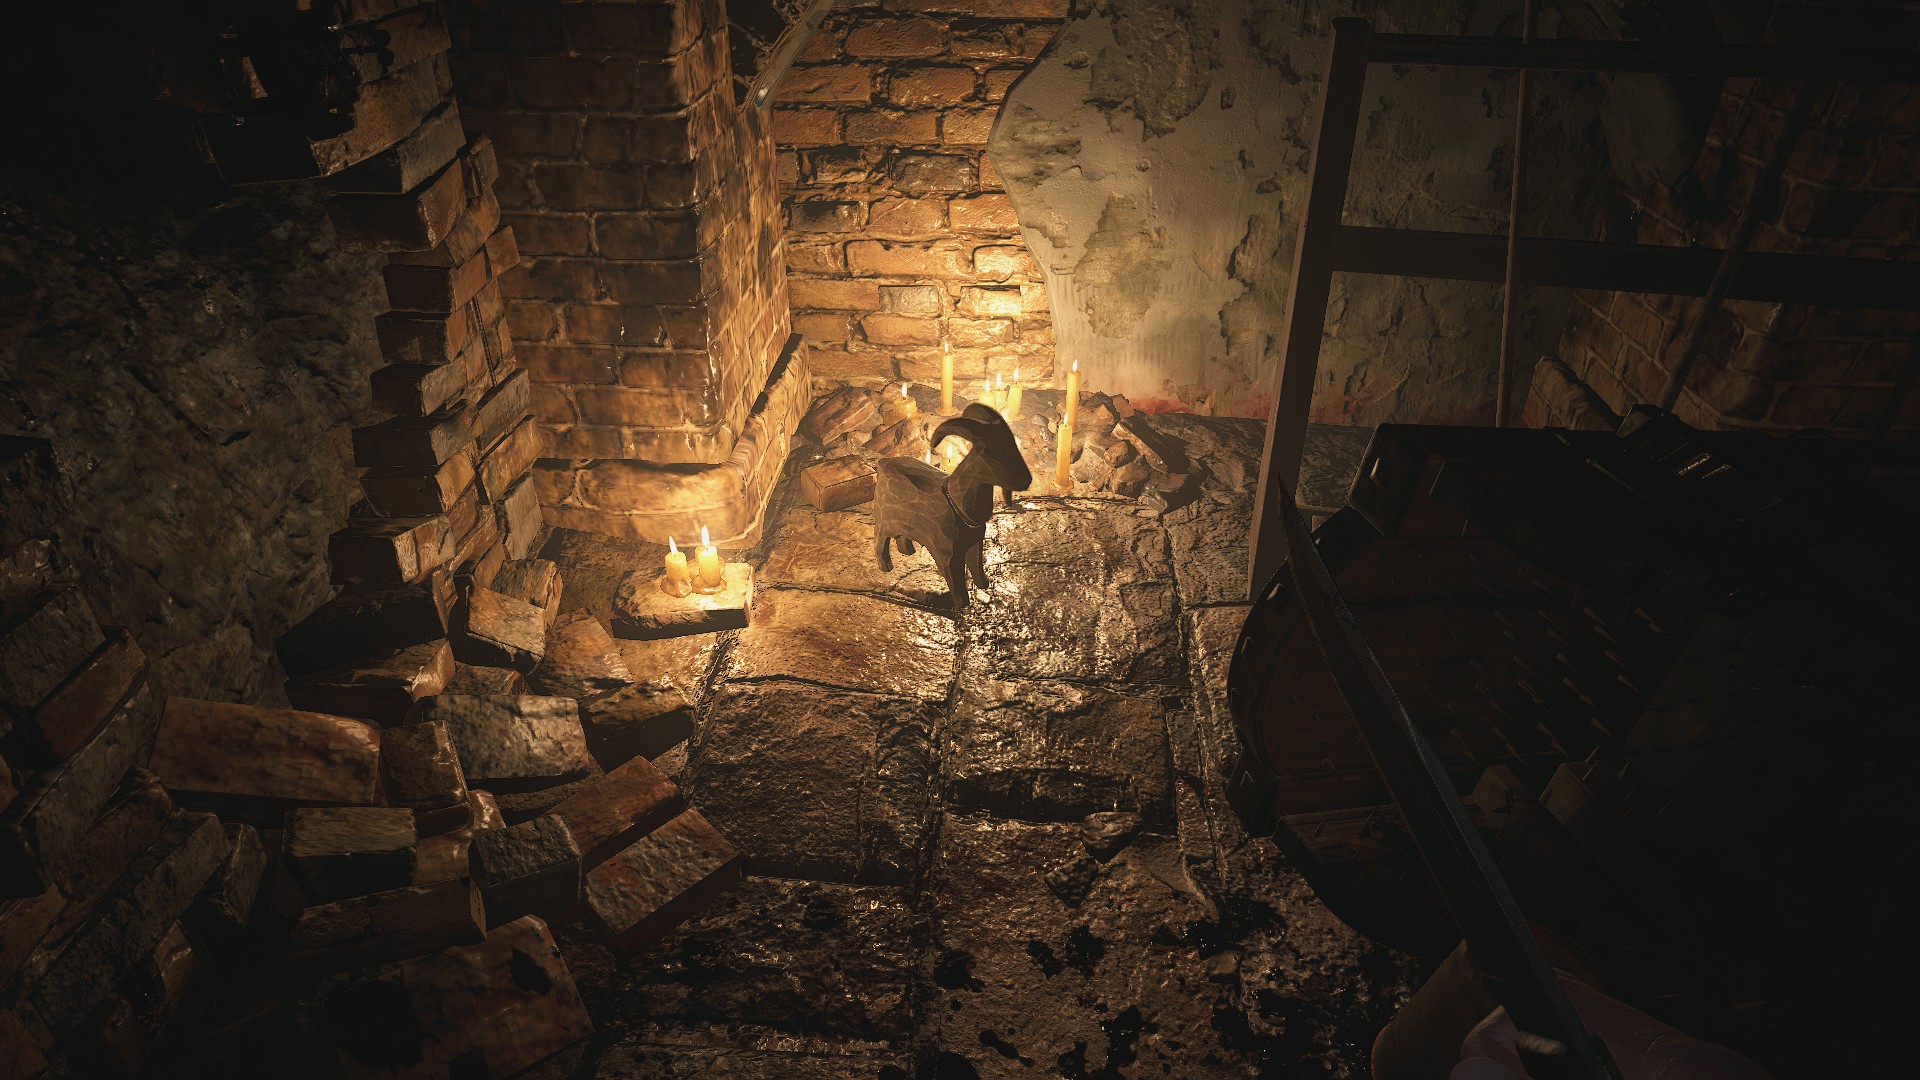
In an alcove underneath the stairs that lead down to the drawbridge. You’ll pass through this general area on your way back into the village from the castle, and can return here once you have the Crank to find some extra supplies hidden on either side of the river.
Goat #8
When you return to the village after your run through the castle, you’ll be able to backtrack to the southern part of the village and open some of the doors that were shut tight when you first arrived.
One of them, in West Old Town, has a sign on the gate that says it’s “locked due to missing homeowner,” but on your second trip through the village, you can break off the lock and go inside.
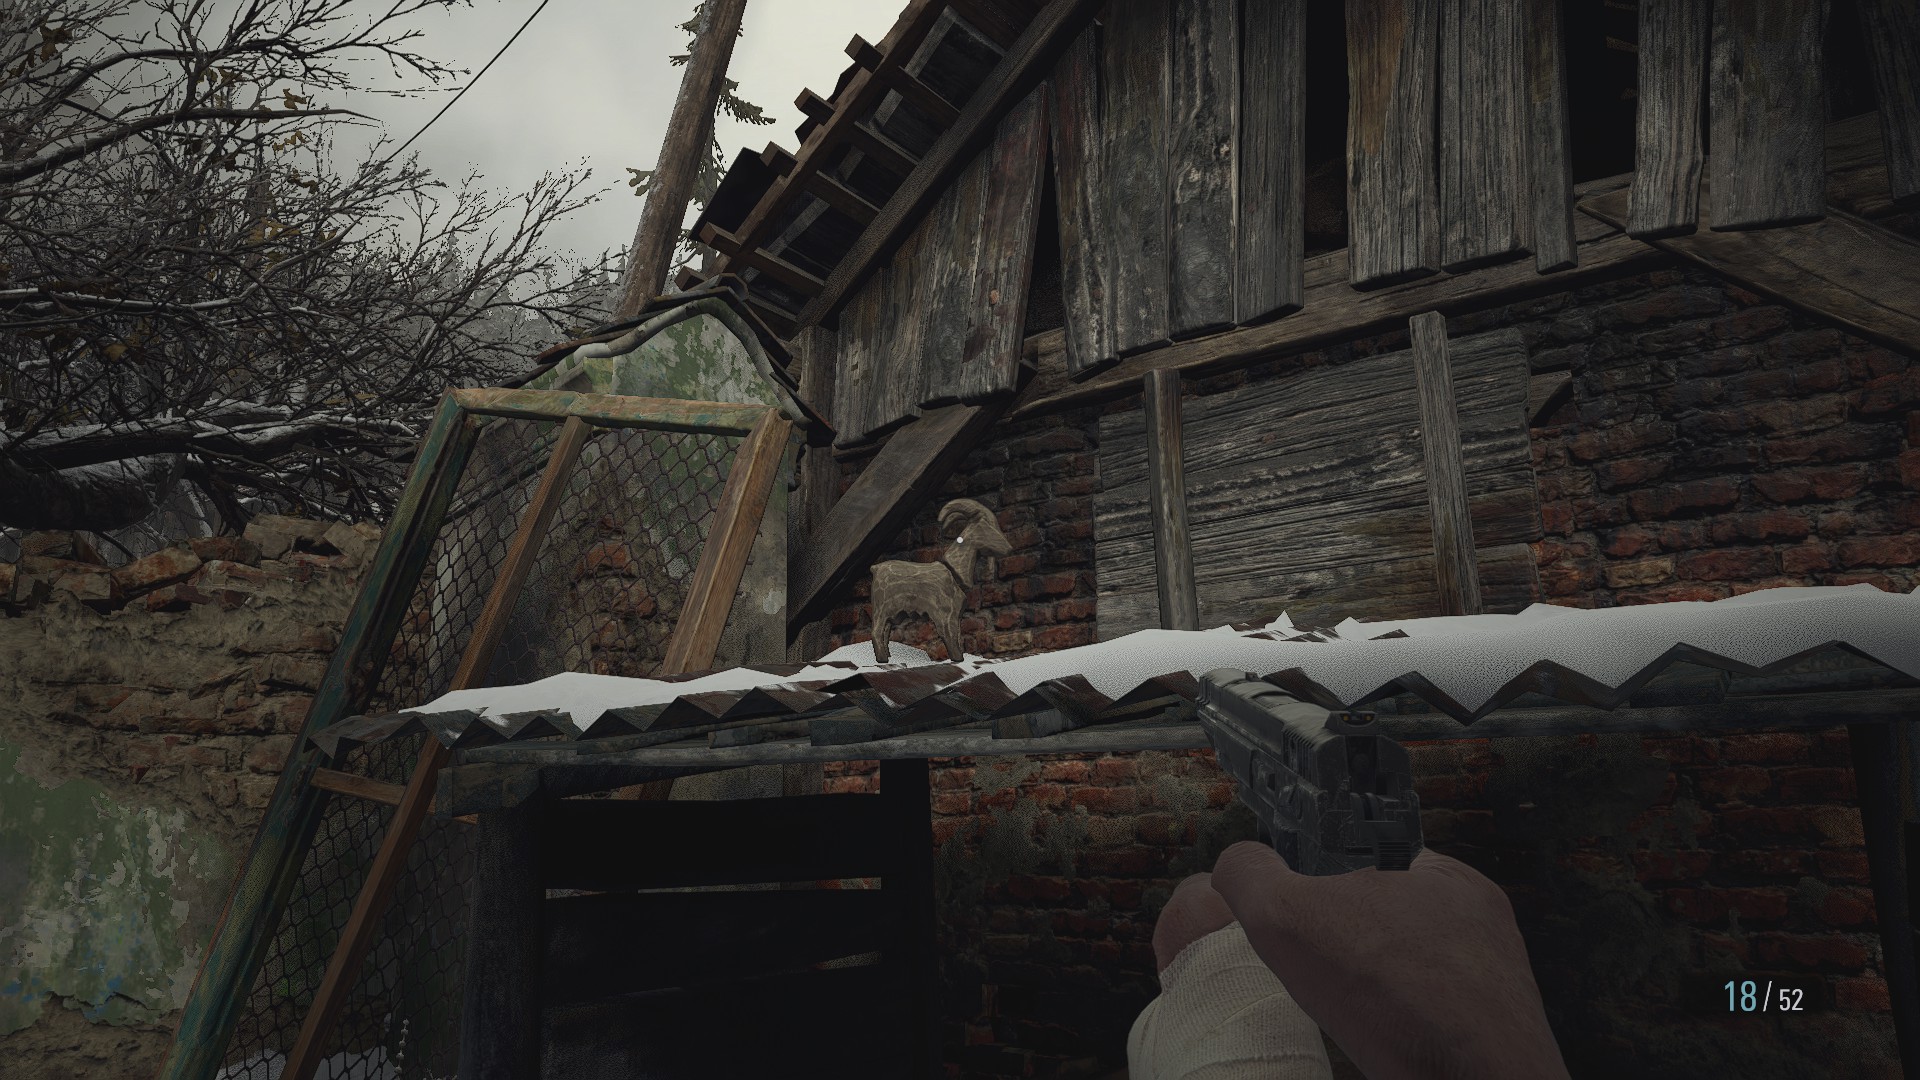
You won’t be able to enter the lutier’s house until you’ve dealt with the shenanigans over at House Beneviento, but you can still shoot his Goat. It’s on the roof of a shed between the lutier’s place and the hut next door.
Goat #9
Use the Iron Insignia Key on the door behind the church in the village. This area looks unexciting at first, with only a couple of chickens to hunt, but you can find a Goat in here hidden behind one of the mausoleums.
Goat #10
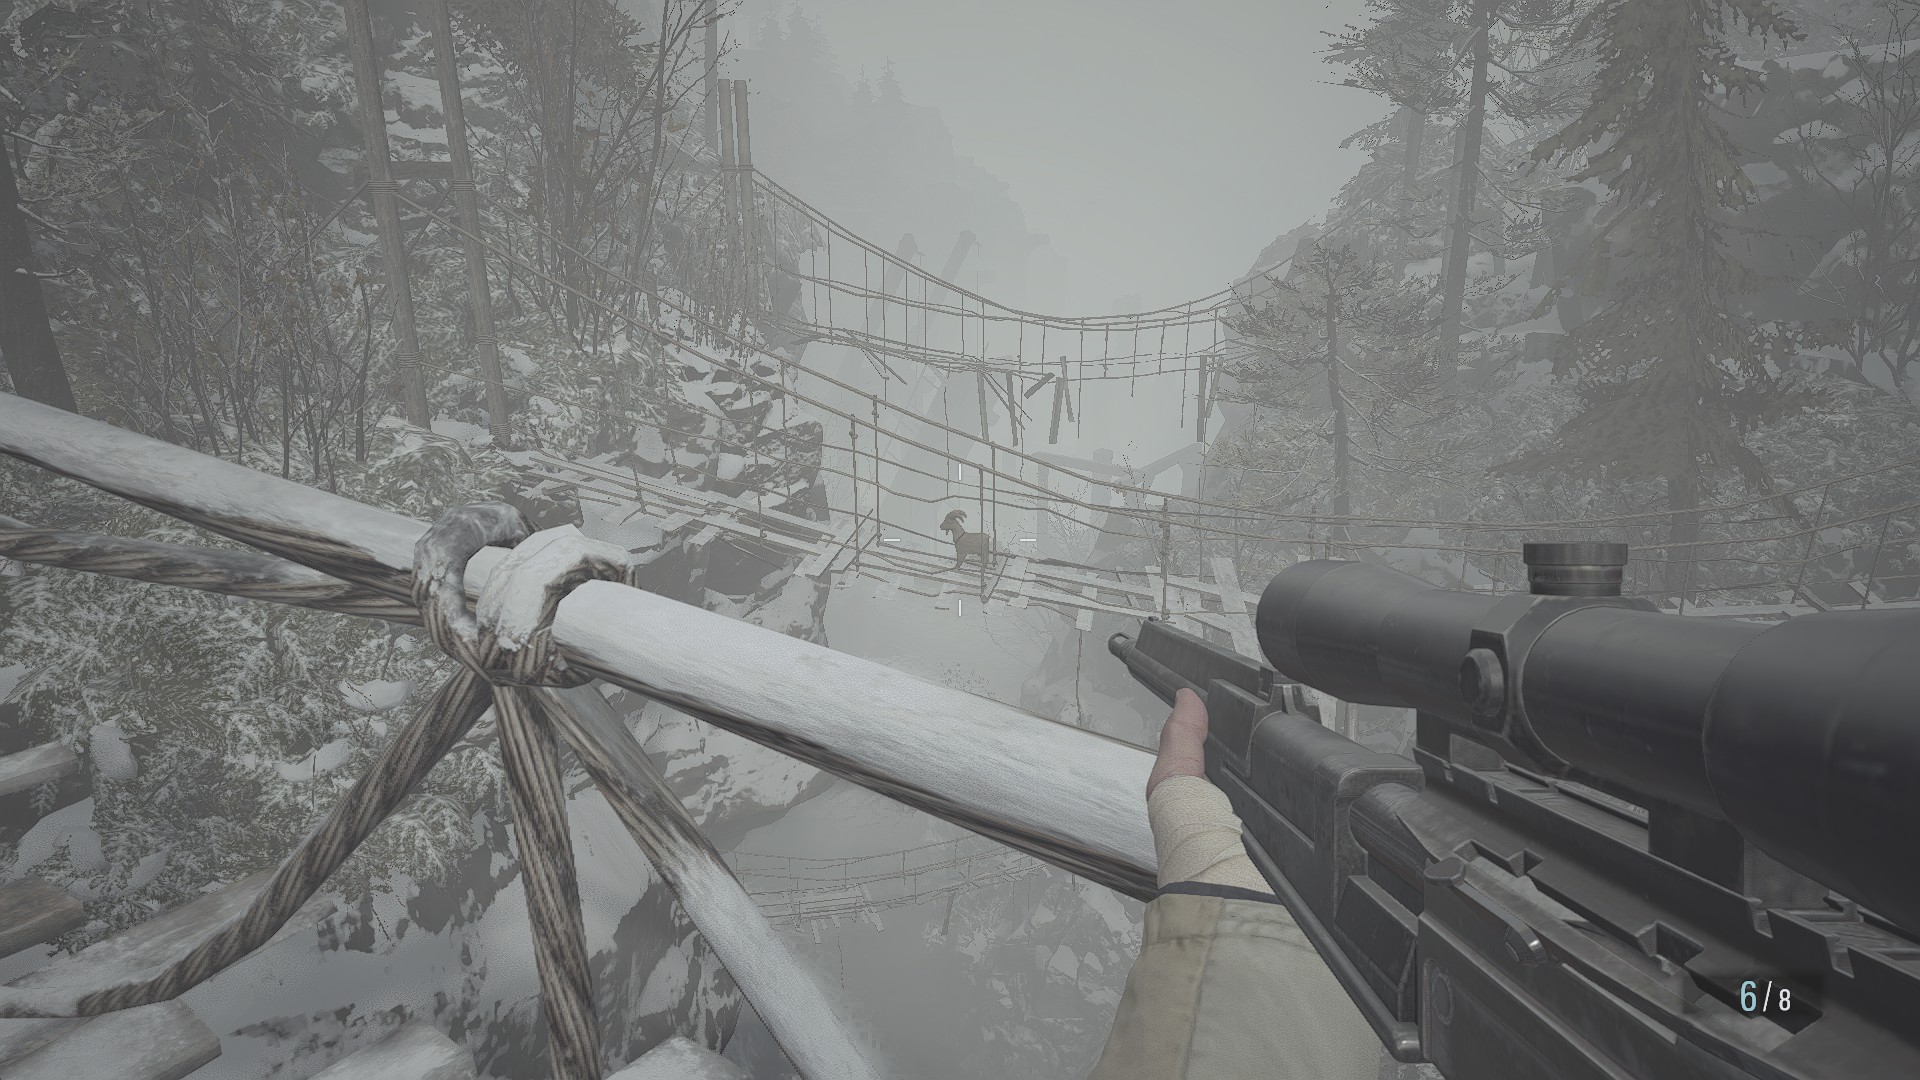
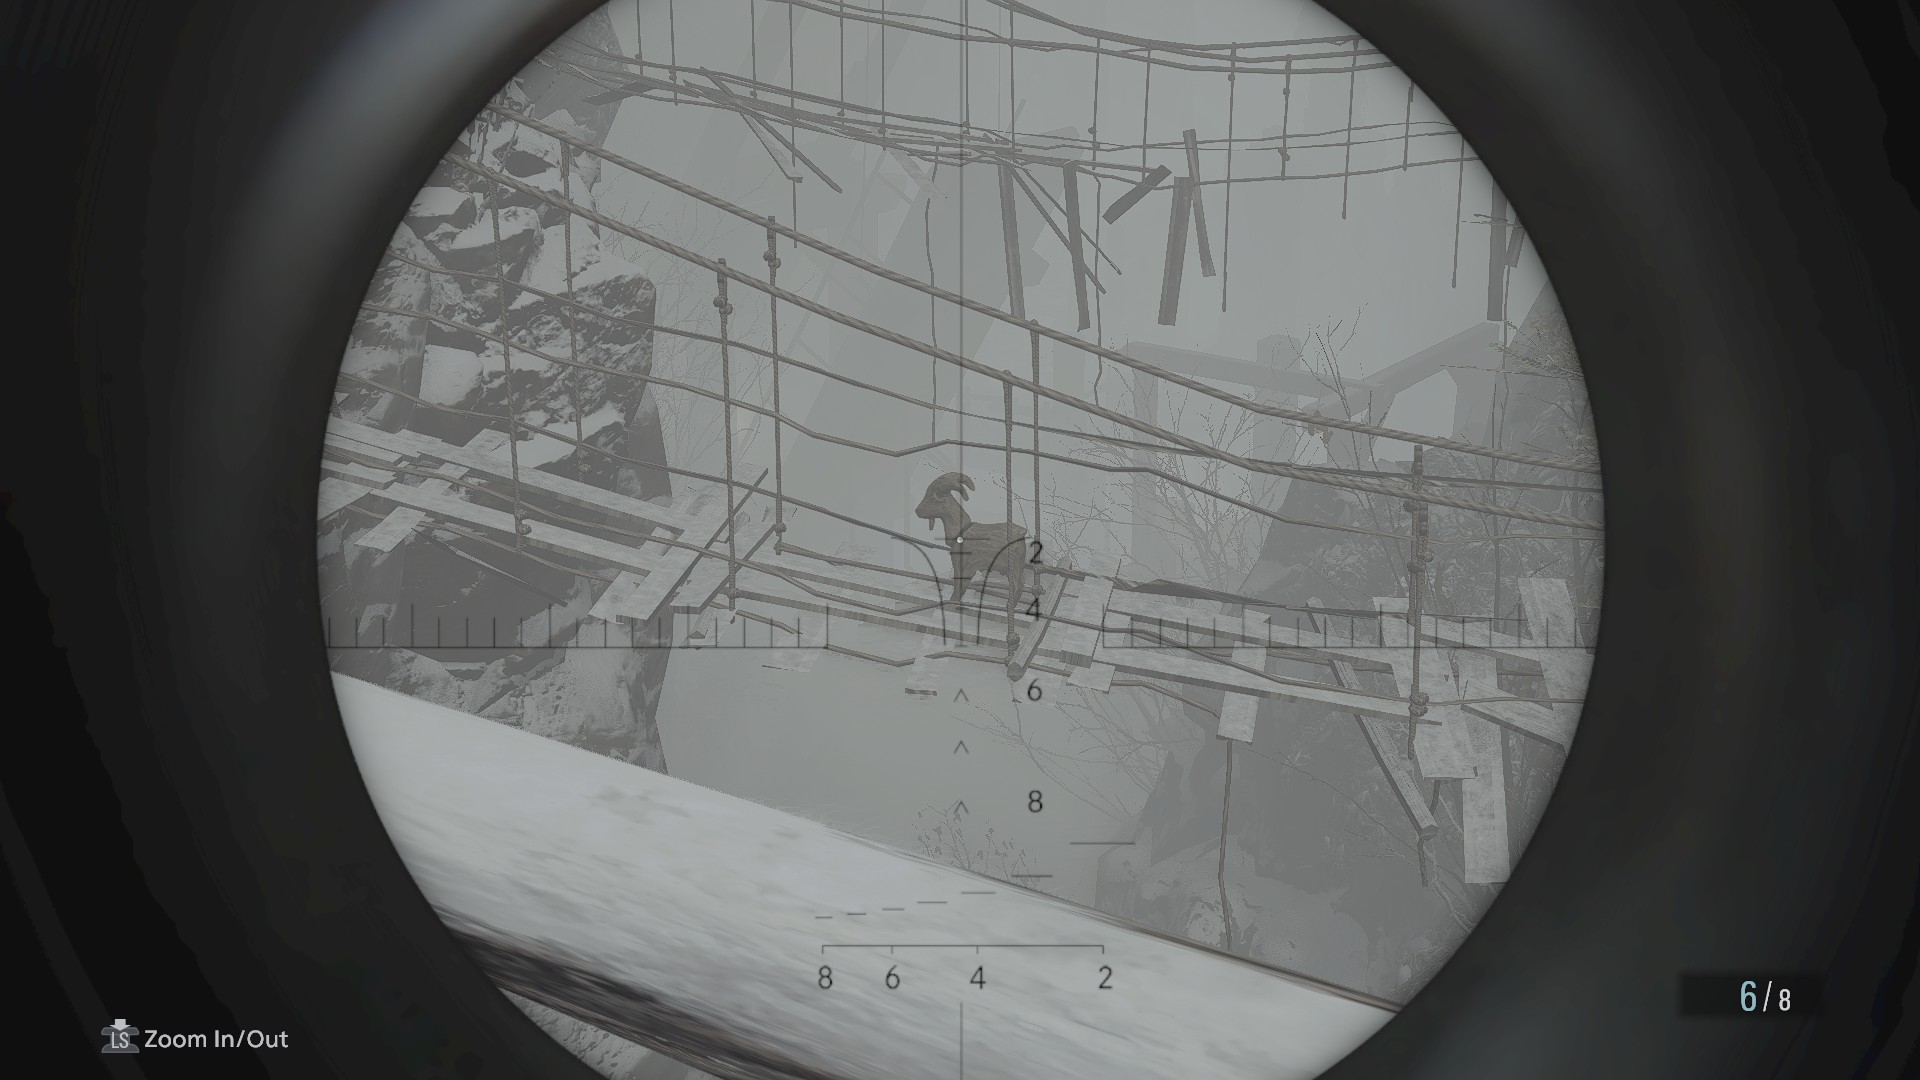
You may have thought to yourself, upon finding the sniper rifle, that it would be very much on-brand for obnoxious video game collectibles if one of the Goats was in a distant location somewhere where it’d be hard to spot without a sniper scope. If so, you were right twice, because there are two of them.
The first is found near the Suspension Bridge near House Beneviento. As you cross it, look to the south to spot the Goat on the closest inaccessible bridge. (Unconfirmed: due to the set piece you go through on your initial approach to Beneviento, you may not be able to see this Goat until you’re on your way back to the village.)
Goat #11
If you’re facing the front door to House Beneviento, turn left and follow the fence to the right. The Goat is on the edge of a cliff behind the fence.
Goat #12
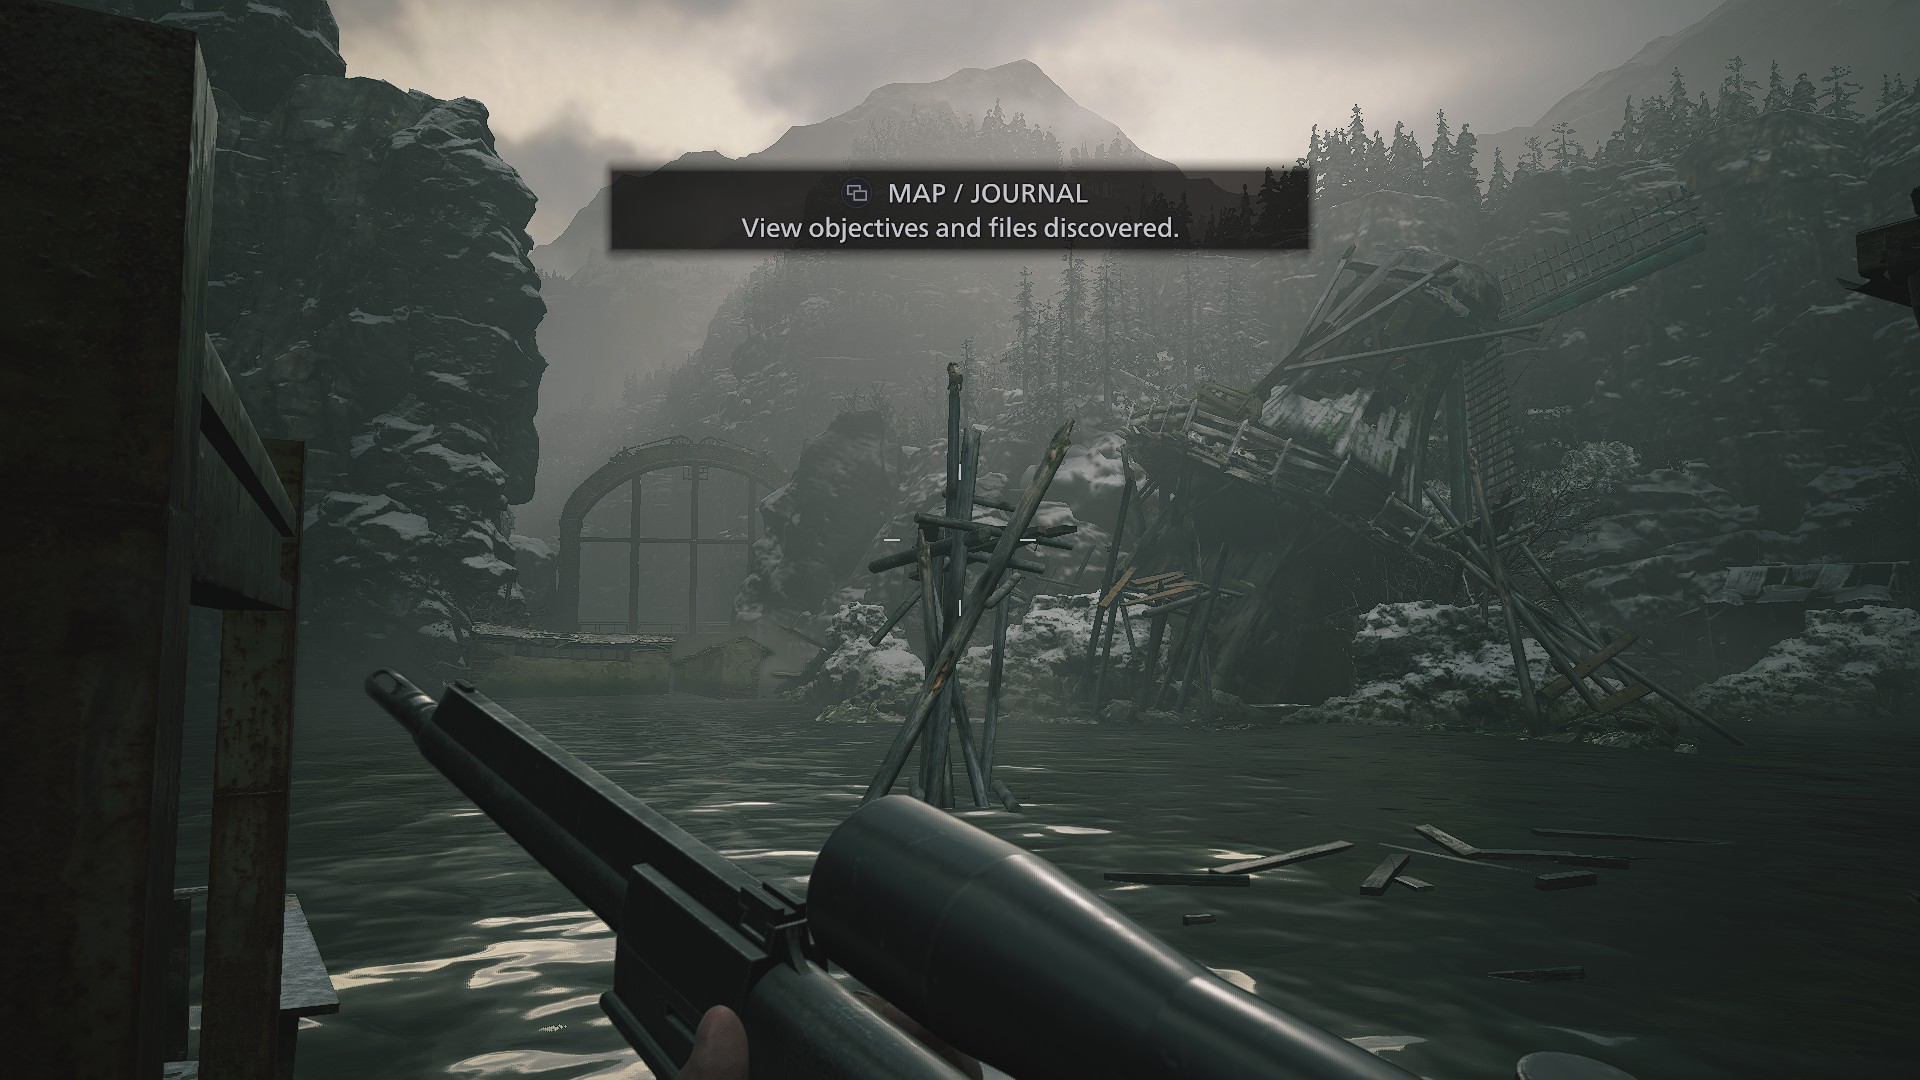
On the far side of the highest balcony of the dilapidated windmill near the sluice control room.
Goat #13
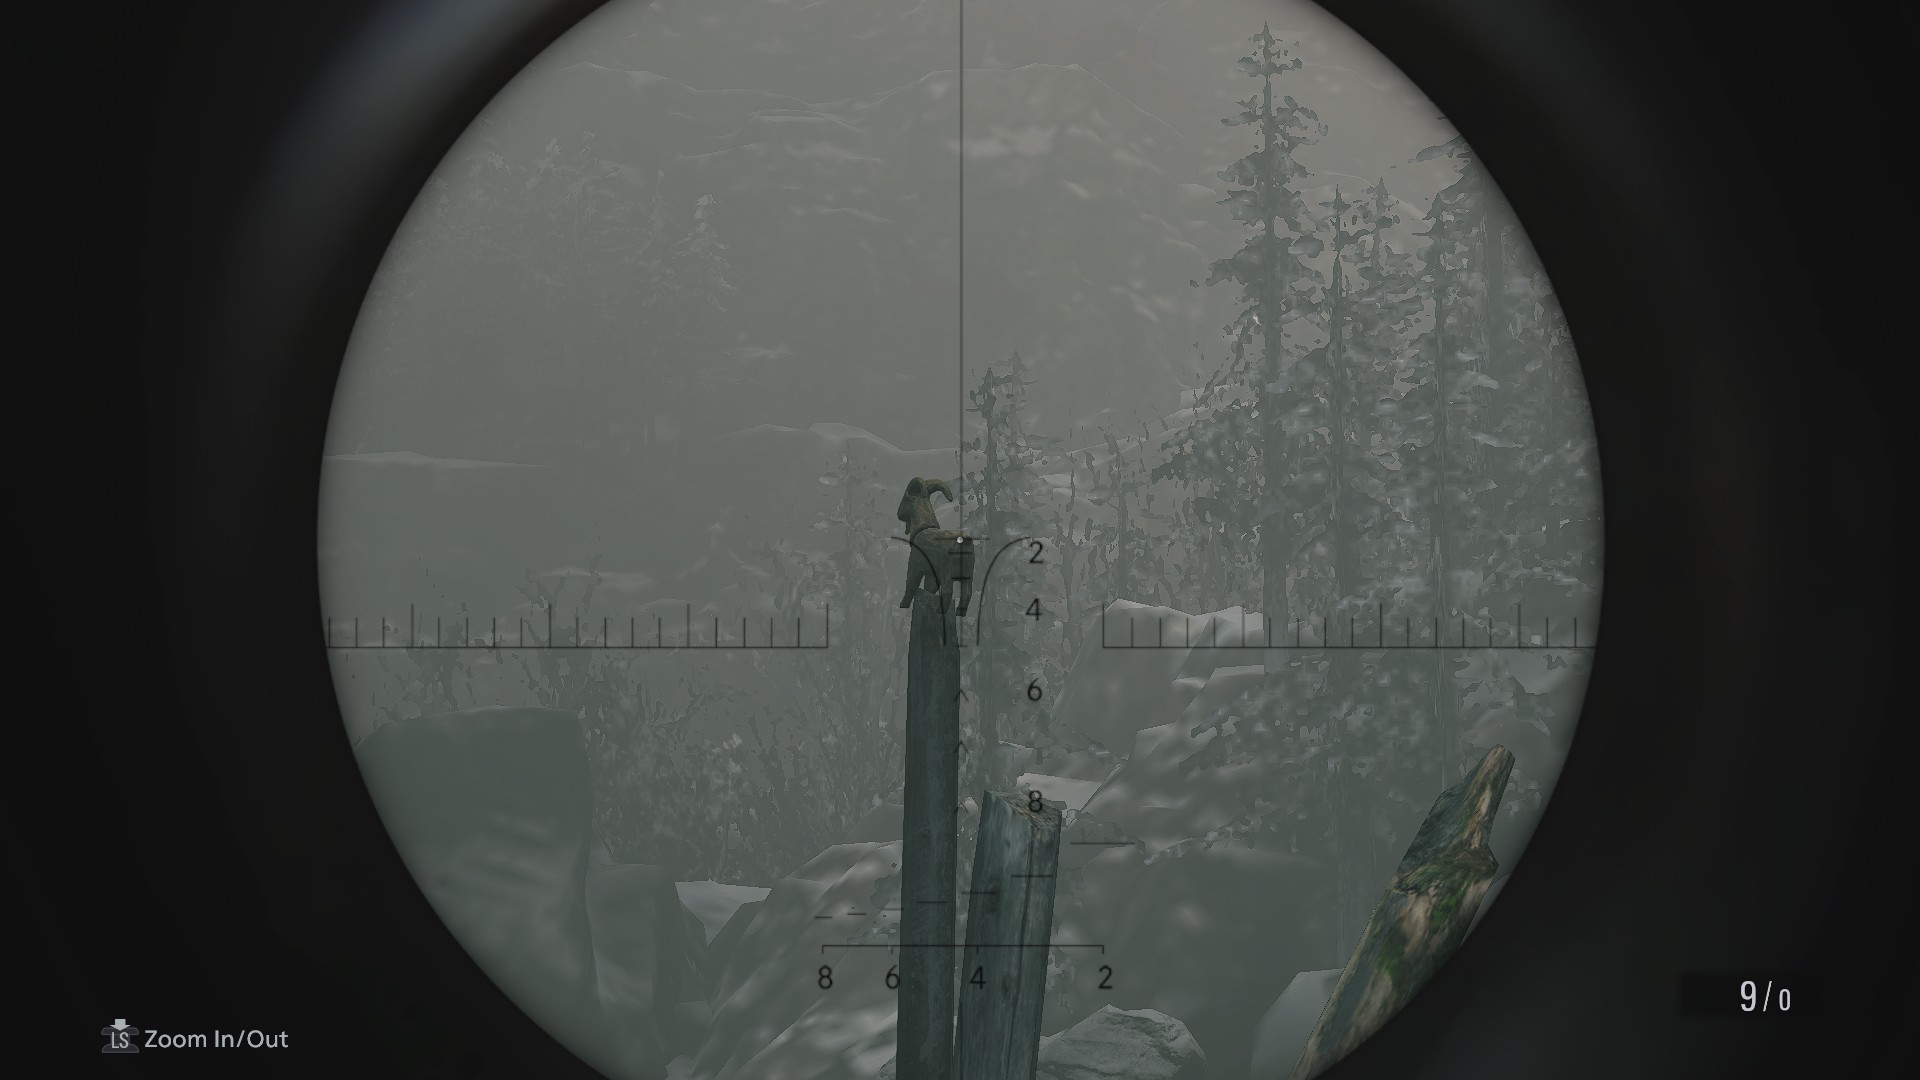
This is the second of the “scoped Goats.” Once you reach the unpleasantly gooey switch in the flooded part of the reservoir, turn 180 degrees and look at the chunk of debris sticking out of the water to the north. There’s a particularly precarious Goat on top of it.
It’s not difficult to shoot with just the pistol, if need be, but spotting it at all is easier with the sniper rifle.
Goat #14
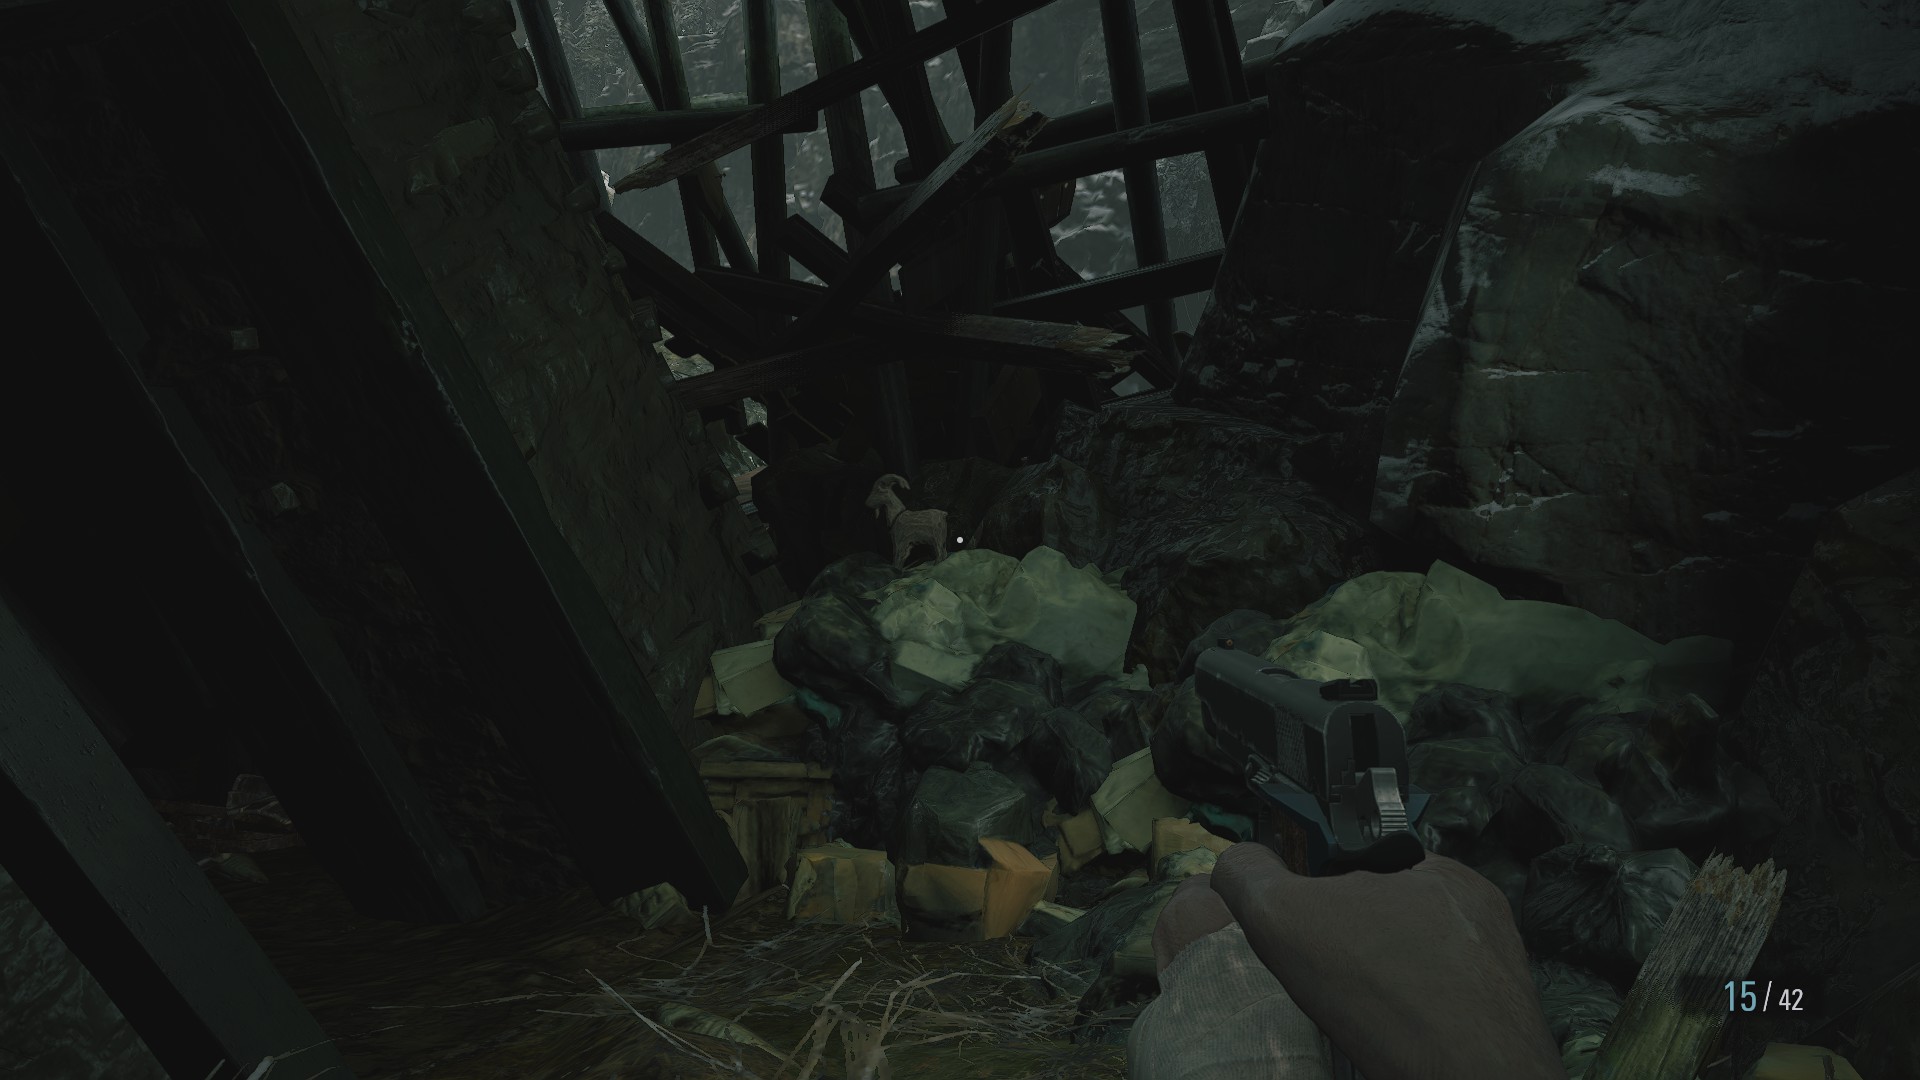
After you defeat Moreau, backtrack to the mine tunnels near the entrance and go back out to where you found the fishing boat. With the reservoir drained, you can now walk down to the former lakebed to find a few treasures in the wreckage, including the formerly-inaccessible treasure chest that you probably spotted when you took the boat.
Along the way, you’ll pass through the formerly-sunken wreckage of a house. When you leave that house, turn to your left to find a Goat atop a pile of garbage.
Goat #15
Before you go up the ominous stairs that lead to the Stronghold, turn north and follow the path to find the optional area Otto’s Mill. Follow the river underneath the main building to find another display with a Goat in it.
Goat #16
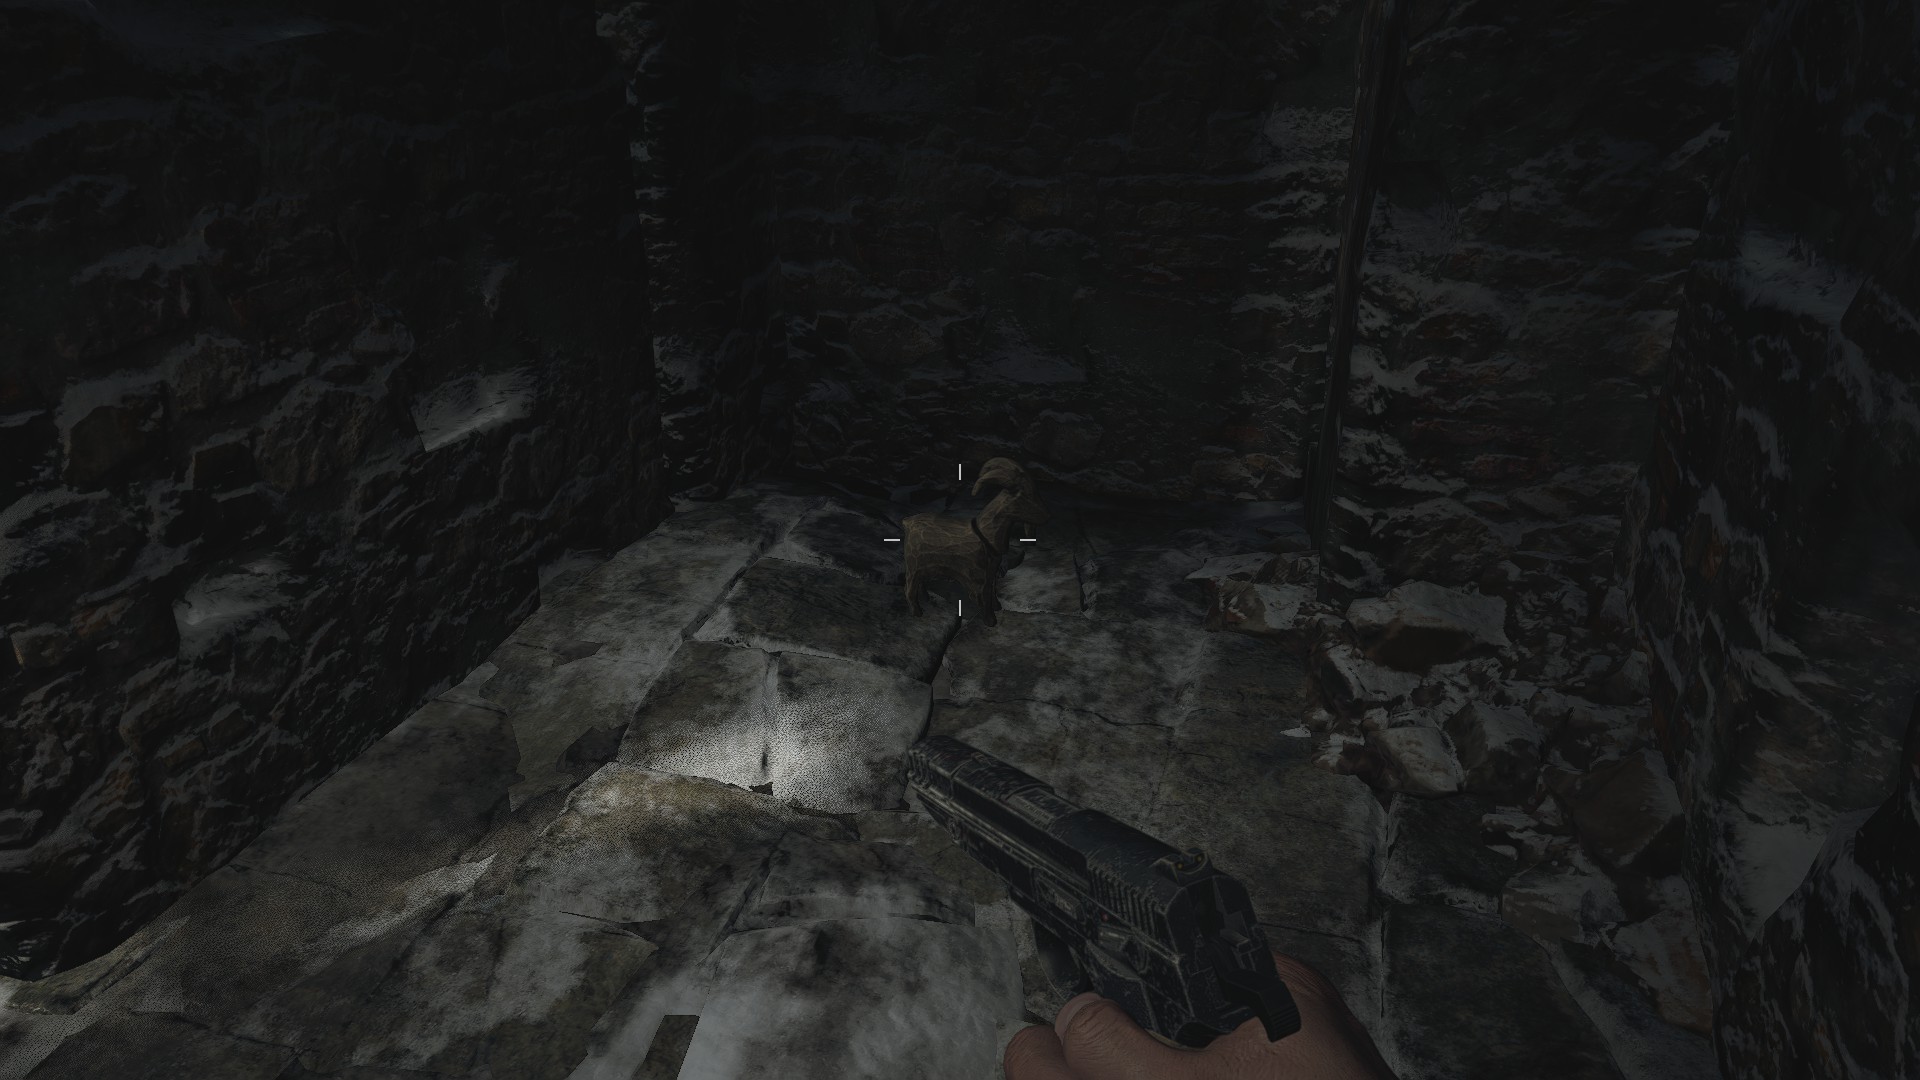
When you reach the spiral staircase in the Stronghold, follow the stairs down to their end and look for this Goat hidden among debris at the bottom. It’s exactly the same color as the walls, so it can be easy to miss.
Goat #17
On one of the support beams along the elevator shaft where Duke’s set up shop in the Factory. You can try to destroy this Goat by blasting it while you travel between floors, or simply get off at B2 and snipe it from just outside the elevator car.
Goat #18
At the southern end of the Ventilation Duct in the Factory, overlooking the Grinder Shaft. This is the area where you have to snap-shot the center of the running fan to avoid being mulched.
Goat #19
After you defeat the Sturm (a.k.a. Ol’ Propellerhead) in the Factory, go into the control room and look at the eastern wall. There’s an open vent half-hidden beneath a desk, which leads to a hidden room with some much-needed supplies and this Goat.
Goat #20
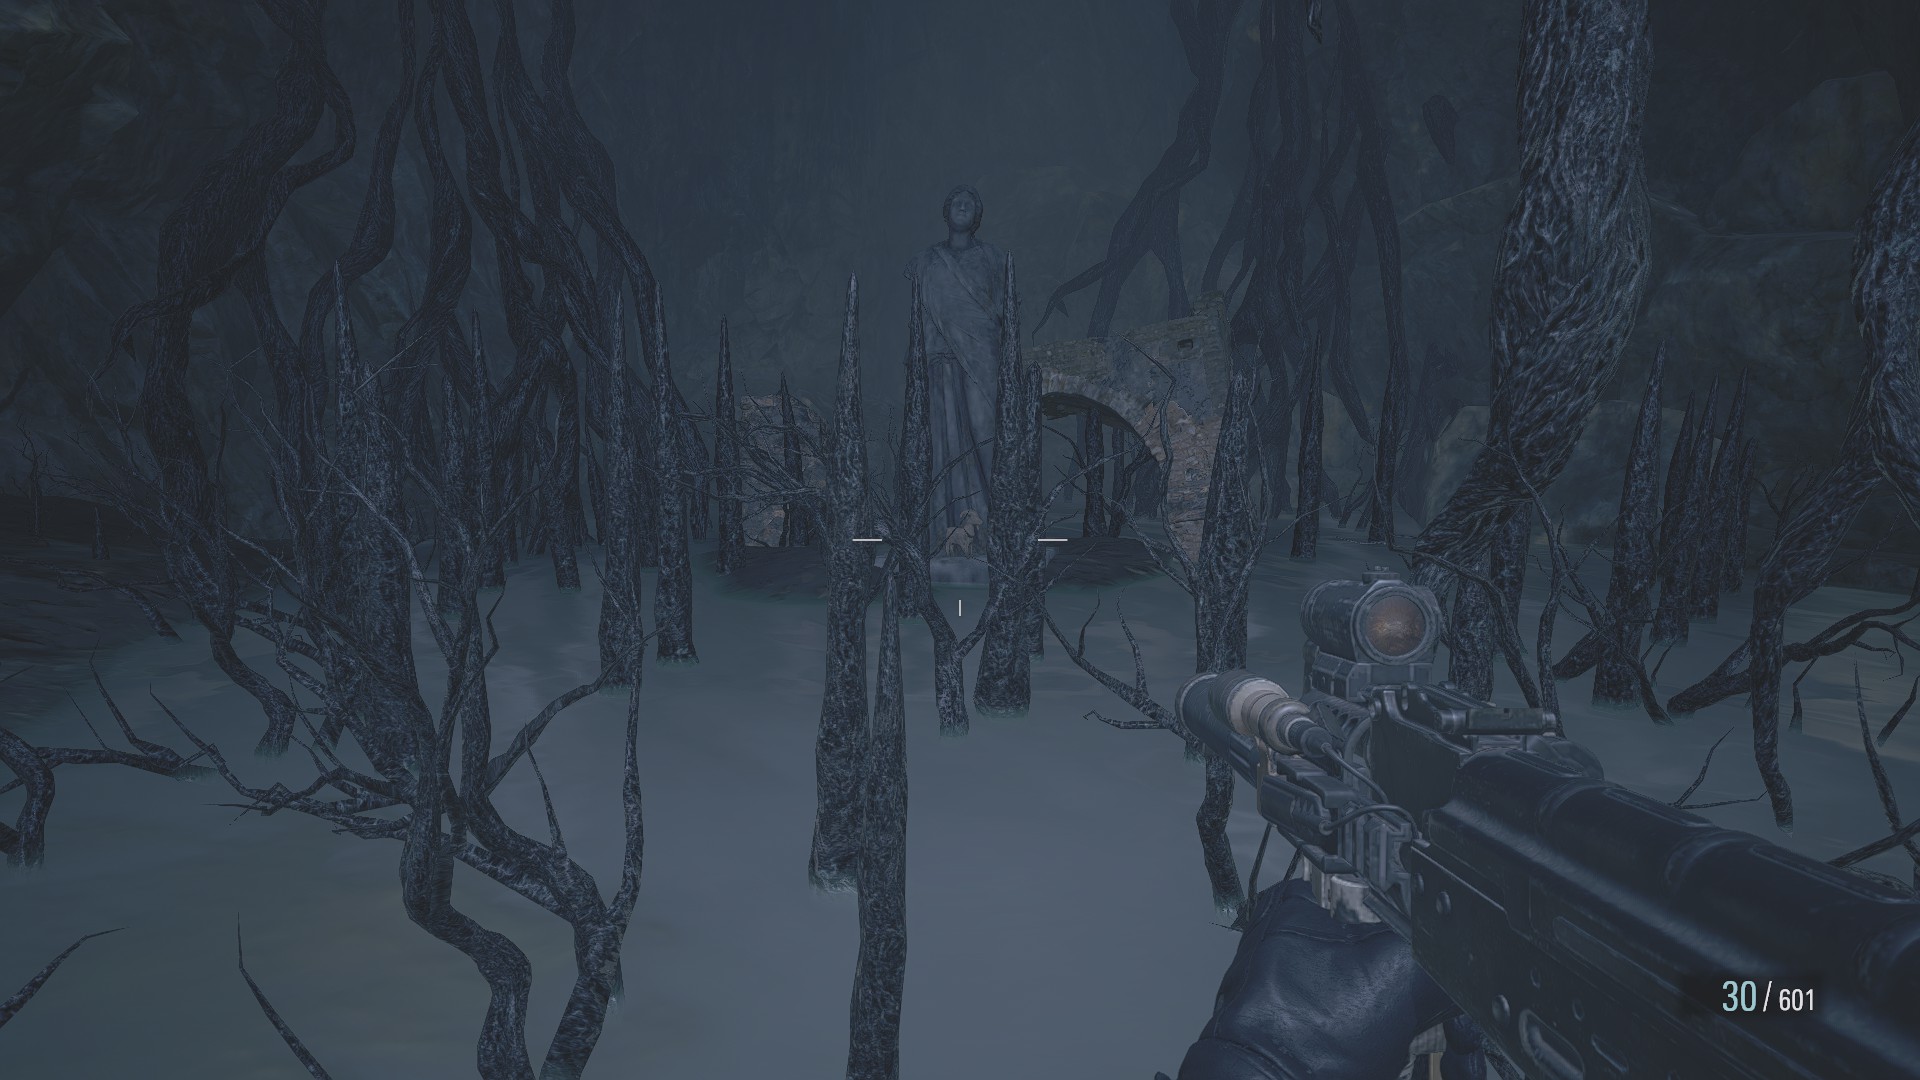
As Chris, after the scene where he throws the shaped charge into the mutomycete, turn around to face the way you came. There’s an alcove next to your entry point into the larger cavern, where a statue of a woman can be seen behind a field of petrified branches. The final Goat is at the base of the statue, barely visible unless your brightness is all the way up.
Destroying your first Goat in RE8 unlocks the trophy/achievement Cynic, while getting all 20 unlocks Heretic. Both are also listed as Challenges in the post-game bonuses menu, so pulling them off earns points towards the purchase of extra weapons, infinite ammo, figurines, and other such perks.
Heretic is worth 16,000 CP. Since the game doesn’t actually tell you how many points a completed Challenge is worth, and Cynic is basically guaranteed, we’ll need to start over on a new save file to find out.
Either way, those are the location for all 20 of the Resident Evil Village Goats of Warding. For more RE8 tips and guides, consider heading over to our guide hub for the game.










Published: May 8, 2021 07:07 pm