Quantum Break is finally here (check out our review), so now you and a cast of famous television actors can have all kinds of fun messing with the time stream and killing soldiers stuck in frozen time bubbles!
If you want to fully experience the story (and nab all the achievements), there’s a variety of collectibles hidden across the game – including quantum ripples, intel, chronon sources, and narrative objects such as documents, emails, and audio files.
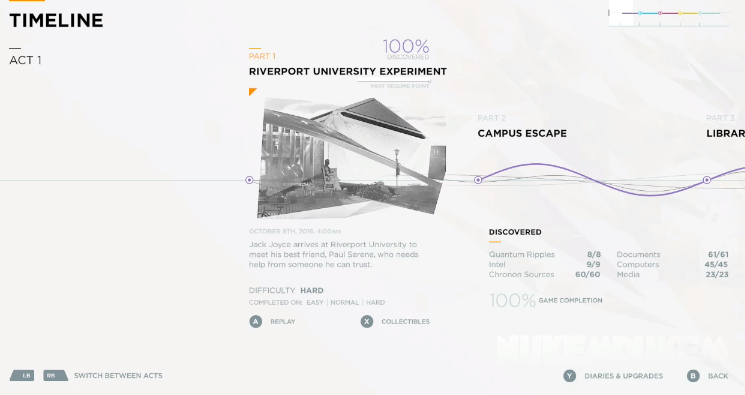
If you aren’t sure if you already went past the area where a collectible is found, just pull the up the timeline and press “X,” which gives specific info on which objects you have and haven’t found.
While some of the collectibles change in later acts based on the branching path option you choose at each Junction segment, everything in Act 1 is set in stone and will be found exactly as described below. When you’re done with these, check out:
Quantum Break Act 1 – 1 (Riverport University Experiment) Collectibles
Narrative Object 1: University Map (Document)
This first collectible is right after you get out of the cab at the very start of the game. Just run up and examine the university map next to where a student is sitting.
Narrative Object 2: Protest Flyer (Document)
Directly after the university map, head inside the archway and grab the protest flyer sitting on a table to your left.
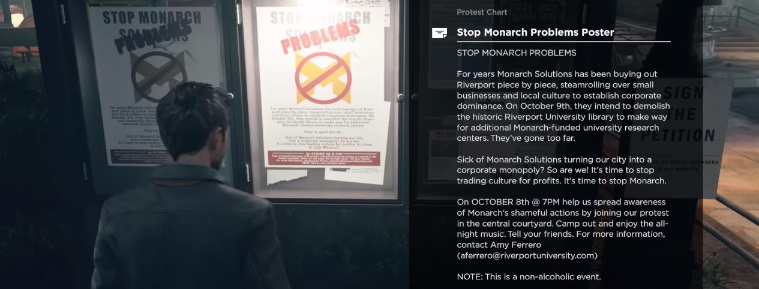
Narrative Object 3: Stop Monarch Problems Poster (Document)
Next to the couple sitting on a bench and the “Conserve The Library” sign is another university info area. Interact with it to pick up the Monarch poster.
Narrative Object 4: Sofia Amarel Seminar Poster (Document)
Turn around after seeing the previous collectible and run across to the other sign to find the seminar poster collectible.
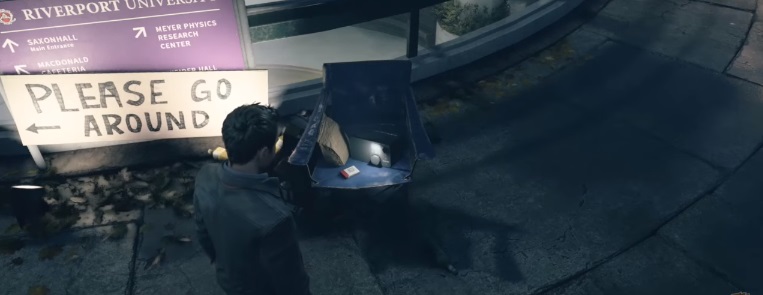
Narrative Object 5: Bobby Radford Radio Show Recording (Audio File)
Right after the previous two documents you walk down a path towards a large glass, circular structure. Check the chair next to the “go around” sign to hear the audio.
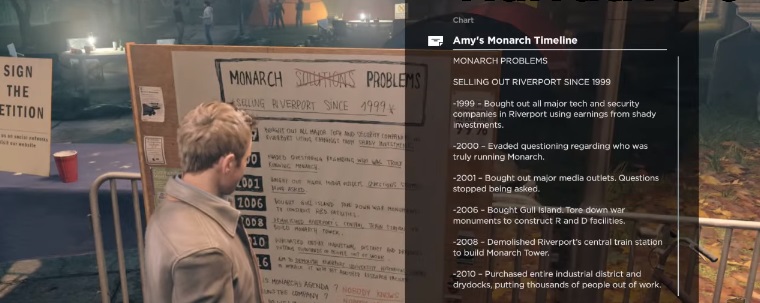
Narrative Object 6: Amy’s Monarch Timeline (Document)
Directly to the right of the girl with the ponytail is a “sign the petition” poster and a bike rack. In-between is the “Monarch problems” poster, which is the next collectible.
Narrative Object 7: Alan Wake Returns (Video File)
Further to the right of the bike rack is a small tent room with a television. Turn the TV on to see an Alan Wake easter egg, which may indicate the developer is finally working on a new game in that franchise!
Narrative Object 8: Dr. Kim Memorial Article (Document)
Before going inside the physics research center, head to the left of the doors to find two articles displayed on the columns. The first one is the Dr. Kim article, while directly to the right is the Paul Serene article.
Narrative Object 9: Paul Serene Focus Article (Document)
This one is easily found directly to the right of the previous collectible on the next pillar.
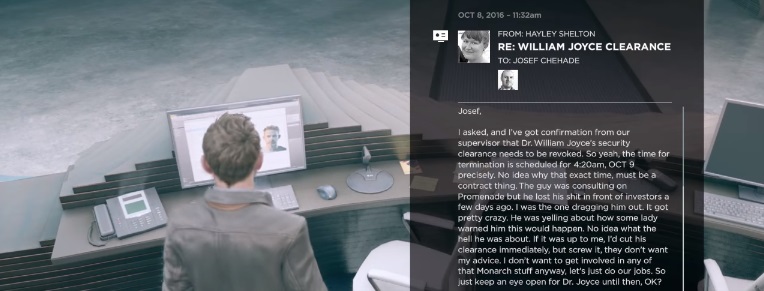
Narrative Object 10: William Joyce Clearance (Email)
Go inside the physics research center and access the computer sitting on the reception desk to read this email.
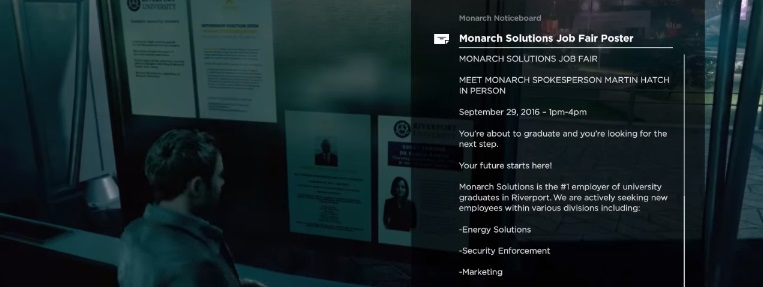
Narrative Object 11: Monarch Solutions Job Fair Poster (Document)
When Paul asks you to go in the elevator, instead head over to the room on the left with the large glass display case. Look at the board on the wall to grab this collectible.
Narrative Object 12: Project Promenade Presentation (Video File)
In the area with the projector and the chairs, sit down and watch the video presentation for this collectible. Sitting down and watching the presentation will also unlock the “Marketing Spiel” achievement.
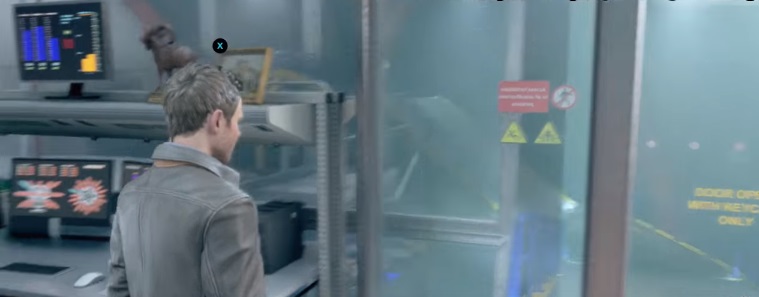
Narrative Object 13: Jack And Paul Photo (Image)
After going into the lab, turn to the right and look at the picture and statue sitting on the top level of the desk.
Narrative Object 14: Project Promenade Beta Test (Email)
To the left of the photo is another desk. Interact with the laptop there to open this email and nab the 14th collectible.
Narrative Object 15: Coming Home? (Email)
Further left from the previous two collectibles, go down the stairs to another desk and grab the clipboard sitting on the edge to read the printed email.
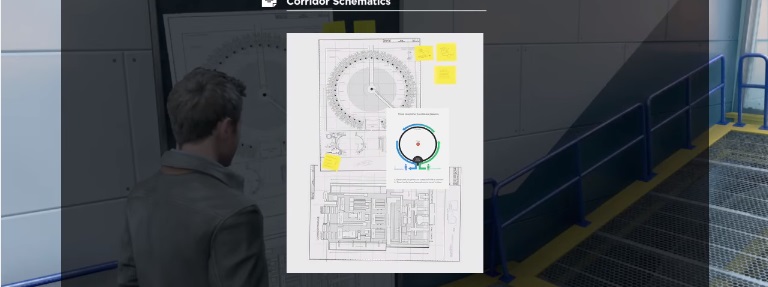
Narrative Object 16: Corridor Schematics (Image)
Slightly further into the room and on the other side of the wall opposite the previous collectible, this one is found by examining the schematic on the board.
Quantum Break Act 1 – 2 (Campus Escape) Collectibles
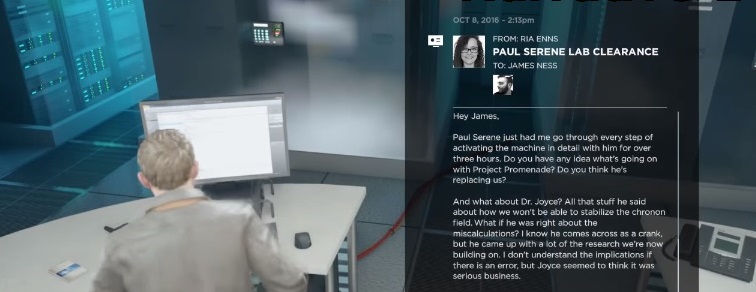
Narrative Object 1: Paul Serene Lab Clearance (Email)
Inside the server room, check the computer on the circular desk (near the large red cable on the floor).
Quantum Ripple 1
After the gun battle in the laboratory, head over to the right side of the room and look for a dry erase board. Study the equation on the board to initiate the first ripple.
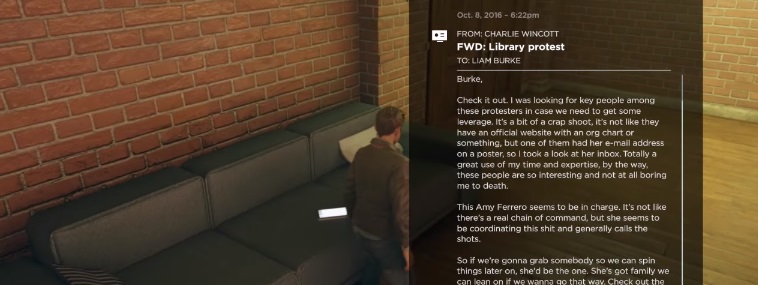
Narrative Object 2: FWD Library Protest (Email)
Before going into the elevator, go around behind it to a room with brick walls and pick up this forwarded email found on a tablet sitting on the couch.
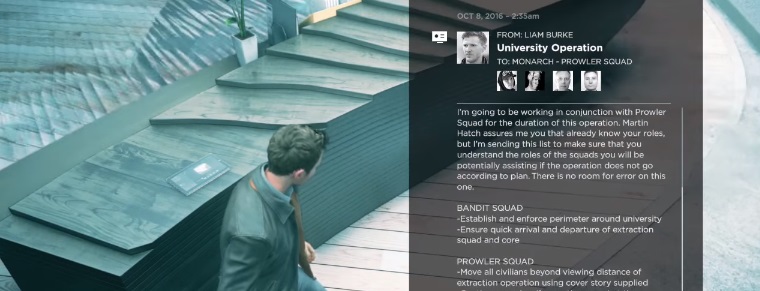
Narrative Object 3: University Operation (Email)
During the frozen time segment with the soldiers on the ground floor of the building, grab this collectible sitting on the tiered desk with the potted plant.
Quantum Break Act 1 – 3 (Library Chase) Collectibles
Narrative Object 1: Bobby Bradford Radio Show Segment (Audio File)
In the construction site area, interact with the radio sitting on the blue barrel to get the only narrative object in this segment of the game.
Quantum Break Act 1 Junction Collectibles
Quantum Ripple 1
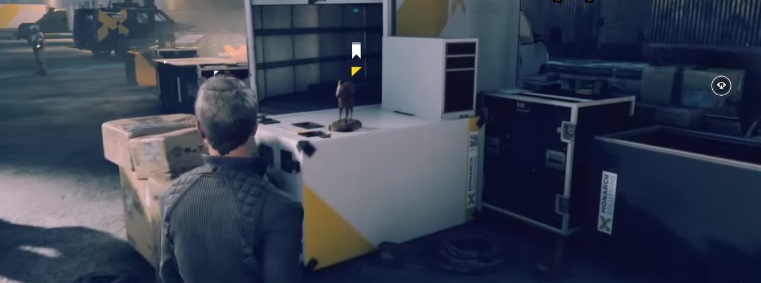
Off to the right near some crates is the statue you saw earlier inside the physics lab by the photo. Interact with it to initiate the ripple.
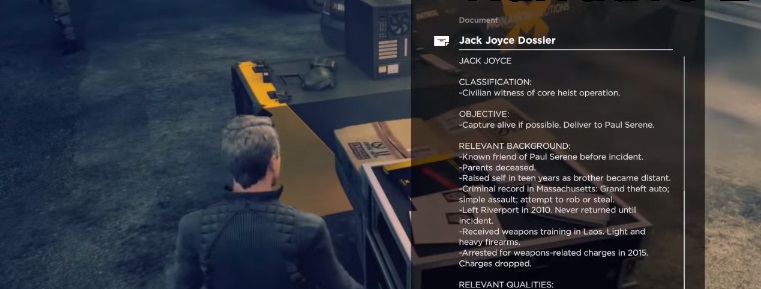
Narrative Object 1: William Joyce Dossier (Document)
Just slightly beyond the statue is a black crate covered in papers. Interact with the documents to pick up this object.
Narrative Object 2: John Joyce Dossier (Document)
Over to the left of the previous collectible is another similar black crate covered in paper. Grab the top one to unlock this final collectible of Act 1.
That completes all the collectibles you can grab in Act 1 of Quantum Break before the branching paths and T.V. episodes begin. Stay tuned for complete walkthroughs of the rest of the campaign acts coming soon!














Published: Apr 5, 2016 02:08 pm