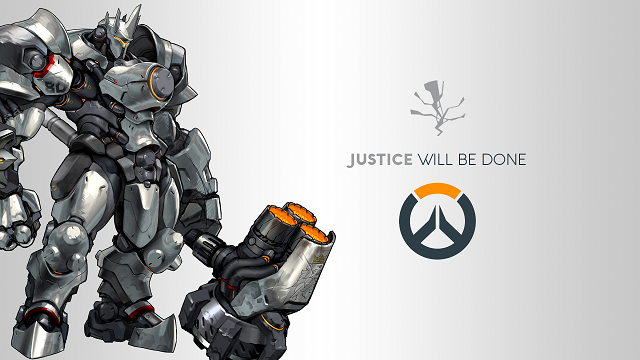
Reinhardt is your classic tank in Overwatch, He has a massive shield to protect his team and himself from enemies, as well as being able to push forward and devastate enemies in melee range. He struggles against mobile heroes who can flank him quickly or get behind him.
Abilities
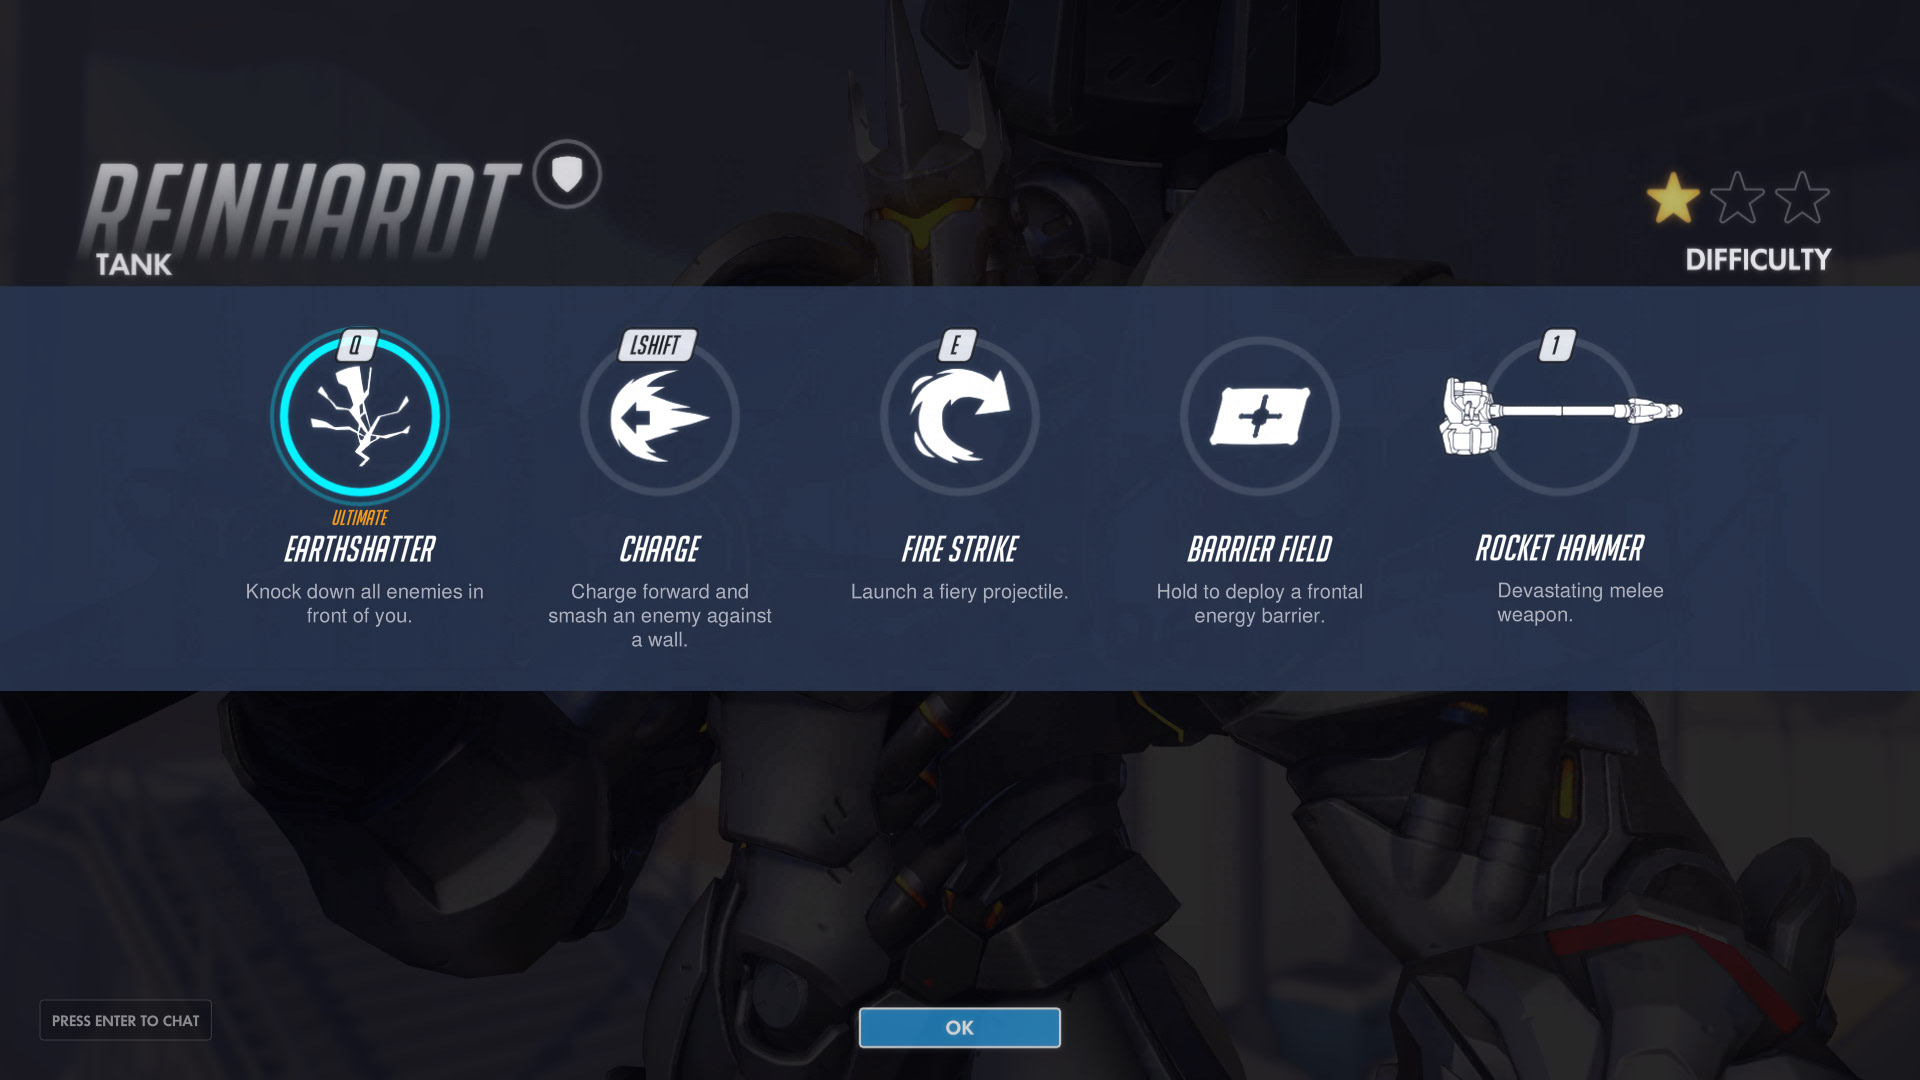
Rocket Hammer – Devastating melee weapon
This is your basic attack and it deals 75 damage in a frontal cone. It has a decent range of 5m and a slight knockback to all enemies hit. While his Rocket Hammer does not have a cooldown, it does have a 1 second swing time which is relatively slow.
It is important to note you can animation cancel your Rocket Hammer by right clicking. Doing this will only deal damage to those who have already been hit, but is a very useful tool when fighting one enemy or you miss your swing and want to reset. Against a single opponent you should always animation cancel the hammer once it connects to increase your attack speed. Rocket Hammer is a very powerful melee attack that can 3-shot many of the squishier heroes in Overwatch. Be mindful of mobile heroes, though, that can dash in and out of your range and take you down quickly — such as Tracer, Genji, or even McCree.
On a side note, Reinhardt is the only hero in the game without a secondary melee attack from hitting V (default button on other heroes).
Barrier Field – Hold to deploy a frontal energy barrier
This is the bread and butter of what makes Reinhardt a tank. A massive shield he can put up and absorb up to 2k damage. Reinhardt is a hero that needs the support of his team to really be effective. If you have a team spread out all over the place and not taking advantage of your shield, then Reinhardt is not being utilized to his full potential.
2 seconds after the shield is no longer active, it will begin regenerating 225 points per second. If the shield is destroyed, it cannot be activated again for 5 seconds and will still regen at 225 points per second. It is important to note that when Reinhardt has his shield up, the camera will change to a 3rd person point of view to help you navigate the shield to a more essential location.
While Reinhardt’s shield is strong, you have to know when to use it and when not to. Keeping the shield up all the time does not help your team as much as having it ready for the moments it is needed most. When your team is not directly under fire or around you, make sure the shield is down and regenerating its hit points.
Some great combinations for the shield other than just protecting your teammates is on a payload or in a corner with a Bastion. You move a lot slower when your shield is up and are unable to attack. Having your team behind you to lay down fire is a must.
Being on top of a moving payload allows you to be mobile — and if you have a hero like Bastion behind you, he can lay down enough fire to keep the objective moving. At the end of the match, he may get the highlight play, but it was your protection that made it possible. You may not get the glory but you made it possible. Try to mask each other’s weaknesses with other combos. Bastion is vulnerable in his turret form and you can’t attack with your shield up, but together you two can take down entire teams.
It is also important to note what your shield will not block.
- Melee attacks
- Channeled weapons such as Winston’s and Symmetra’s
- Symmetra’s Photon Projector orbs and Reinhardt’s Fire Strike
- AoE effects such as Hanzo’s Dragonstrike
- Junkrat’s Rip Tire
Charge – Charge forward and smash an enemy against a wall
Activate this ability and you’ll surge forwards through the map, doing 50 damage to anyone you come into contact with and throwing them away while also taking the first person you get a direct hit on for the remainder of the ride. The key to this ability is that whoever you take for the ride will take an additional 300 damage if you slam them into a wall or object.
Reinhardt cannot cancel this ability and will continue to charge until he hits something, flys off a cliff or edge, or reaches 50m/3s of charge time. It is also worth noting that two Reinhardt’s who charge at each other will both be knocked down and stunned. You can alter your direction slightly by using left or right movement keys.
One good use for the charge would be against an enemy Reinhardt who is shielding his team. His shield will not stop your charge, and it’s a great way to break their defenses if you believe your team can win the matchup with Reinhardt’s shield down. Charging into a wall will kill any non-tank hero instantly for the most part. So being able to take out an important target is a big part of Reinhardt’s kit. Killing an enemy Lucio or Mercy in the beginning of an engagement can prove to be the difference-maker in a team fight.
Fire Strike – Launch a fiery projectile
Fire Strike is able to go through multiple enemies at once, dealing 100 damage to everyone it hits. It travels relatively fast and has a cast time of .25 seconds. The best use of this ability is to charge up your ultimate. In a team fight, dealing 100 points of damage to multiple targets can turn the fight — but in those stalemates, you will want to use this to gain points into your ultimate. You want to look for target snipers or Bastion in his turret form, as well as turrets from Torbjörn. By targeting these heroes, you don’t have to hit a moving target and can force them to relocate or heal themselves.
Earthshatter – Knock down all enemies in front of you
Earthshatter is your ultimate ability, and it’s best used in open areas where the enemy can’t hide behind something. Reinhardt smashes his hammer into the ground, damaging and knocking everyone down in front of him (up to 20m). This does 50 damage to everyone he hits and allows Reinhardt to either swing his hammer/Fire Strike and pick up some kills or follow it up with a charge. This is a great initiator if you have good communication with your teammates and they are ready to follow up the knockdown and stun with some damage. If properly executed, the enemy team will be eliminated before they are able to stand back up.
Usually, after an Earthshatter, it is more beneficial to follow up with a Fire Strike and some melee blows over a Charge. Fire Strike can hit multiple targets for 100 damage, and each swing does 75 damage so the math is pretty clear. If you combine that 100 with the 50 damage from Earthshatter you can dish out 225-300 damage to multiple targets in a matter of seconds — while a charge will just eliminate one enemy and allow the others to stand back up.
Conclusion
Reinhardt is not a tough hero to master, and he plays a major role in most maps. Positioning and when you have your shield up is key to many of the fights. You’ll struggle against mobile gods like Tracer, who can get behind you. While you might struggle against a McCree or Roadhog, you also can counter what they are doing to an extent. McCree’s ultimate can be rendered useless if you have your shield up and your team behind you. The same can be said for Roadhog with his chain pull. Having a team protecting your vulnerable spots can lead to victory for you and your team.
If you have any other tips about Reinhardt leave them in the comments below. If there is a specific hero you would like a guide on also leave a comment below.


Published: May 26, 2016 11:11 am