NRftW has a decent learning curve even for Soulslike veterans because of its various ARPG systems. If you want an informed head start or are struggling in the early stages, I have some starting advice for you. Here are 10 No Rest for the Wicked tips for beginners.
Top 10 No Rest for the Wicked Tips
Artemisia Herbs Are the Core Healing Item for Crafting
No matter which new and better recipe you find or buy, Artemisia Herbs are going to be a part of most of them throughout the game. This green-leaved pick-up is crucial when exploring and you should always look for it and harvest as much as you can. Mushrooms and Crabmeat are your most common combinations with it in the early game and you’ll soon learn some meat combinations as well for better healing. Have as many of them as possible to ensure you always have a healing source.
It’s All About Attack Patterns
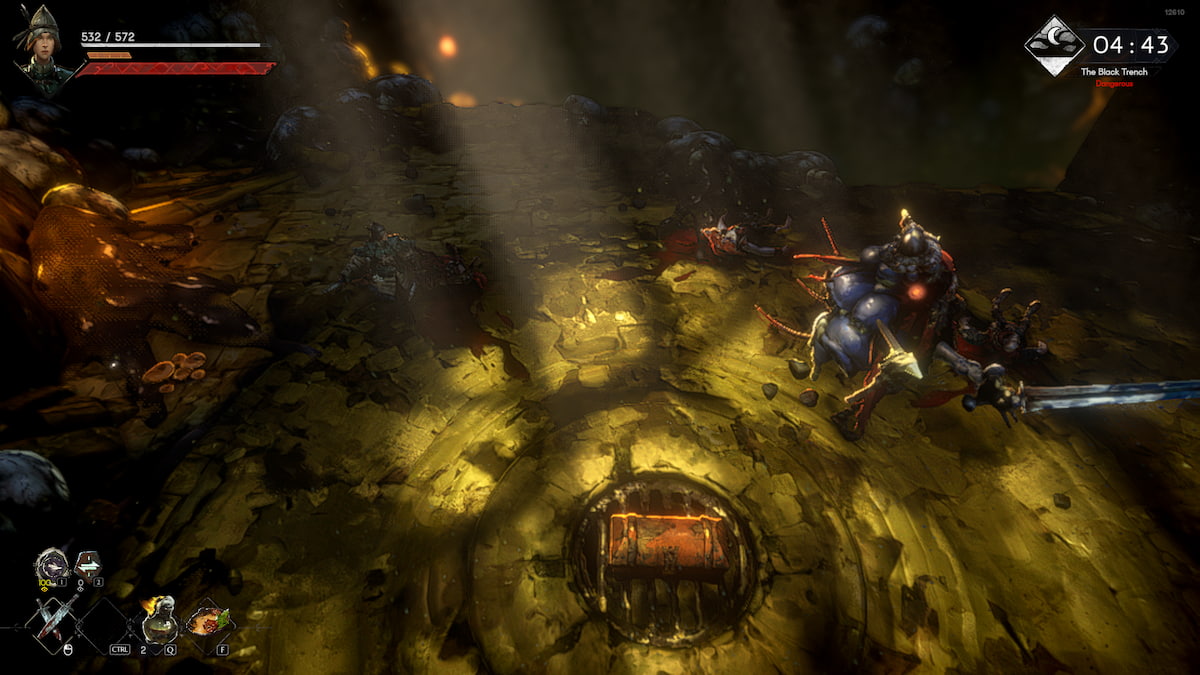
The combat system in No Rest for the Wicked is based on enemy and boss attack patterns. If you’re struggling with a boss, try to play defensively at first to learn all the ways that boss attacks. They usually have four to five moves or less and they’re much less dynamic than in other Soulslikes. Learning each attack allows you to dodge it perfectly and punish the boss with windows of opportunity for damage. Once you learn the attack pattern, you might not even need healing items to beat it. Plus, the top-down isometric perspective gives you a better overview of the telegraphed attack area.
Roll Into Attacks and Parry Bosses
The best defensive maneuver you can do for most boss attacks is to either roll into the attack or parry it. Since rolling gives you a small invincibility frame, the best direction to roll is toward the attack so that you are positioned behind the boss in most cases. From there you can do a few attacks and back away. You’ll dodge most attacks this way and it’s better than rolling back since sometimes you’ll get hit either way since bosses have lengthy attack ranges.
As for parrying, most boss attacks can be parried no matter their size. This recoils the boss for a couple of seconds giving you an opportunity to throw in a few attacks and back away. Weapon parries will cost a little bit of stamina while shield parries are free.
You Can Buy Healing Items
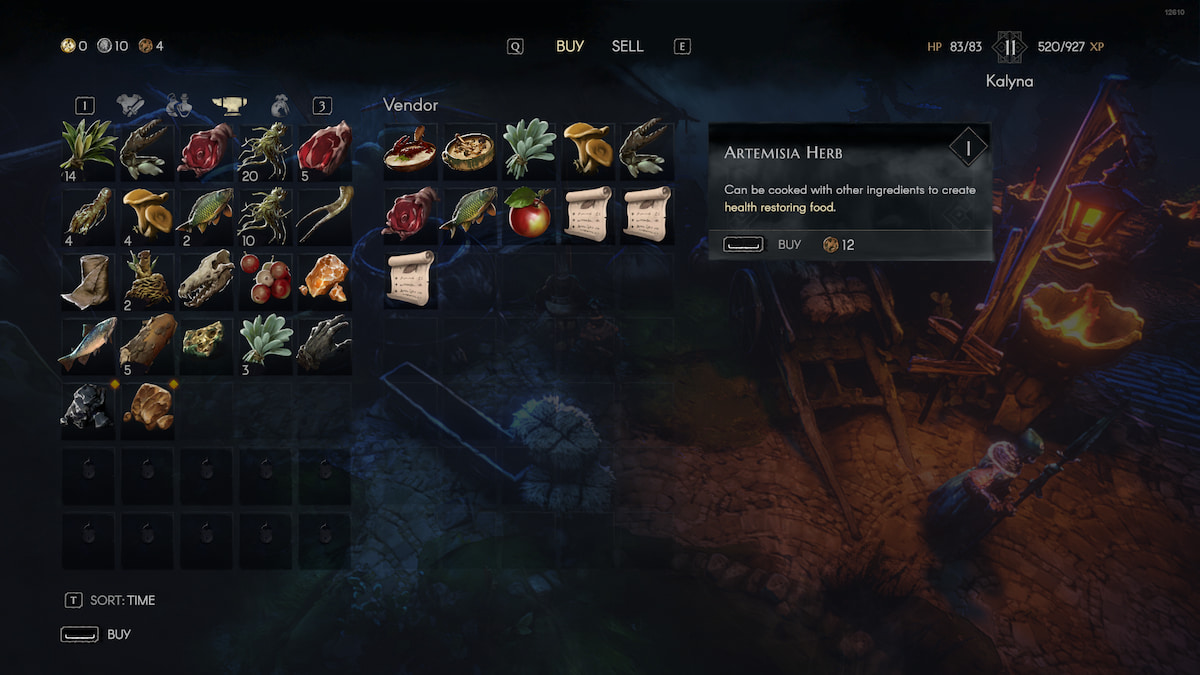
If you find yourself out of Artemisia Herbs and therefore out of healing items, you can buy them in Sacrament. You’ll have to complete The Innkeeper’s Husband quest that Caroline gives you near the entrance to Sacrament and save her husband Gordon. Once he returns to Sacrament, you can find him on your map where he’ll sell Artemisia Herbs and other healing items near the Inn. This is a great way to restock on healing if you haven’t found many Herbs while exploring.
Level Up Health and Stamina First
In terms of the best stats for the first five or so levels, it’s much better to level up your Health and Stamina first than to increase damage stats, for two reasons. First, an ample health bar means you’re not getting one shot by some boss attacks and you have more room to make mistakes and learn the fight. Stamina will also allow you to do more attacks in windows of opportunity while still having some to roll away.
Second, it’s better to wait a bit while you get a variety of weapons and see which style suits you best. Once you find a weapon you would like to use, invest in its requirement stats to test it. If you like it and would like to keep using it for a while as well as similar weapons, then you can put some points into its damage stat. Respecing isn’t readily available so stat investments are quite important.
Upgrade Your Weapon
If you notice you’re not dealing enough damage and that an area is too hard, go back to Sacrament and upgrade your weapon at the blacksmith. You’ll likely have ample Weapon Shards for the first few upgrades and you can buy Copper Ingots for the blacksmith as he has an infinite supply.
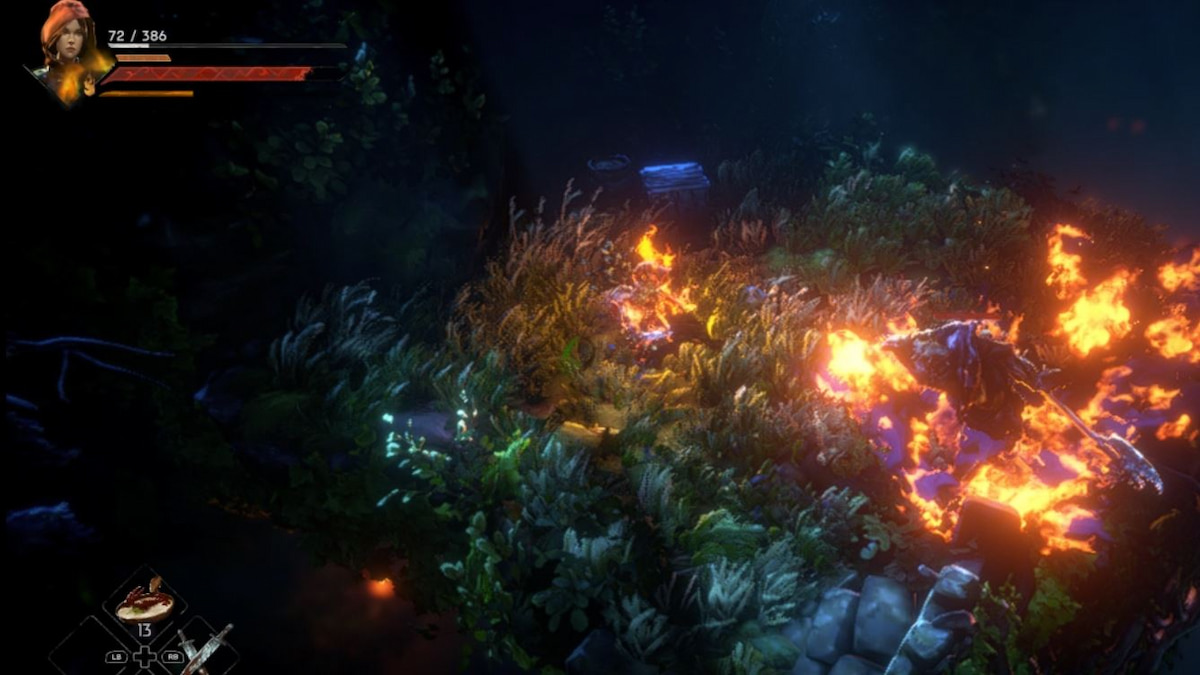
Once you find a weapon you would really like to use, you can even go up to upgrades tier 3 and 4 that require some more advanced crafting materials. Either way, upgrading gives you a greater and faster damage boost than investing in damage stats. This makes it better than leveling up damage stats in the beginning since you can test weapons instead of investing level-ups in a stat you’ll switch later on.
If You’re Struggling You Can Grind
Since No Rest for the Wicked has ARPG elements and respawning chests, you can always go back to a previous area and grind it. This can get you more and better gear, more Levels, and more upgrade materials to improve your gear. If you notice that an area says “Dangerous”, it most likely means your level or your weapon upgrade isn’t up to par. While I have brute-forced some areas that I was under-leveled for, it’s a much more enjoyable experience to upgrade your weapons and level up once or twice before tackling such areas.
Upgrade the Ring and Ingredient Inventory Slots First
No Rest for the Wicked wants you to collect all sorts of crafting ingredients but limits your inventory space. I find this mechanic a bit tedious, but we have to work with what we have, so I recommend you upgrade the ingredient inventory slot first with Torn Ichor. This will save you from discarding items while exploring since you’ll find a lot of important ingredients that you don’t want to throw away. The ingredient inventory is, therefore, the most important one.
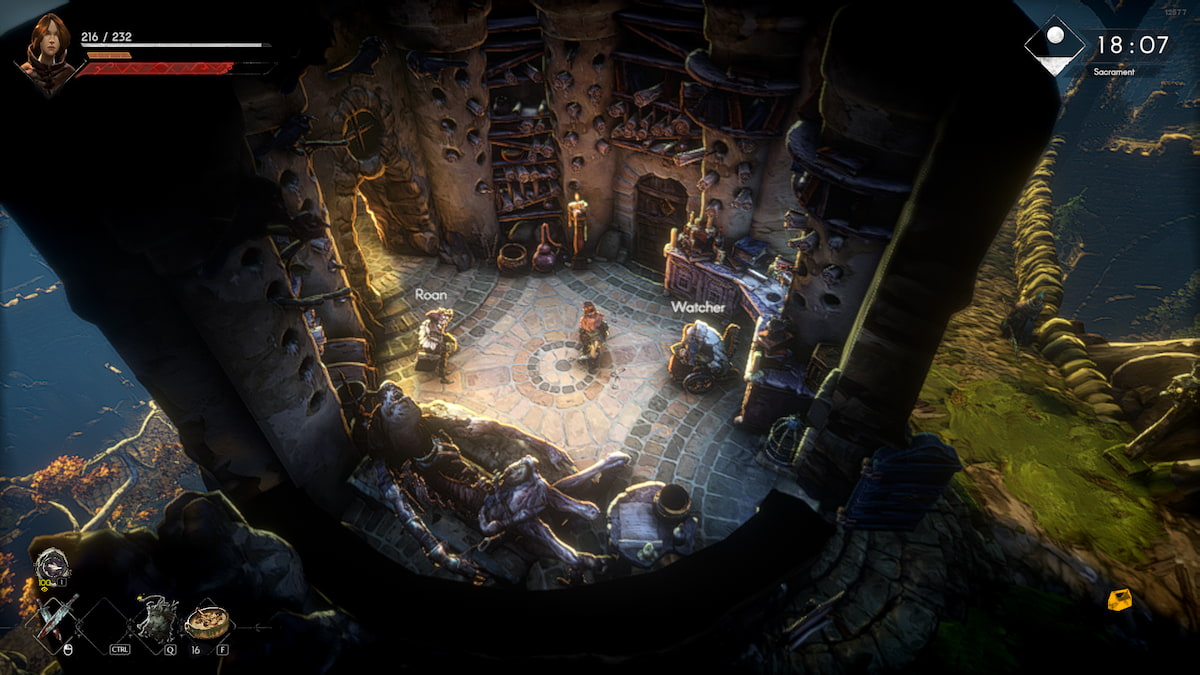
Alternatively, the ring slot is also mechanically optimal since rings can give powerful effects. Wearing an additional ring boosts your character’s stats much more than having an extra weapon slot for example. Therefore, with the first few Torn Ichor upgrades I would stick with ingredient and ring inventory upgrades.
Teleport Back to Sacrament for Building Projects
The building mechanic in Sacrament uses a real-time clock to measure crafting time. Once you start a building project, it’ll usually take one hour of real-time to complete. To maximize efficiency, always be on the lookout for wood and mining spots and teleport back to Sacrament regularly to start a new project. Since you can teleport right back to your last Whisper, popping into town and placing a new upgrade shouldn’t take more than a minute.
Accept Bounties Before Adventuring
The Bounty system presents you with a set of daily and weekly quests to complete. You can accept them from the NPC to the right of the Sacrament Whisper checkpoint. You might as well accept all the challenges and a bounty to passively gain currency and loot. The loot won’t always be the best buy you can sell it. You can accept one daily and one weekly bounty hunt at a time so check back often. You might as well gain something extra passively from exploring.
That’s it for my 10 No Rest for the Wicked tips for beginners. For more No Rest for the Wicked guides, check out all merchants in Sacrament and how to get your own house and decorate it.





Published: Apr 23, 2024 04:31 am