Recently, NEXON Games released a portable version of its popular side-scrolling MMO MapleStory — and so far, the game has been a hit. Fans of the original MapleStory are able to take a slimmed-down version of the world with them, while those new to the universe get a bite-sized taste. That said, Pocket MapleStory might seem a little daunting for mobile players taking on an MMO for the first time; and the mobile aspects might seem a little weird to traditional MapleStory fans.
Don’t worry, we’re here for you! This guide will help you get a grasp on the game’s basics, whether you’re a mobile player new to MapleStory or a MapleStory player new to playing it on your mobile device.
What is Pocket MapleStory?
Essentially, Pocket MapleStory is a new version of the popular MMO MapleStory created for iOS and Android devices. It’s a side scrolling RPG adventure game that you can play with other people. You’ll go on quests, fight monsters, create and join guilds, and team up with friends in dungeons.
Like any MMO, there’s a lot to Pocket MapleStory, more than we can cover in one guide. So we’ll just be going over some of the basics here, and things that can make the game a bit more enjoyable.
Choosing your character
First things first! Before getting into the game, you’re going to need to pick your character and class. For the launch of Pocket MapleStory, the developers decided to offer three gender-locked characters; each a class from the original game. Each character offers different abilities and advantages as described below. As a result, each will have different play styles.
Classes
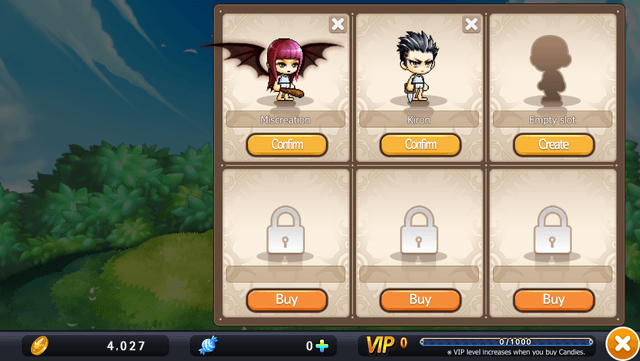
As stated above, Pocket MapleStory currently has 3 classes available for you to play — although there are plans to add more. The game also gives you three character slots to start, with the option to buy more. This means that you can start out with one of each class and get a feel for all of them before deciding on which should be your main.
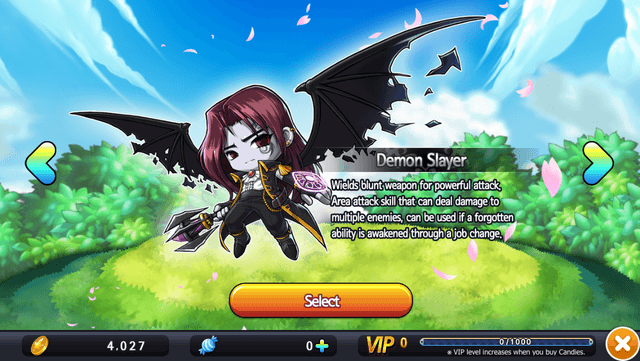
Demon Slayer (Warrior) – Armed with a powerful melee weapon and has a powerful area attack that can damage multiple enemies. The Demon Slayer specializes in One-Handed Blunt Weapons.
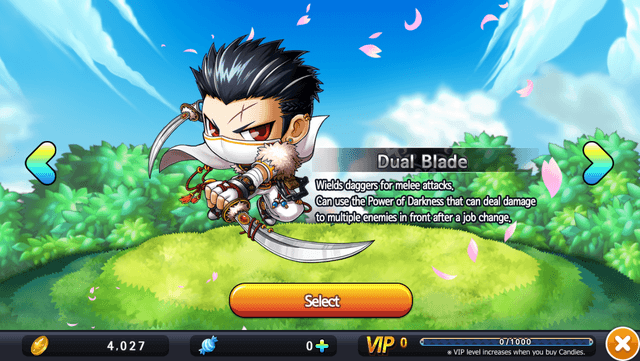
Dual Blade (Rogue) – Armed with twin blades and uses the Power of Darkness attack to damage multiple enemies. The Dual Blade dual-wields and moves quickly, allowing him to get multiple hits in on a single enemy. (Typically, in the original game, this class was only allowed to be created during special events. But here he’s standard.)
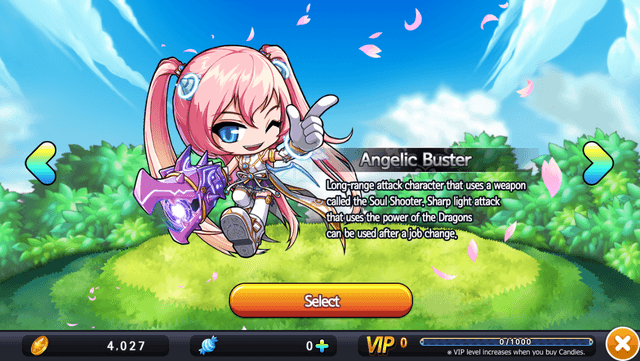
Angelic Buster (Gunslinger) – Armed with a magical gun called a Soul Shooter. The Angelic Buster is a long range righter.
Jobs and abilities
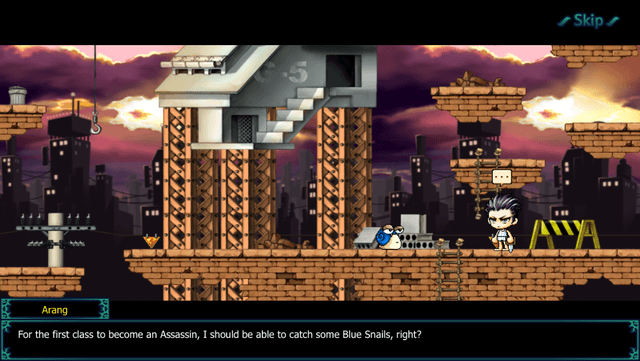
Each character has a series of Job Advancements they will acquire when they reach certain levels. These advancements will give them new, stronger abilities to use in combat
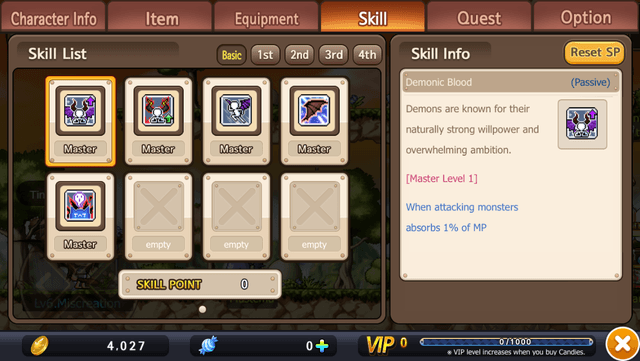
In addition, each ability has a “Master Level” that can be obtained through leveling. Each ability has it’s own requirements, meaning that it will take longer to reach the master level on them, regardless of whether or not they are part of the same Job Advancement set.
It should also be noted that the amount of job advancements a character has varies by their class.
There are quite a few of these for each character, so we won’t cover them all here, but do be aware of their existence and that you can look at them on the “Skill” tab in your character’s profile — accessed by tapping on your character portrait in the top left corner of your screen.
Navigating the world
Once you’ve selected your character, you will be dropped into the world of Maple. Where you wind up depends on which character you choose. But while the landscape and creatures may be different, navigation works the same. Moving about the world is controlled with “buttons” on the lower corners of your device’s screen.
Control Buttons
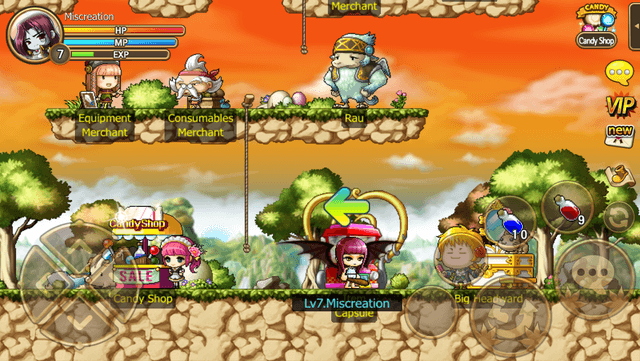
D-Pad/Joystiq – This is the button you use to determine the direction you’re going — up, down, left or right. There are two options for this particular button, a joystick that you use by placing your finger in the center of and moving the direction you want to go and a D-Pad that you operate by tapping the appropriate area of the pad. We’ll explain how to change this later.
Jump – This button is one of two big buttons on the lower right and is indicated by a foot and a swooshing arrow. Use this button to jump as well as to grab onto ladders, ropes and similar objects and climb up them. Note that certain characters have a special double-jump that lets them get even higher.
Interact/Attack – This button is the other big button on the lower right and functions as an all purpose button. You’ll use it to attack mobs, talk to NPCs, and go through the glowing portals that move you from one area of the world to the other.
Quickslots – These four smaller buttons are for you to put in items you plan on using often. Be sure to pick the things you need most.
Teleport – Just above the round buttons on the right side of the screen you will see a little scroll-shaped button with a boot on it. This will teleport you to wherever the main objective of your current quest is, saving you having to walk there.
Mail – Above teleport is a little envelope. “New” will appear on it when you have any new mail.
VIP – Pocket MapleStory rewards players for spending money on candy. As you buy candy, your VIP meter will fill up and you’ll achieve “VIP levels.” Your VIP status can be tracked by tapping the VIP button just above the mail button.
Chat – The last of the menu buttons, this is the little chat bubble above the VIP button. Tapping on this will open a full chat window.
Interacting
As you move around the world, keep an eye on your Interact/Attack button. It will change when you come in contact with characters you can talk to or buy from and object (like the portals) that you can interact with.
NPCs
There are two main types of NPCs you will come in contact with.
Quest Givers – Indicated by a little lightbulb over their heads. Talk to them and they will give you things to do. You CAN take more than one quest at a time.
Shop Keepers – These guys are pretty obvious, with little signs that will tell you who they who they are.
Quests
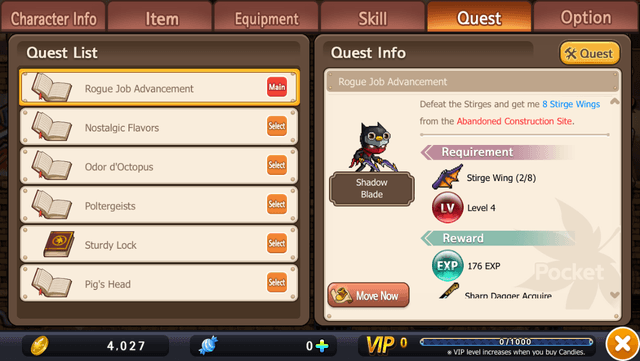
As stated above, quests are obtained from NPCs with lightbulbs over their heads, and you can take more than one at a time. To see all of the quests you have at any given time, you can tap on the “Quest” button in your character’s profile.
The Green Arrow (No. Not THAT Green Arrow)
When you have a quest, you’ll notice above your head a green arrow that will change direction as you move around. This is your navigation system. Use it to lead you to your next objective.
Combat
Starting out, combat will be pretty easy. Just make sure you’re pointed in the right direction and that you keep tapping that attack button.
Also be aware of your health bar. If it gets low, use a healing potion. It’s best to keep these in one of your Quickslots at all times. Otherwise you have to go looking for it. In your inventory.
Resurrection
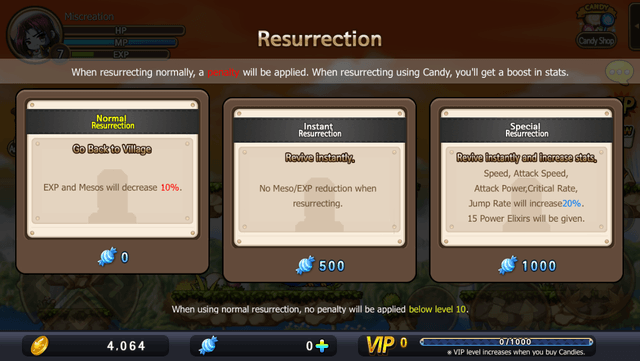
If you die, and you will die, you will be presented with a resurrection window that will offer you three choices: normal, instant, and special. Normal resurrection will take you back to the closest village and dock you in experience and Mesos (in game currency). The other two options will save you being docked anything and one will even give you a bonus. However, those two will cost you Candy, which is bought with real world money.
All those menus
Here we’ll cover the rest of the menus that weren’t addressed in other areas of the guide. While you won’t use all of these often, knowing about them will make your life easier.
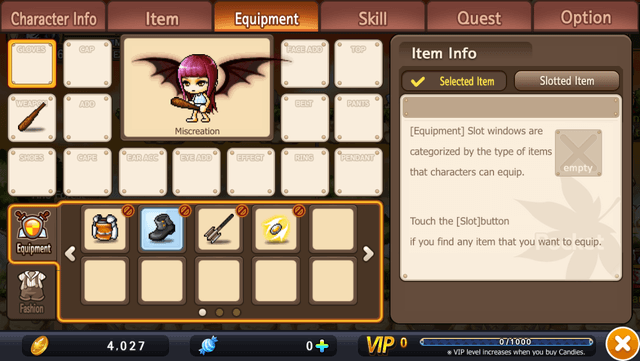
Equipment
Accessed via your character portrait, this menu will let you keep track of your equipment and other gear. Here you can monitor what you have and add them to the appropriate slots.
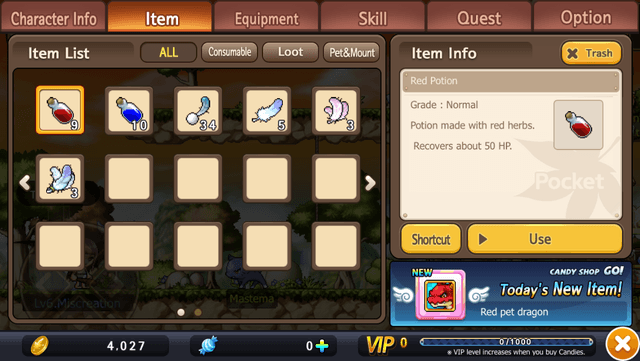
Items
Manage everything from healing potions to quest items and rewards here. (Pretty much anything that’s not equipment can be found under this tab.)
Option (Settings)
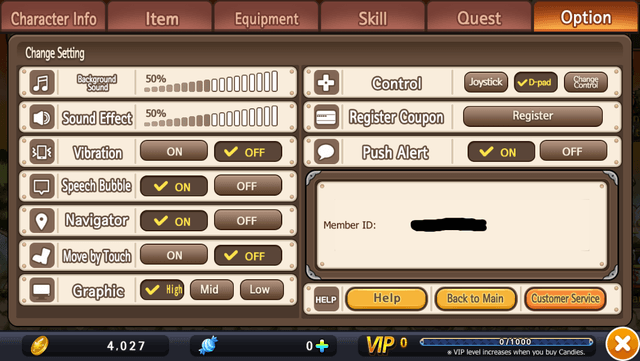
Like the other menus, the Option menu can be accessed by tapping your character’s portrait. Here you can do everything from changing the volume to logging out. While most of these are pretty basic settings options, there are three you should definitely know about.
Navigator – Turns the little green navigation arrow over your head on and off.
Move by Touch – Allows you to tap where you want to go and will automatically move you. For those that don’t want to deal with the Joystick/D-Pad button, this is the way to go.
Control – This is where you swap out your Joystick/D-Pad button. You will want to experiment with this and see which works better for you. I personally found the D-Pad easier to use as the joystick seemed a bit touchy.
Candy
Like most free-to-play games, Pocket MapleStory has an option for those who would like a little help speeding up progression or just want to buy cool things. In addition to the in game currency, the game also offers currency called “Candy” that can be bought with real world money. Use can use this to buy everything from pets and mounts to painless resurrections.
And there we have it! Everything you need to know to get rolling in Pocket MapleStory. As we said, this is just a primer, as there’s so much to do in the game we can’t possibly cover it in one post, but this should help get you off to a great start!





Published: Nov 20, 2015 04:31 pm