Much like the mysteriously sealed doors found in different time eras across Chrono Trigger, the snowy landscape of I Am Setsuna’s world map is peppered with locked boxes and no indication of how to open them.
In the first few hours of the game it’s actually sort of maddening to know there’s all that precious loot and no apparent way to pry open those chests and get at the sweet treasure within.
While many were searching for a secret item, hoping to develop an unlocking power through leveling, or trying to find different Material drops for opening the chests during the first few days after the game’s release, those were all the wrong paths to take.
As it turns out if you play long enough, there’s no big secret: you just have to reach the end point of the game.
When you finally gain access to the airship to reach the game’s last area, the party is also given a “world key” (this is very literal) that just happens to also unlock every single box in the entire world.
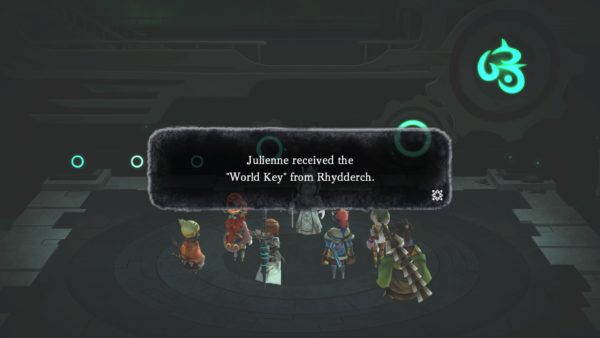 Turns out it’s a very appropriate name for the key.
The problem is, by the time you’ve hit the 20 – 30 hour mark, how are you supposed to remember where all those pesky boxes were located in the first place? Not too many people were keeping a running log of each village and dungeon with a locked chest.
That’s where we come in – below you can find a list of every single locked box location, so its simple to just hop in the airship and fly over to each one without having to trudge across all those forests, caves, and dungeons a second time.
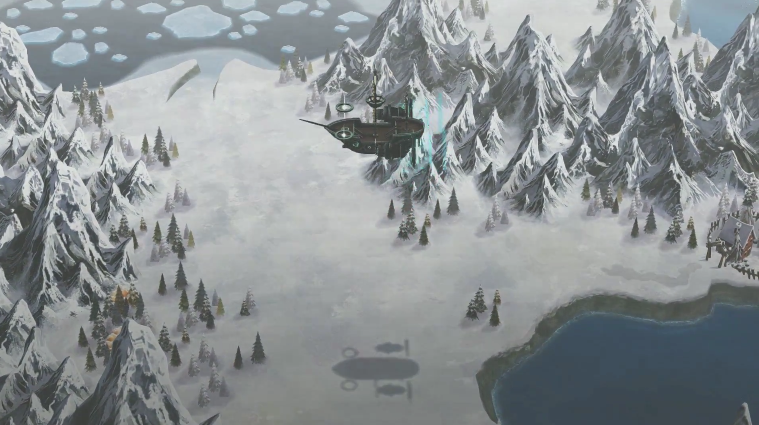 There’s no better mode of transportation in a JRPG than an airship!
If you need help finding other secrets, check our our other I Am Setsuna walkthroughs:
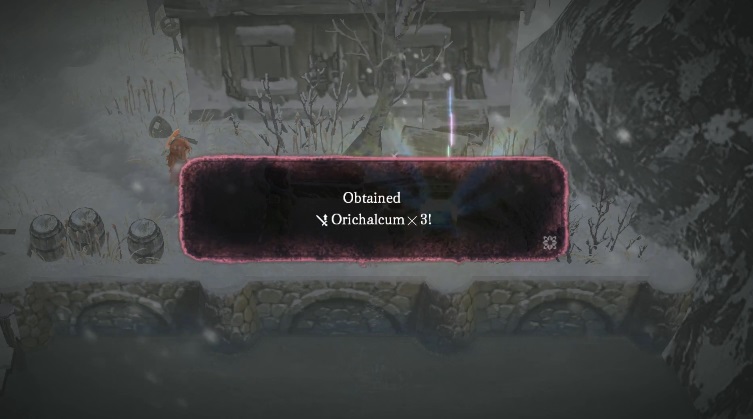
Nive Harbor
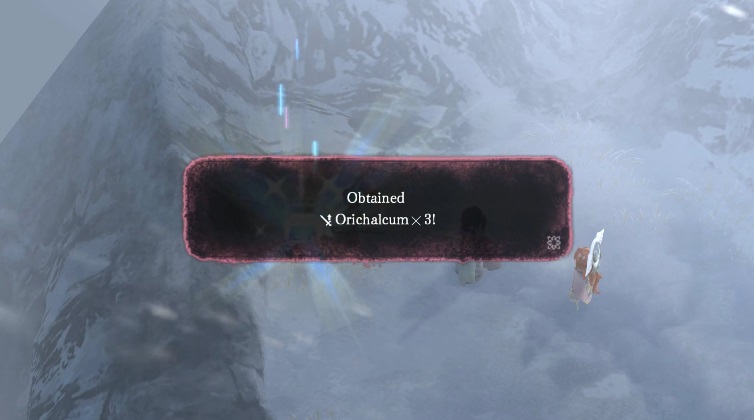
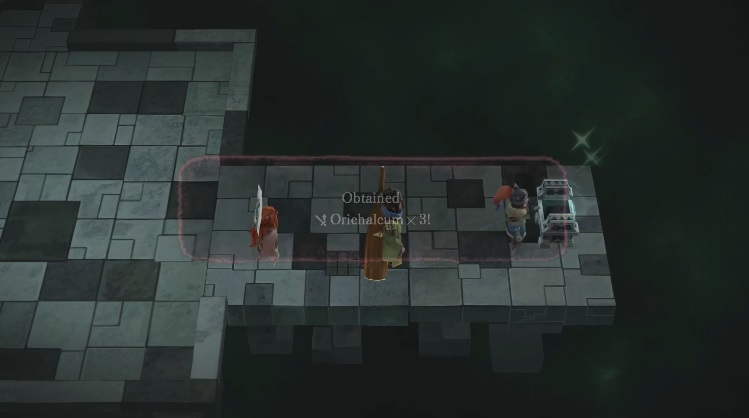
Chest Contents: Orichalcum x 3
This one’s super easy as there aren’t many buildings in the area. The chest is located in the house just north of the docks.
Nive Village
Chest Contents: Mega Elixir x 2
Head to the left side of the village and grab this chest sitting above a pile of logs and to the west of a red house.
Dazzshire Woods
Chest Contents: Brave Heart Talisman
This chest is found just north and slightly to the west of the forest’s entrance.
Forgotten Shore
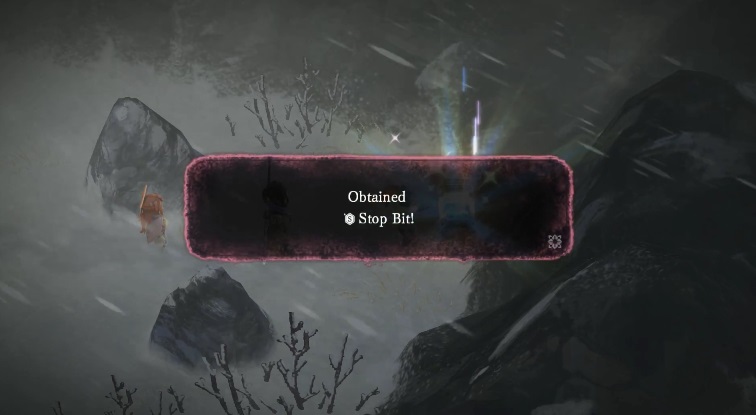
Chest Contents: Stop Bit Spritnite
From the entrance, go south, east, and then north into the clearing. The locked chest is on the far right side.
Serendale
Chest Contents: Orichalcum x 3
Cross over either of the bridges to the second half of the abandoned town. The chest is on the far east side just north of the docks and waterline.
Purikka
Chest Contents: Sacred Heart Talisman
This chest is found in the northwest corner just south of a big pile of wood logs.
Frost Caves
Chest Contents: Iokan Sword
Take the left path past the giant walrus monster, then go south and west to reach this one.
Floneia Citadel
Chest Contents: Radiant Dagger
Take the first right path and head all the way to the far east side of the town. The chest is just to the north at the end of an alley.
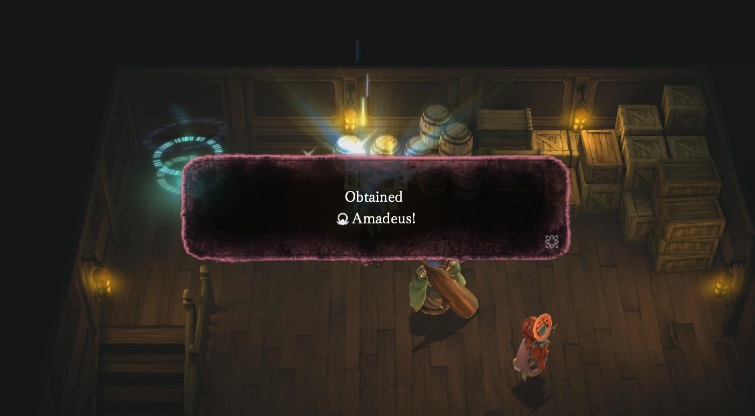
Airship
Chest Contents: Amadeus
Head over to the grounded airship on the far west side of Floneia to find this chest sitting next to the save point inside.
Mysleigh
Chest Contents: Fated Memory Spritnite
Head to the area with where there’s a shining point on the far left beneath a clearing filled with monsters. Instead of going left, head right to find this chest.
Tenderville
Chest Contents: Orichalcum x 3
This chest is inside the small house just to the right of the entrance (near the top of the village).
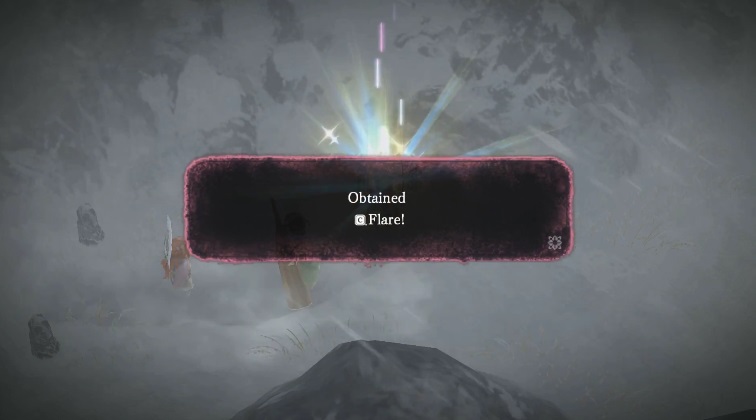
Morbrise Mountains
Chest Contents: Flare Spritnite
Near the Spritnite Eaten squirrel. (Near exit)
Enter this area from the Northern Frontier side, rather than going in through the hidden path in Mysleigh. The chest is down and to the right of where you enter.
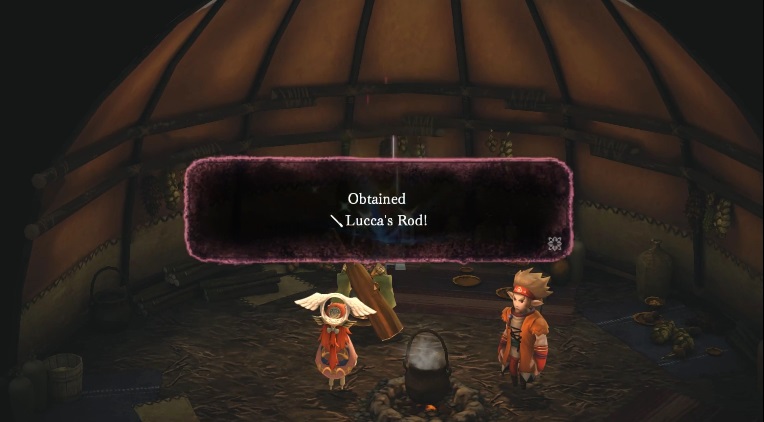
Hiddbury
Chest Contents: Lucca’s Rod
The chest is inside the central tent just to the north after entering Hiddbury.
Twallusk Mountain
Chest Contents: Orichalcum x 3
Come in from the western side, then follow the looping path that continuously curves east and west until you can run straight north. The chest is in the clearing at the top.
Royburg
Chest Contents: Valkyrie Bow
Head inside the blue house at the middle-top section of the town (follow the main path west from the entrance).
Blackwhelm Cave
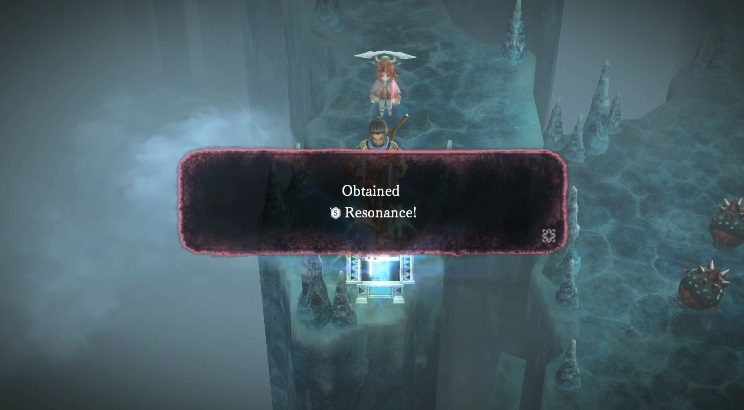
Chest Contents: Resonance Spritnite
You have to go through a significant section of the cave to reach this one. Following the winding paths until you reach a central area with the self-destructing monsters. Head south to a dead end to find this chest.
Floeberg Waters
Chest Contents: Stun Bit Spritnite
Run south and then head east at the save point intersection. Keep heading east until you find the little peninsula jutting down with the chest.
Archimell Ruins
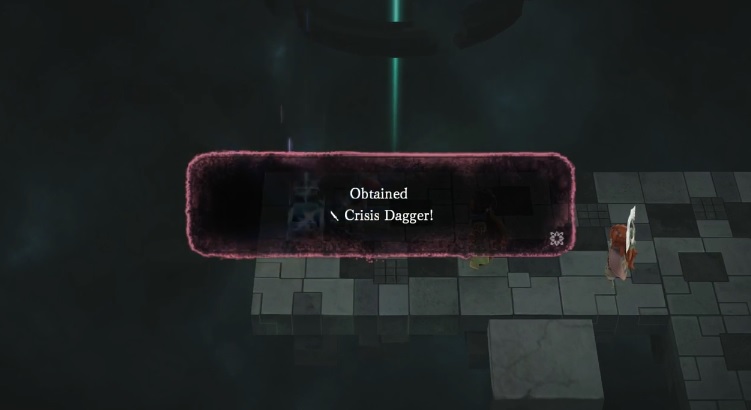
Chest Contents: Crisis Dagger
You have to go quite a ways into the ruins to reach this chest. Follow the path east and south as far as you can until there’s a western dead end spot where the chest is waiting.
Archimell Ruins 2nd Chest
Chest Contents: Sigtyr
For the second chest in this area, head south from the previous chest until you go through the walkway that has the floating circular stone ring. Head south and west to the teleport elevator. After teleporting, the chest is just up and to the left.
Gatherington
Chest Contents: Daemon Impact Talisman
You can find this chest at the southeast side of town just beneath a house and above the line of trees.
Fridging Caves
Chest Contents: Intuitive Heart Talisman
Head all the way east from the entrance and then north past the patrolling monsters until you head through an open doorway to a new area. Keep going all the way east until the chest comes into a view on a small alcove.
Fridging Heights
Chest Contents: Mega Elixir x 2
Follow the path across three different wood bridges and then go to the far east side of the large open area to get this chest.
Magna Valley
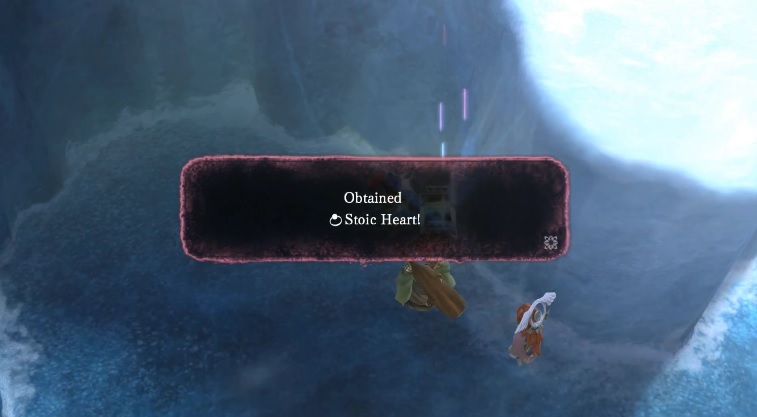
Chest Contents: Stoic Heart Talisman
This one is just slightly to the west of where you enter the area in a northern room.
Magna Valley 2nd Chest
Chest Contents: Orichalcum x 3
Head into the ship ruins and go all the way north through the path with the circular floating stones. Turn the bridge so its facing north/south instead of east/west and cross, then head all the way east to find this chest.
That’s all the locked chests we’ve come across so far – let us know if you find any others!













Published: Jul 24, 2016 06:56 am