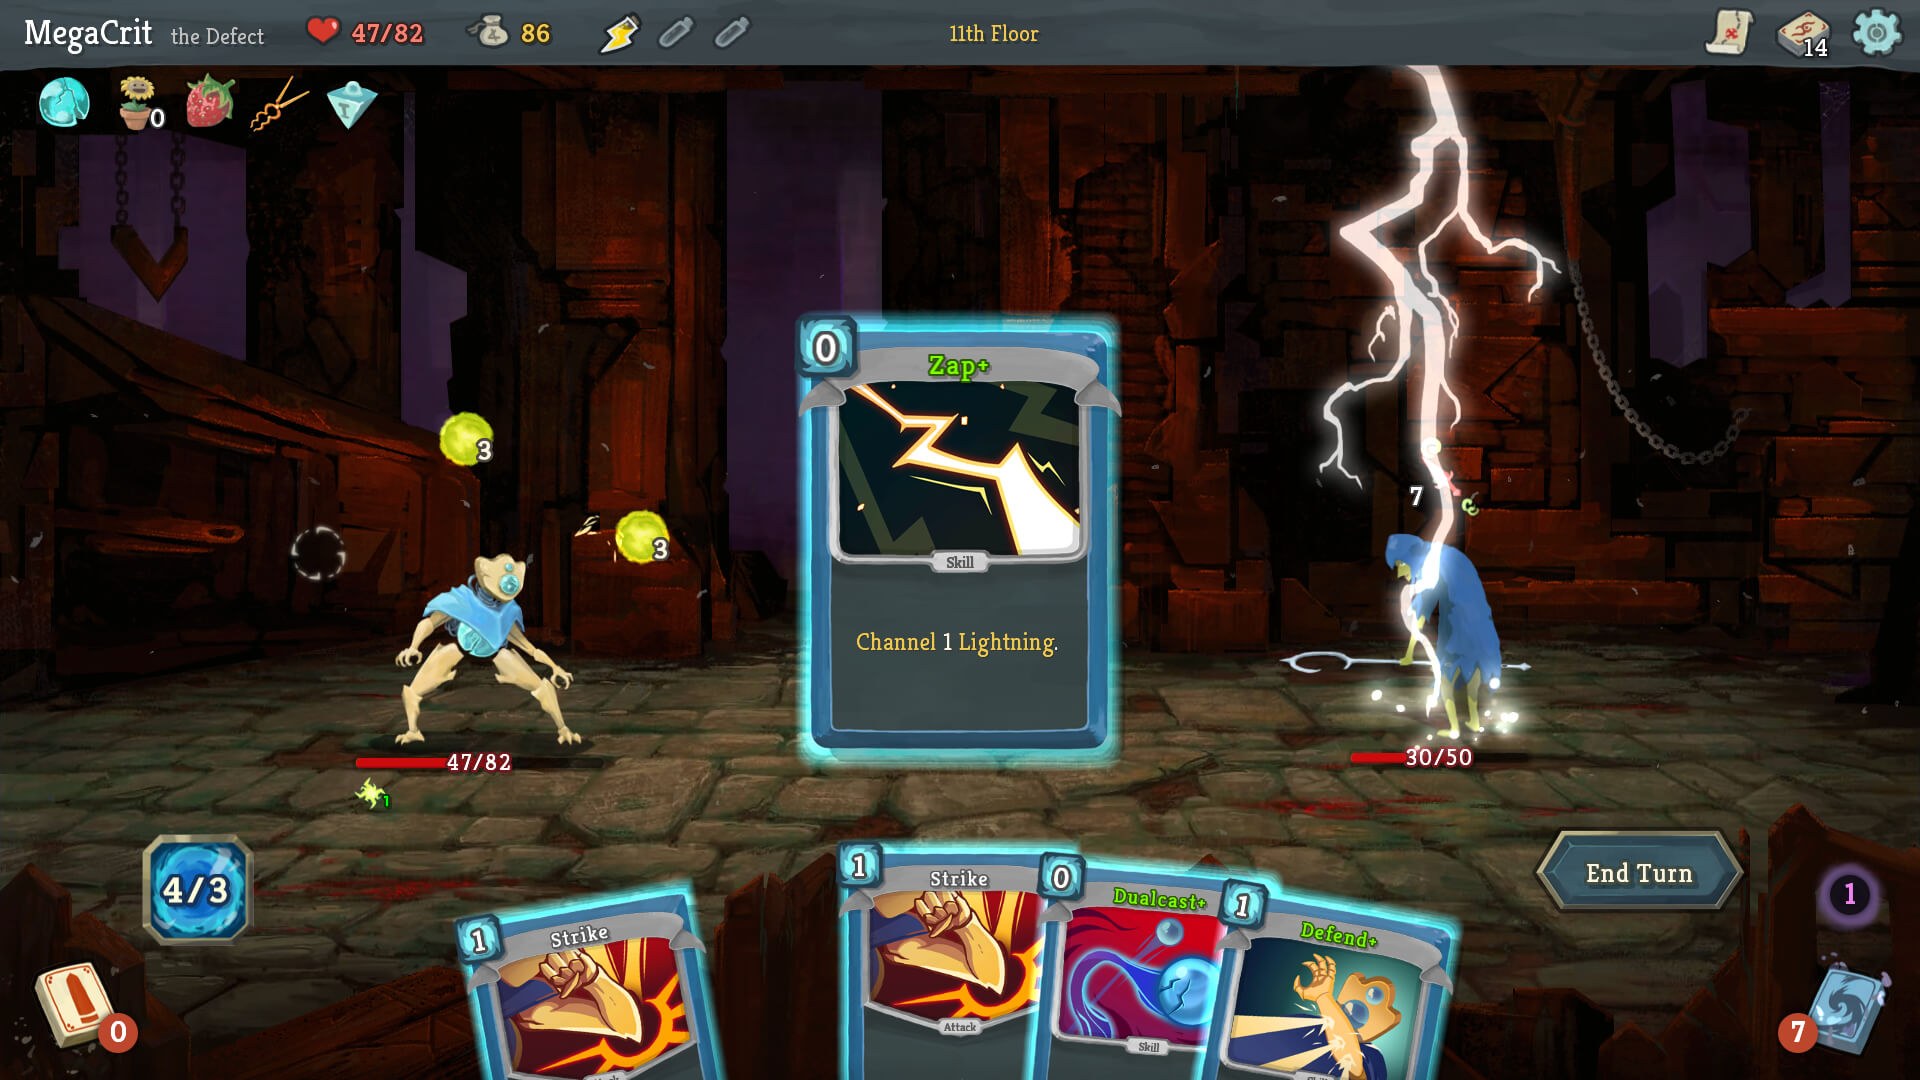
After over a year in Early Access, Slay the Spire was officially released in its “Version 1.0” form a few weeks ago. This release has undoubtedly brought new players to the game, and some may be curious about how to effectively use the game’s different classes, including the Defect.
This automaton may look like an easy build, but it is the toughest class to master in the game. While, a well-made Defect deck can tackle a huge number of Ascension levels with ease, it’s harder to put together a “good stuff” deck with the Defect than the other two classes.
When you do put something together though, and it starts clicking, watch out. But be warned that the class tends to struggle if it can’t get its engine going, and its lack of exhausting abilities means that you have to be laser-focused in your deck building.
With this guide, we will look at how to approach this style of deck building in order to be successful with the Defect . However, we will begin with the basics of the class.
Defect Basics
Starting Relic
The Defect’s starting relic is called the Cracked Core, and it allows you to start every battle with one lightning orb. This starting relic introduces us to the main mechanic at the Defect’s disposal: orbs.
Four Different Types of Orbs:
The Defect starts every battle with three spots for orbs, and this can be increased to a maximum of ten slots. There are four different types of orbs, each with a passive ability and an invoke ability.
Passive abilities trigger at the end of every turn, and invoke abilities are triggered by cards or by channeling another orb when every slot is filled. Triggering an invoke ability use up the orb.
Here’s what the different orbs do:
- Lightning: The most basic orb. Its passive ability deals damage to a random enemy, and its invoke ability deals more damage (usually around double).
- Frost: Frost orbs provide you with a small amount of armor. Its invoke ability provides you with more.
- Dark: Every turn, Dark orbs increase the potential amount of damage they can deal through their passive ability. However, they won’t actually damage anyone until they are invoked.
- Plasma: Plasma orbs provide you with extra energy at the start of your turn, and they provide you with two energy when they are invoked.
Focus
Focus is a stat that can increase and decrease, similar to Strength and Dexterity, that improves the effectiveness of your orbs. Every point of Focus gives your Lightning one more damage and your Frost one more armor. It also helps your Dark increase faster, but it has no effect on Plasma orbs.
Defect Builds
Big Freeze
The most reliable deck for the Defect follows a pattern established by the successful decks of other classes: utilizing a massive amounts of Block. This is best done through accumulating more orb slots and Focus as well as through cards like Glacier and Chill. Plenty of cards provide Frost orbs, but these are going to be two of your power players.
Other cards to look out for in this build are things like Defragment and Capacitor. These increase your Focus and the number of Orb slots you have respectively.
Once you’ve built up your defenses, you can kill enemies with whatever else you’ve collected. If you’re gaining 30 or 40 Block automatically each turn, you won’t have a ton to worry about.
Keep your eye out for the Calipers relic as well. This causes you to lose only 15 Block at the start of your turn, instead of all of it, and it makes you basically unstoppable.
Zero Cost
Another viable strategy with the Defect comes from the number of effective 0-cost cards that are available to the class.
All for One is an amazing rare that you can land with this deck, as cards like Claw can get out of hand in a hurry if you’re playing them every turn.
Scrape is also crazy strong when you have lots of cards that cost nothing to play. Reuse extra energy, inflict status effects on your foes, and blast them down to nothing in no time flat. You’ll still have energy left over at the end.
All Powers
The Defect has a ton of power cards available to use, and they can snowball in a hurry if you get the right ones. If you have ways of building extra energy and drawing through your deck in a hurry, you can use cards like Storm and Electrodynamics to burn through enemies before they even get a chance to damage you.
This deck tends to lose its effectiveness when Ascensions start to get serious. However, it is a lot of fun to plow through early Ascensions by doing an impression of Zeus.
Multi-Cast Dark Bomb
This one is difficult to set up, but it is absurdly powerful if done right. That’s a big “if” though.
You essentially have to get rid of your Cracked Core (the starting relic), find a way to reliably channel a Dark orb early, and work up a ton of mana to use Multi-Cast to plow through everything in your way. When it goes off… watch out.
If you can get rid of the Cracked Core and get your hands on the Symbiotic Virus relic, this is not a bad build to shoot for.
Cards to Look Out For
There aren’t a ton of must-have Defect cards, as there are so many different reliable builds, and some cards will be great in one of them and worthless in another. However, there are a few cards that should always trip your alarm bells no matter what build you’re running:
Turbo
Mana acceleration at Common rarity is great, and the drawback is fairly negligible — by the time you get to that Void, you should already be in a dominant position or have blasted your enemies into smithereens. Nearly every deck will benefit from a copy or two of this.
Boot Sequence-Auto Shields
The biggest danger as the Defect is surviving the times when you can’t put together your plan quickly. That’s why cheap, heavy Block cards like these are a must-have in nearly any deck.
Seek
Do you want to search through your deck and find exactly what you need when you need it? How about doing it twice if its upgraded? Seek is almost always a windmill slam of a pick, but be careful not to use it if you draw it near the end of your deck.
Echo Form
This is one of the all around best in the game. Start every turn with a big damage card (Sunder + Echo Form) or with a swingy power to cast it twice.
The only issue with Echo Form is that it will sometimes get you punched in the mouth early on. However, the long term payoff is amazing.
All for One
There are so many strong 0-cost cards in every Defect build, and All for One allows you to set up some stupid combos with them. If you’re playing a 0-cost build, this will be your MVP.
Summary
The Defect is quite the change of pace from the other Slay the Spire classes, but it can be incredibly satisfying when it all comes together. Hopefully this guide will help you on your journey to take the tower with the automaton.


Published: Feb 14, 2019 04:49 pm