Monster Hunter: World typically rolls out content in stages. New hunts are available for a limited time at first, but usually show up again during subsequent events as well. Kulve Taroth came to PC recently and after November 21st, we don’t know when she’ll show up again on PC, so make sure you snag her killer loot now!
Kulve Taroth Mechanics
The Kulve Taroth siege works differently than any other Monster Hunter: World hunt that PC players have seen so far, and its mechanics can be a little obtuse. Fortunately, they’re not as complicated as they might appear at first.
To take on this massive beast, you’ll need to first unlock the quest Banquet in the Earthen Hall (requires HR 16, but 50+ is recommended).
Doing so requires finding some golden monster tracks; they appear uncommonly during any high-level expedition. Once you’ve found some, you can report to the girl in pink in the Celestial Pursuit. Defeating the golden behemoth in a single run is possible, but very difficult, even with a well-equipped team that knows exactly what they’re doing. Plan on attempting this repeatable quest multiple times before seeing any of the best rewards.
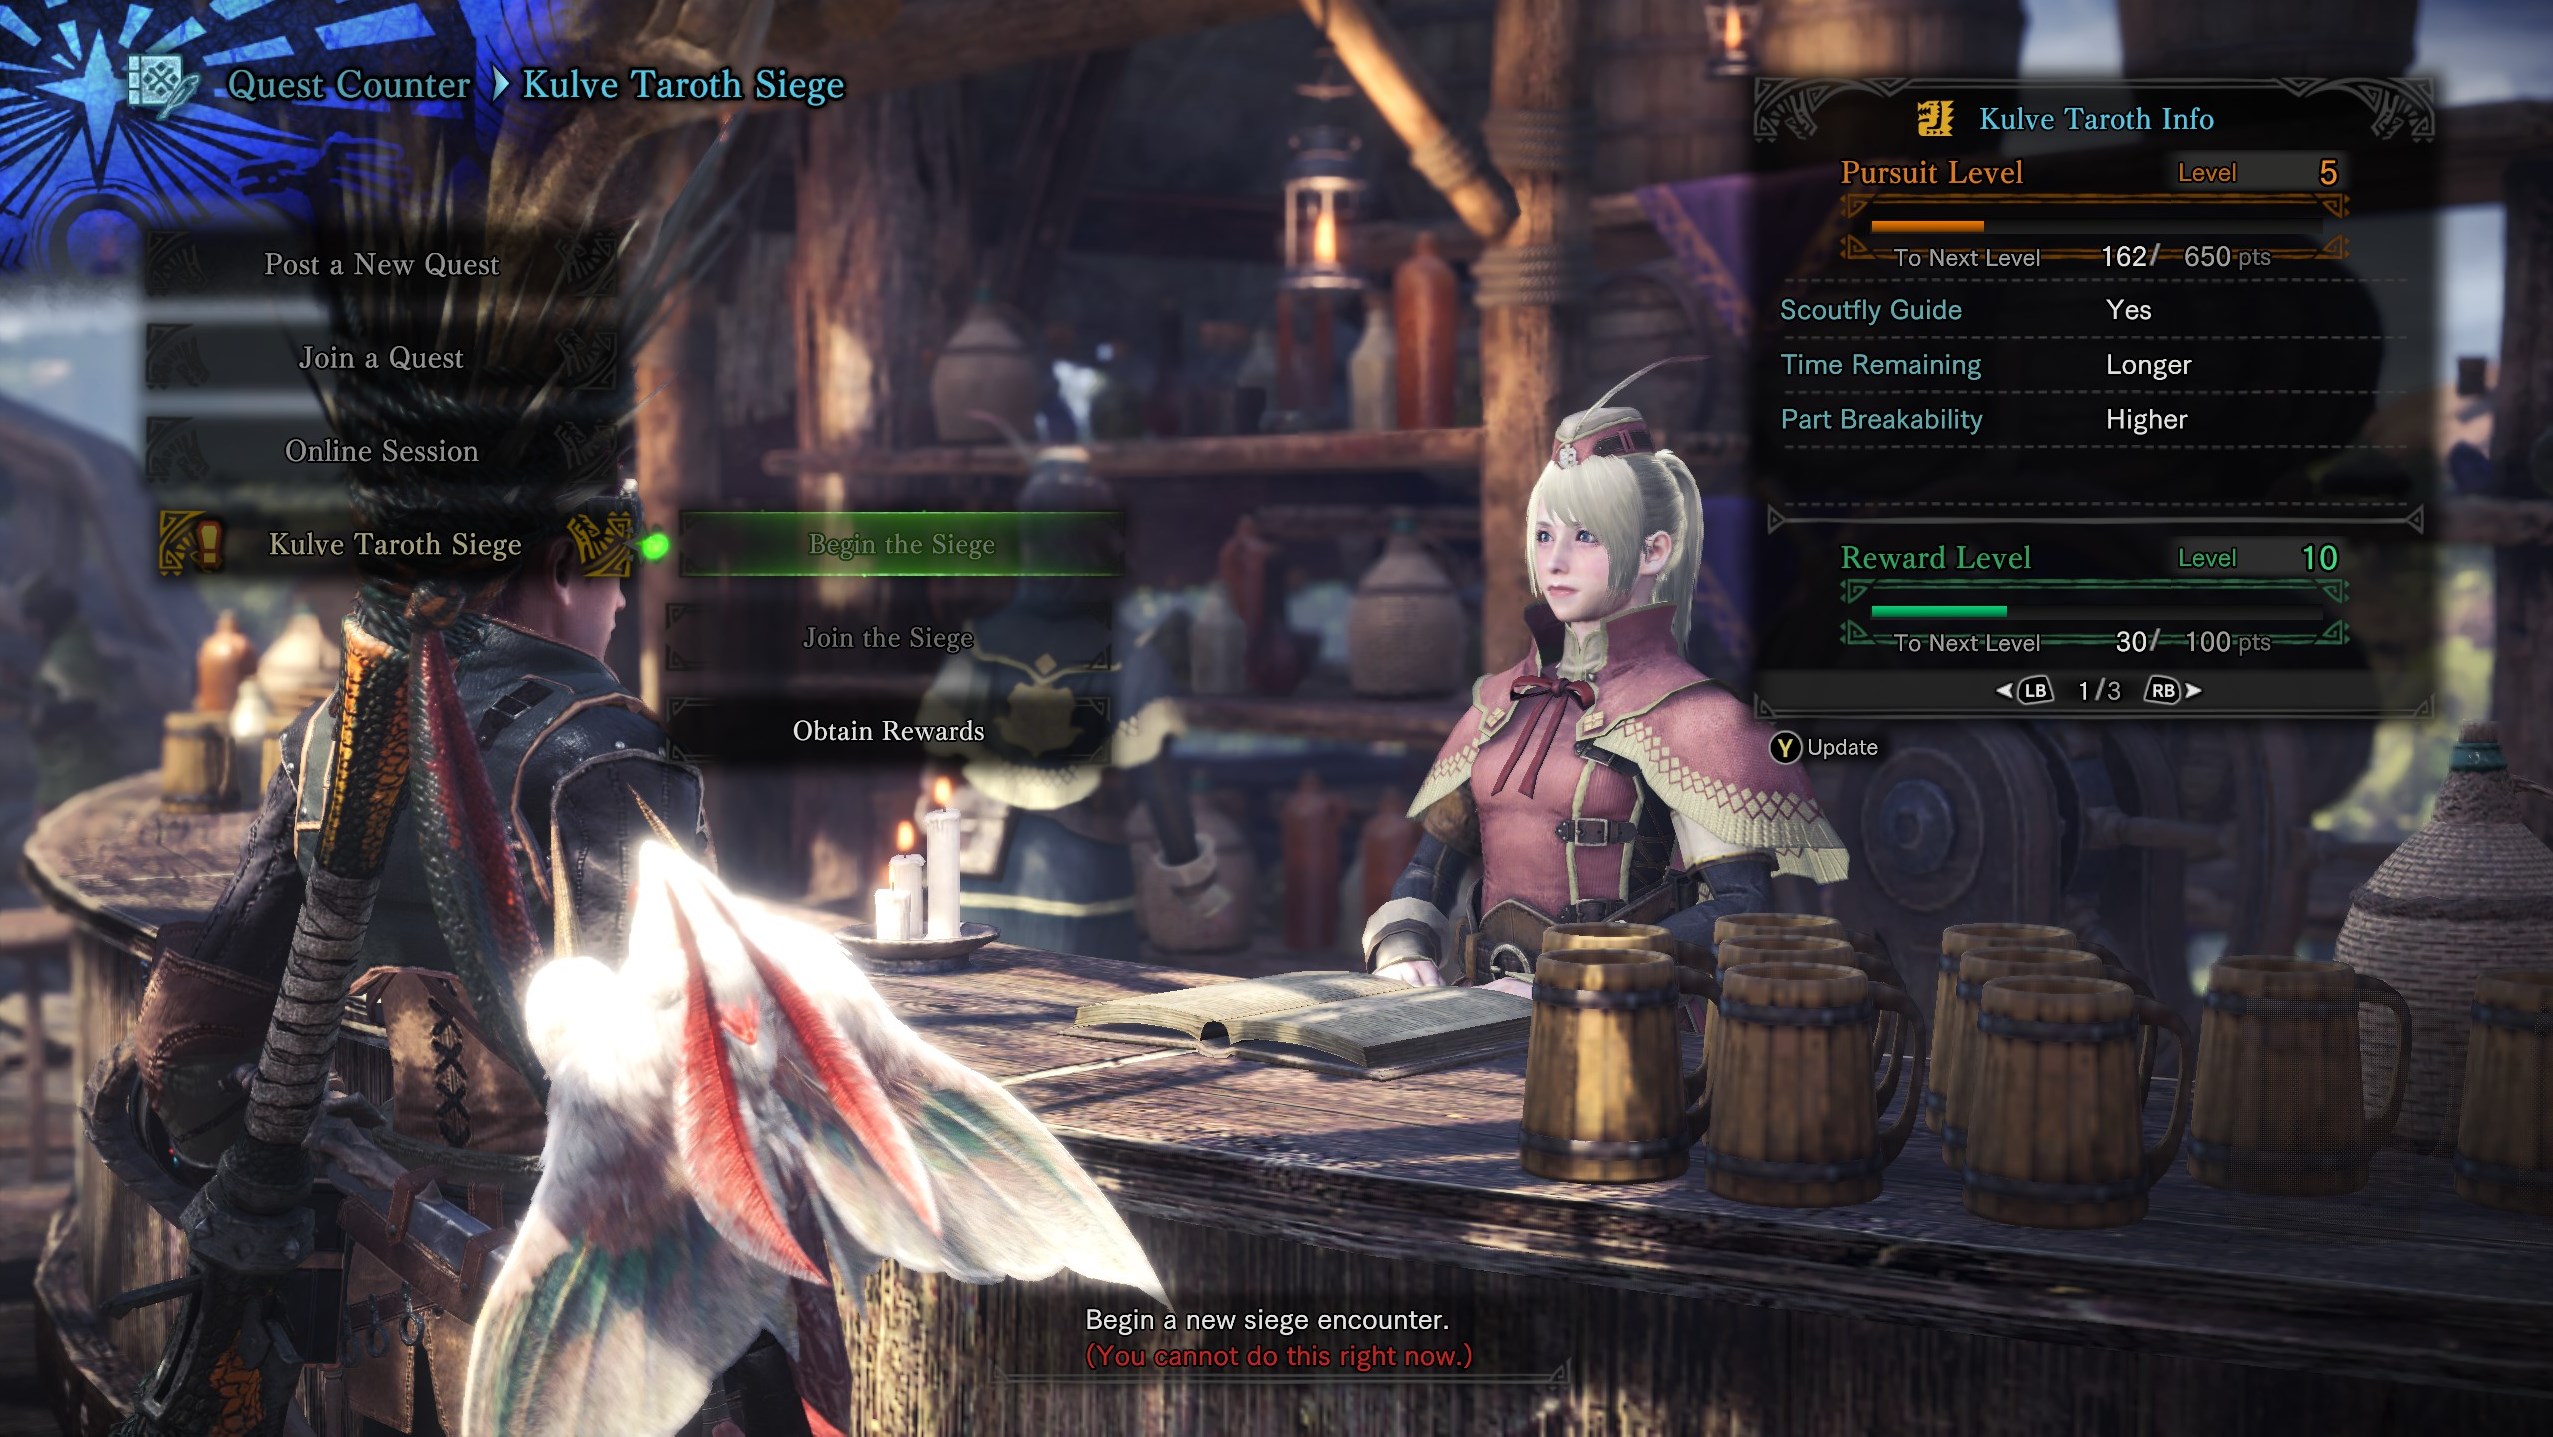
Once you see the screen above, you’ll notice some terms the game has never thrown at you before.
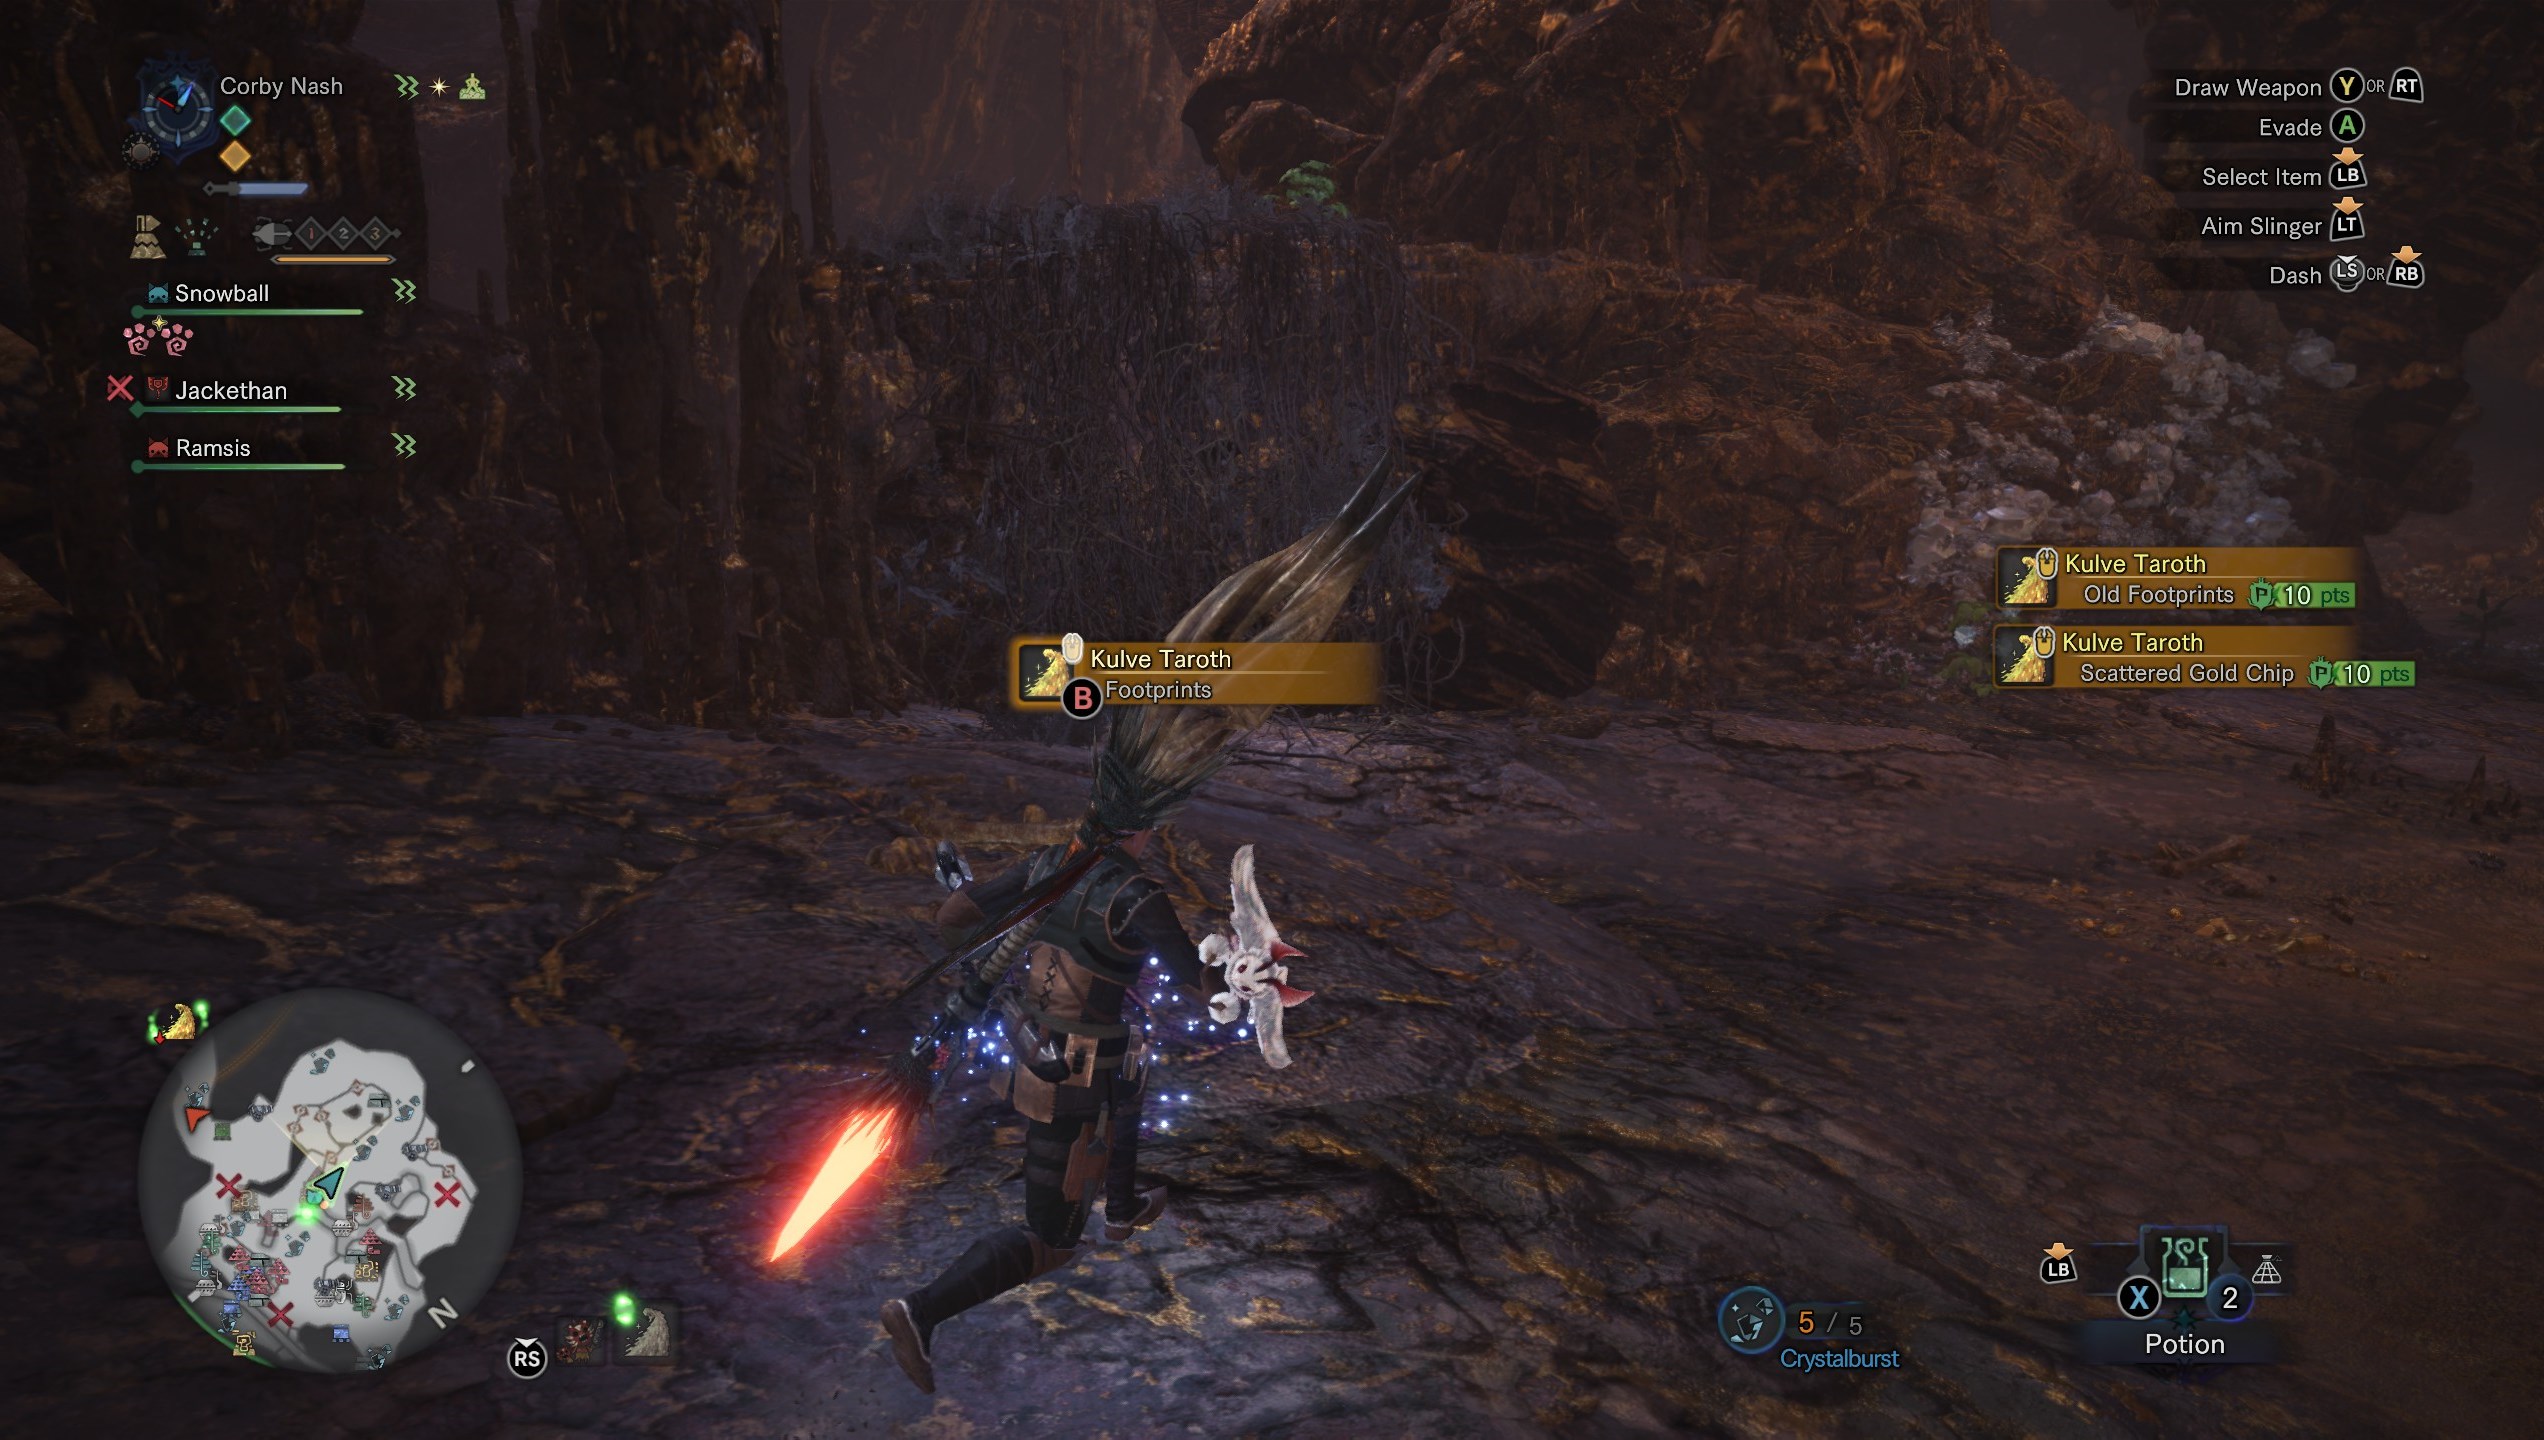
Pursuit level: This parameter starts at 0 and maxes out at 6. This has a direct effect on the three sub-parameters under it: the scoutfly guide, time remaining, and part breakability. The pursuit level increases when you locate Kulve Taroth tracks, which appear far more frequently during the Banquet in the Earthen Hall quest than anywhere else. In a nutshell, Kulve Taroth becomes much easier to defeat at higher pursuit levels.
Scoutfly guide: At pursuit level 0, your scoutflies will be of no help in locating the boss. At pursuit level 1, they’ll be able to sniff out her tracks, and by level 4 Kulve Taroth will appear on your map immediately.
Time remaining: Kulve Taroth is initially not thrilled about sticking around to fight you. At lower pursuit levels, she will flee from battle after about 15 minutes. Raising the pursuit level will buy you more time during each run to deal damage to her.
Part breakability: This is really what the Kulve Taroth hunt is all about. To get the best drops, you need to break her armor — especially her horns. At low pursuit levels, breaking her horns is almost certainly not going to happen, but at higher pursuit levels, it becomes much more manageable.
Reward level: This will increase as you successfully deal more cumulative damage to Kulve Taroth and break various parts across multiple runs. Reward level XP is also awarded for various actions within the mission, such as driving Kulve Taroth into new areas of the map. It maxes out at 15 and determines the rarity of the drops you will receive when you best her (by completely breaking her horns—she can’t actually be killed).
Here’s a complete breakdown of actions that grant reward points:
- Reach second map zone – 20
- Reach third map zone – 40
- Reach fourth map zone – 60
- Reach pursuit level 2 – 20
- Reach pursuit level 4 – 40
- Reach pursuit level 6 – 90
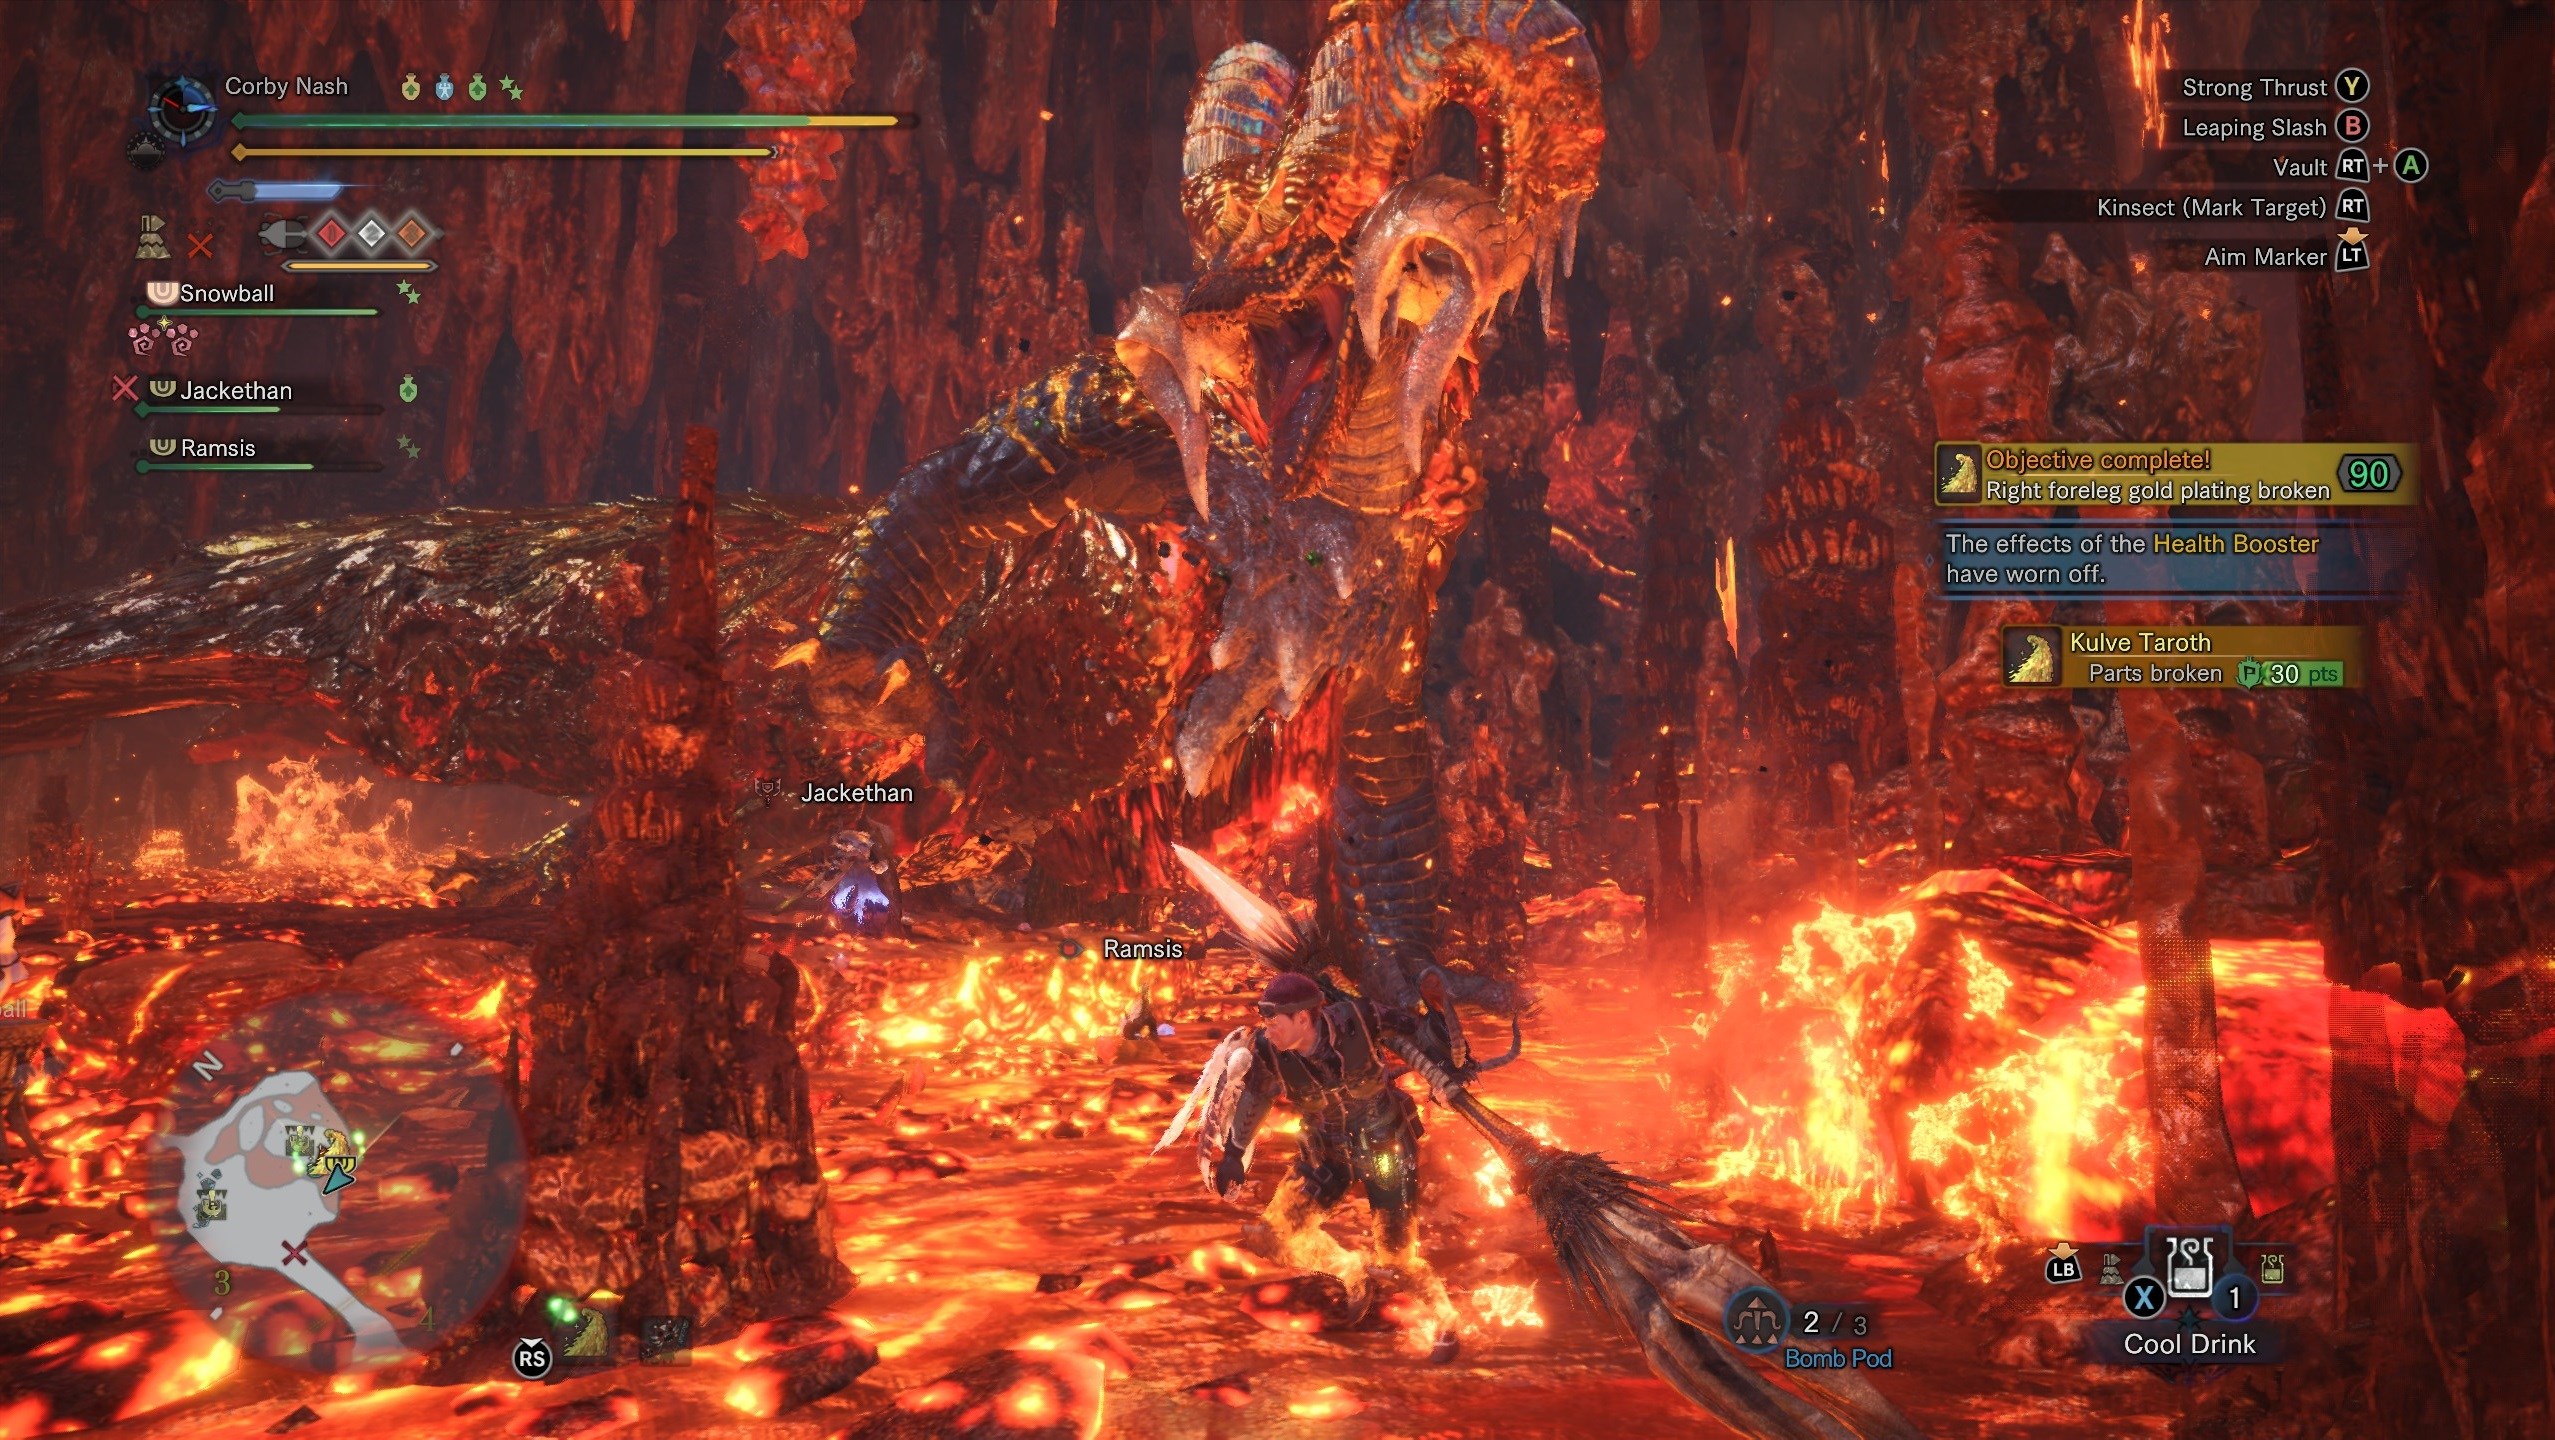
- Right foreleg gold plating broken – 90
- Left foreleg gold plating broken – 90
- Right chest gold plating broken – 60
- Left chest gold plating broken – 60
- Right hindleg gold plating broken – 30
- Left hindleg gold plating broken – 30
- Tail left gold plating broken – 30
- Tail right gold plating broken – 30
- Kulve Taroth released (all body armor destroyed) – 90
- Tail broken – 120
- Horn gold plating broken – 120
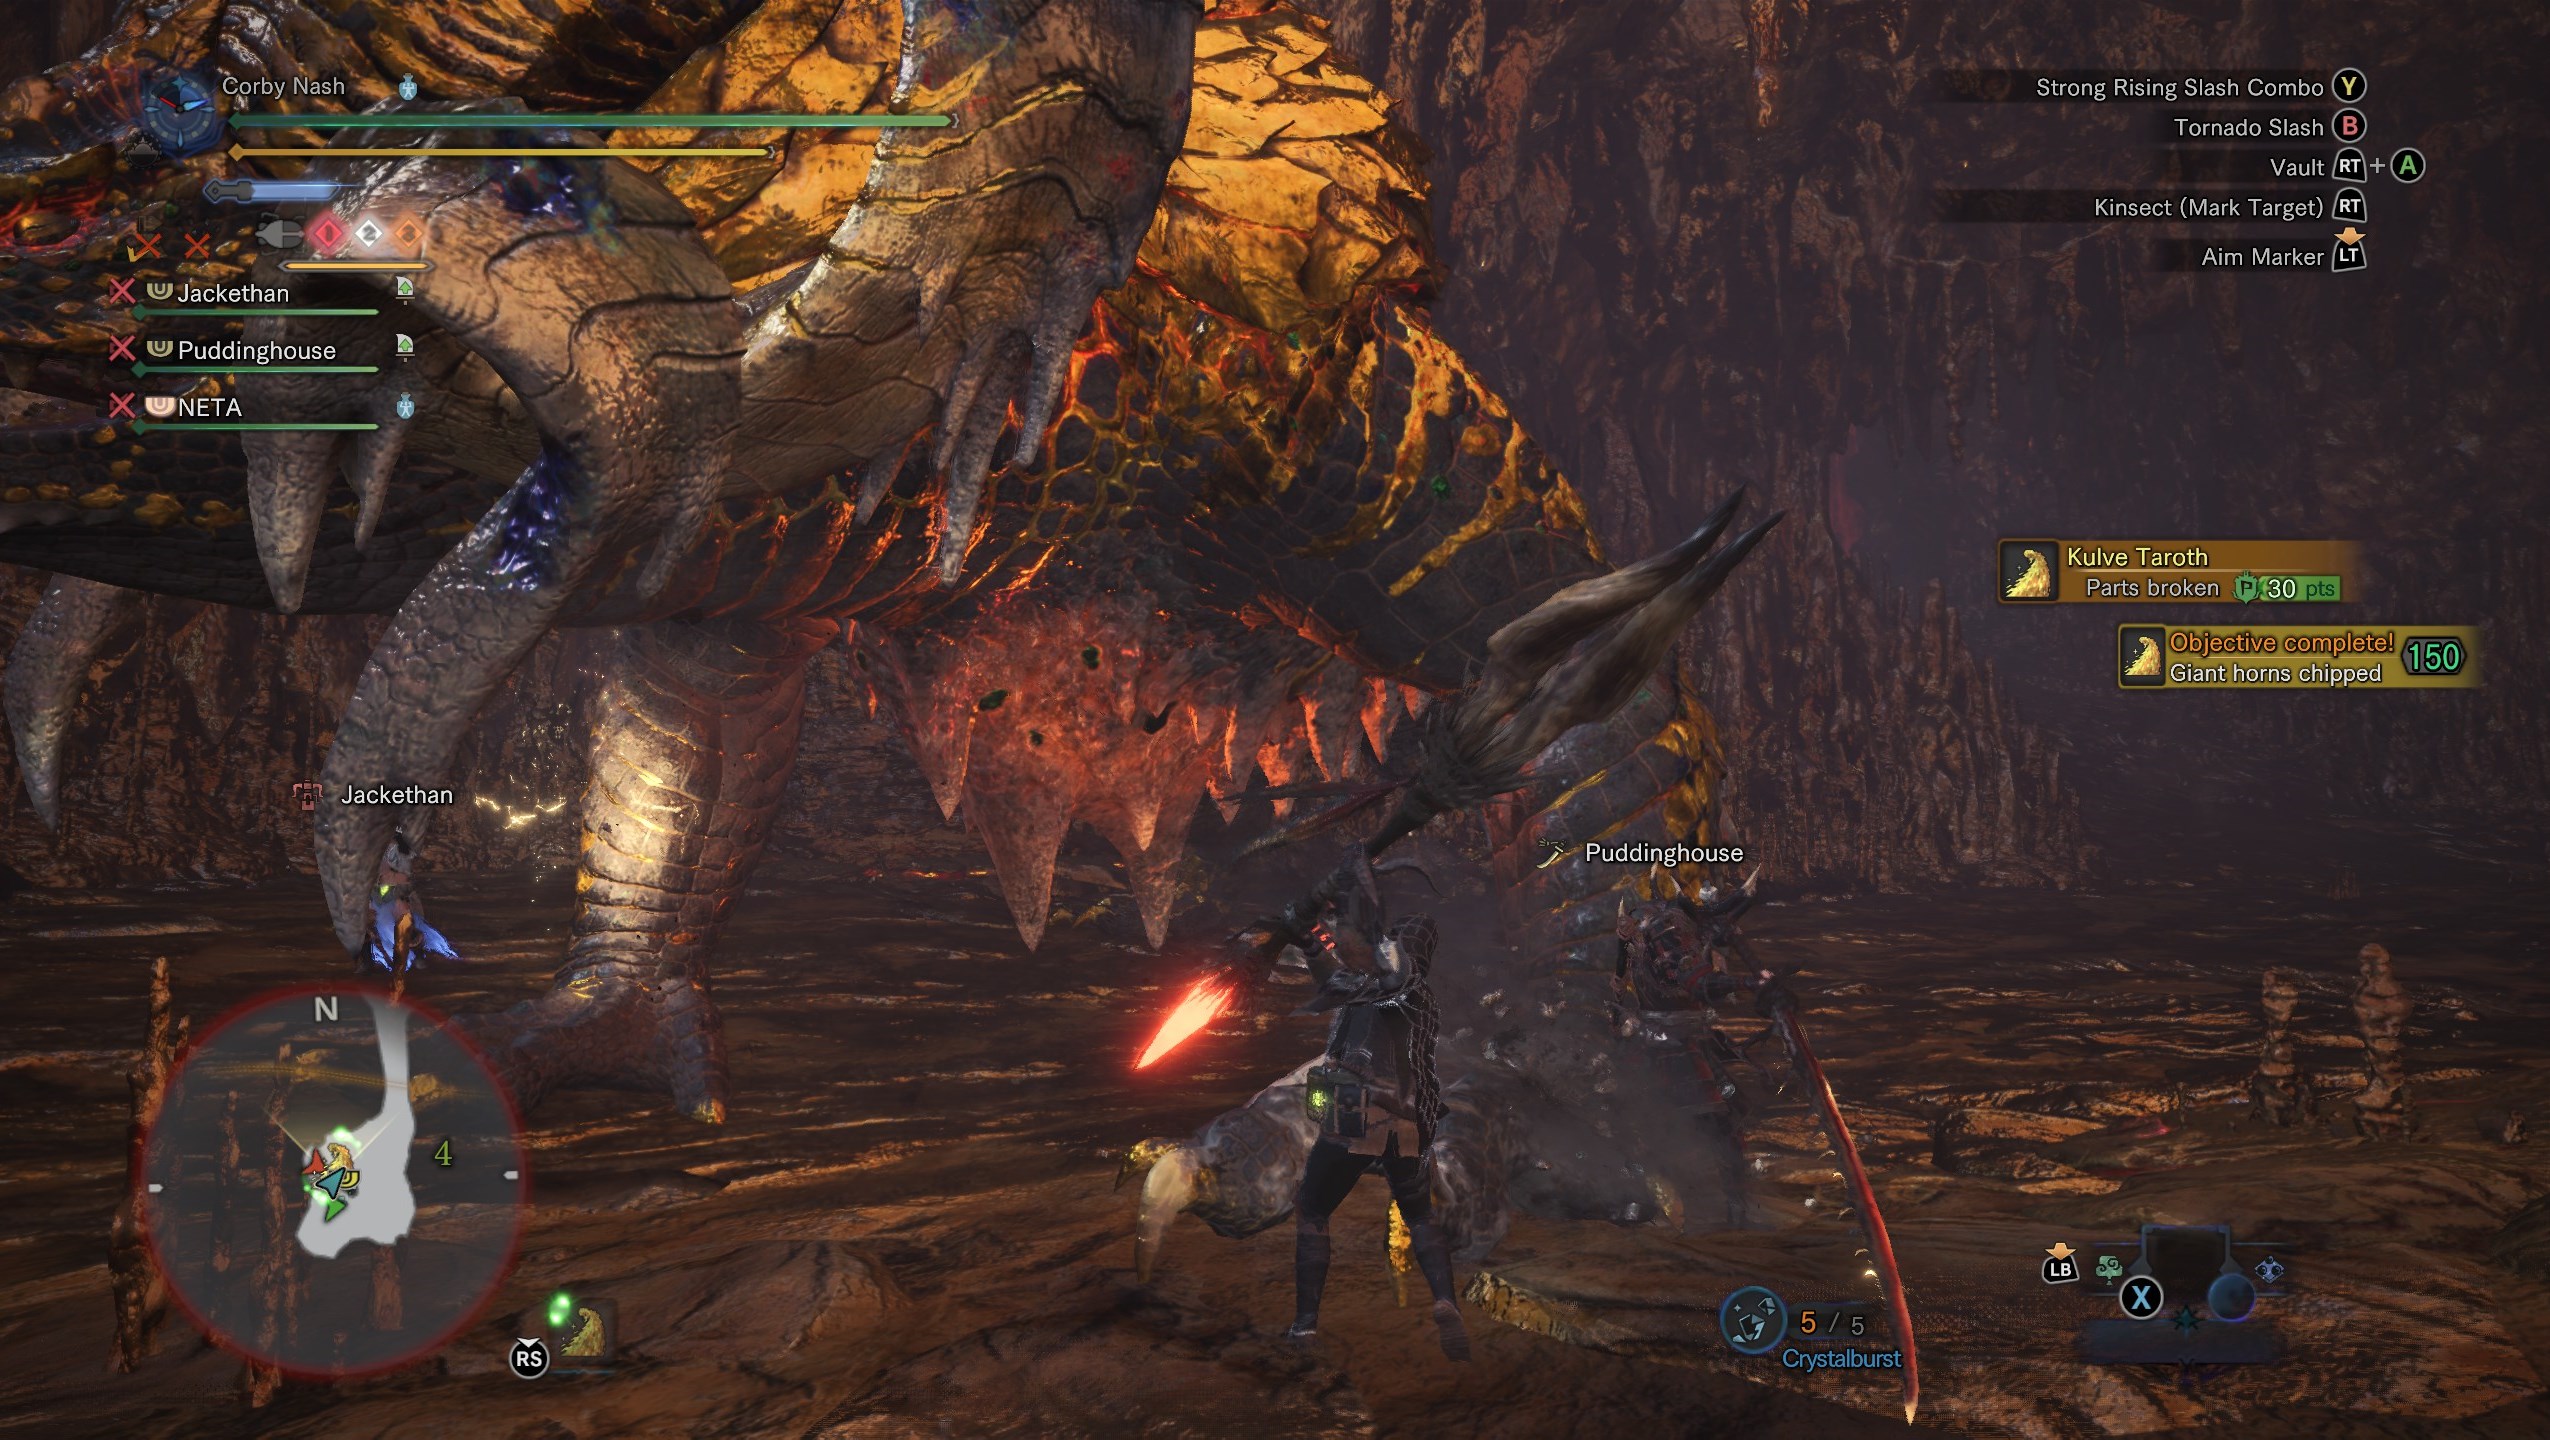
- Giant horns chipped – 150
- Giant horns completely broken – 500
What’s more, Kulve Taroth is the first hunt in Monster Hunter: World that supports up to 16 players working together, though that’s not obvious at a glance. Up to four groups of four can all join the same online session in the Celestial Pursuit, and when the mission starts, each group of four will be tracking the same instance of Kulve Taroth.
However, you’ll only see three of your teammates, not the other 12. If someone not in your group of four breaks one of Kulve Taroth’s parts or completes a reward point action, you’ll receive partial credit; you need to complete the same action yourself for full points.
Lastly, it’s worth noting that if all four groups complete the same reward point actions themselves, more and better rewards will drop once the siege is over.
Kulve Taroth General Stats & Pointers
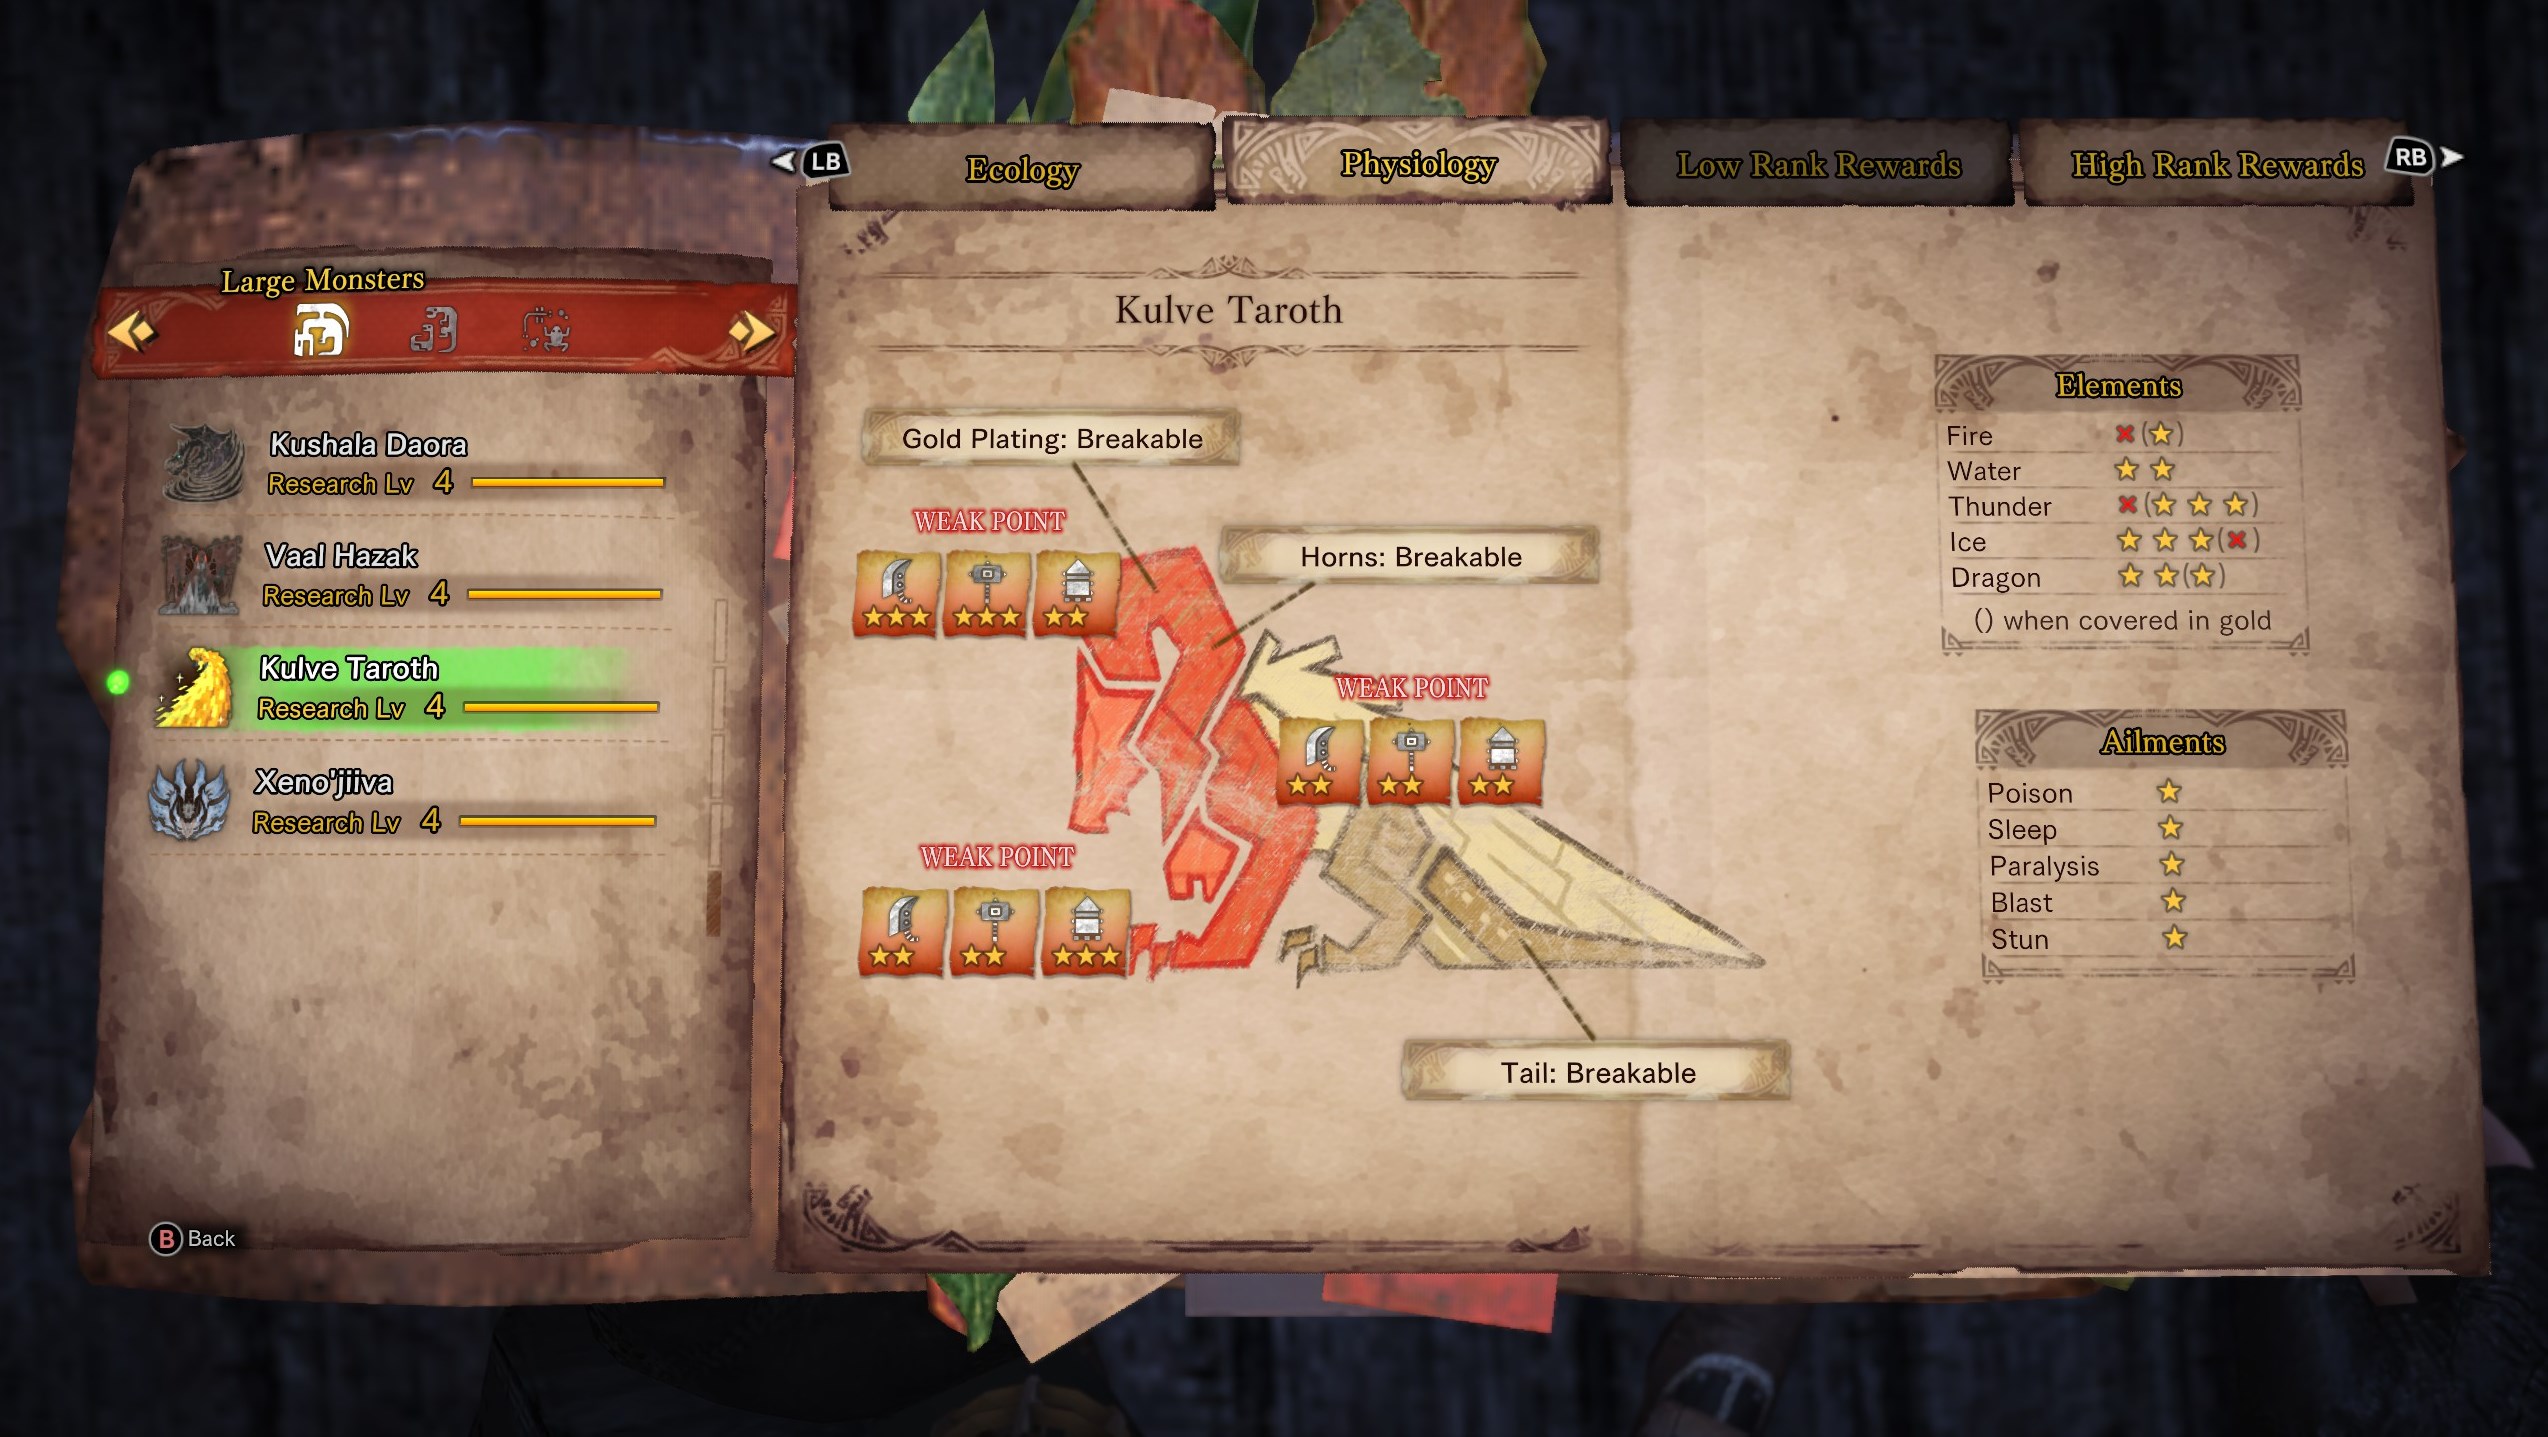
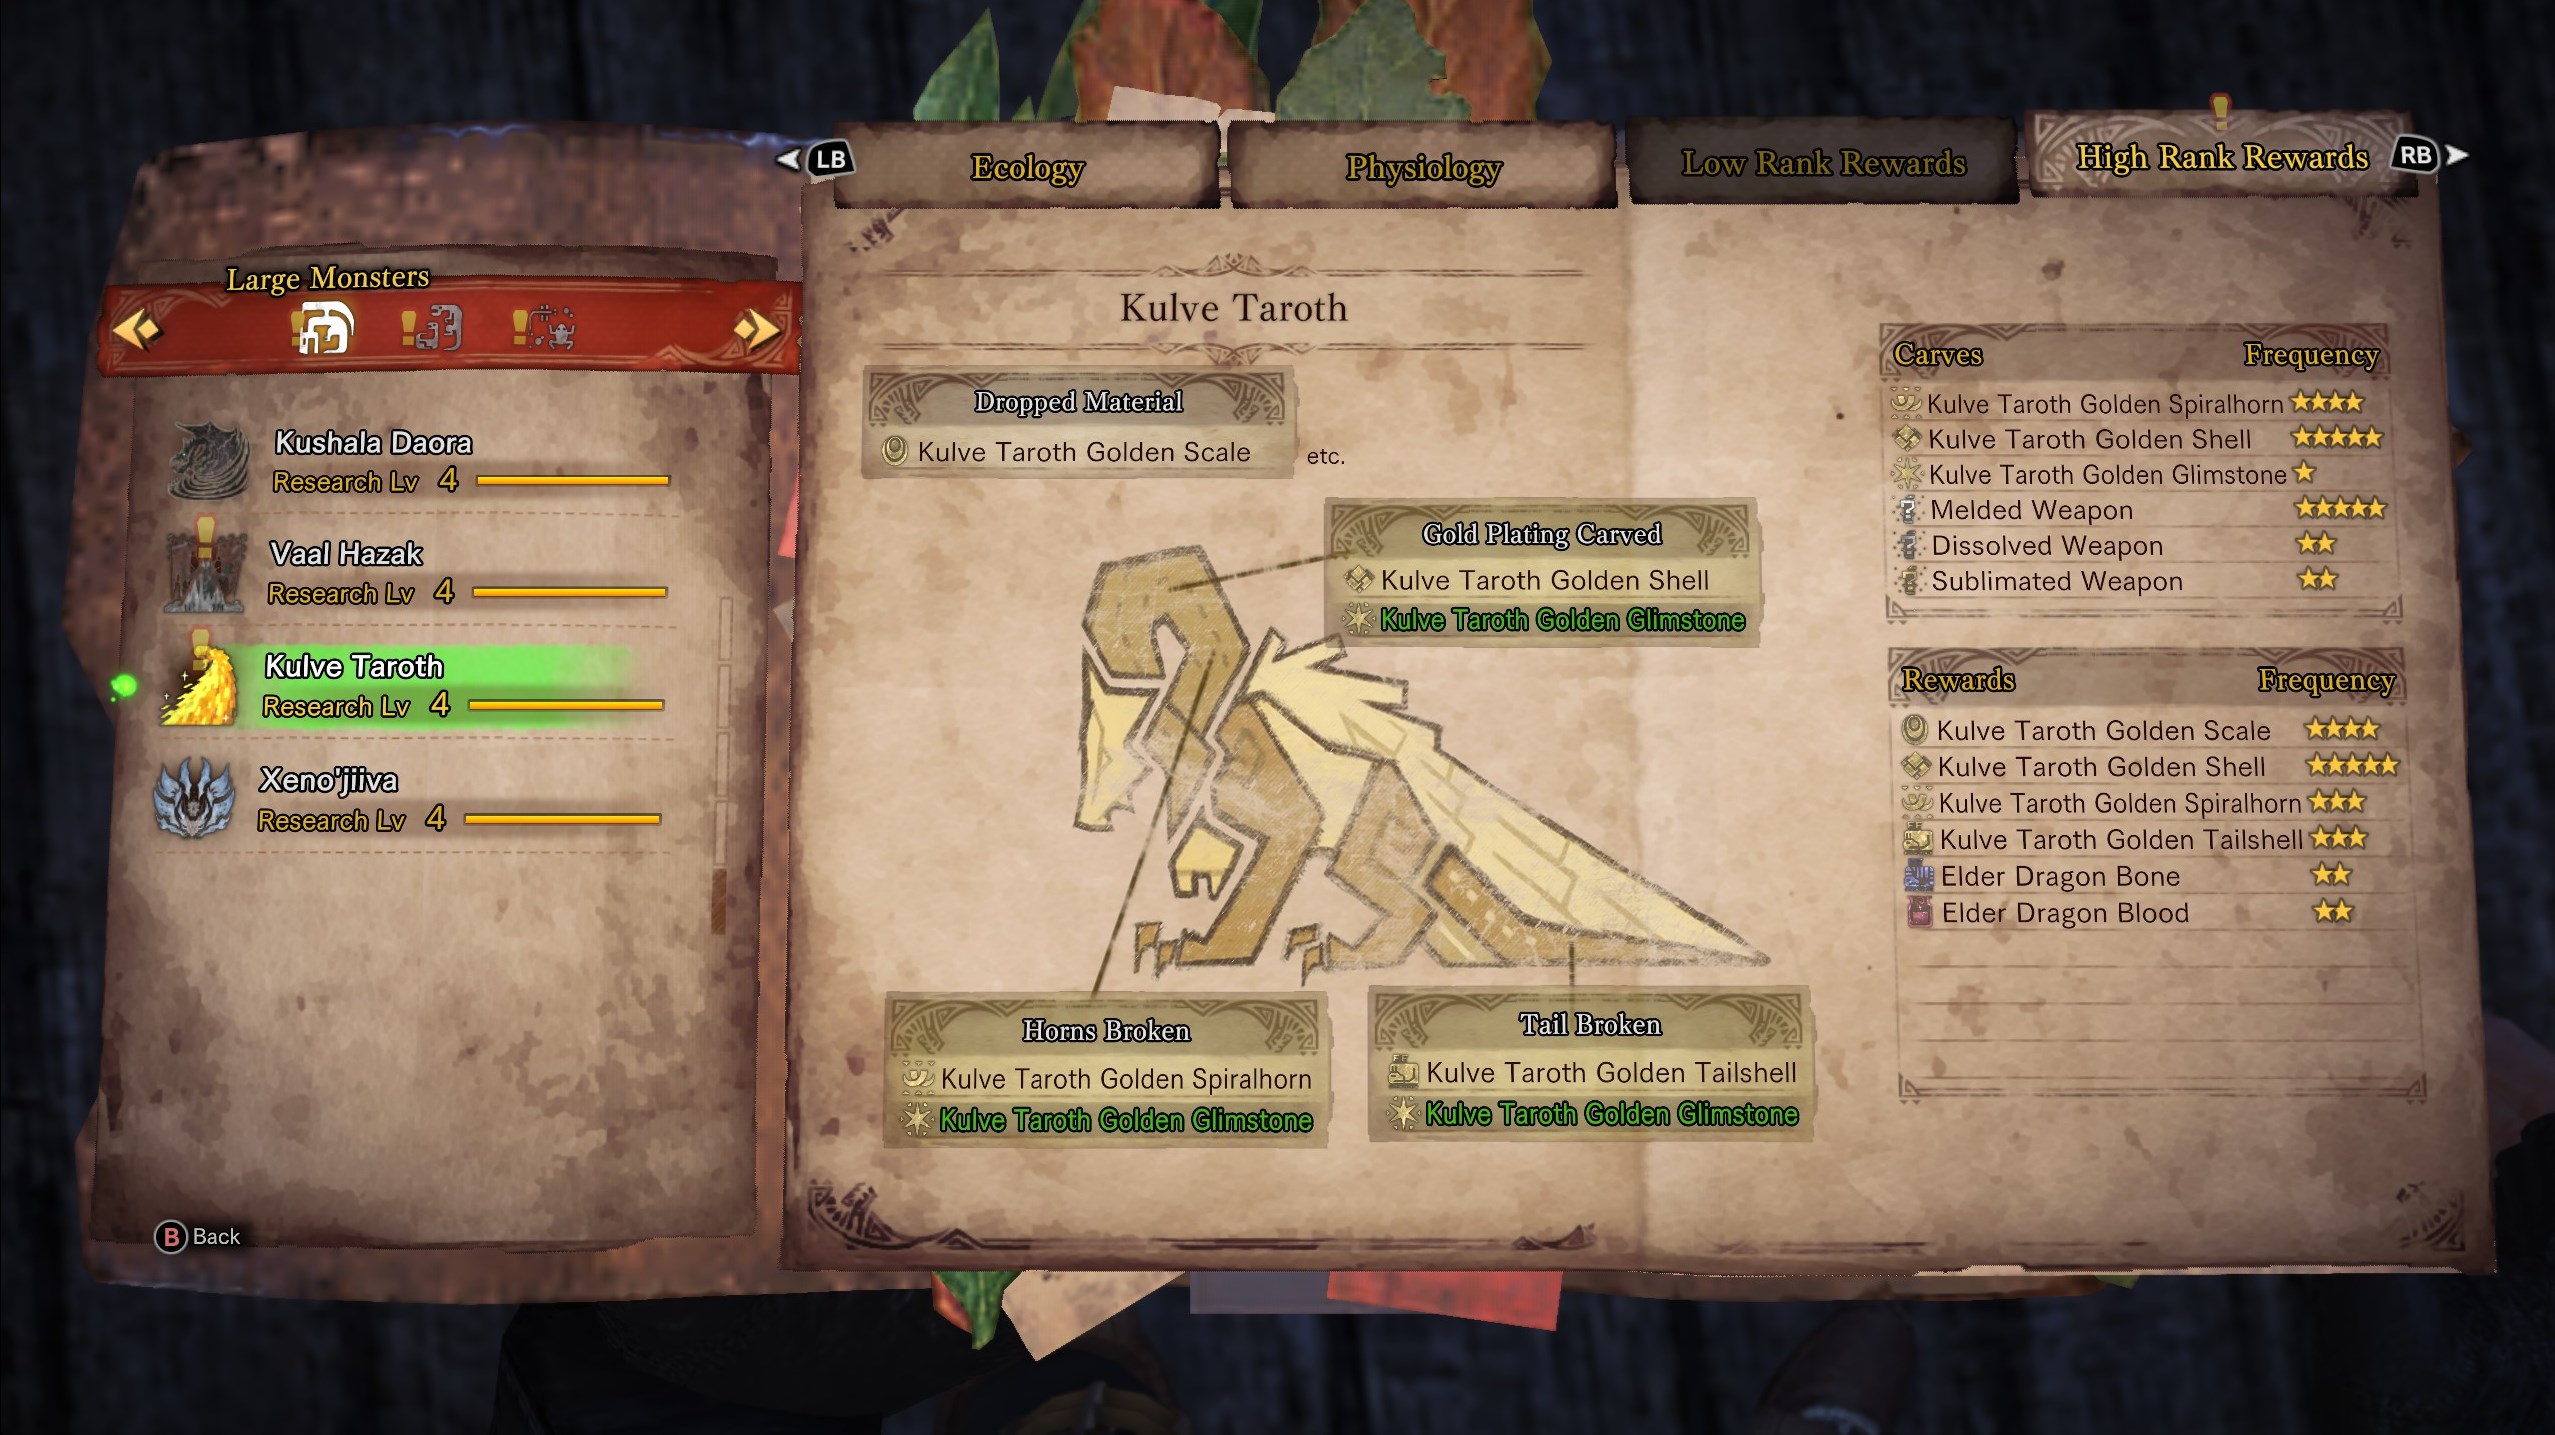
Kulve Taroth is a tough monster to bring down. She’s more defense than offense; even the hardest-hitting hunters won’t be able to get through her armor without preparation and perseverance. See the screenshots below for detailed information on her resistances and weaknesses, as well as a complete listing of her break rewards.
Starting the Hunt — Stage 1
Your first one or two runs should be entirely focused on finding as many Kulve Taroth tracks as possible. She will lumber around the map and you might even run into her — don’t engage. She won’t be hostile unless you attack her first. Dealing significant damage to her becomes noticeably easier around pursuit Level 3 or 4, so try to get there before worrying too much about attacking her. Just gather tracks until she runs away, at about the 15-minute mark.
Your first few runs are also a good time to pick up some of the new materials and trade-in items available in this mission.
Research Points
- Copper calappa are little golden crabs, found everywhere in the first sector of the map. Catch them with the capture net for 8 RP.
- Gold helmcrabs are less common than copper calappas, but still easy to find all around the first area. Snag them with the capture net for 14 RP.
- Scattered gold chips can be obtained by attacking Kulve Taroth until she drops them; they’re fairly plentiful and worth 10 RP.
Trade-in Items
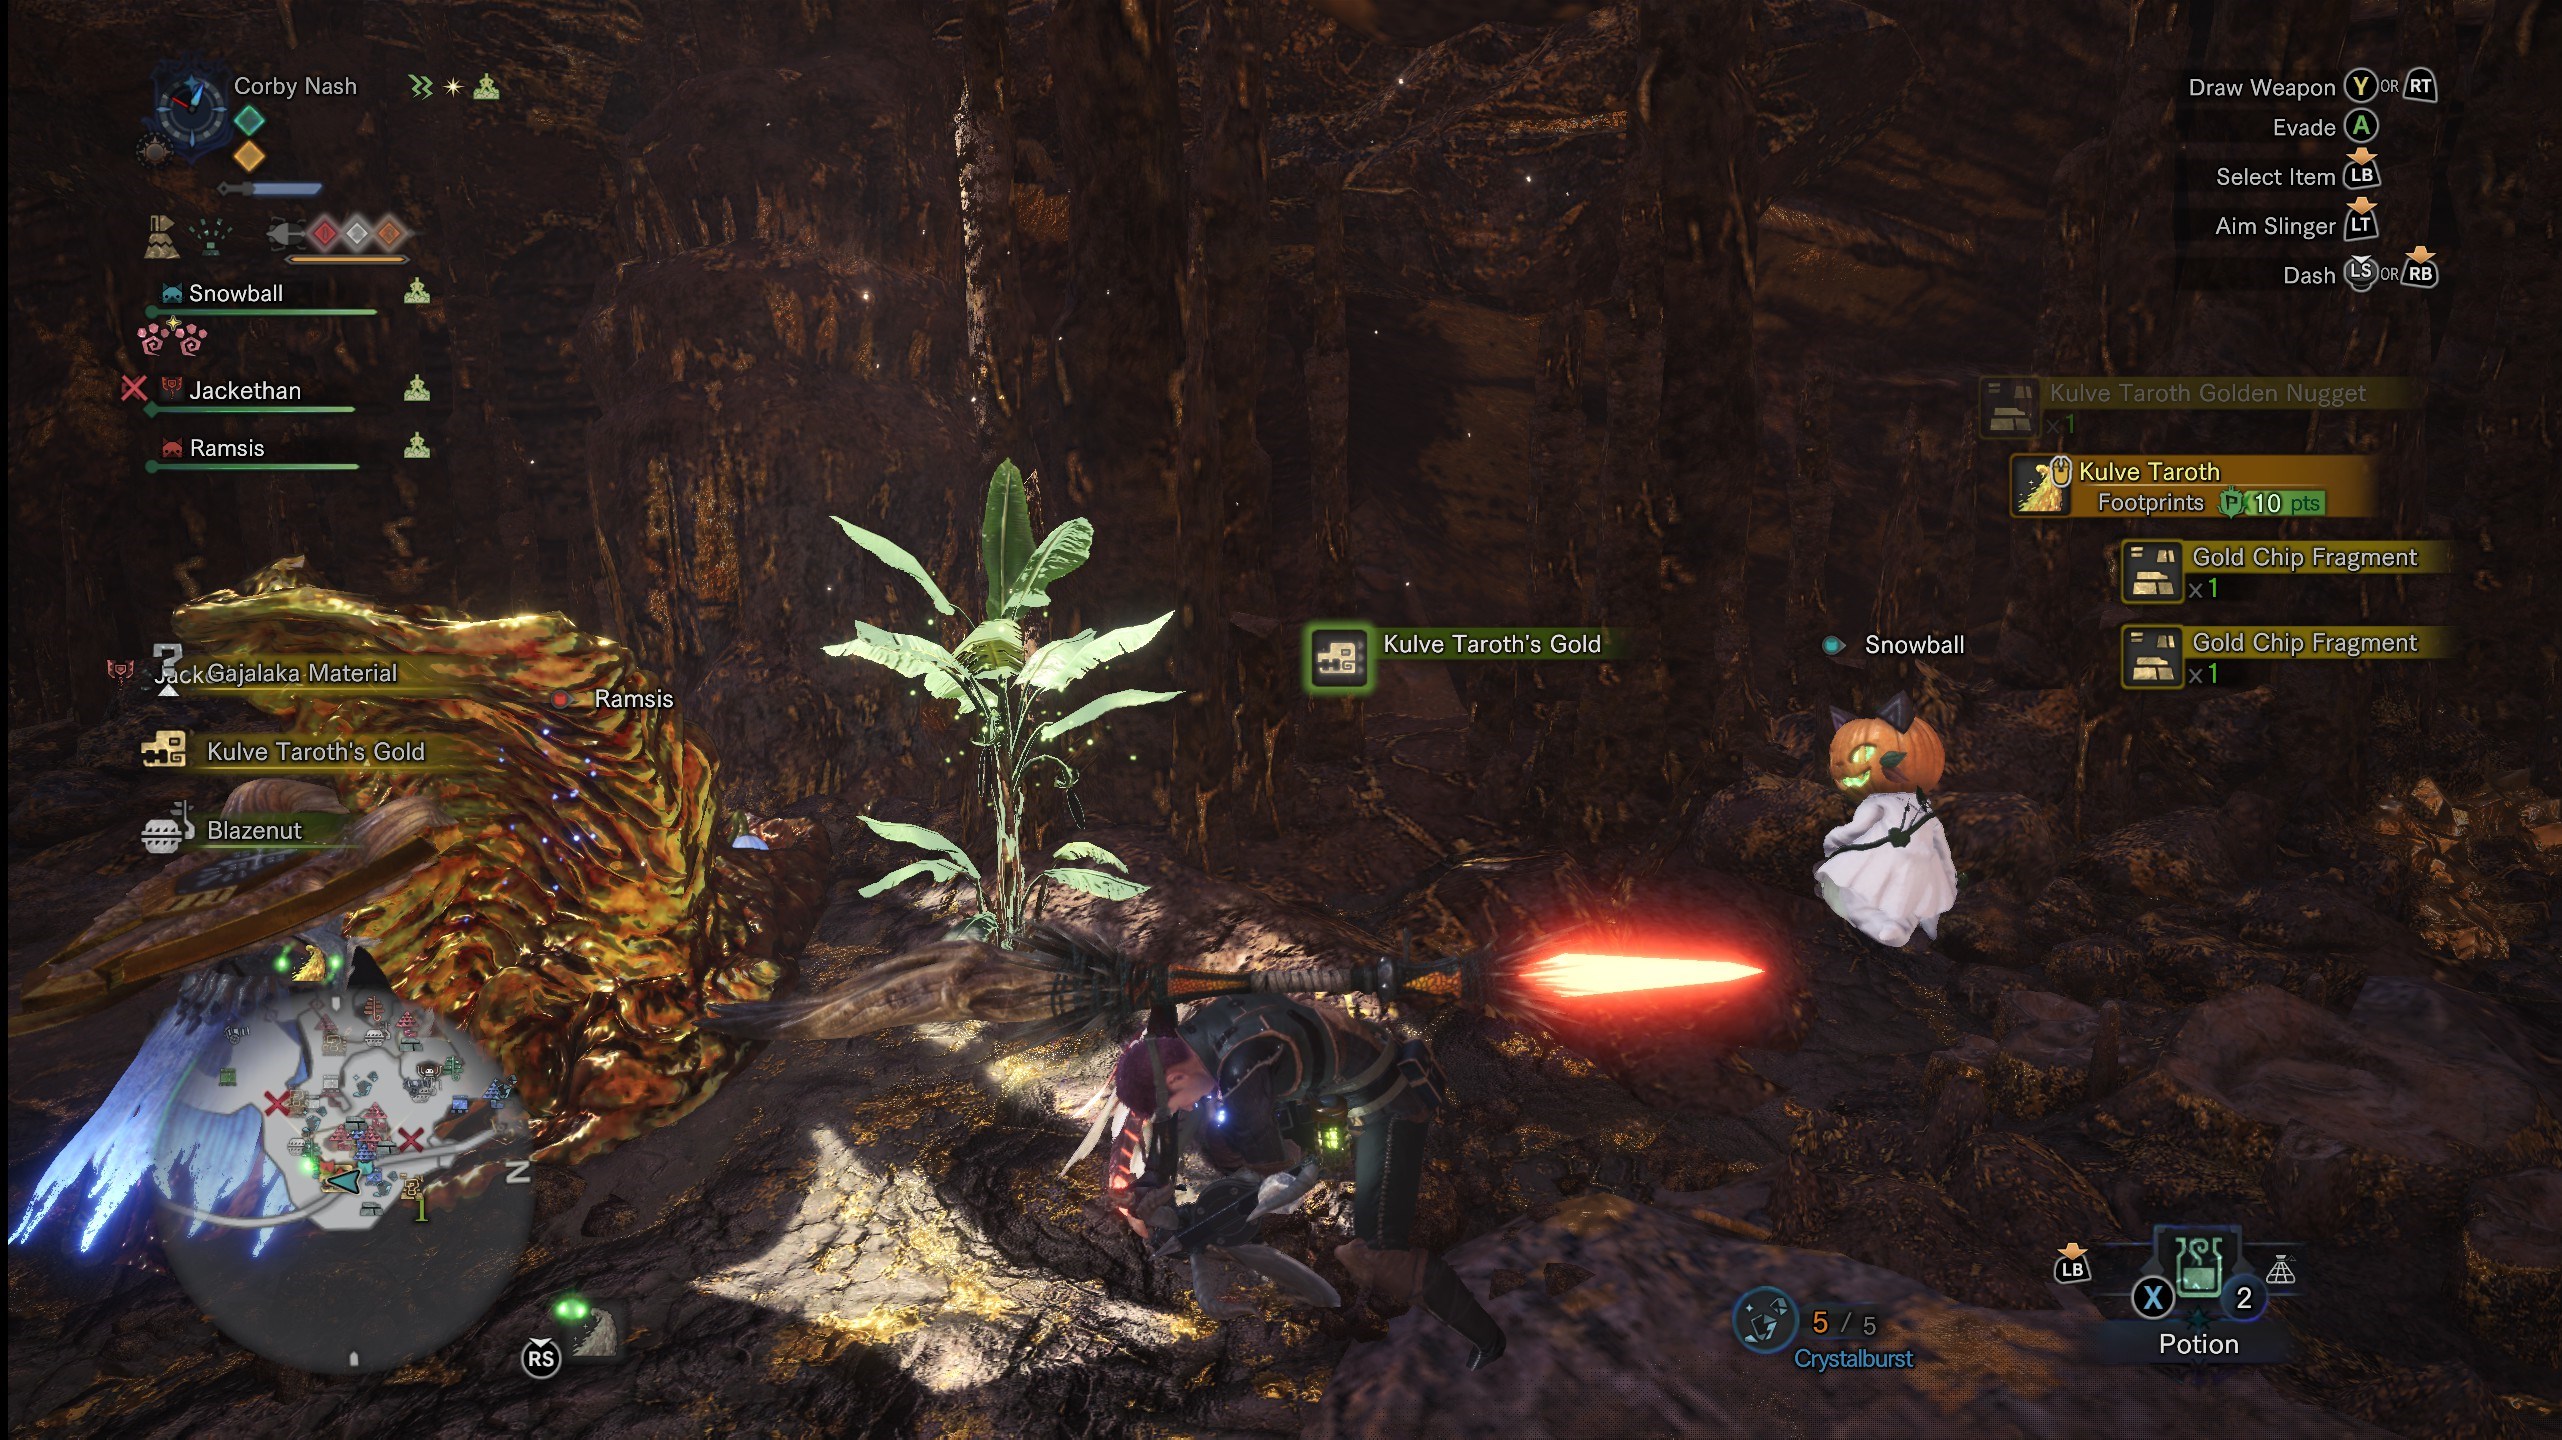
- Gold chip fragments can be obtained by attacking Kulve Taroth’s horns until she drops a large chunk of Kulve Taroth’s gold. Any nearby copper calappas will harvest small chunks of it, and you can then steal the gold chip fragments from them.
- Golden chunks can be broken off any part of Kulve Taroth’s body or received as drops.
- Golden fragments can be mined from mining spots or dropped by breaking any part of Kulve Taroth’s body.
Materials
- Kulve Taroth golden nuggets and golden scales both drop fairly commonly when you break any part of her body.
- Kulve Taroth golden tailshells can be obtained by—you guessed it—breaking her tail.
- Kulve Taroth golden glimstone is a rare drop (~3% chance) obtained by carving Kulve Taroth’s gold when you manage to break her horns. There’s also a small chance to receive one as a quest reward.
Continuing the Hunt — Stages 2 & 3
Once you’ve achieved pursuit level 3 or higher, you’ll notice a substantial increase in your ability to damage Kulve Taroth, as well as the length of time she’s willing to hang around. As you exceed certain damage thresholds, she’ll flee into new areas of the map. Here are some general tips and tactics to keep in mind for the second and third zones of the fight:
- Thunder is your best bet for elemental damage as long as her golden armor is still mostly intact. Once it’s broken off, ice will be the top choice. Dragon and water damage perform decently in all stages of the fight.
- Always target her horns whenever possible; breaking them continuously yields substantial rewards and is the ultimate objective of the quest.
- Most of Kulve Taroth’s attacks aren’t too dangerous for hunters above level 50, except for two: her massive AOE lava blast and her lava mouth beam. Both are capable of instantly knocking out even high-level hunters, but both are telegraphed well in advance.
- Make good use of environmental tools and traps. Every area has at least one precarious boulder lodged in the ceiling somewhere; tag them with your slinger to drop them on Kulve Taroth’s head for massive damage. There are also cannons in the first zone that will deal big damage to her head if aimed carefully.
- Come prepared with as many large barrel bombs and mega barrel bombs as you can carry. Drop some next to her head when she falls over; explosions are a great way to deal large spikes of damage.
- Bring plenty of cool potions and/or chillshrooms; the third and fourth stages of the fight take place in so much lava.
Finishing Her Off — Stage 4
Keep wailing on her long enough and you’ll eventually corner her in a large cavern past the gigantic lake of lava. She’ll make her final stand here and become much more aggressive. Expect to see her two deadliest attacks executed more frequently. The good news is that by this point, her armor should be mostly or entirely gone, so your own attacks will be much more effective.
There’s no real trick to this stage other than not dying. Remember to focus your attacks on her horns whenever you can. Keep it up and she’ll fall sooner or later.
When Kulve Taroth finally lumbers off in shame, you’ll get some materials and trade-in items as usual, but to get the loot you’ve really been working for, there’s one final step to take. Head back to the Celestial Pursuit and talk to the girl in pink once more. Select “claim rewards” under the Kulve Taroth Siege menu—you’ll get some rare materials, with more gold reward slots on offer the higher you managed to drive your reward level.
You’ll also get some random relic weapons, which have to be appraised, can be any weapon type, and range from 6 to 8 in rarity. Finally, you might also score some Bushi tickets. These can be traded to the resource center along with Kulve Taroth materials and break drops to score the Homare layered armor set.
Note that when you claim these rewards, the siege pursuit and reward levels will reset to zero.
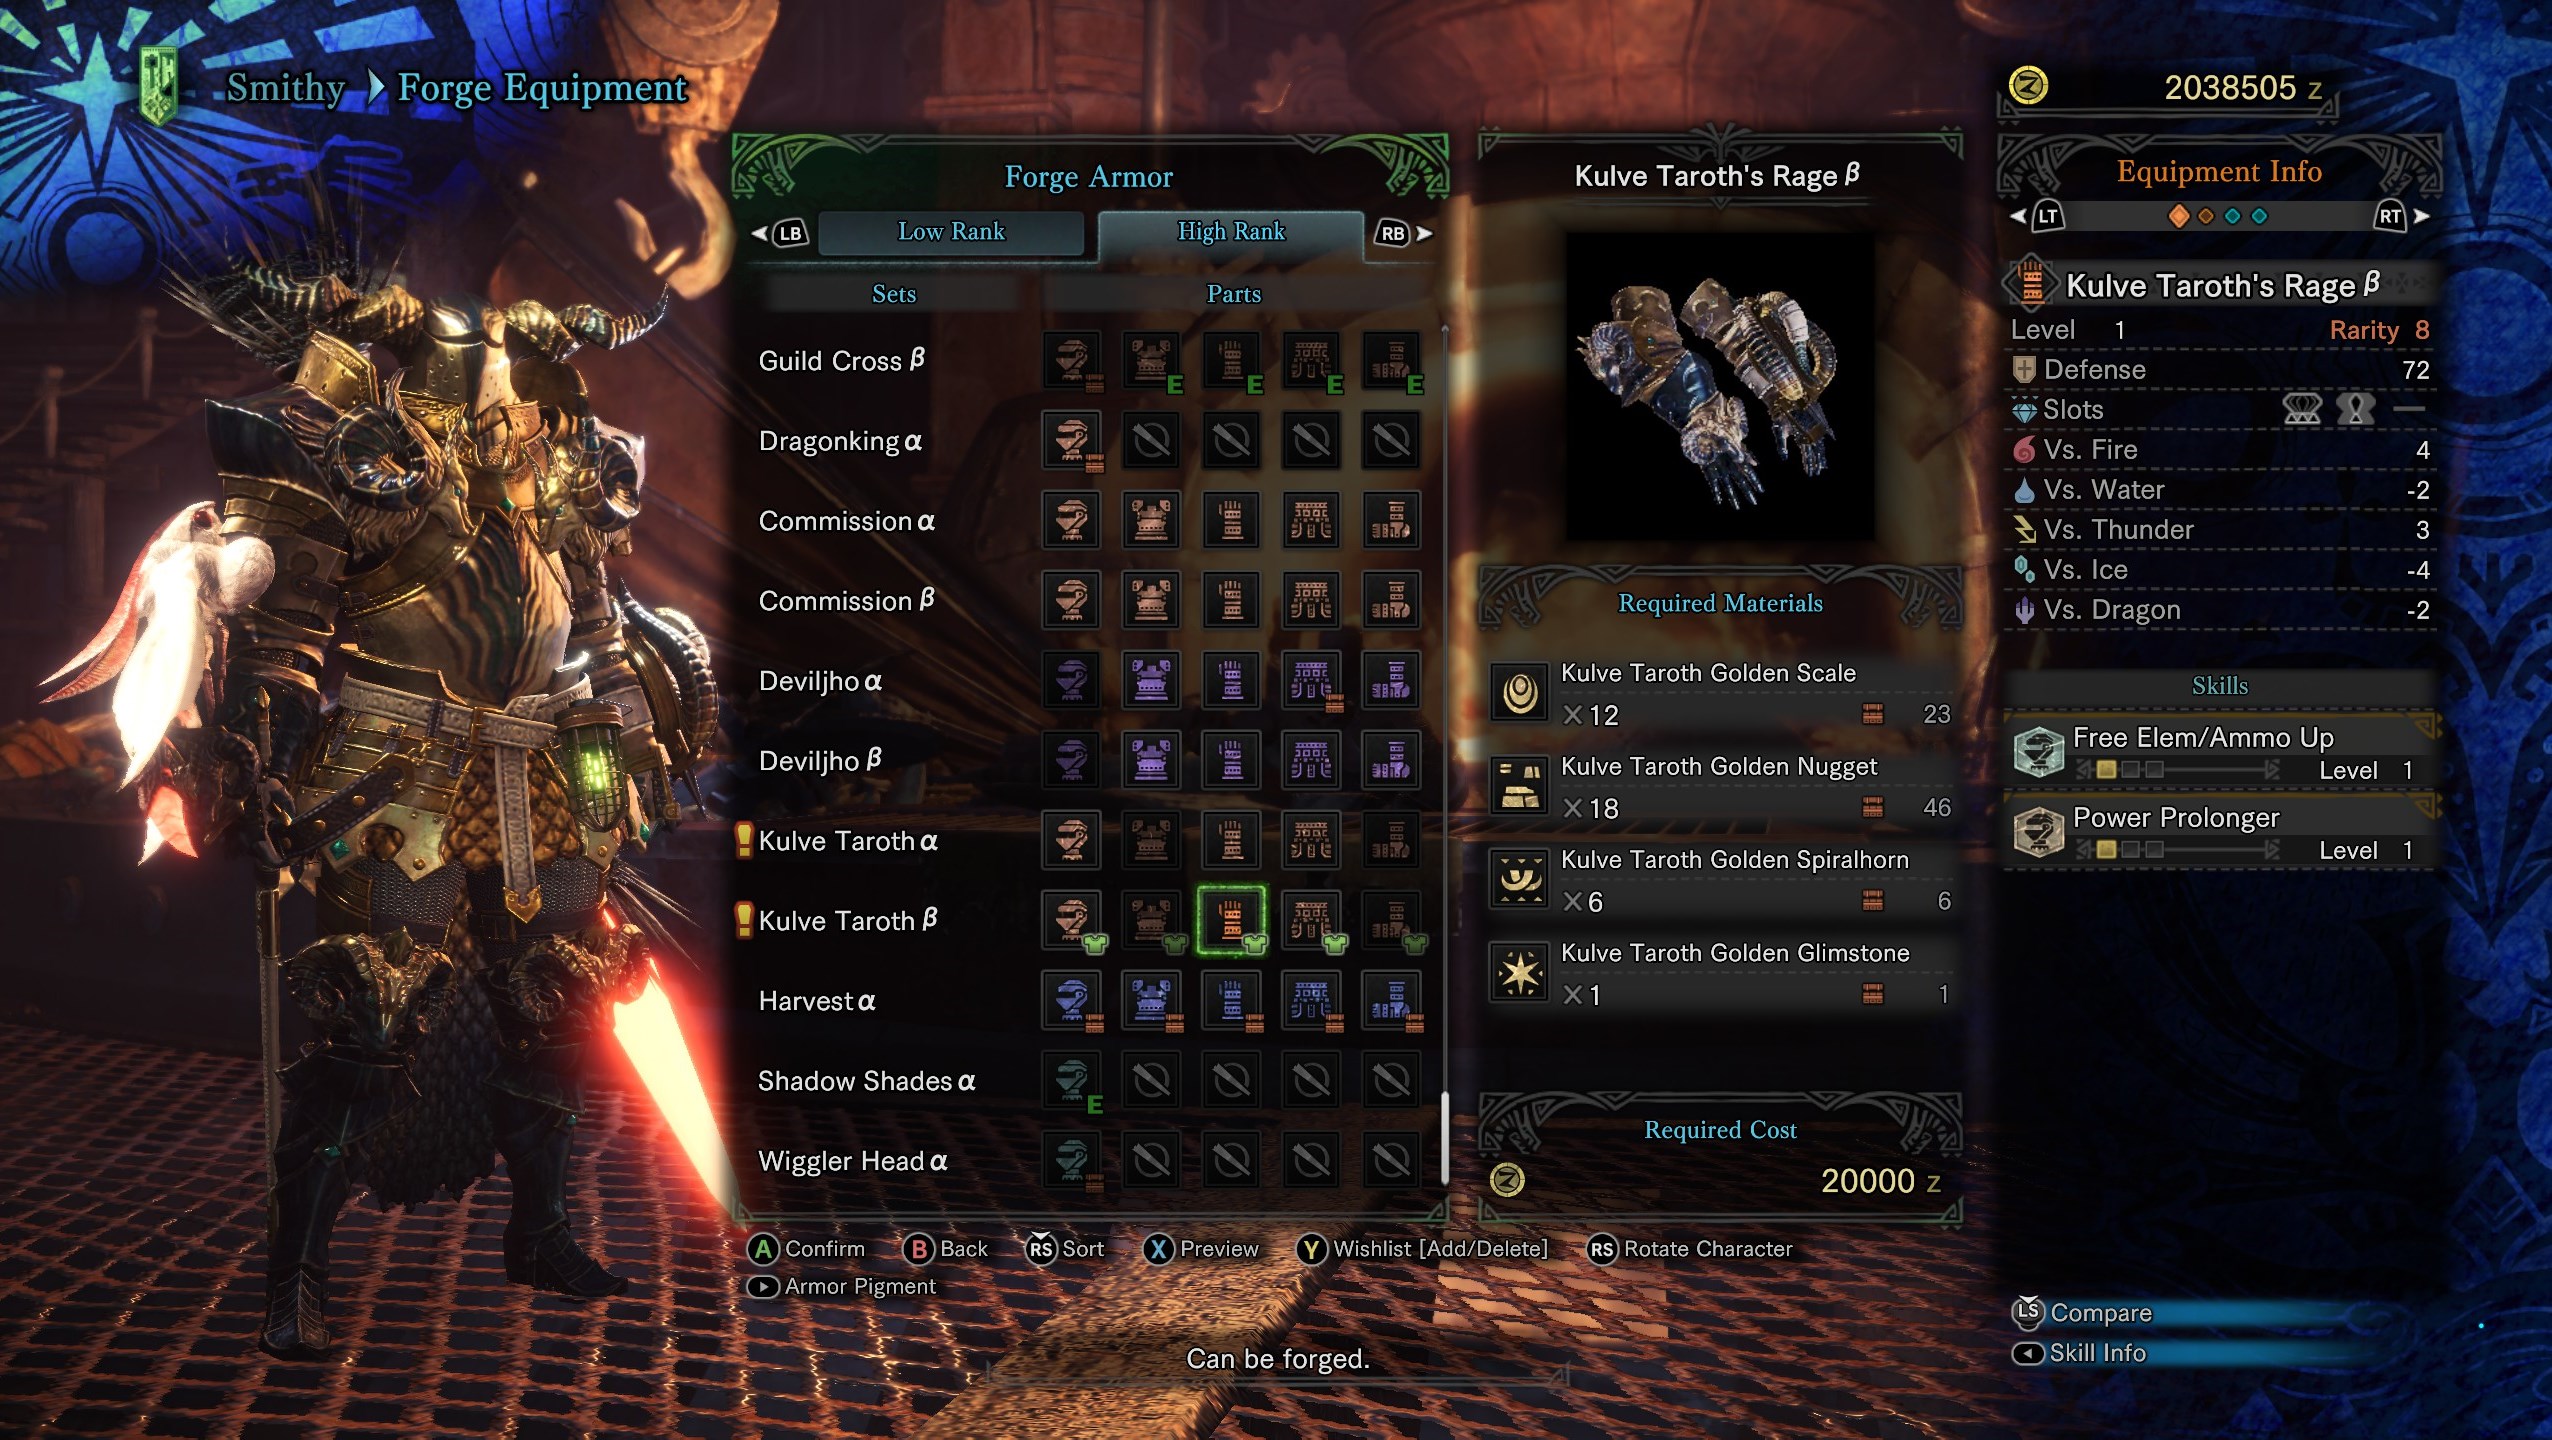
Regular Kulve Taroth armor can be crafted in the workshop and comes in α and β versions, like all other high-level armor sets. Many of its pieces enhance some of the rarer and more useful armor skills, like Critical Boost and Handicraft.
There you have it! Taking down Kulve Taroth is a lot of work, but once you get a feel for the routine, it should be smooth sailing.
Check out our Monster Hunter: World hub for more guides as Capcom rolls out new hunts.



Published: Nov 16, 2018 01:14 am