
Yooka-Laylee, the spiritual successor to Banjo-Kazooie has some mighty big paw prints to fill, and as such, Playtonic Studios has gone to great lengths to amplify the 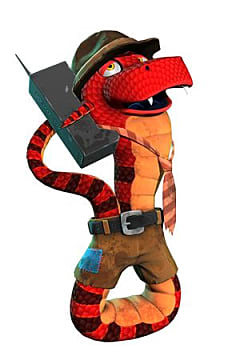 elements that the Bear n' Bird titles were famous for by eleven, with huge stages that’re chock full of objects to collect.
One particular level is already earning a reputation for its demanding fetch quests, with its intricate nooks and crannies that’re tricky enough to have some gamers crashing into their own intellectual walls in frustration; I’m talking about the fourth world, Capital Cashino.
The glitzy adult arcade is easily the most distinct stage in Yooka-Laylee as it only has six physical Pagies to collect out the 25 total—the other 18 have to be purchased with a unique form of currency that’s only found in the casino at a poorly disguised Capital B at the remittance stand. With 180 Cashino Tokens to collect, the already bloated list of trinkets to snag might make the process of inventory management even more imposing to the seasoned gamer, let alone a first time player to the collectathon formula.
Luckily, GameSkinny has you covered with this detailed guide on how to grab every single coin in the flashy world.
Before you jump into the guide though, we should get some disclaimers out of the way.
 This walkthrough will only focus on where to the find the tokens within the stage and the steps involved with getting them; we won’t be covering the other six Pagies that’re associated with the level, such as Ghost Writer hunting or the Kartos mini-game. This guide is also written with the presumption that you have already expanded the Grand Tome belonging to Capital Cashino with the necessary Pagie cost, and will be prioritized as one play-through where all the areas of the stage are already available.
The bits that we want to get out of the way are the location of your move-tutoring snake sensei, Trowzer, and the science doodad item, the Mollycool, as they’re both vital to the completion of this coin run.
You can locate the serpentine salesman north of the world’s entrance after you’ve made it past the security cameras. Hang a left by the villainous cashier at the corner of the Card House. Once there, Trowzer will charge you 80 quills for the Reptile Rush move, a maneuver that will have the duo charge up their Reptile Roll in place by triggering the Reptile Roll and pressing the attack button, working similarly a technique made famous by a certain Blue Rodent.
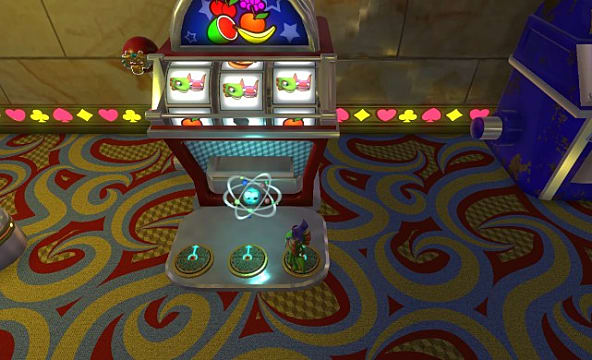
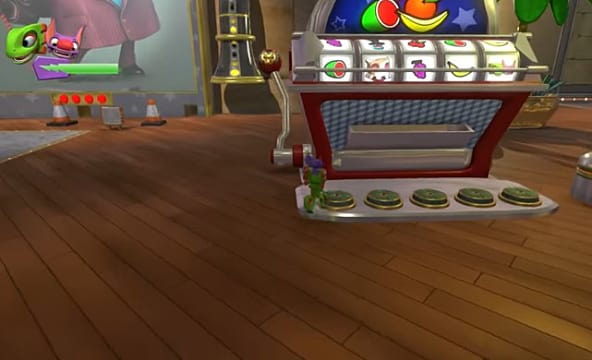
The Mollycool is another easy item to snag, as you’ll make way toward the structure that’s smack dab in the middle of the casino floor. The prized fuel for the doctor’s D.N.Ray is hidden within a slot machine that’s conspicuously close by the tentacle scientist, and will only require three well-timed Buddy Slams on the Yooka-Laylee slot reel to pop out as a prize from the one-armed bandit.
Not that you have all that taken care of, it’s time we start placing bets, and earning some of that sweet golden change that Capital Cashino has to offer!

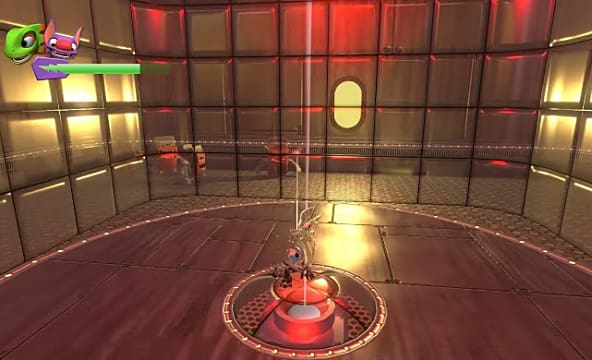
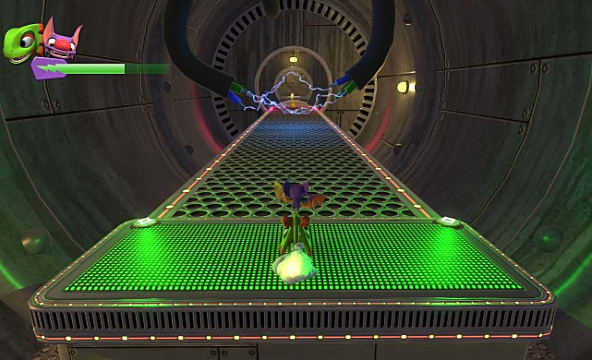
To navigate to the first bundle of tokens, you’ll want to make a hard right from the entrance of Capital Cashino, as you'll stop at a metal Tunnel opening. Go inside the tunnel where you’ll end up in a room where a mustachioed Usher will wait by a locked off gate. Speak with the reeled Curator who will ask you to destroy all of the enemies within the laser room -- with the promise of a handle of coins for your services in return.
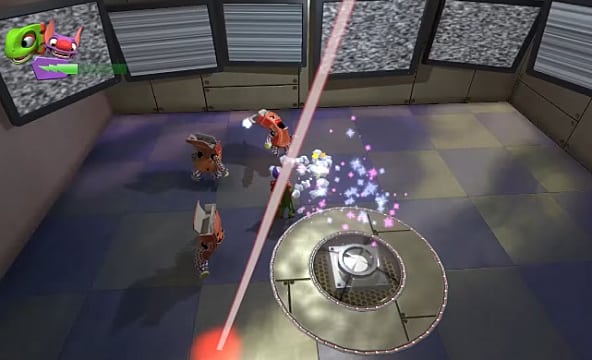
As the door opens, make your way in. You’ll have two different options to dispatch the troublesome enemies hiding behind the cascade of glass paneling.
You can either defeat the enemies with the intended use of the Camo Cloak against the giant laser within the middle of the room, aiming it’s concentrated blast around the perimeter of the room and sweeping all the goons in sight. Or you can simply spam Sonar ‘Splosion and the radius of Laylee’s scream will also take them out.
Clearing out the room of baddies will net you your first five tokens.
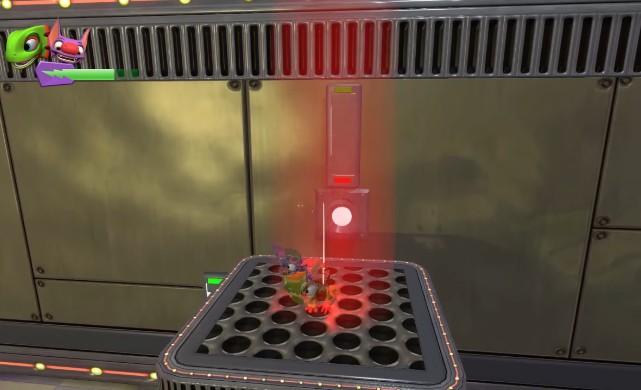
Once you make your way out of the Wager Laser room, turn right, and head in that direction until you hit the wall at the end with a high rise boxroom that resembles a security office. You’ll want to follow the end of the wall to the corner, until you come across a nook with an infrared light brightly casting a conspicuous looking lens-like sensor on the wall—look a bit familiar to you?
That’s right, another chance to whip out the Camo Cloak so that you can reflect the beaming light into a concentrated laser, and aim it directly at the lens-like panel. Doing so will trigger the platform next to you to rise up, where another panel and laser light will conveniently appear for you to repeat the process.
After you get to the third platform and blast the last two panels, you’ll be granted access to the security room that’s holding some caged tokens -- and troublesome goons inside of it.
To unlock the cages with the goods, beat up on anything that moves until the enemy respawns eventually stop, chiming a tune that will open all of the cages where you can add a total of five tokens to your collection.
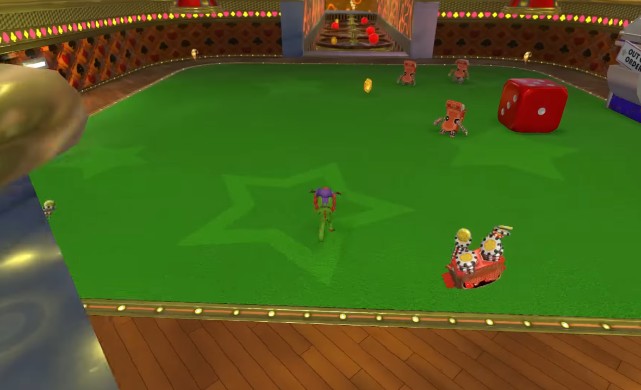
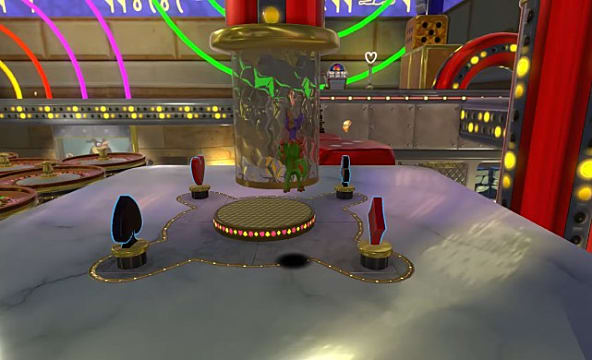
After you're done here, the next goal will be to the immediate left along the walkway. You’ll spot some raised platforms and a spot to the right of it resembling a poker chip with some rotating card suits that’re garnishing its perimeter. Stand in the middle of the Blue Poker Chip spot with all the card suits, because they’re not merely just some gaudy décor, they’re switches that will need to be triggered all at once by Laylee’s Sonar ‘Splosion.
Once you have your wing-girl screech her heart out, you’ll cause the Poker Chip to rise up in a shooting stack that will shoot you up to the top of the raised platforms. Jump your way over to the other  end of the tables, and beware of the floating Bizzy’s that guard the area as they can be a bit tricky to evade when you’re hopping from one spinning table to the next. Keep going to reach the end of the gambling dials to arrive at the second spot with spinning card suits, and let out another Sonar ‘Splosion.
You’ll then activate a telescoping platform that will bridge the long gap between you, and the path to the second section of tables that were near the guarded security room. Cross the makeshift bridge as quickly as you before it retracts back into its port to reach the other side where a third poker chip platform awaits.
Trigger it to elevate to a marble-top scaffolding where you’ll then need to use the Glide maneuver to float over to the tables where there will be a building with a Craps floor plan. Inside is a series of Hallways with trenches that can only be crossed by riding the moving roulette table platforms that travel back and forth between the trench, hiding some tokens along the way.
Be careful not to get hurt by the giant red balls that're circling the rotating roulette platforms in order to reach the end of the corridor, and Sonar ‘Splosion the switches that hide the remaining tokens, earning you 6 coins altogether.

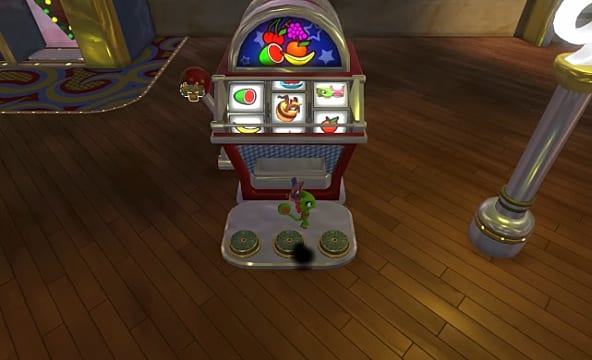
Once you collect the Tokens, make your way around the tube and up the minecart tracks to the Slot Machine that’s behind Kartos. Each Slot Machine is going to house a different number of Tokens, and will have a unique strategy to their reel spins that will force you to carefully observe the patterns that spin past each slot. The goal is to get a matching row of the heroic pair’s faces for it to dispense the coinage.
The very first Slot Machine will be the trickiest one you collect. As you Lizard Lash the lever, you’ll need to align the rotation of the first and third reels of the slots with the middle reel that’s constantly spinning. When the Yooka-Laylee heads are synced, wait for the suit to appear on the payline, and then quickly Buddy Slam the middle switch to stop entire reel entirely for the prize of five tokens.
The next Machine will be to your immediate left, on the ground floor by the Capital B Pachinko wall game. This one is the second most challenging as it will feature five reels instead of three, getting faster after every stop. And the direction of each dial’s spin changing between up and down with every slot switch you slam on. With the right patience, the completion of this machine will reward you with seven tokens.
The next one isn’t too much further to the left, and is much simpler, as you’ll only need to stop the traditional three reels. But beware: the reels are once again spinning in different directions from one another. The first and third slot wheels will have the Banana slot positioned before the Yooka-Laylee symbol, and Duke’s head will spin by right before the Lizard and Bat mug on the middle one; just keep an eye on these to help time the moments that you need to slam to get another win at the slots. Once successful, you’ll be rewarded with five tokens.
You know what, we lied, this last machine is definitely the trickiest one as the three switches on this coin-eater aren’t connected to the reels that they’re directly in front of, making it a bit disorienting to keep track of. The first switch will stop the third reel, while the second will stop the first, and the final halting the middle reel — the speed will also shift with each stop but if you manage to match this one up, you’ll earn another five tokens for your collection.

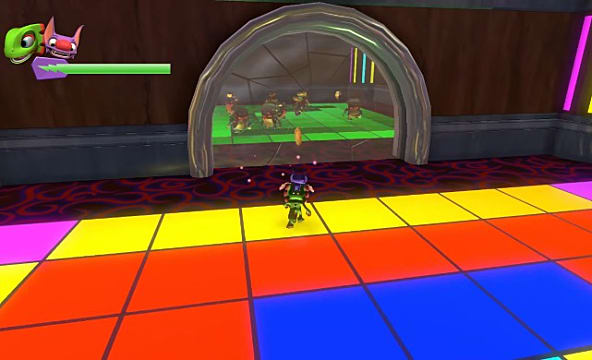
Off to the left of the Air Ball drop game is a ramp that leads up to a cracked glass panel covering an entry way. Reptile Rush up the ramp to break the glass and enter through a series of lit-up dance floor rooms where there will be a ton of enemies.
The mobs of Cashino Corplets will continue to spawn no matter how many you take down, so don’t spend too much time fighting them.
Just clear whatever gets in your way, and start Reptile Rushing through the next cracked door panel where you’ll enter a room with a hydraulic ramp that will move up and down. This quadrant and a couple of areas after it will have some tricky ramp gaps that will require precision and timing with your roll dashes; get through all of the rooms to snag eight tokens at the end of the mini-course.

 Once you’ve slid back down to the floor of the Casino, you’ll spot the familiar Poker Chip platform with suits that took you up to the first Roulette Table area.
Head that way but then steer eastward around the end of the table section to encounter another Slot Bandit who will be standing next to the question mark tiles on the ground.
Talk to the swindler to prompt a matchmaking trial where you'll have 1:30 seconds to unlock all of the pairs and win the challenge. Feel free to Buddy Slam the pattern of match icons you see above until the game is over, forcing the game’s curator to hand you another five tokens to add to your collection.

After the Match game, navigate toward the marble pathway on the left, and follow it around the corner of what appear to be giant golden dice blocks. Stay the path until you see some huge red dice blocks directly ahead; Lizard Leap your way up to them to talk to another Cashino employee, and he’ll challenge you to platforming skill trial with hoops and fans.
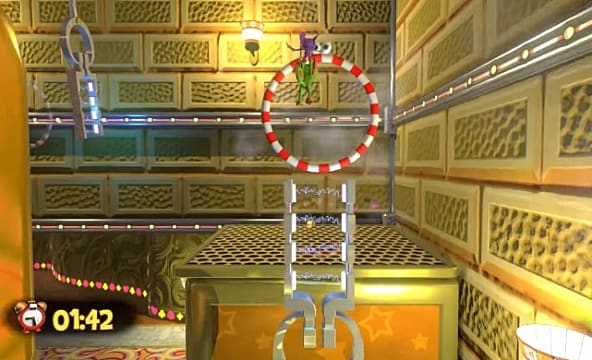
The clock will start counting down from 2:10, with nineteen total hoops to hover through thanks to the convenient fans that’re on the surfaces of the Gold Dice structures in the obstacle course. All of the hoops are fairly easy to run through, with the exception of the ninth one.
A giant shock-trap pendulum will swing back and forth surprisingly fast, obstructing this specific hoop. You’ll have to time your approach just right with this one to make sure you don’t lose too much time on the clock. After you slide down through you final hoop under the time limit, you’ll gifted 55coins from the disgruntled Slot Bandit.

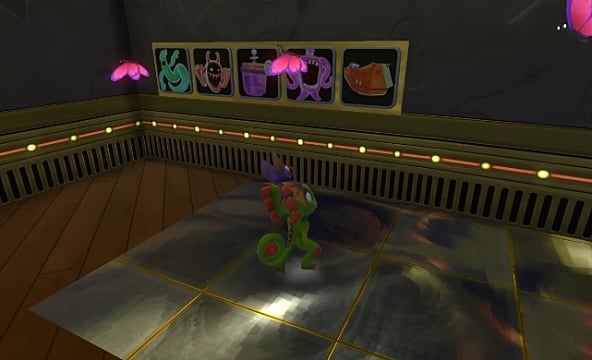
Circling around the marble pathway again, you’ll see large entryway against the outermost wall that’s flanked by Frostberry bushes and Character face tiles. Slurp Shot the Frostberries, and take aim at the at the faces displayed above the doorway in the order that they’re listed on the patterned diagram plastered to the left of the door. You’ll hear a chime that will grant you access to the next room, where another shooting gallery awaits you.
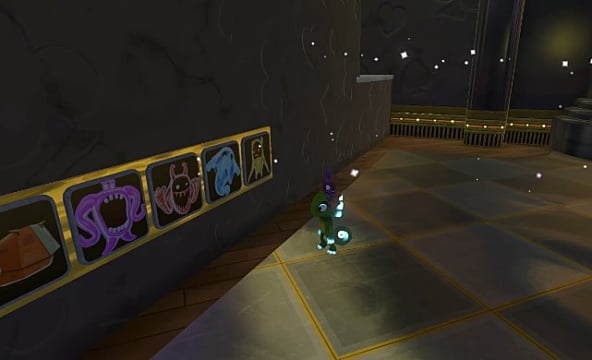
The next room features the same kind of puzzle, only the tile order will be hidden at the left-hand side of the ground level of the room, behind some crates that you'll need to smash. Once you’ve got the pattern down (or you know, you could just look at the screenshot of it right here) you’ll need to go back toward the front area of the room in front of the raised area with the red blocks. Shoot at the blocks in order to create ledges that can be used steps up to the top of the raised platform where the door is, shoot the correct priority of faces to unlock the door, and go on forth to the next room.
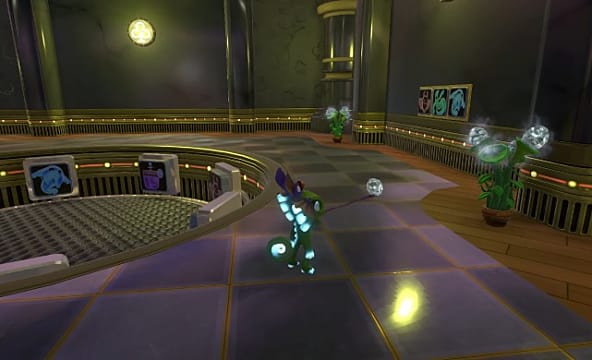
When you go inside the next room, you'll see the target order needed to open the door in plain view; the catch is that you’ll have to shoot at them within a 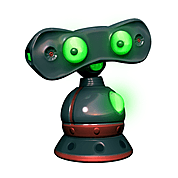 spinning carousel in the middle of the area. The easiest way to aim at them is from outside of the round cavity that the tiles are spinning in instead of trying to shoot at them from directly within.
Try stationing yourself in an area where both the tiles of the spinning carousel, and target order set on the wall are in your line of sight, then tag the appropriate character plates with some Frostberries to move onto the next room.
The final room will have a series of pillars that're stacked with crates on top of them that you'll need to smash or shoot out of the way. The tile pattern that shows what the priority of targets is will be located at the bottom of the towering platform, and the arrangement will be five tiles long. Shoot down the last set of them to open the door out of the gallery and six new tokens to grab.

Now we arrive at what many consider to be one of the worst fetch quests in Capital Cashino: the Pachinko games. The first one we’ll do is the one with the original promo art for Yooka and Laylee, and it’s posted right next to the Shooting Gallery entrance.
All you have to do is Lizard Lash the middle grapple and drop the bundle of balls from above through the rotating turnstiles and pegs, with hopes that you’ll be able to get four of them inside the goal at the bottom. You can try to increase your odds by manipulating some of the other turnstiles on the Pachinko board with the other Lizard Lash controls, but all in all, the answer to this puzzle is simply more luck than skill; getting four balls in will win you six tokens.

Returning to the Marble road along the edge of the wall, you’ll spot some colossal steps off to the left of the pathway. Hop up them to reach the edge of a giant fountain, where you’ll need to dive underwater to grab four tokens.
Use the Buddy Bubble technique to walk along the perimeter of the structure to grab the tokens. When you're done getting them, remain underwater in bubble form, and go to the middle of the fountain to break a barrel hiding under the Golden Corplet statues to reveal a jet stream port. Fall into the port, then pop your bubble to be thrust up and squirted above the statues (in the air) where you can collect three more tokens, totaling to seven in all.

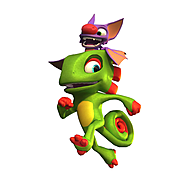 Trace your steps back to the same stairway that you used to get up to the Fountain, and follow the path once more until you come across another Slot Machine proprietor hanging out in front the architectures adorned with Playing cards.
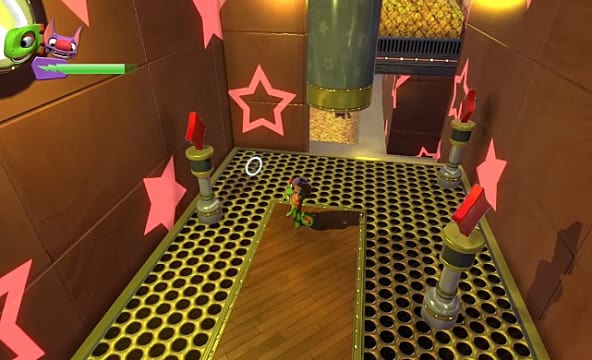
The crook will tell you that a special card was stolen from him and taken into the Card House; agree to help him out, then Reptile Rush up the newly raised ramp. Aim to snag all five tokens on the way in. Watch out for the shifting shock traps that can get you the moment you Reptile Rush through the cracked glass pane. Proceed inside the card house, where there will be a tower of class cubes with a special card on the top of it.
Reptile Rush through all seven glass encasements to get the special card, while evading enemies who will try to impede you, return the card to the slot machine to win another five tokens, getting a total of 10.

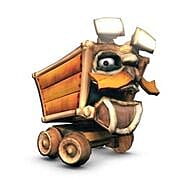 Follow the Marble walkway again until you see the end of the Card House on the right. Veer off in that direction until you see another entranceway. This is another vault that will lead you to the power grid area.
Once inside, you'll make your way into a room with a long pathway leading to the exit. You’ll need to position the animal duo over the mechanism that raises the door and then quickly Reptile Rush down the long pathway as stepping off the switch will release the door and cause it to gradually close. Each room will have a new obstacle that you’ll need to navigate passed, and they will all hold a number of coins in them, so make sure to explore each new room.
Reptile rush through separate obstacles in a race to get to the end of the room, relying on a switch that will temporarily open a door at the end of area in every area, until you reach the end of the course where you’ll see 5 tokens floating in the air, accounting for eight tokens in total.

To the left of the Power Grid entrance is a platform where you can Sonar Shot a familiar switch, the card suit, Diamond. Doing so will trigger a spiraling platform to rise up to another high rise where you’ll see another Diamond switch. Hit it with Laylee’s sonar to move another spiraling pillar your way, raising a door that will reveal a hidden area.
Move through the various platforms and open doors. Watch for the giant rotating spoked pinion that will try to knock you off. The next room will have a bunch of Diamonds in a row, Sonar 'Splosion the
Four club diamonds, and move on to collect all of the tokens, Sliding down back to the floor with seven more coins to add to your pocket (or wherever Yooka stashes all the stuff they grab, I don’t know.)

After touching down onto the ground from the slide, cut directly through the middle section of Capital Cashino to reach the other end of the area where 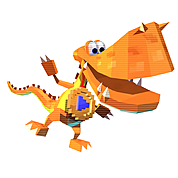 there will be another mural of the main characters on what appears to be another Pachinko game, but is fortunately much more manageable.
Starting the clock at 2:40 and counting, Players will have to move on and off the button that will control the air vents that will blow the blow upward, steering through the spinning turnstiles, and timed release of the air vent function to navigate the ball to the goal on the other side. Try not to get trapped in the middle claw-shaped apparatus, and you’ll be fine—the game will spit out 7 tokens for your troubles.

Very close to the Ball Drop Game on the right is the last Pachinko Game that you’ll have to deal with. Same rules apply here: Lizard Lash the mechanism to drop the balls and make sure that you time the drop just right in order to land at least four balls into the goal -- bottom-middle of the gambling board. Successful completion of the game will net you six tokens and will be last Pachinko game that you’ll have to deal with in Capital Cashino.

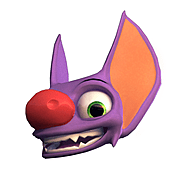 After the coins are collected from the Pachinko board, get back on the marble path and head in the direction that’s facing the first section of roulette tables and the Match game on the ground. When you’re in front of the ramp that leads to the dance floor, look to the left of the walkway to spot a glitzy elevator tube that’ll transport you up to a Slot Bandit, who will challenge you to a game of golf like you’ve never played before.
But before you talk to him and agree to said game of golf, there’s some housecleaning that you should do to even the odds.
Clear out all the enemies on the course first, because not doing so will make steering the huge golden golf ball much harder. Beware of the Burly that’s posted up in one the sand traps, his attack is devastating, and could take your life if it connects even a couple hits on ya.
 The trick to taking him out is to sneak up on him and Sonar ‘Splosion the brute, staggering him until he winds up for his spinning Lariat. Prepare to perform a static Lizard Leap into the air right before he lunges at you, which if done right, will place him directly under you, and susceptible to a well-timed Buddy Slam right on top of his stupid skull.
Go back to the Mechanical crook, and start the game; Reptile Rushing in the ball on the straightaways and Tail Twirlin’ on the curves are the best tactics to get the ball there, earning the reward of five tokens.

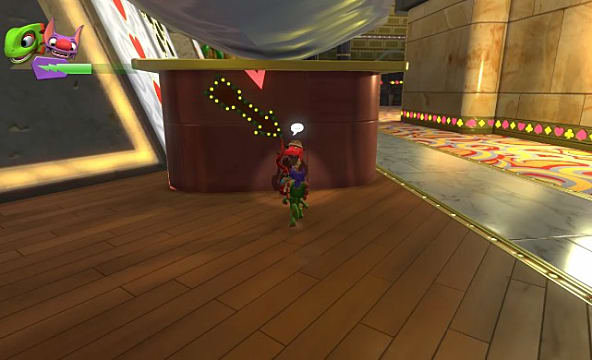
 Ok, here’s where your coin search begins to get tricky. There are a total of 11 Broken Slot Machines that’re just littering up the resort, and inside of them are some precious tokens — four to be exact, giving you a total of 44 coins in all.
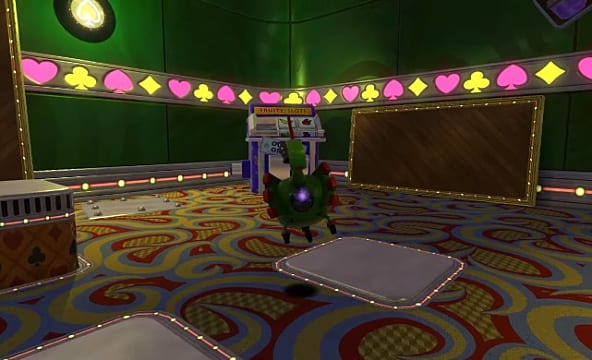
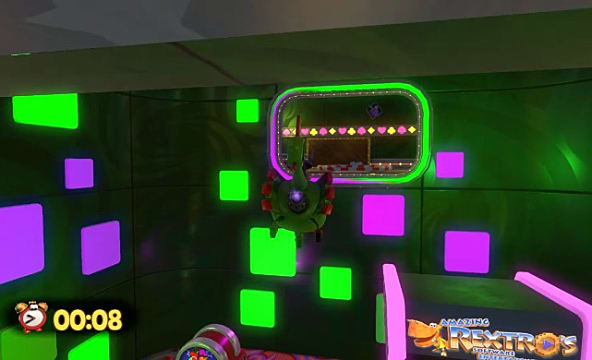
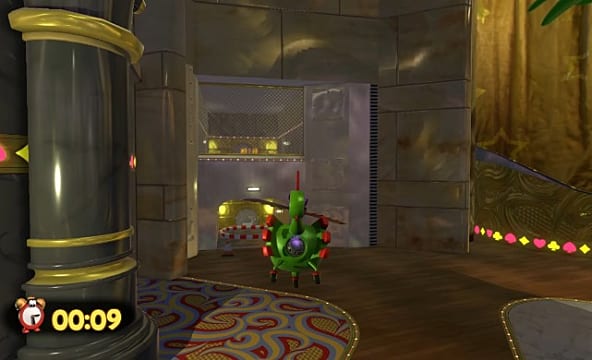
Now is when we call upon the service of Dr. Puzz and her quirky mad science to transform the Lizard and Bat into a Neon green and purple helicopter, loaded with the ability to fly anywhere for an unlimited span of time, and shoot as many missiles as you could ever hope to.
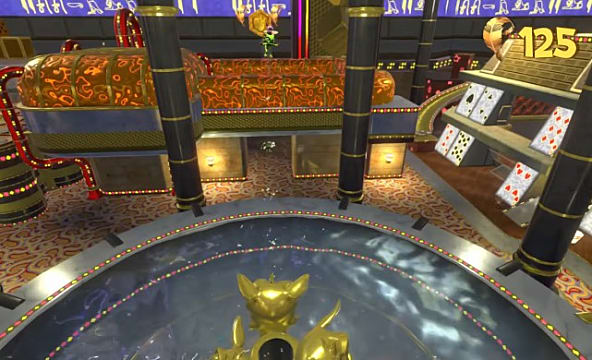
This Guide is going to post the most efficient priority to track and hunt these machines down; you’ll find the first two right in front Dr. Puzz’s D.N.Ray, parallel to one another, as pictured above.
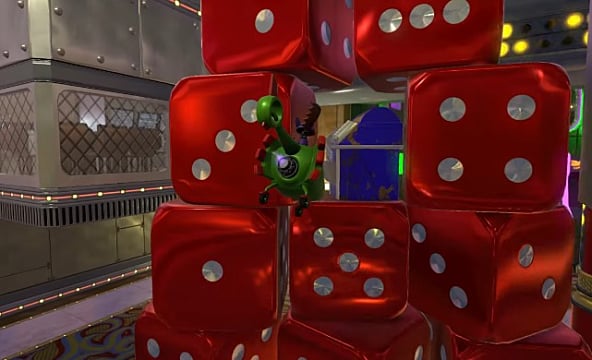
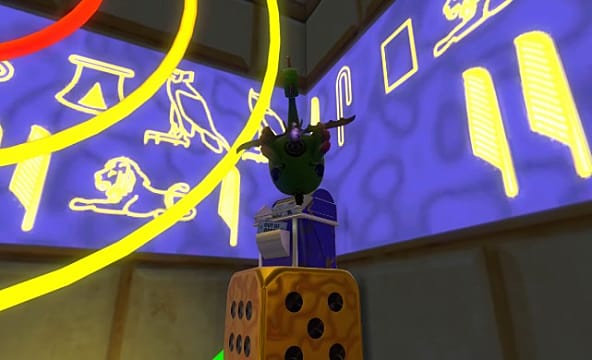
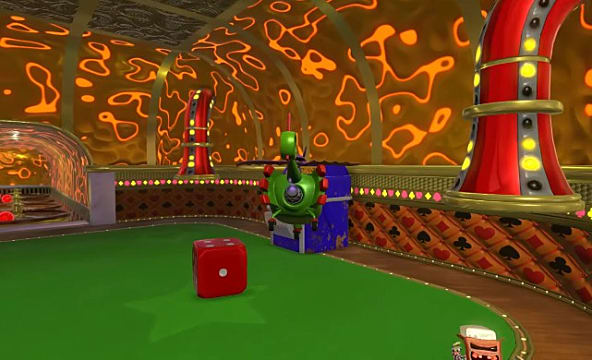
The third machine is up machine is hidden in the giant pile of red dice blocks that’re stacked in front of the guarded laser security room.
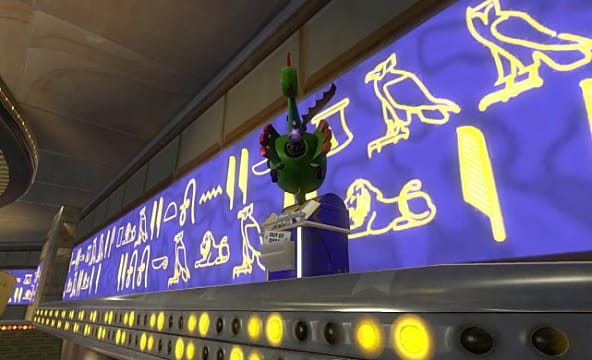
Our fourth broken slot machine is in the storage room that’s accessed by an alcove stashed away behind Rextro's arcade.
Broken Slot Machine number five is located in the area that’s on top of the security room, sitting atop some large golden dice blocks that’re next to Kartos.
Do a 180 toward the entrance of the roulette house, where you’ll find the next Out-of-Order, near the opening foyer along the right-hand wall.
The seventh machine is on the awning of the casino wall to the right, past the Drop Ball game.
Going on to the next broken heap, it’s located on the floor area of the golden dice block piles where you first competed in the hoop jump challenge.
The ninth defective one-armed bandit is to the left of the Power Grid entrance by the card house.
Heading into the double digits, the tenth Machine is on the rooftop of the golden dice block pile next to the Mini-golf course.
Our very last Out-of-Order machine is on the hieroglyphic awning that’s next to the hole-in-one of the golf course.

The next order of business will have you playing Morgan Freeman to the Hamalot Pigs’ Ms. Daisy as each one will one you to give them a lift to somewhere else on the map under a certain time limit. Listed below are the destinations for each swine, and directions on how to best ferry them there in order for you to earn the 20 tokens they offer for the ride.
 The closest pig to you after finishing the broken slot machine quest should be Sir Leapsalot, as he’ll be on the floor that’s next to the roulette tables. Speak with him to get the request for a ride, and he’ll drop a hint to where he wants to be: "Flying here won't be hard, try your luck above the House of Card." You’ll have a 40 second time limit, so make haste on a direct route northwest from his pad to the card house roof to nab the first five tokens.
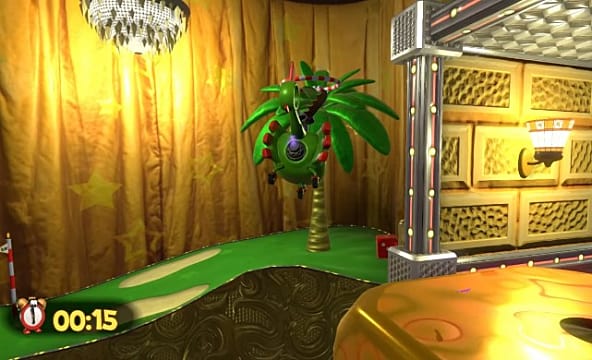
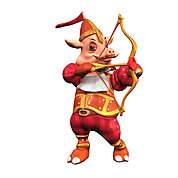 Our next medieval porker will be Sir Shootsalot, and he’ll be stationed in the hallway in front of Dr. Puzz. The archer’s clue is “Flying me here should be a breeze if you know of all the trees,” which will start another 40 second time limit. The exact location is on the palm tree that's in front of the golf hole on the course, and upon a successful landing, the valiant pig will reward you with five tokens for his safe passage.
Sir Scoffsalot will be at the corner of the Card House and the Yooka-Laylee Pachinko Machine.
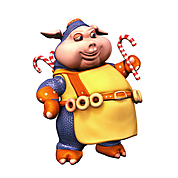 The Plump hero’s hint is “To get here you'll have to Zoom, get me to the Storage room," which is referencing the little storage room that’s behind Rextro's arcade cabinet. This one is a little bit of a challenge, as you’ll have little time to spare in your travel to the room even when flying there at top speed; just make sure to keep it tight, and you’ll be rewarded with another 5 coins for your haul.
The last pig of Hamalot will be Sir Stealsalot, and his location is a little tricky as it will be in a hidden nook next to the Laser guarded security room area that's blocked by destructible blocks.
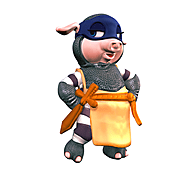 The Rogue Pig’s clue is “Blast your way in, don't even halt, to sneak me into the Casino Vault," and the location is charted between the end of the golf course and the Yooka-Laylee Pachinko game. Drop the pig off in time to get the last five tokens for the mission.

 After you finish delivering Sir Stealsalot to his stop, cancel out of the Helicopter transformation to begin the Casino Vault heist. The Vault will have a gauntlet of rooms where you have to guide the lasers in the room to their respective Lens-panels, similarly to that of the Laser guarded security room.
Be sure to hop on the descending platforms just right, and keep an eye on your power meter gauge as Camo Cloak will drain it faster than any other move within the pair’s repertoire of skills.
After you shoot all of the lasers into their arranged reticles, you’ll be able to open the final door that will lead you to five tokens floating in the air outside.

There are only two tokens left, and we saved them for last in this guide because they’re just so obscure -- and easily forgettable. Prioritizing them here is the best way to ensure that they won’t be missed.
The first one is just under the ramp that leads into the Card House entryway, while the other will require you to transform into your copter form one last time. Snag it from the top of the flag pole that marks the Hole-in-One for the golf course.

And that’s that. You have now acquired all 180 tokens in Capital Cashino, and hopefully, if you followed my guide right, you would’ve spotted and grabbed everything else you needed to get the last six Pagies.
Oh, and have fun with the Boss on this stage, because that thing is just the absolute worst.





























Published: Apr 22, 2017 02:58 am