You’ll be introduced to the Simulated Universe early in your time in Honkai Star Rail. A rogue-like dungeon crawl against progressively more challenging enemies, it’s one of the more difficult challenges in the game and one of the more rewarding. World 1 of the activity can be a bit of an uphill climb, but World 2, which is unlocked midway through your time on Jarilo-VI, is something else altogether. Here’s how to beat it.
How to Beat the Simulated Universe World 2: Basics
World 2 of the Simulated Universe in Honkai Star Rail is an entirely different beast from any of the worlds you’ve seen before. It’s 13 total rooms, with a mid-boss and a final boss, and plenty of lower-level enemies in between. The first few opponents will likely go down quickly, but expect later fights to take much longer and demand much more effort.
Here are the most important things to remember:
- Mid-boss and final boss enemies are weak Ice element damage, and all but one is weak to Lightning. Bring March 7th, Herta, or preferably Pela for damage and debuffs. Both Serval and Tingyun can add Lightning to the team.
- Bring a support, as you’ll only have a few chances to heal. Natasha is an excellent 4-star option, but if you have Bailu, there’s no better healer in Honkai Star Rail.
- Curate as much of a build as possible. Every battle you win gives you a blessing, and you can turn even a subpar team into a powerhouse if you pick the right sets of Blessings.
- Use Path Resonance wisely. At the start of your first run, you’ll unlock Path Resonance, a powerful but limited ability that does heavy damage based on specific conditions. Be sure to check the description of each Resonance and do your best to incorporate it into your strategy.
You’ll likely have access to four Paths at the start of your journey through Simulated Universe World 2.
- Preservation focuses on shields. Applying them, gaining them, causing, and taking damage with them active, etc. The more Preservation Blessings you can stack, the more powerful your shields will become and the longer their uptime.
- Remembrance focuses on status effects, particularly the Frozen condition, and augmenting your abilities while an enemy is frozen. It can also improve your critical hit damage.
- The Hunt is about turn manipulation, critical hit effectiveness, and Weakness Breaking. Many Hunt Blessings allow you to take multiple turns per character per cycle, do more damage on those turns, and get more for breaking your enemy’s weakness bar.
- Elation primarily focuses on follow-up attacks (Herta and Carla’s specialty). It also improves your Ultimate abilities. Elation is a more niche choice for particular party compositions but is incredibly powerful if you have the proper setup.
Lastly, how you progress through the rooms will depend on how many Blessings you want to acquire and how easy the combat is. It’s possible to go from one Respite zone to another with only one or two combat rooms — you can and will get multiple Occurrences.
Related: Honkai Star Rail Best Relics Guide
How to Beat the Enemies and Bosses in Simulated Universe World 2
There are three enemy factions in Simulated Universe World 2, separated by boss monsters.
Section 1: Fragmentum
Fragmentum are primarily weak to Fire and Ice attacks (their color denotes which), with some enemies instead Phsyical-aligned. If you managed to pull Welt, the toughest of them also have a weakness to Imagination.
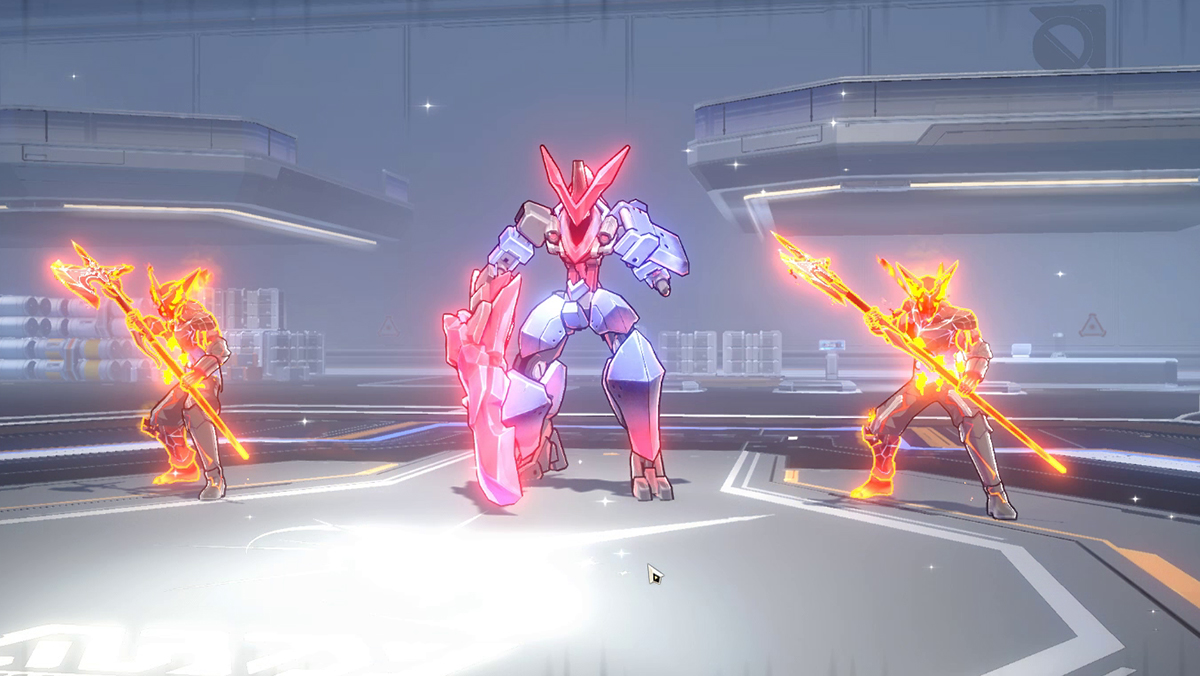
The miniboss for Section 1 is either a Wind-damage Stormbringer or a Fire-damage Searing Prowler. Both have charge-up attacks that deal massive damage, so bring Ice damage to Break them.
Section 2: Fragmentum and Robots
The second set of enemies contains Fire/Ice Fragmentum but also adds robots from Jarilo-VI. Here, you’ll want as much Lightning damage as you can muster. The fist robots are especially dangerous, though physically weak, so detonate them to deal heavy Weakness and standard damage to anything nearby.
The miniboss for Section 2 is whichever didn’t appear in Section 1. So if you faced the Wind-damage enemy, you’ll get the Fire-damage one and vice versa. The strategy for dealing with them is the same, but the biggest difference is their health pool and damage output.
If you felt the first Elite enemy fight was a little easy, be prepared for a new world of pain. The second midboss, for almost any low-spending setup, will be a nightmare.
Section 3: More Fragmentum, More Robots, Grizzly, and Direwolf
The final gauntlet is the shortest, with only two rooms between you and the final boss. It’s possible for both to be Occurences or Transactions, but you might want to try to gather a few more Blessings before taking on the boss — or in this case, bosses.
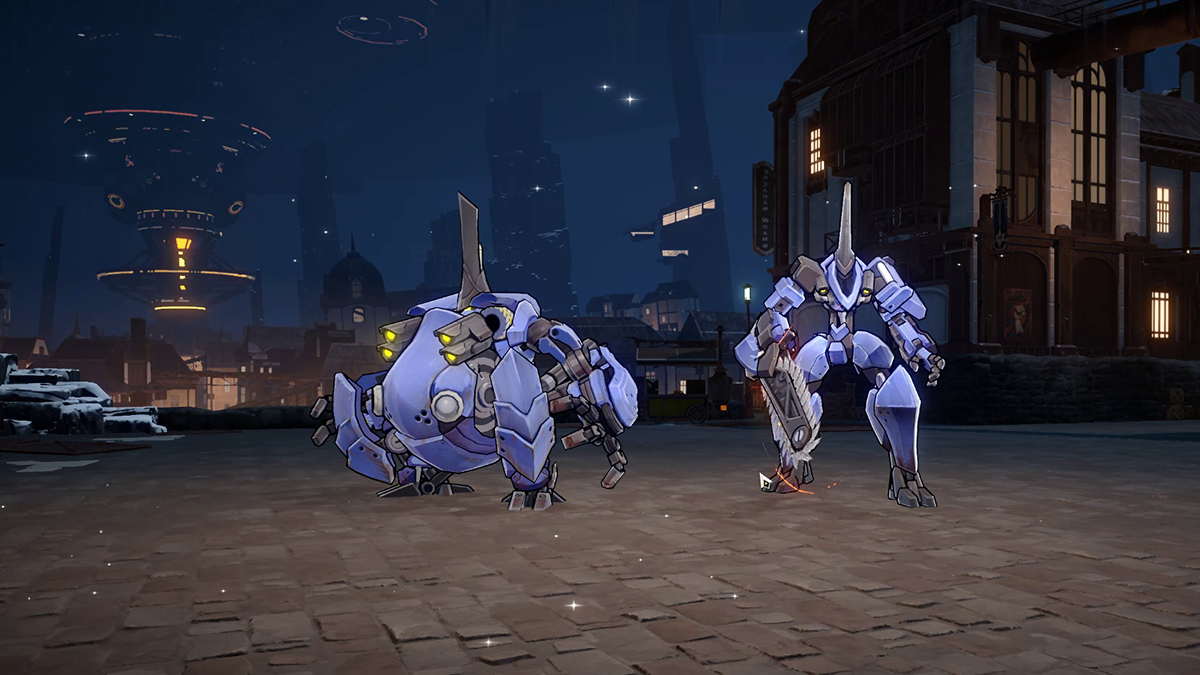
The last challenge in Simulated Universe World 2 is a dual battle with the big Grizzly mech and the lean, mean, chainsaw-wielding Direwolf.
The Grizzly has the larger health pool and more AoE attacks, but the Direwolf can delete unprepared characters entirely with a single lock-on attack.
Being robots, both bosses are weak to Lightning, but the catch is you’ll need to defeat both of them twice, as this fight has a second phase. Once both bots go down the first time, their health bars will refill, their eyes will glow, and they’ll start working together.
In phase two of the fight, Direwolf and Grizzly frequently use their charge attacks as a unit. That means Grizzly’s AoE butt slam will follow Direwolf’s multi-hit buzzsaw attack again and again. There might be some additional enemies: but expect plenty of power attack spam as well. Do everything you can to Break one, or both bosses as frequently as possible and blow up the exploding robots as they appear.
If you’re at or under level, this fight will test your support and team composition.
- Make sure your healer has enough health and defenses to survive a few attacks.
- Focus on the enemies’ weaknesses.
- Ensure your Relics, Light Cones, and other equipment is also upgraded. Do all that, and you just might prevail.
Don’t worry if you can’t conquer Simulated Universe World 2 on your first go, I know it took me a couple tries. Take some time to level up, improve your gear, do more pulls at the limited or standard Banners, and so on. You can come back whenever you like, even hours and hours later, for a much easier time. For more help with Honkai: Star Rail content, check our guides on how to use memory bubbles, where to find warp trotters, and more in our HSR guides hub.
Featured screenshot by GameSkinny


Published: May 8, 2023 04:57 pm