The key to winning a battle royale game goes beyond knowing about the weapons at your disposal. You have to find the best locations to land to get a head start of the competition. In Fear The Wolves, having an ideal starting location can mean the difference between being sent back to the main menu and advancing to the top 10.
Because the circle works a little differently in Fear The Wolves than other battle royale games you need to remain on your toes. Here’s a break down of some of the best starting locations you can land at to give yourself the best start!
Related Content:
The Northern Portion
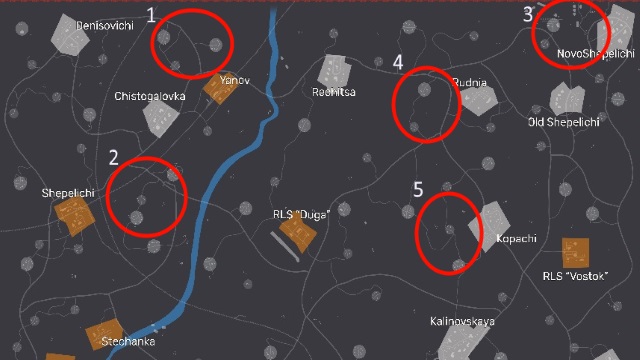
North of Yanov
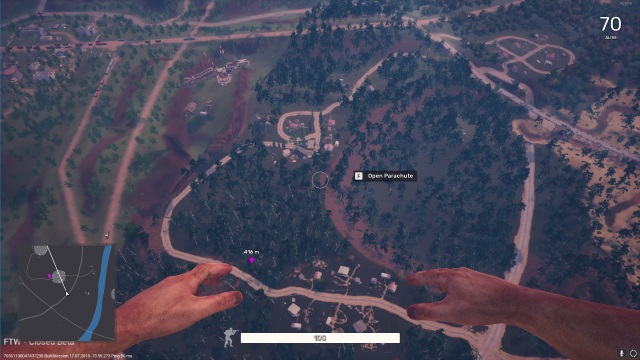
When your helicopter’s path starts out at the northwest point of the map, think about hitting this location. If you land around here you can run towards the small village to north, grab some decent gear, and then dash to the village to the east or the one to the south, closest to Yanov. While you glide down to this position you can watch your competition and make any brass decisions, such as making a hard turn to Yanov, Denisovichi, or Chistogalovka.
Though, be warned you’re going to need radiation equipment to enter Yanov. You may want to hit this city after you’ve already acquired some gear.
South of Chistogalovka
This location is for when you’re feeling bold. Because of the river to your east, if you drop here you’re left with fewer options of where you can choose to land. When you land near this location, try to prioritize items and gear that protect you against radiation. This way you can travel towards to the west Shepelichi or the east to RLS “Duga” to find some high quality gear, giving you an even further edge against your competitors.
Though, don’t be surprised if you find three or four other players dropping with you. This location has proven to be quite popular.
West of NovoShepelichi
Unfortunately, if you want to land here you’ll only be able to do in special cases. When your plane starts you out on the northwest portion of the map, you can confidently choose this area. However, keep in mind other players may have the same idea as you and will drop with you. You’re going to rush into buildings if you want to survive here. The option is if your plane ends near here.
The great part about choosing this location is you can immediately rush into NovoShepelichi, or wrap around it to the smaller villages before heading south.
West of Rudnia
This area mirrors the first location, though a number of small clustered homes are spread out. Ideally, you’d want to have your plane route coming from the northwest point and heading down, southeast. You’ll have enough distance to hit the middle village, grab what you can, and decide if you want to rush to Rudnia or Rechitsa. The problem with going to Rechitsa is the fact the radiation may already be closing in, cutting you off from this town.
You can risk going to the smaller villages around it to enter the city. There’s plenty of decisions when you plan to aim for this area. Don’t let the red outlines frighten you! This may deter other players, but you can use it to your advantage to find the best loot.
West of Kopachi
The final location for the northern portion of the map focuses on giving you the chance to run into an enemy far sooner than some of the other options. You can choose to land in Kopachi, or stick to the outskirts to find useful gear in one of the nearby villages. You can confidently change your choice based on how many other players are flying to land near you. Though you may want to land closer to them so you get in as many early kills as you can.
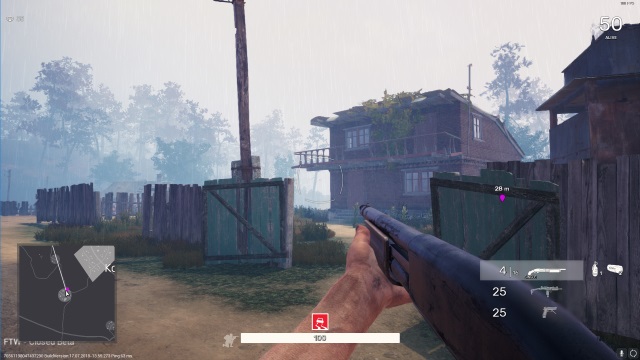
Of the northern locations, this is likely the most risky. If you’re not the first person to land, you may find yourself without equipment and back on the main menu waiting for another queue!
The Southern Portion
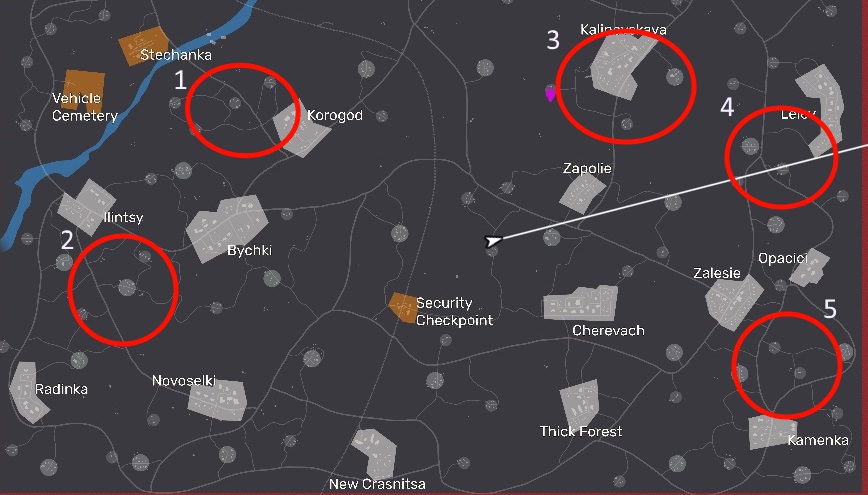
West of Korogod
This is a great starting location that provides you with plenty of options. When you aim for this place, based on the amount of players dropping near you, you can choose up to four different house-filled villages to head towards. Each one comes with a decent number of potential loot drops. When you’re feeling really bold, veer your drop to aim to land in Korogod and try your luck in the city!
Because of the other two cities situated close by you can always run through those. If you survive.
South of Llintsy
Like the first location in the southern portion, you have several choices available to you. Not only do you have two cities to pick from, but plenty of smaller villages to dive into. Depending on how many players land nearby, or with you, you may want to choose a small cluster of houses and then immediately head into one of the cities. This way, you’ll have a small supply of firepower to take with you when you venture into a city.
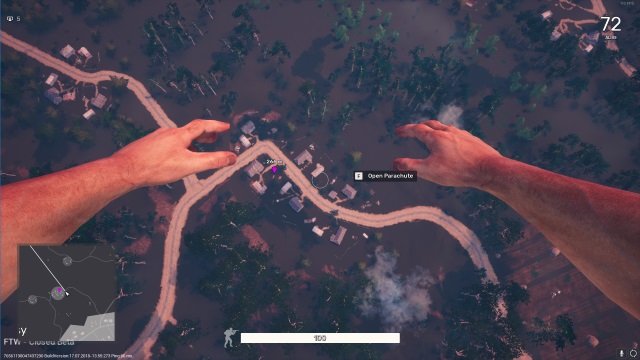
While I was playing, I found it better to stick to this strategy. Several times when I dropped into a city I struggled to find a weapon and came up short in multiple early-game encounters.
Kalinovskaya
The direct middle may prove a troublesome location, or entirely dead, depending on how aggressive the other players in your match feel. You may not find out until you drop and see the other parachutes around you. If you see a couple, attempt to angle your parachute down so you can land directly in front of a building. But, when you have too many players around you, try to land in one of the building clusters to the east of Kalinovskaya.
You can drop at that location and then divert further east, or continue south to try your lucky closer to Zapolie. It all depends on the situation and how many shots you hear.
West of Lelev
Now we’re getting to the tougher options. Landing around here may get you into a firefight sooner than you’d like. During my matches, I found several players enjoyed to land inside Lelev and then make their way west. If you’re feeling confident, dive straight into the city and try your luck! Otherwise, pick one of the small clusters of houses to make your start and then follow the road south.
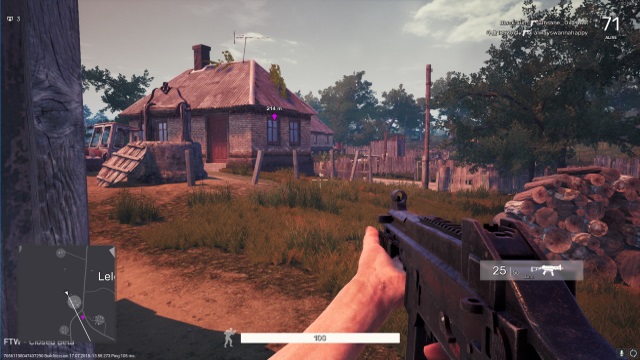
There’s a large forest to the west of his area to the two other cities. You could run towards those after you’ve grabbed a few weapons, but you may want to stick to the outskirts and pick off other players.
North of Kamenka
The final recommended location! Much like the previous location, this area is going to get hot, depending on your helicopter’s flight path. Luckily for you, there’s several options available to you at this junction. You can veer your course to go to Zalesie, Opacici, Kamenka, or visit one of the other smaller clusters to grab precious loot before venturing into the cities.
In this area, players will definitely have plenty of weapon drops at their disposal. You’ll have to rely on your speed to beat them when you land here. This drop zone can prove to be a great starting position for you to your shooting practice! You’ll have plenty of target practice.
—
Those are all of the locations I think you should choose from during your first few rounds of Fear The Wolves! Don’t be afraid to experiment, as this is a new battle royale and plenty of strategies will emerge during the game’s development.
For more on Fear The Wolves, keep it here at GameSkinny.




Published: Jul 18, 2018 01:57 pm