It’s time to return to Tamriel once again as the Elder Scrolls: Legends sees the release of the Houses Of Morrowind expansion! This time around we’re getting additional options with a whopping 149 new cards, including new, three-attribute color cards.
If you don’t want to spend any cash on those new cards, you can dive into the 10 deviously difficult Caius training puzzles. Each of these puzzles must be completed through specific resolutions, and doing so will eventually unlock five free packs of Houses Of Morrowind cards.
Below we cover each puzzle for the famous Morrowind houses, which come in two varieties — initiation and mastery.
Redoran Initiation
- Condition: Win this turn
- Opponent Setup: 4 health, Lurking Mummy with Guard in left lane
- Player Setup: 8 magicka, 1 health, two Warclaw Mercenaries with Rally in left lane
Play all four Sarethi Scions in your hand (two in left lane, two in right lane) so the Warclaw’s Rally ability will only affect the last remaining card in your hand, Ald’ruhn Arms Master.
Now attack with both Warclaw Mercenaries. They will both die against the Lurking Mummy, but their attacks will pump Ald’ruhn Arms Master up to 4 damage.
Play Ald’ruhn Arms Master in the right lane so that Lurking Mummy can’t block. Since he has charge, he can immediately attack that turn and win.
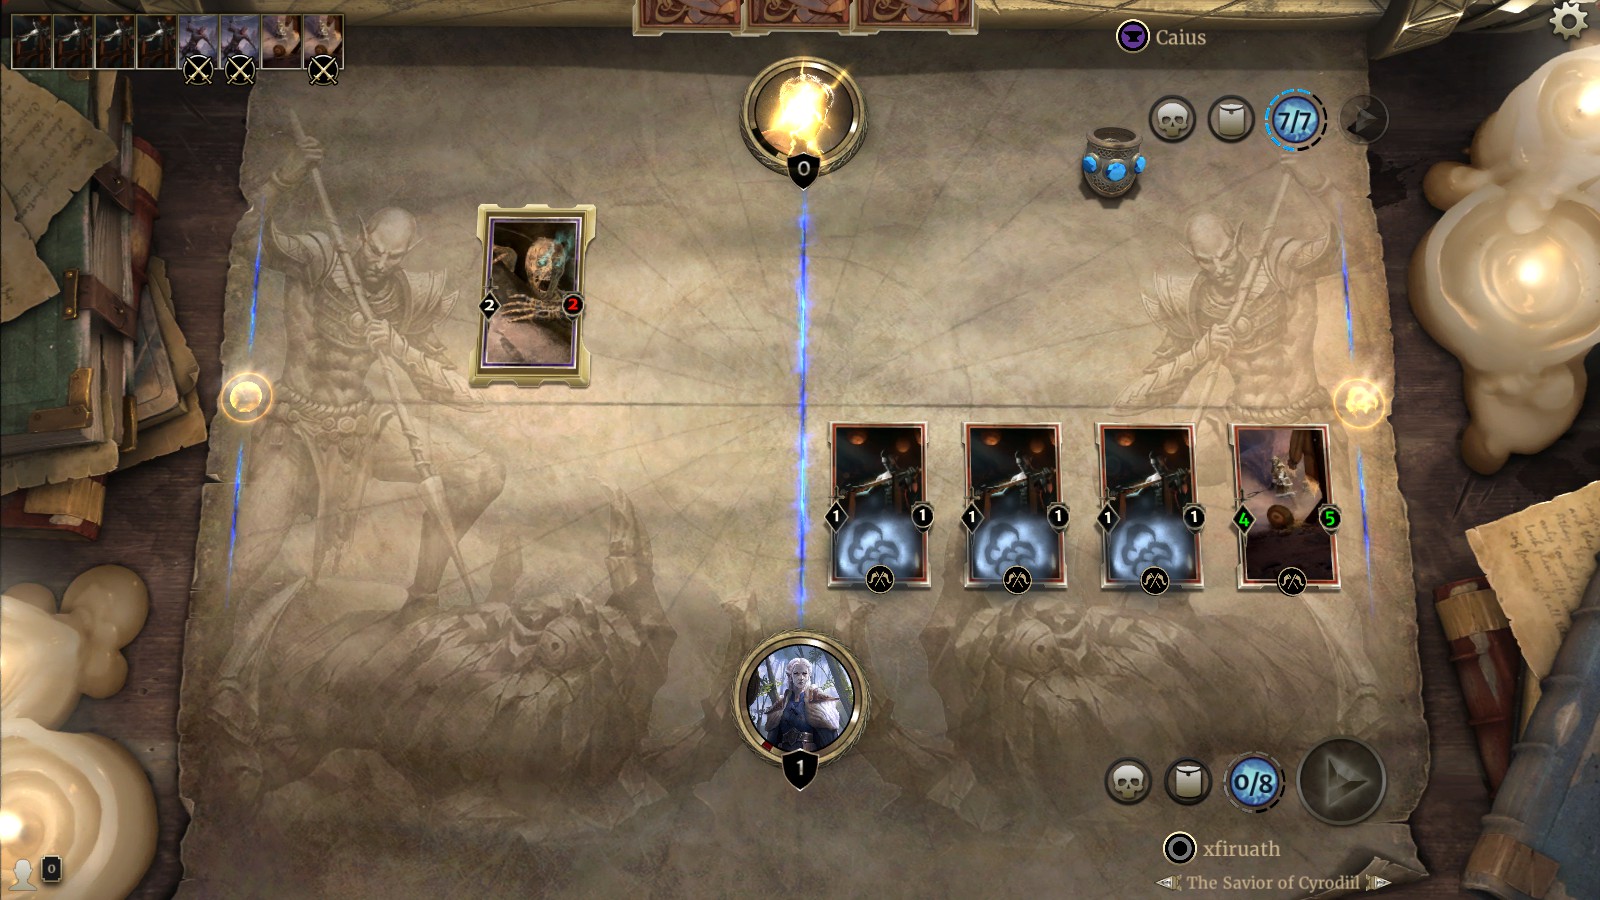 Defeating the Redoran Initiation Puzzle
Redoran Mastery
- Condition: Win this turn
- Opponent Setup: 44 health, no creatures in either lane
- Player Setup: 100 magicka, 1 health, no creatures in either lane
To complete this Elder Scrolls Legends puzzle, you have to figure out how to deal 44 damage in a single turn with no creatures currently on the board, which is quite the challenge.
First, play Galyn the Shelterer and use his ability to create three duplicates of Bolvyn Venim, which will be placed in your deck. Play the Close Call card to return Galyn the Shelterer to your hand. Repeat the process of playing Galyn the Shelterer, and again create three copies of Bolvyn Venim, which again go in your deck.
Next, summon the sole Bolvyn Venim in your hand, then cast Silent Pilgrim. That card’s ability should put yet another Bolvyn Venim in your hand.
Now play Ald’ruhn Arms Master, which has Charge and can attack this turn. Cast the Sentinel Battle Mace to pump up the Ald’ruhn Arms Master’s power. Summon your Bolvyn Venim clone into the left lane, and sacrifice the Silent Pilgrim to make room for him.
At this point you should have no creatures in your hand, which will trigger Bolvyn Venim’s ability of summoning a copy of himself whenever a Rally occurs.
Attack with the Ald’ruhn Arms Master to deal your first six damage and bring the opponent down to 38 health. Because he has Rally, this will summon a ton of copies of Bolvyn Venim into your hand!
Summon four Bolvyn Venims in the left lane and one in the right lane, sacrificing Galyn the Shelterer to make room for him. Cast Mentor’s Ring on Ald’ruhn Arms Master to give all your cards Charge so they can immediately attack. Attack with your horde of Bolvyn Venims to win!
 Defeating the Redoran Mastery Puzzle
Dagoth Initiation
- Condition: Win this turn
- Opponent Setup: 3 health, Blacksap Protector with Guard in left and right lane
- Player Setup: 10 magicka, 1 health, Orc Clan Captain in left lane (gives friendly creatures in the lane +1/+0)
There are a bunch of red herrings in your hand here that look like the perfect 10 magicka combo to work. Unfortunately, all but one of them will leave the enemy at 1 health remaining.
To get this combo working, first cast Hidden Trail, which gives all of your creatures +1/+0. This effect is ongoing, so it will work on future cards. Now play Ash Piercer in the left lane, which deals 3 damage if you play a creature with power 5 or greater.
This seems at first like the effect shouldn’t go off; however, due to Orc Clan Captain’s ability to affect creatures in that lane, Ash Piercer will technically be a 5 power creature when it lands. Deal the 3 damage to the Blacksap Protector, and you can then attack with the upgraded Orc Clan Captain for victory.
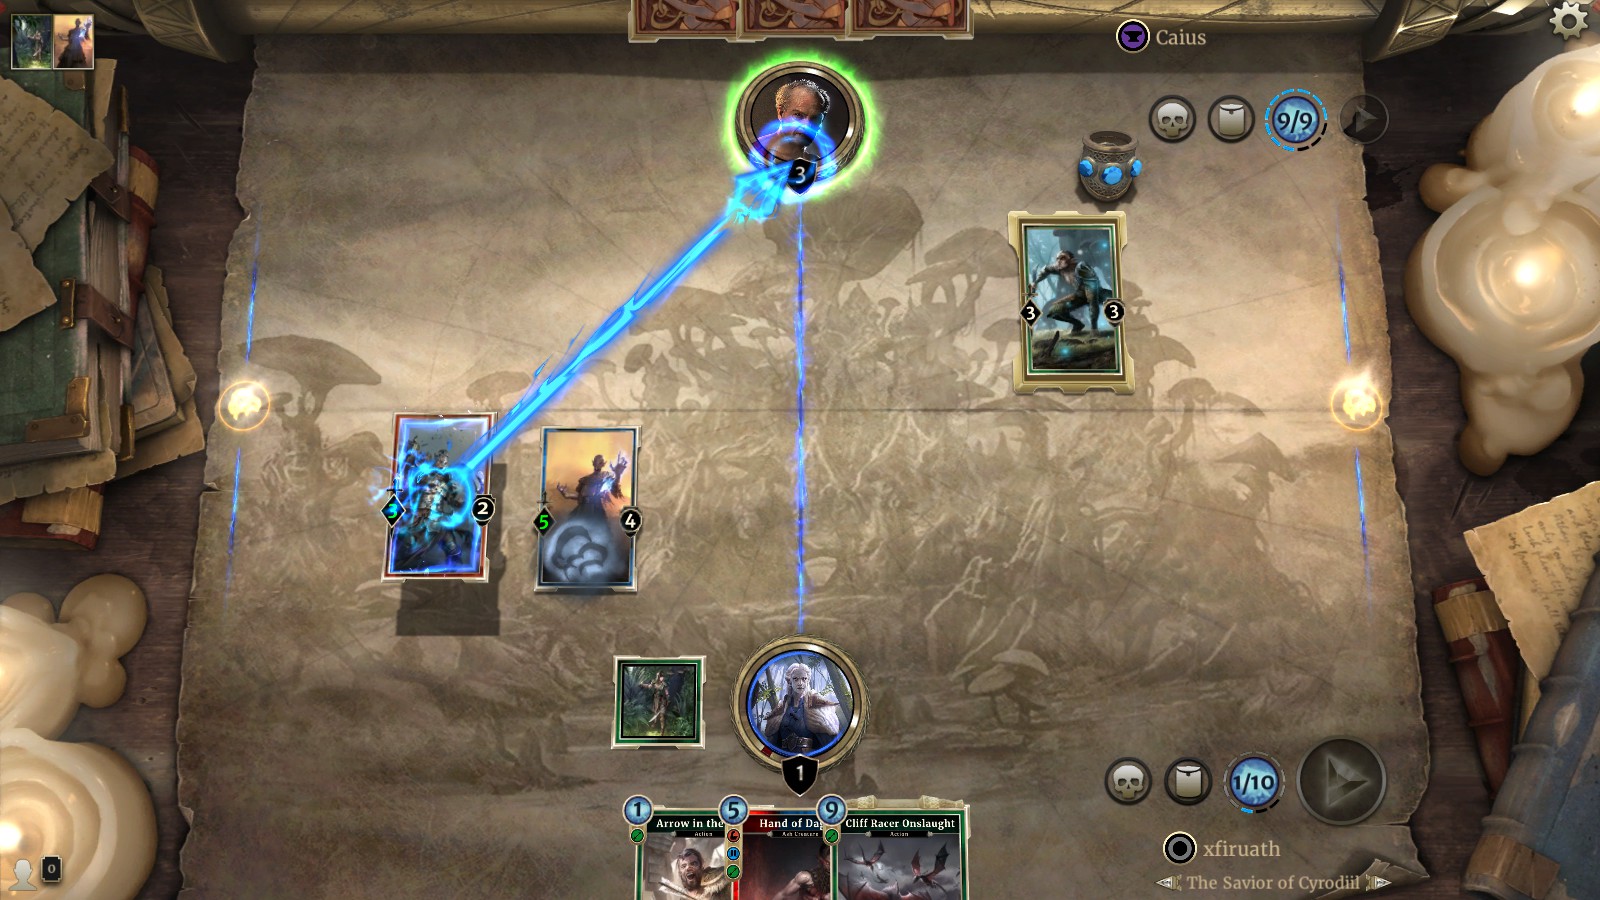 Defeating the Dagoth Initiation Puzzle
Dagoth Mastery
- Condition: Survive for one turn
- Opponent Setup: 100 health, Stampede Sentinel with Breakthrough and Awakened Imperfect with Breakthrough in left lane, plus another Awakened Imperfect with Breakthrough in right lane
- Player Setup: 13 magicka, 1 health, 2 Hive Defenders with Guard in left lane
In this one you just have to stay alive, rather than actually defeat the opponent, and it’s probably the hardest Houses Of Morrowind puzzle. To start off, play Dune Smuggler in the left lane, and move one of your Hive Defenders over to the right lane.
Cast the Stolen Pants card on the Hive Defender you moved, which will give him extra defense and create a Sheepish Dunmer in the left lane. Next, summon Feasting Hunger in the left lane, which will increase your health to 4.
Summon Servant of Dagoth in the left lane. Since you are out of slots there, sacrifice the Feasting Hunger. Servant of Dagoth will get Guard and +2/+2. End your turn and wait for the attacks. You will survive with 1 health left and achieve victory.
 Defeating the Dagoth Mastery Puzzle
Hlaalu Initiation
- Condition: Win this turn
- Opponent Setup: 8 health, Mountain Tyrant with Guard in both lanes
- Player Setup: 9 magicka, 1 health, Dred Bodyguard in left lane
Play Glass Greaves on Dren Bodyguard to give it +1/+1. This satisfies the Plot requirement of playing a card to boost the effects of the other cards in your hand.
Next, play Lower Canton Smith in the left lane and give his +2/+2 Scimitar (available due to Plot) to Dren Bodybuard, which makes the Dren Bodyguard an 8/8.
Play Twin Lamps Consul in the right lane. Due to Plot, it will have the Lethal ability. Now play Archer’s Gambit to move Twin Lamps Consul over to the left lane. Have him deal his 1 damage to the Mountain Tryant. Due to Lethal, it will kill the Tyrant. Finally, attack with Dren Bodyguard (now an 8/8) to deal the 8 damage necessary to win.
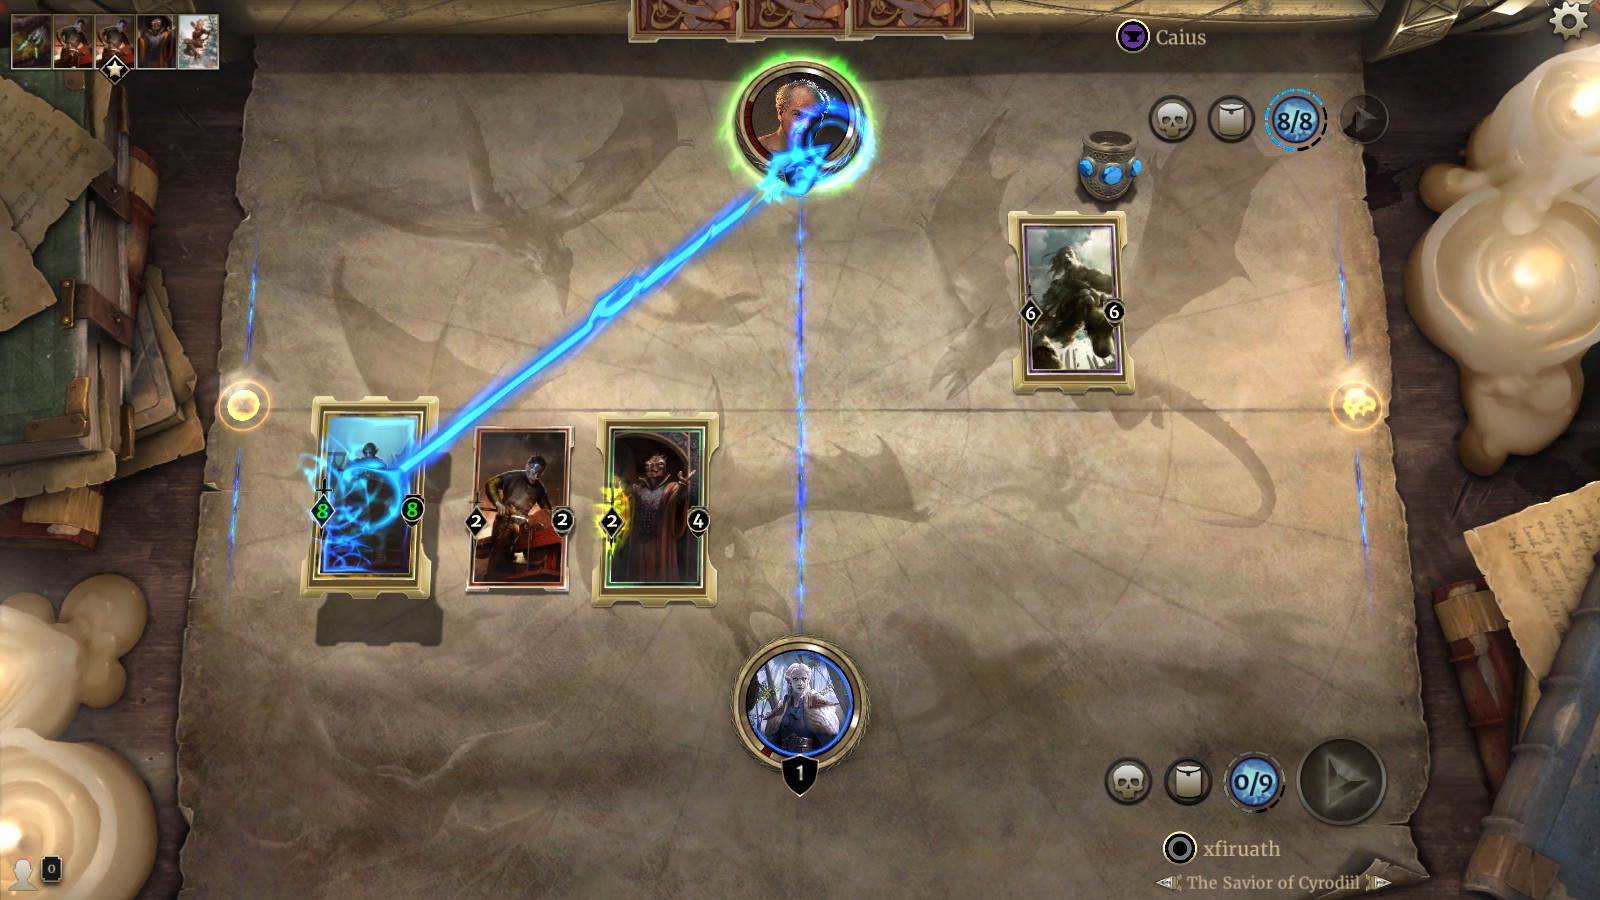 Defeating the Hlaalu Initiation Puzzle
Hlaalu Mastery
- Condition: Win this turn
- Opponent Setup: 18 health, Dres Guard with Guard ability in right lane
- Player Setup: 100 magicka, 1 health, Nord Firebrand in left lane, Rampaging Minotaur with Breakthrough in right lane
Attack with the sad 1/1 Nord Firebrand in the left lane to deal your first point of damage, then have Rampaging Minotaur attack the Dres Guard, which will deal no damage to the enemy but put Rampaging Minotaur in your discard pile, where you can resummon him later.
Summon Cammona Tong Heavy in the right lane, then cast Cruel Firebloom on him to kill the Dres Guard. This will also kill your Cammona Tong Heavy, which you want in the discard pile.
Cast Hlaalu Sharpshooter, and have him deal his summon damage to your Nord Firebrand to also get him in your discard pile. Next, play Journey to Sovngarde to return your discarded creatures to your deck with +5/+5 bonuses. Now play Sharp-Eyed Ashkan in the right lane to draw three cards.
Summon your Nord Firebrand and Rampaging Minotaur, which both have Charge, and have them both attack. Next, summon the Cammona Tong Heavy in the same lane as Rampaging Minotaur, and choose to return Rampaging Minotaur to your hand. Summon the Rampaging Minotaur a final time and attack (due to Charge) to achieve victory.
 Defeating the Hlaalu Mastery Puzzle
Telvanni Initiation
- Condition: Win this turn
- Opponent Setup: 9 Health, Risen Dead with Guard and Revered Guardian with Guard in left lane
- Player Setup: 7 magicka, 1 health, Redoran Enforcer and Young Mammoth with Breakthrough in left lane
Attack the Risen Dead with your Young Mammoth, which will kill it and get 3 damage through the enemy. Next, cast Drain Blood to give Revered Guardian -2/-2, then use the Betray ability to sacrifice Young Mammoth and give the Revered Guardian another -2/-2, which kills it.
With the lane clear, attack the enemy directly with Redoran Enforcer, which brings him down to 4 health. Next, cast Blood Sacrament to deal 2 damage to the enemy, then use Betray to sacrifice your Redoran Enforcer and deal the final 2 damage for victory.
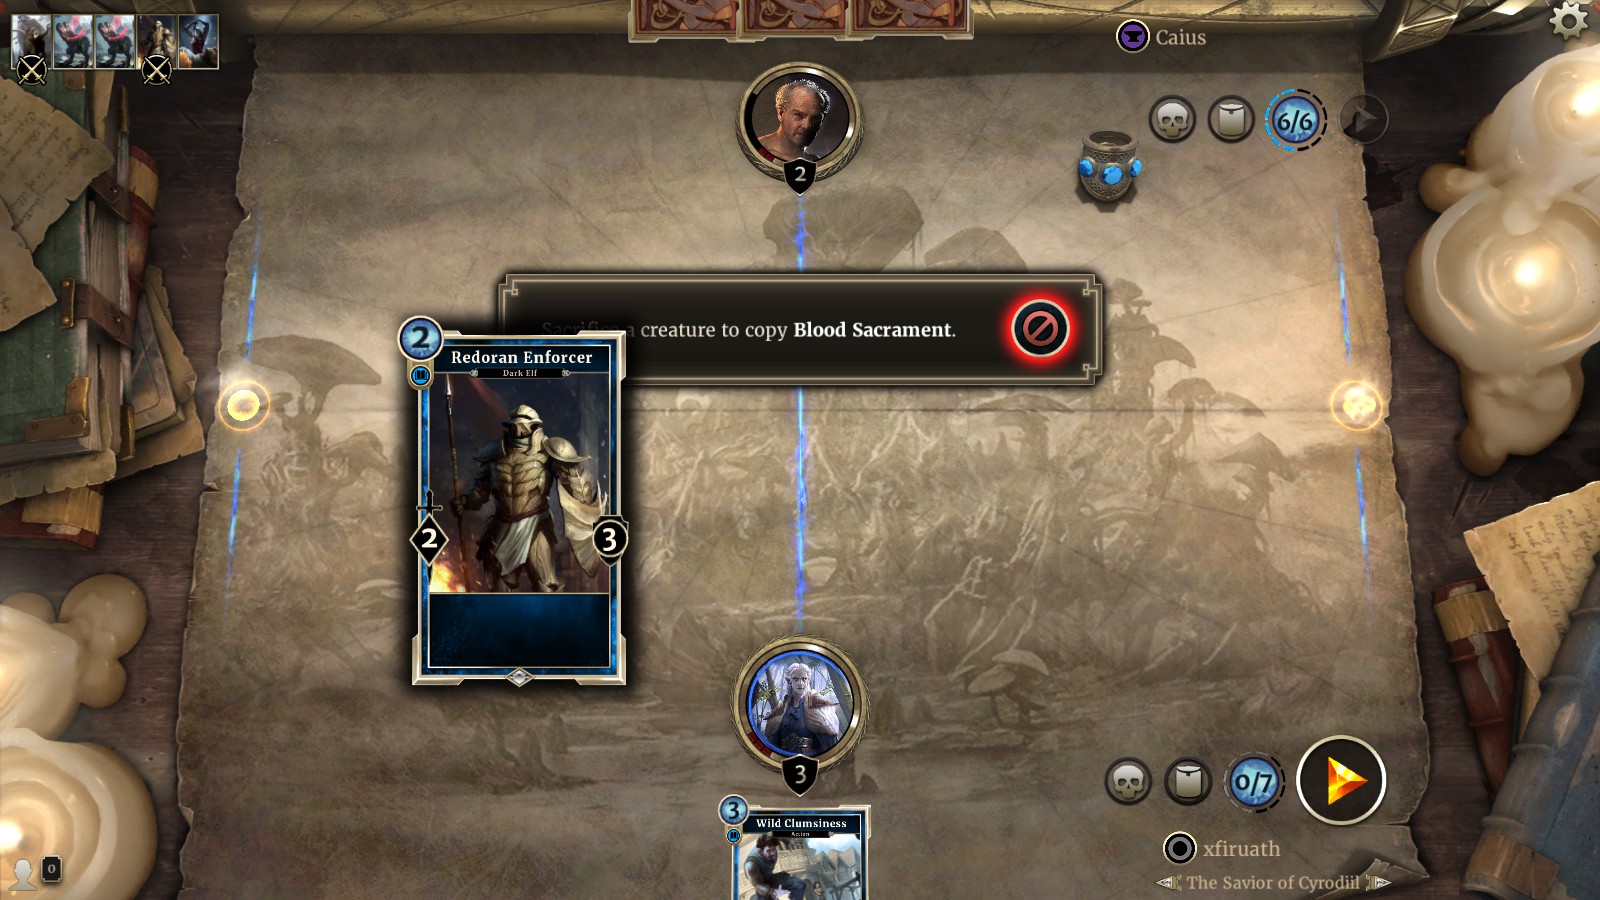 Defeating the Telvanni Initiation Puzzle
Telvanni Mastery
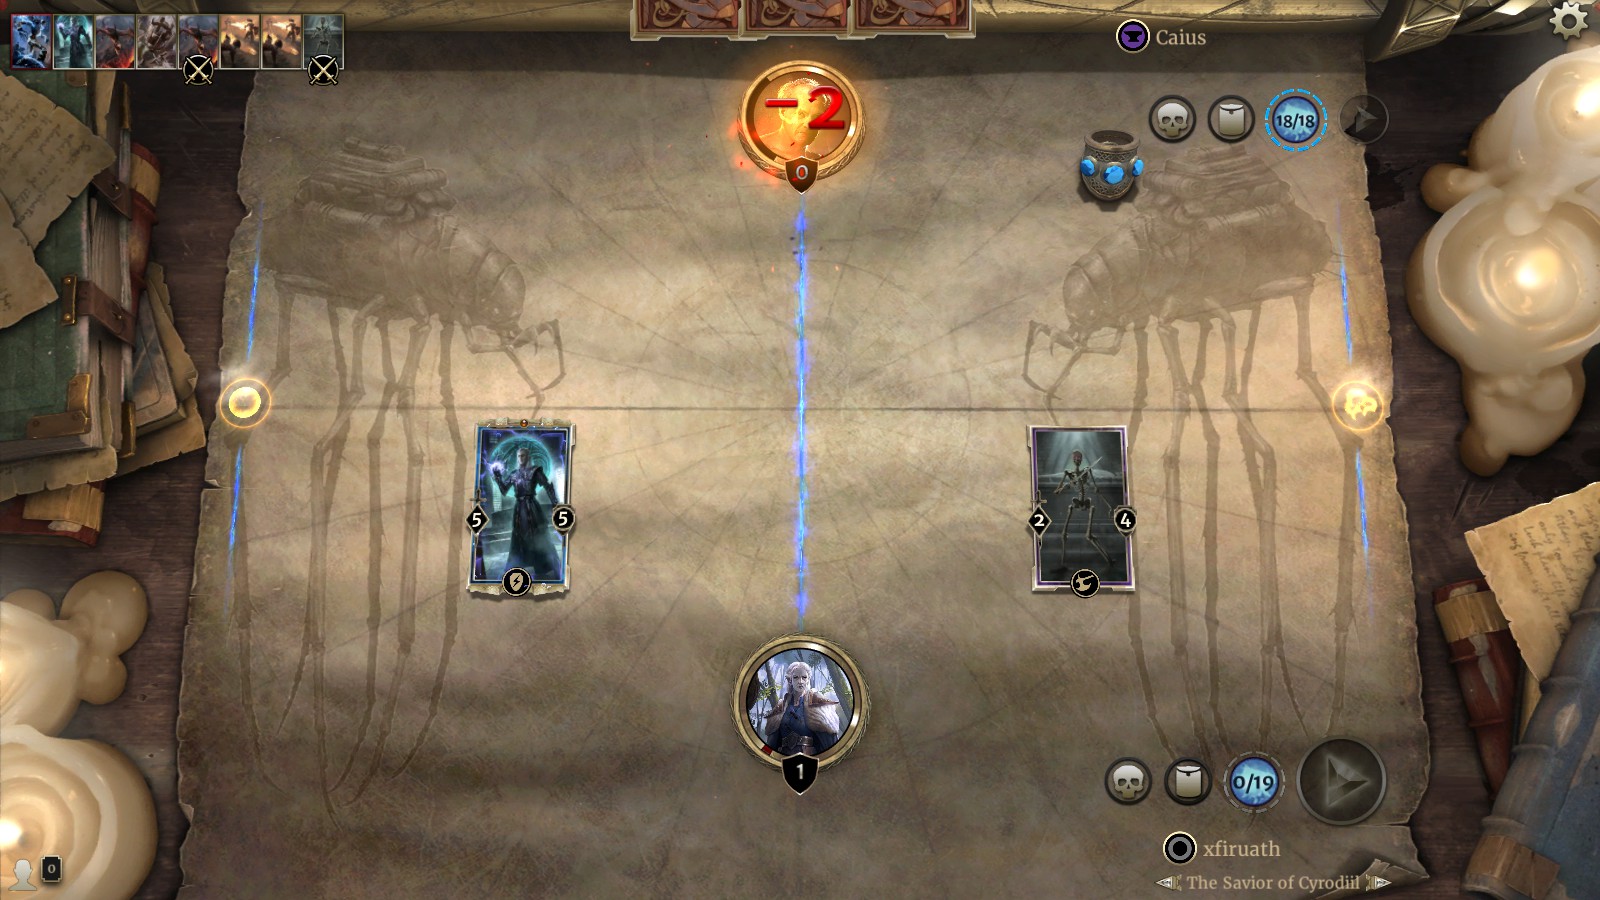
- Condition: Win this turn
- Opponent Setup: 11 health, Bone Colossus and three Skeletons in left lane, four Risen Dead with Guard in right lane
- Player Setup: 19 magicka, 1 health, Ancestral Dead in right lane
Summon the High Elf Ancano in the left lane, and use his summon ability to destroy the Bone Colossus. Summon the Cliff Strider in the left lane, then cast Improvised Weapon on it to give a power bonus. Attack any of the skeletons with Cliff Strider to get 4 points of Breakthrough damage to the enemy.
Cast Traitor’s Flames to destroy all the Skeletons in the left lane, then use the Betray ability to sacrifice Cliff Strider and cast Traitor’s Flames a second time, this time destroying all the Risen Dead in the right lane. Attack with your Ancestral Dead in the right lane to deal the final damage and win.
 Defeating the Telvanni Mastery Challenge
Tribunal Initiation
- Condition: Win this turn
- Opponent Setup: 5 health, Colovian Trooper with Guard and Protector Of the Innocent with Guard in left lane
- Player Setup: 8 magicka, 1 health, Mournhold Pilgrim in left lane
First, play Ghostgate Defender and choose to pay the Exalt cost to destroy Protector of the Innocent. Next, play Orvas’ Guardian to give Colovian Trooper -1/-0 and Mournhold Pilgrim +1/+0.
Now that Colovian Trooper has a lower power than Grand Inquisitor, play Grand Inquisitor. The card’s Summon effect goes into play without having to pay the Exalt cost, meaning Colovian Trooper gets automatically destroyed. Now just attack with Mournhold Pilgrim to deal 5 damage and win.
 Defeating the Tribunal Initiation Puzzle
Tribunal Mastery
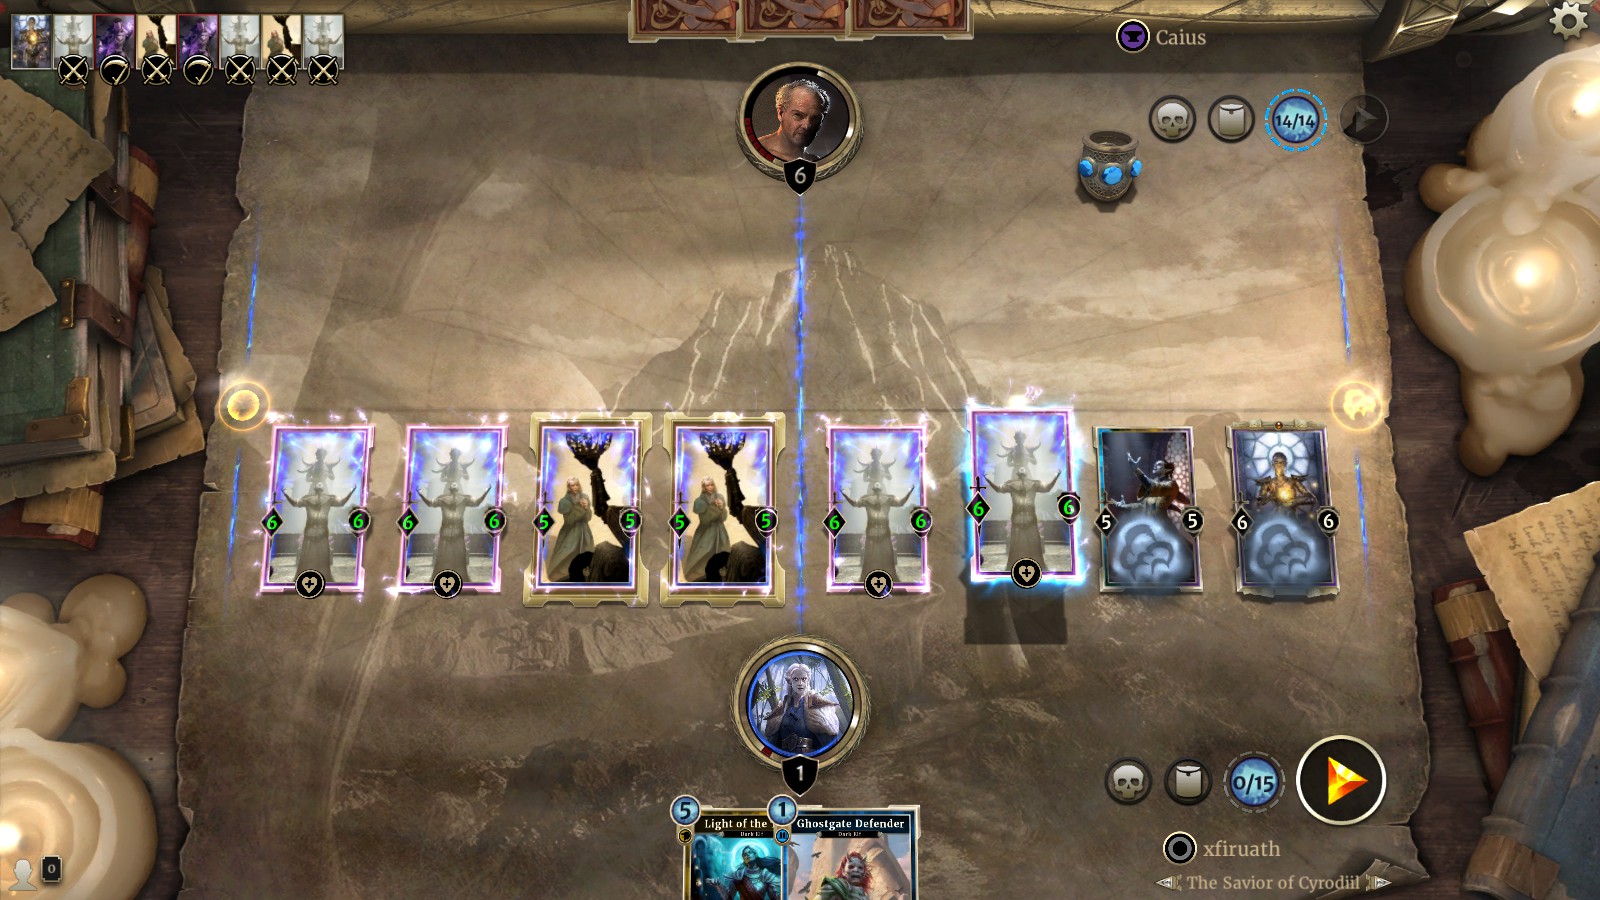
- Condition: Win this turn
- Opponent Setup: 17 health, two Indoral Archmages with Guard in left lane, Lurking Mummy with Guard in right lane
- Player Setup: 15 magicka, 1 health, two Clockwork City Pilgrim with Guard and two Mournhold Pilgrim in left lane, as well as two Mournhold Pilgrim in right lane
Play one of your Ghostgate Defenders in the right lane, but don’t trigger its Exalt ability (hit Cancel instead). Now summon Temple Patriarch in the right lane. Temple Patriarch’s summon ability triggers the bonus Exalt power of all your other creatures in play, and then lets you use the Ghostgate Defender’s Exalt ability to deal 2 damage to one of the Indoril Archmages.
Summon Almalexia in the right lane (sacrificing the Ghostgate Defender) so her ability prevents your cards from being killed by the Indoral Archmages. Attack the undamaged Indoril Archmage with a Mournhold Pilgrim to kill it. Next, attack the damaged Indoril Archmage with a Clockwork City Pilgrim to kill it.
In the right lane, attack the Lurking Mummy with one of your Mournhold Pilgrims. Now direct attack with your remaining three creatures for the victory!
 Defeating the Tribunal Mastery Puzzle
After beating all 10, you will get a nifty Caius’ Training card pack. Those are the easiest puzzle solutions we found, but there are other possible win strategies for a few of these Houses Of Morrowind Caius puzzles. Let us know if you discovered any others we should try out, and take a look at our other Elder Scrolls: Legends guides!




Published: Apr 5, 2018 07:53 pm