Sorceress Sellen is one of the first Sorcery trainers available in Elden Ring. Odds are that you met her early in your time exploring Limgrave. While her inventory isn’t initially filled with world-ending magic, spending a few Runes on her stock early can make magic-focused runs much more efficient.
Like many NPCs in Elden Ring, Sellen’s questline takes you across the Lands Between but doesn’t require nearly as much investment as Alexander or Corhyn and Goldmask’s quests. The rewards, however, are more than worth the effort, as you’ll get your hands on some of the best Sorceries and magic-centric equipment in the game.
How to Complete Sorceress Sellen’s Questline in Elden Ring
You won’t be going to the endgame in Sellen’s questline, but some of the later steps are particularly difficult or annoying at lower levels. You’ll also be taking on a few optional bosses, but nothing on the level of Godskin Duo, Morgott, or otherwise.
Step 1: Become Sellen’s Apprentice
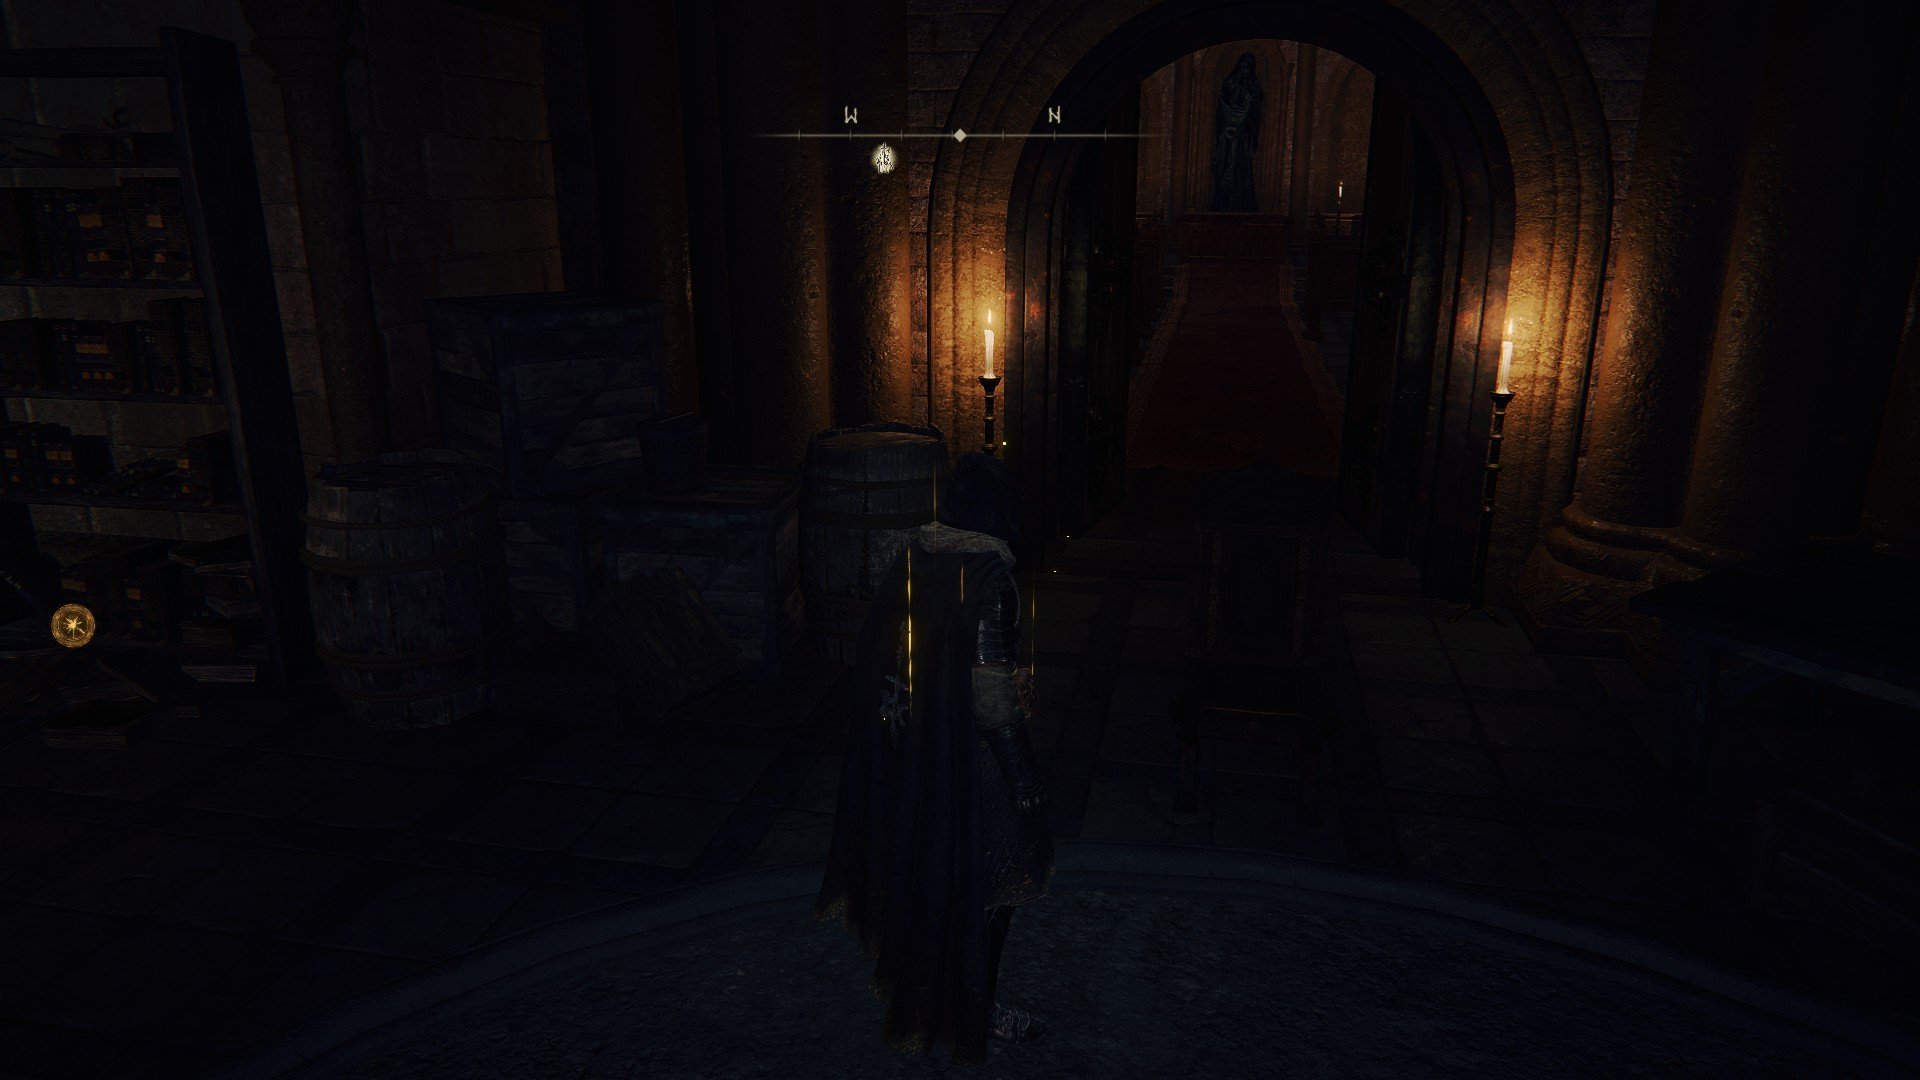
Head to the Waypoint Ruins in the southeast portion of Western Limgrave and defeat the Mad Pumpkinhead boss. Open the door at the back of its arena and speak to Sellen. She’ll ask if you want to become her apprentice, then ask again if you’d be okay joining an exile from Raya Lucaria. Say yes both times.
Step 2: Pick up Comet Azur in Mt. Gelmir and Return to Sellen
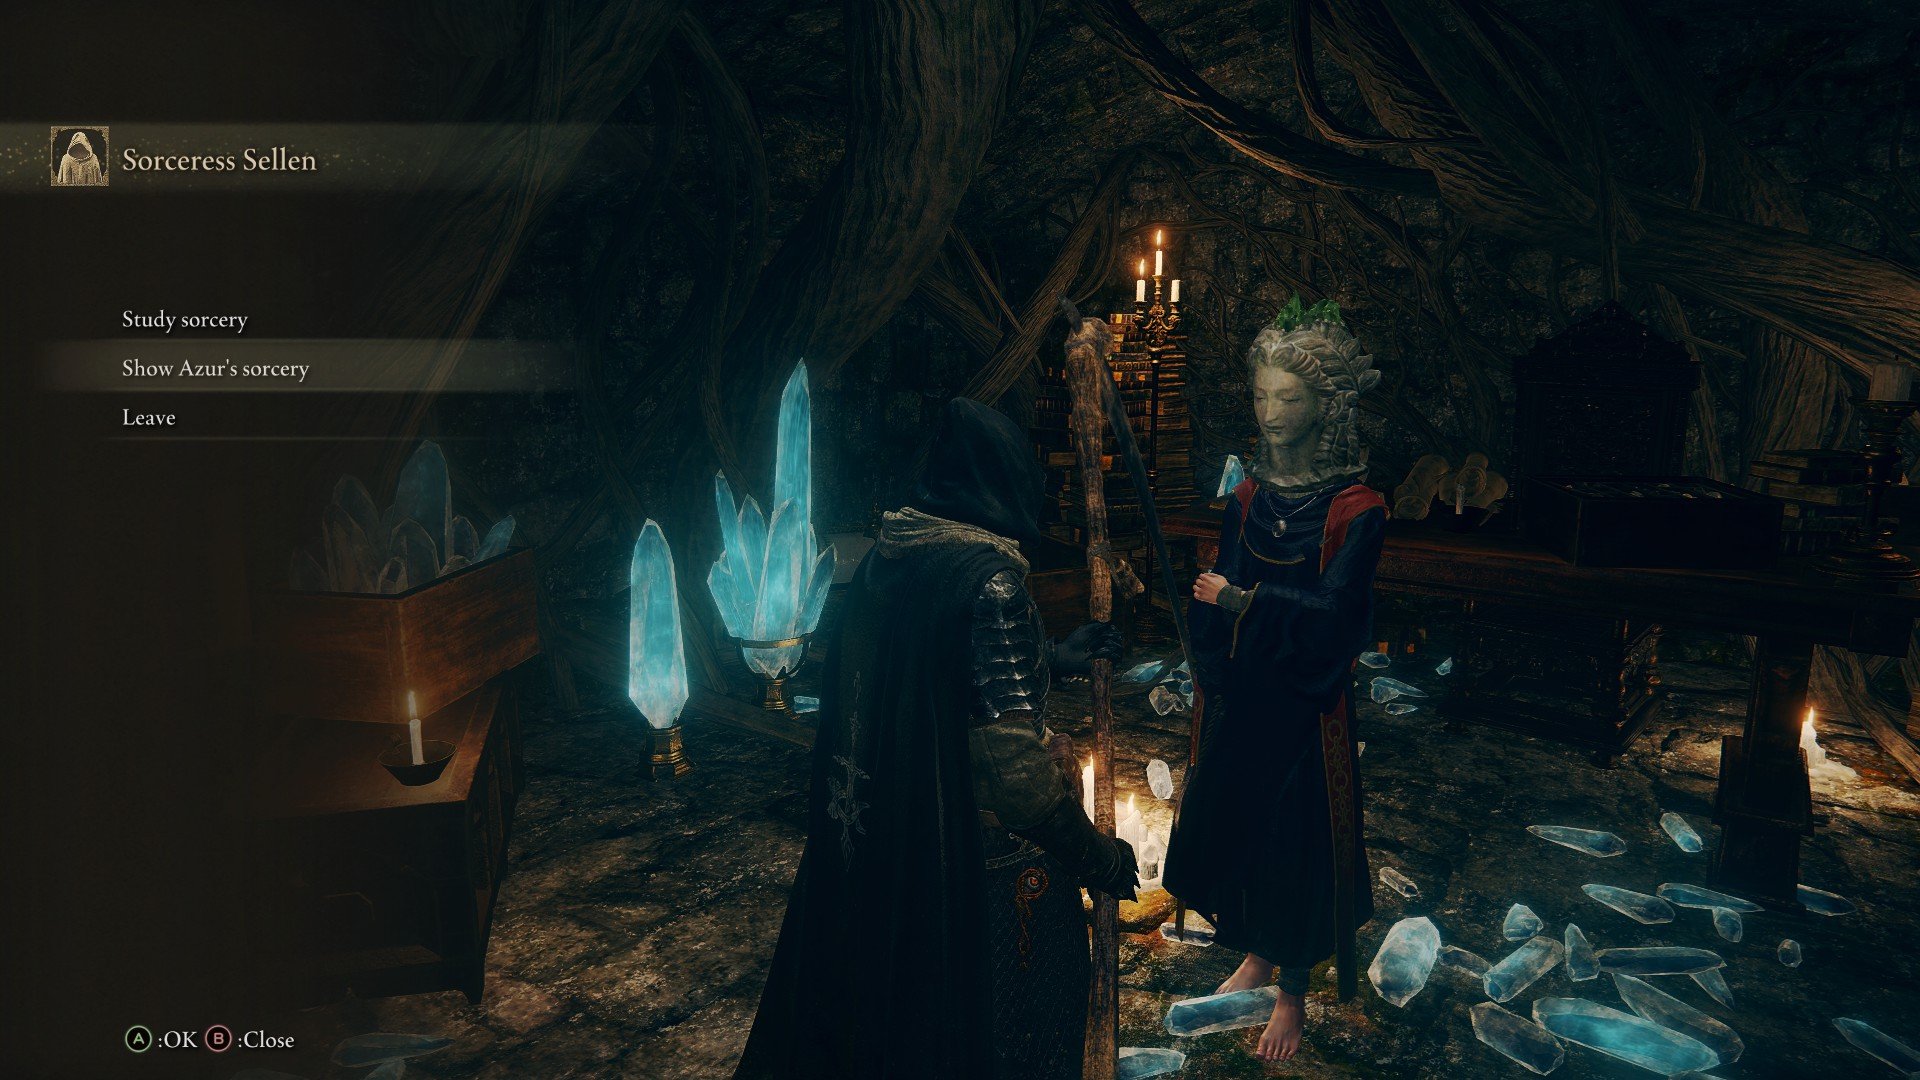
Progress through the game until you reach Mt. Gelmir, then follow our guide to acquiring Comet Azur. Once you have the spell, return to Sellen and select “Show Azur’s sorcery” in her menu.
Step 3: Listen to Sellen, Join Her Journey, and Take on a Favor

After hearing Sellen discuss Azur, select “Tell me your story” in her menu. She’ll give some background on herself and her goals, then ask you to join her on a journey to reclaim her place at Raya Lucaria.
She’ll eventually ask a favor of you and, at the end of that conversation, provide the Sellian Sealbreaker key item. Your task, then, is to find Sorcerer Lusat somewhere in Sellia in eastern Caelid.
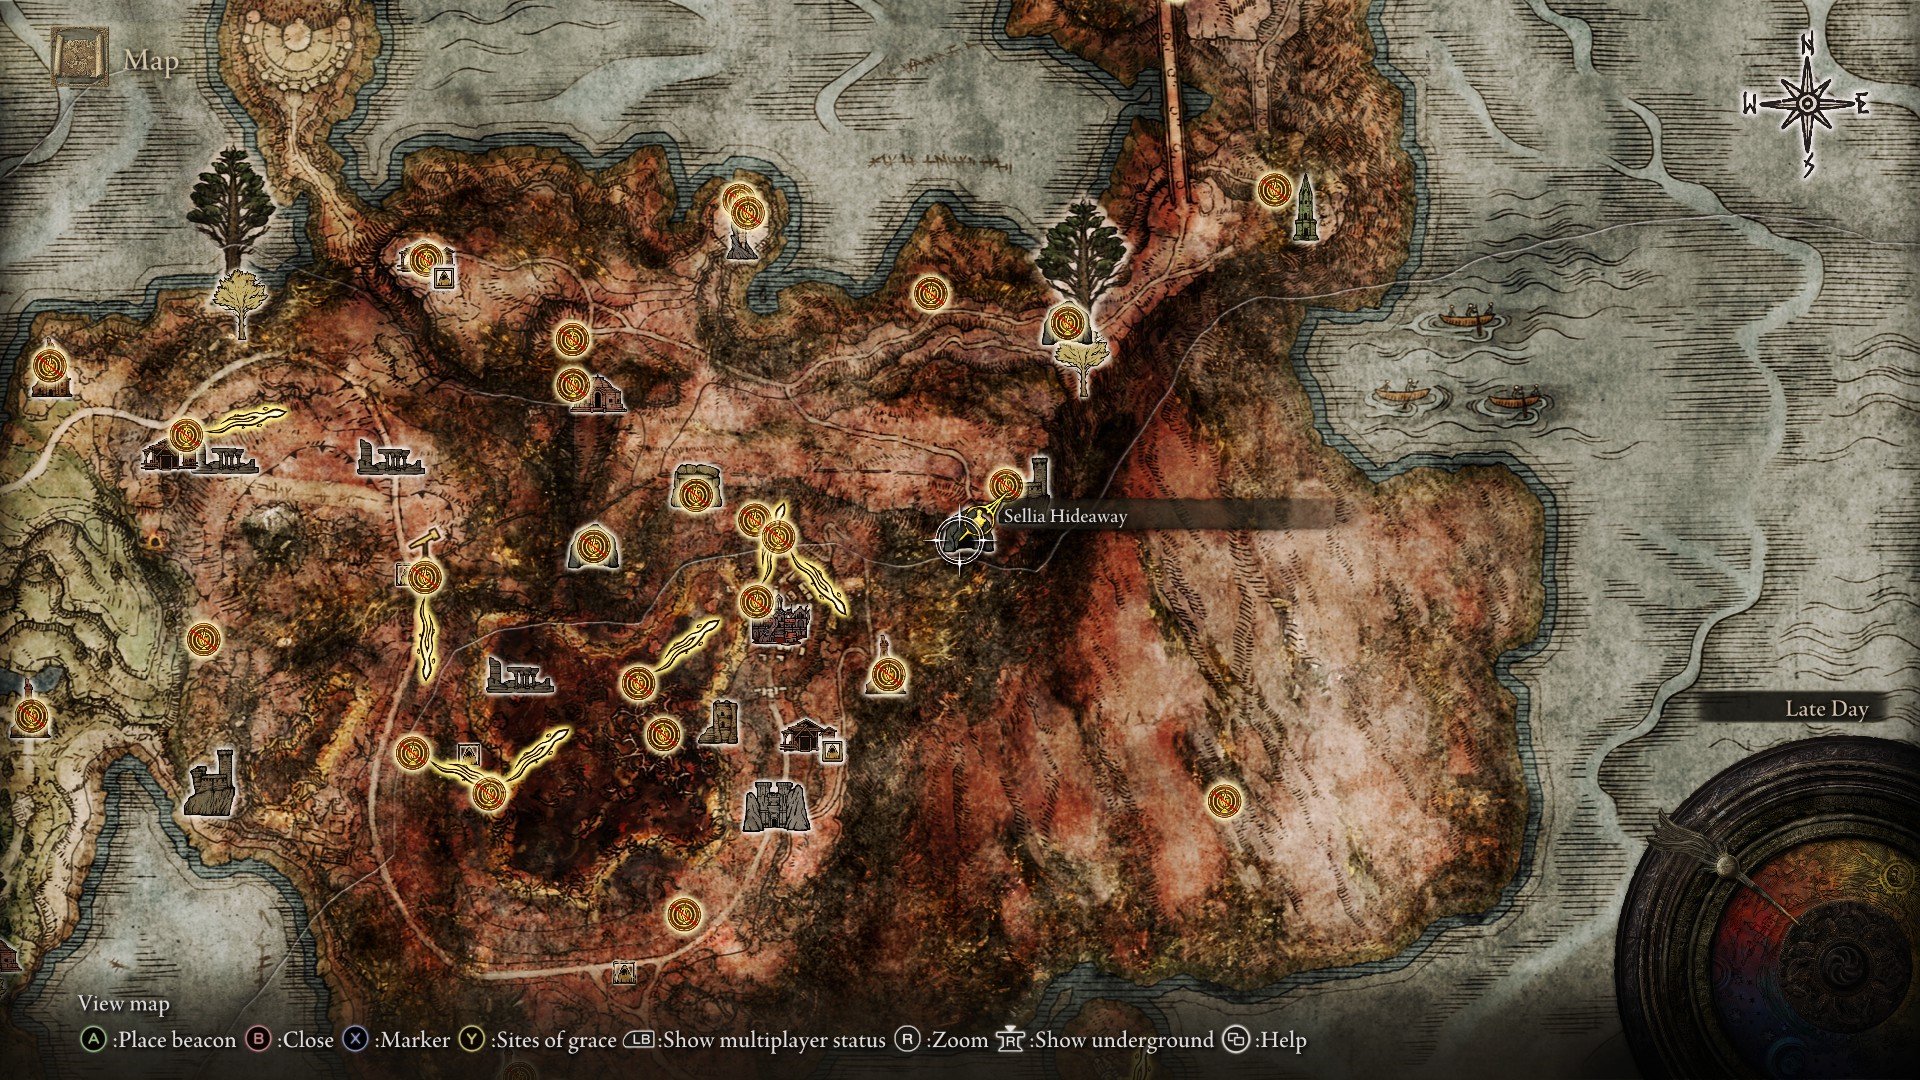
Step 4: Head to the Sellia Hideaway Dungeon
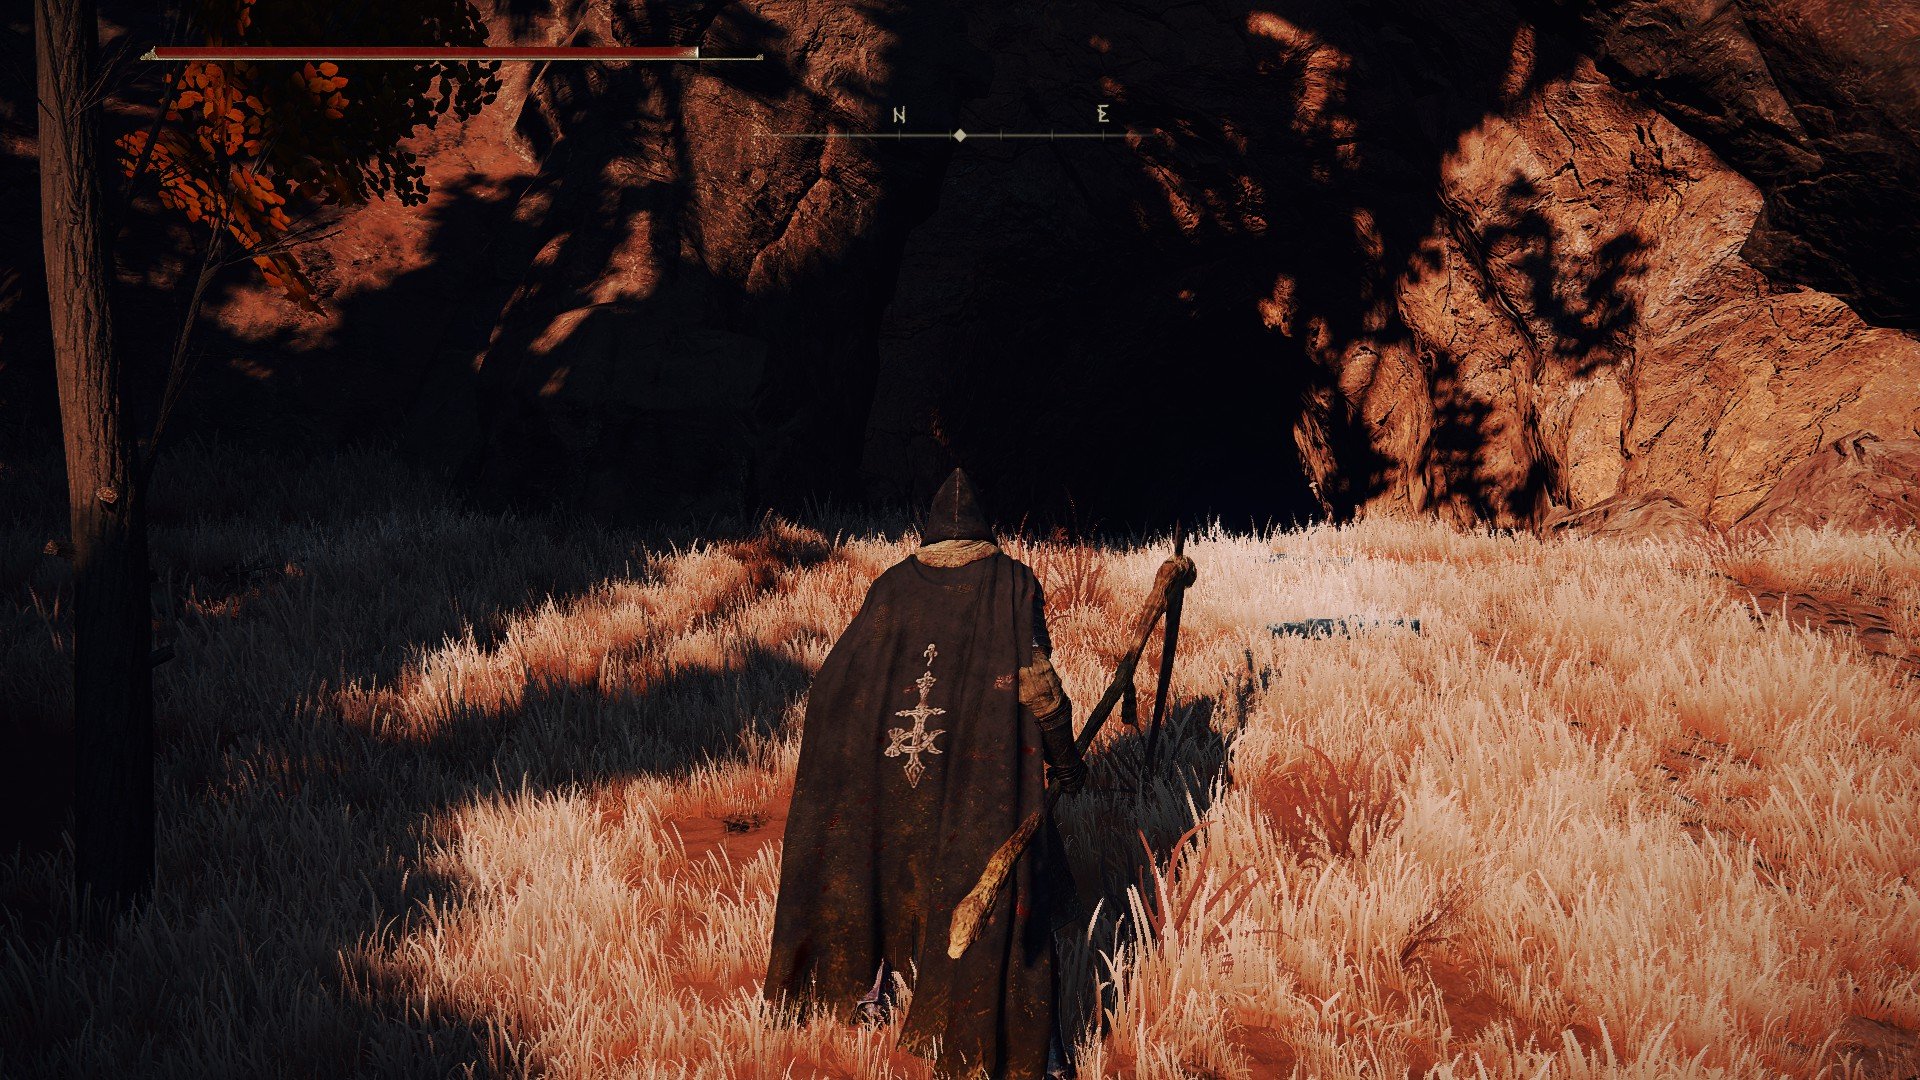
Next, you’ll need to complete Sellia, Town of Sorcery, and open the seal at its northern end. You’ll also need to do it if you’re looking to start Millicent’s questline. From the Plague Church, go northeast and right at the giant skull. You’ll end up at a seemingly barren rockface. Near the southern end of the rocks is an illusory wall.
If you don’t find the fake wall initially, keep hitting the rockface as you move south. Odds are that there are messages on the ground pointing to the wall’s location. These aren’t trolling this time.
Step 5: Unlock the Sealed Cavern to Find Sorcerer Lusat
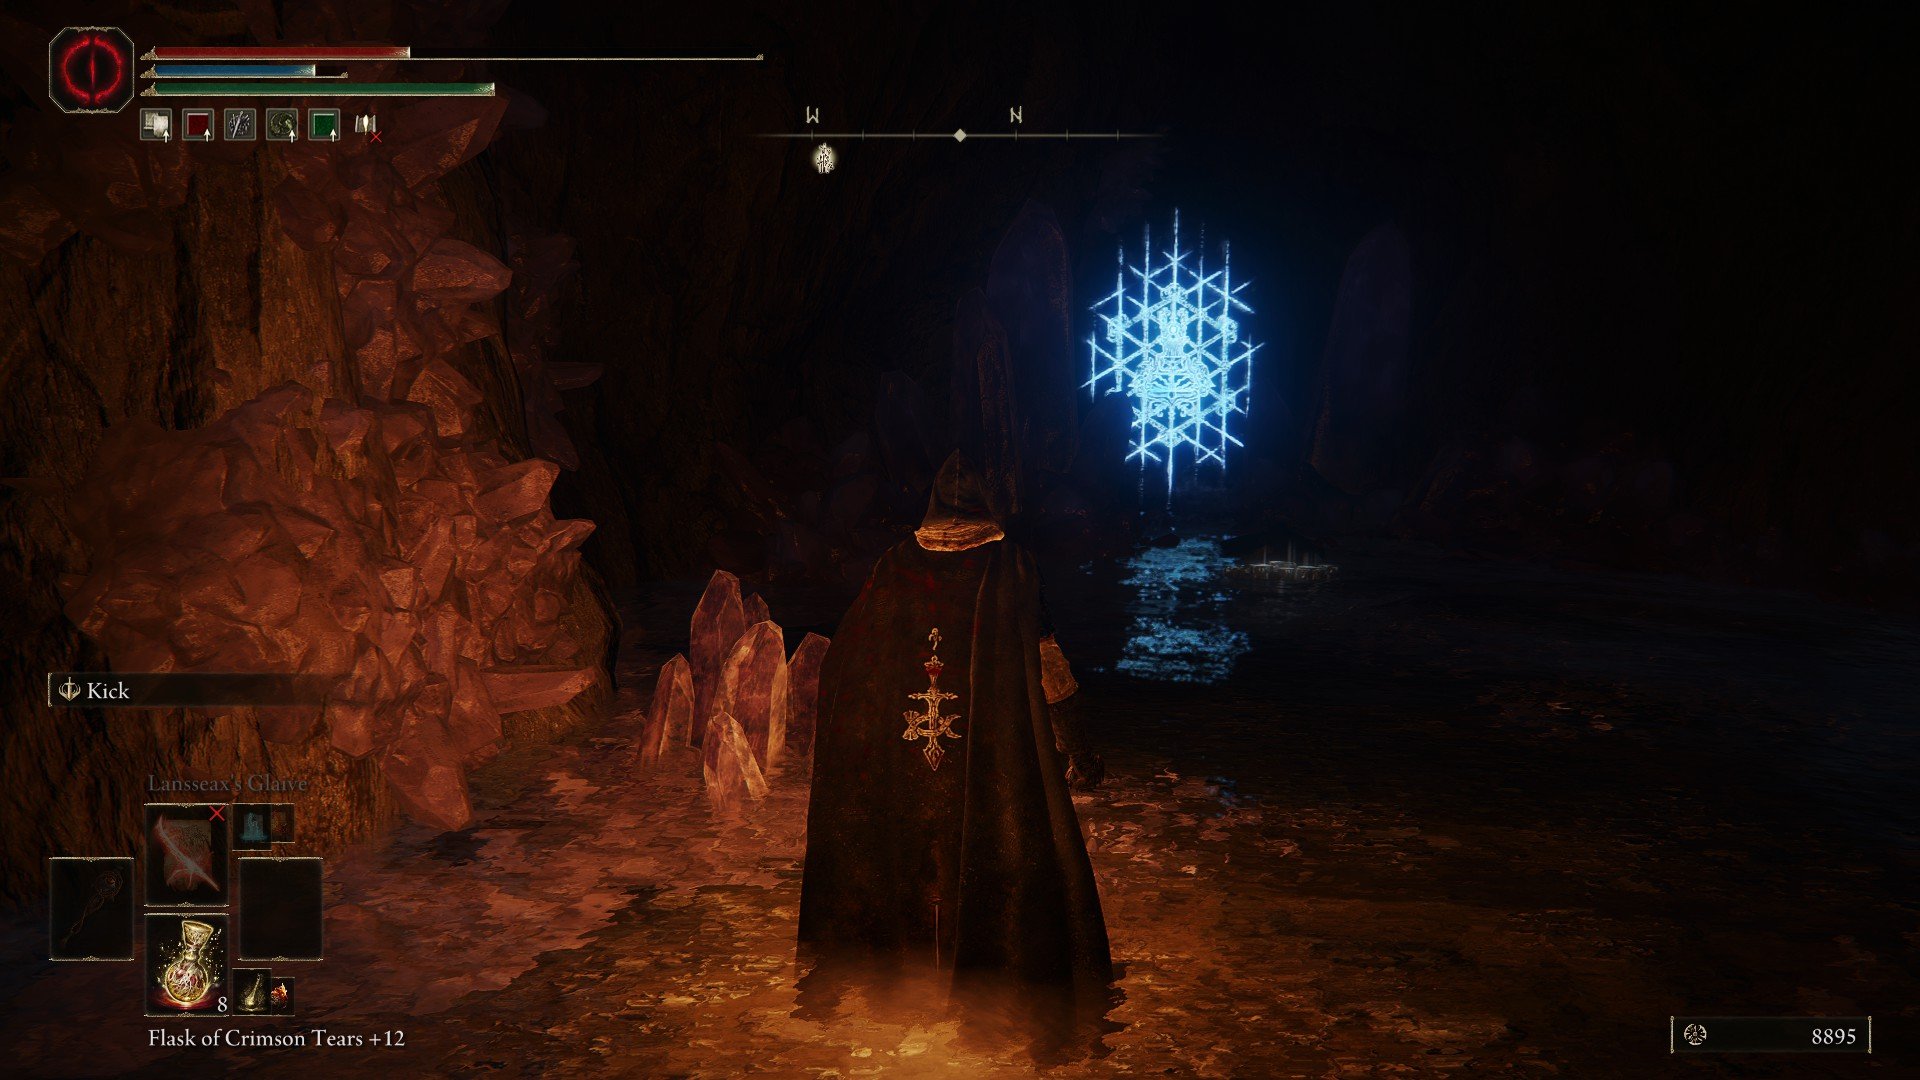
At the bottom of the Sellia Hideaway cavern, you’ll see a seal similar to those blocking the way to Raya Lucaria Academy.
Approach the seal. Provided you have the Sellian Sealbreaker in your inventory, you can undo the seal. Beyond it is a small cavern with Sorcerer Lusat, who gives you the Stars of Ruin Sorcery when you interact with him.
Step 6: Return to Sellen and Tell Her Lusat’s Location
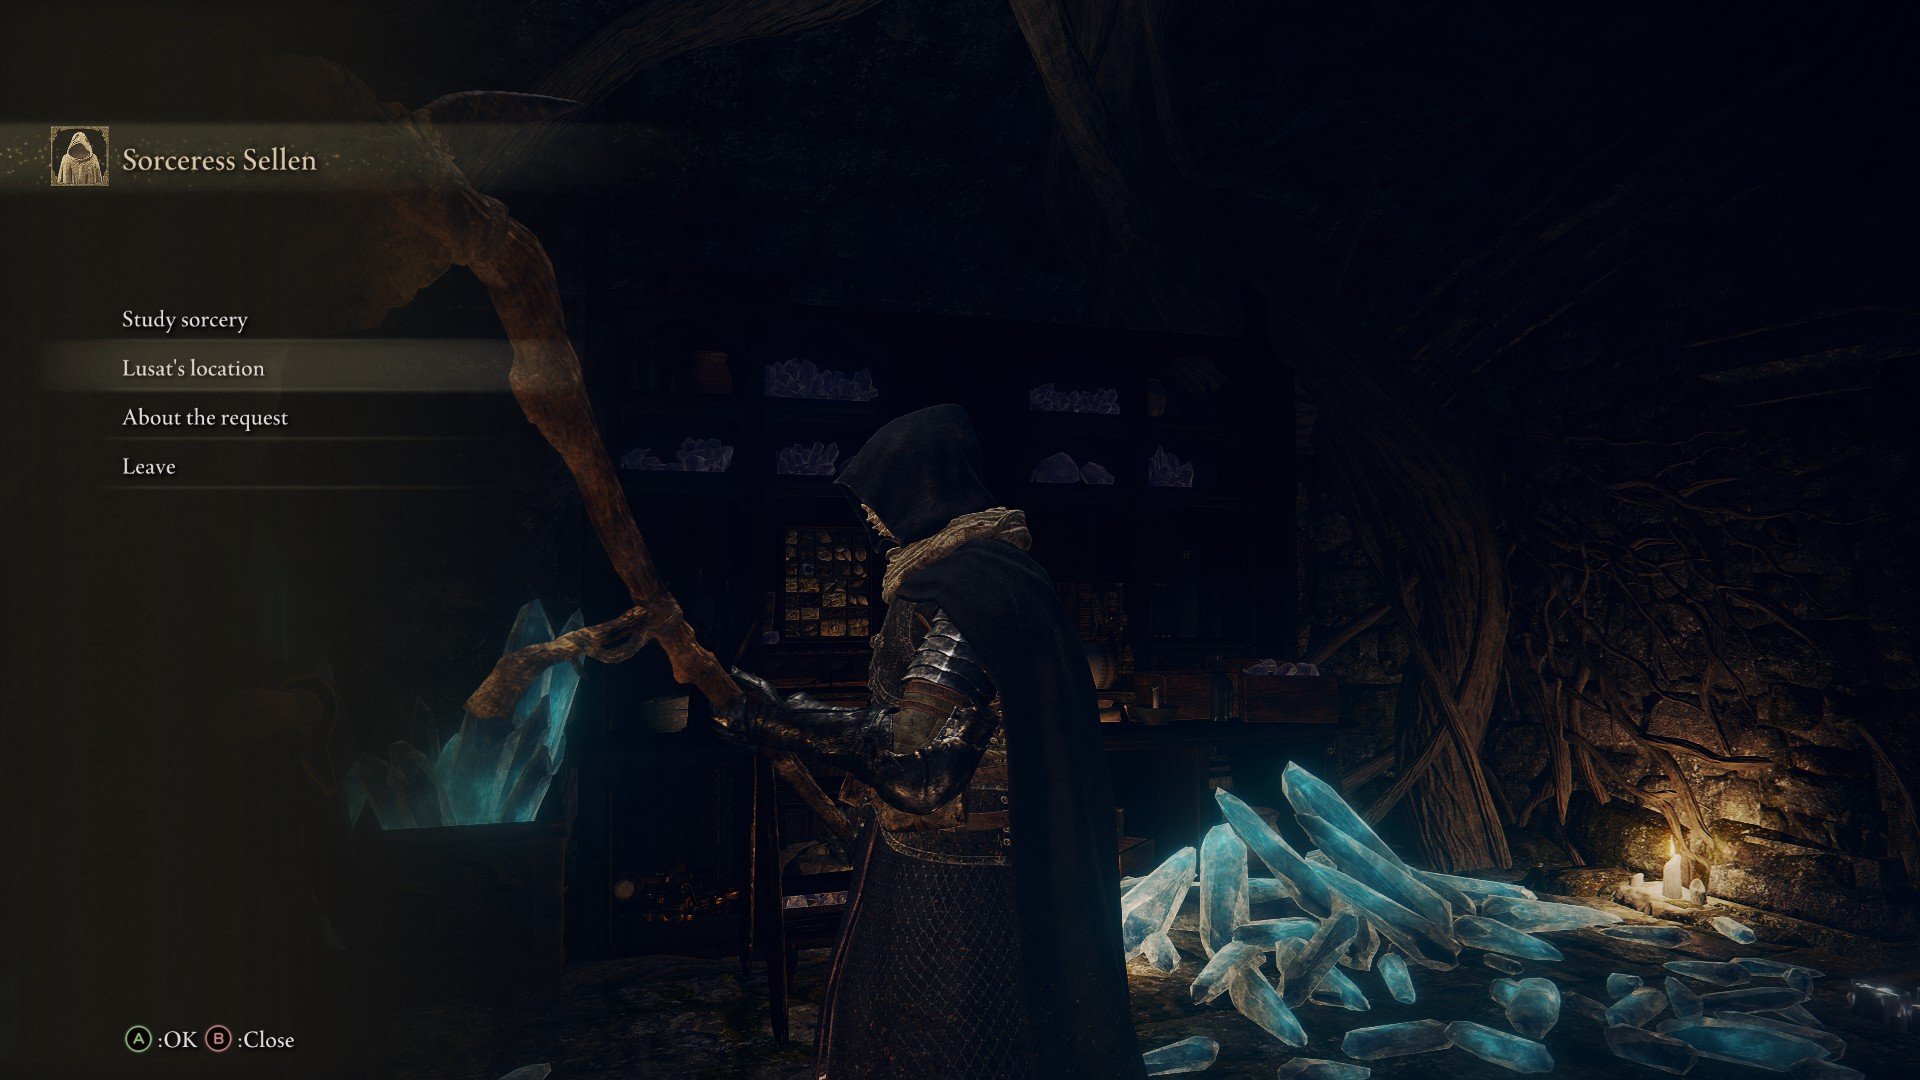
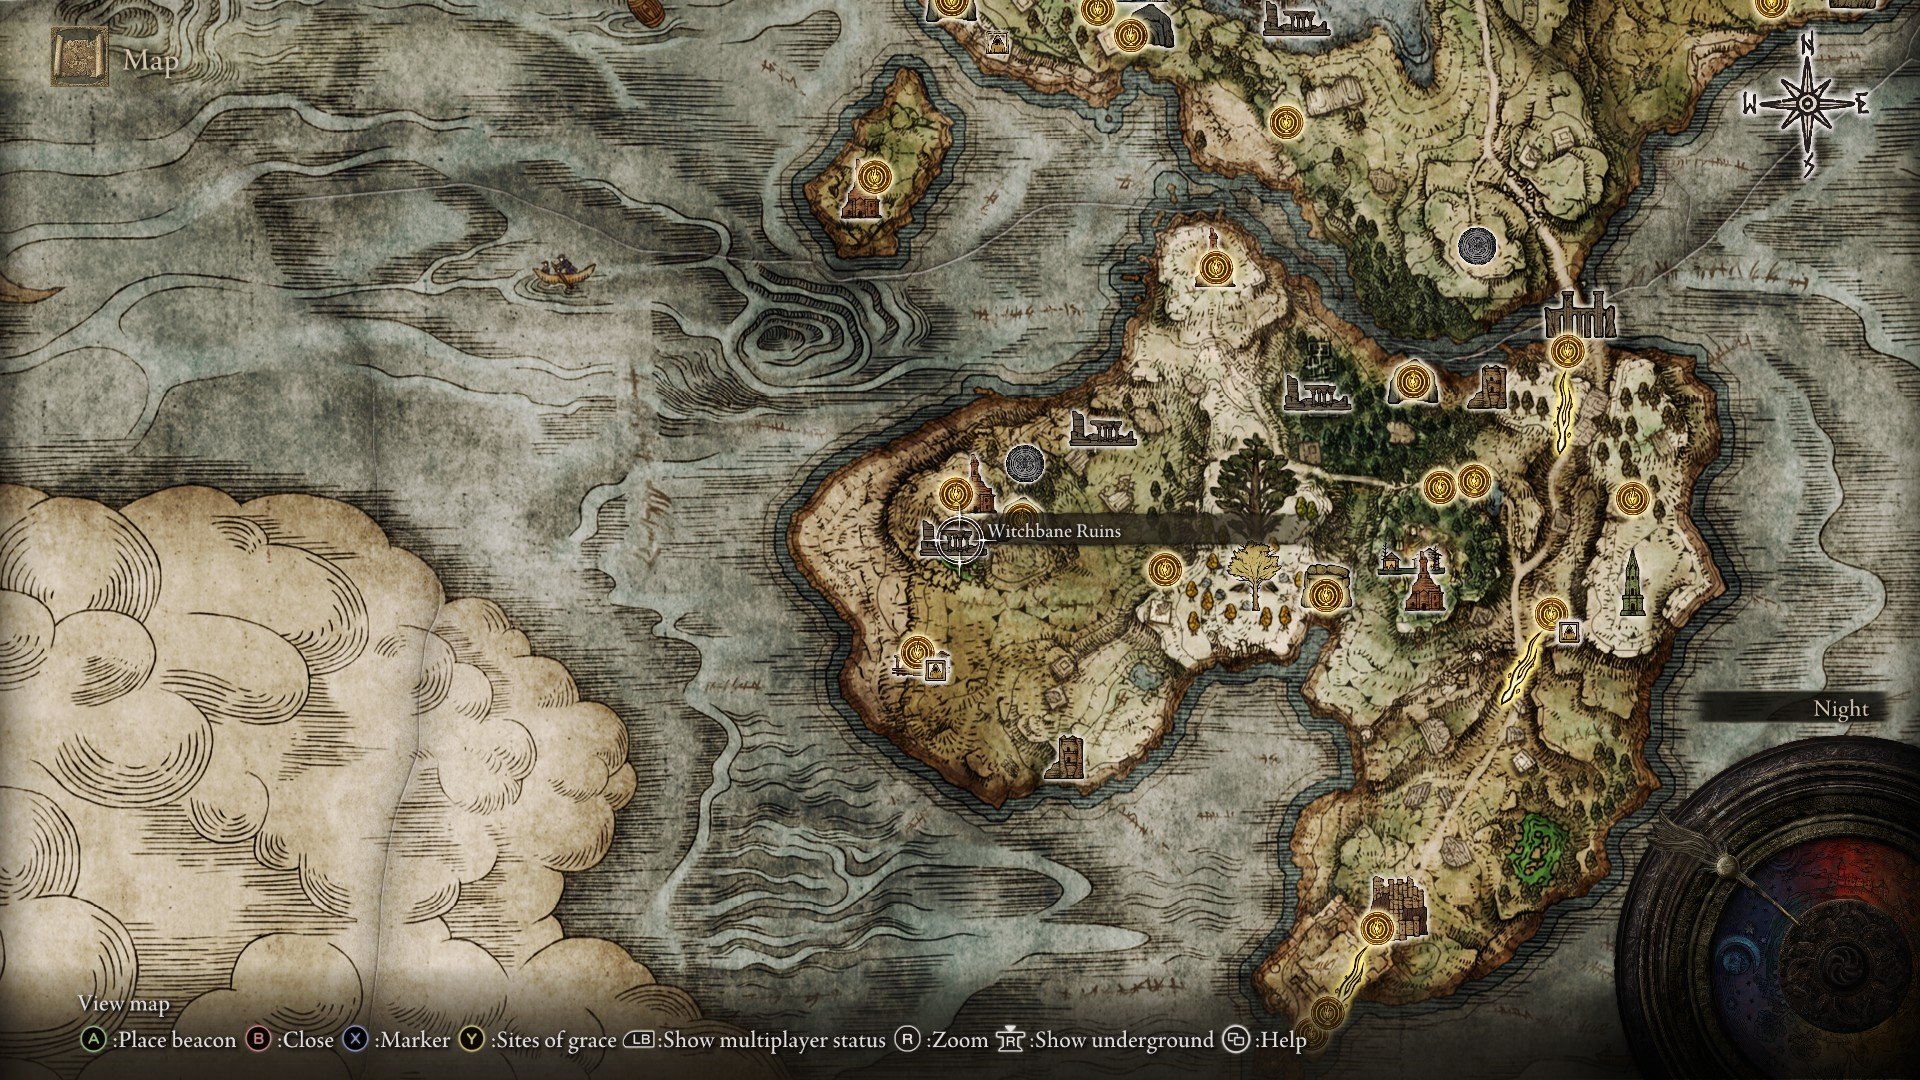
Go back to the Waypoint Ruins and speak to Sellen. In her menu, select “Lusat’s location.” Listen to what she has to say about her body, and she’ll point you to the Witchbane Ruins in the western portion of the Weeping Peninsula south of Limgrave.
Step 7: Speak to Sellen’s True Body in the Witchbane Ruins
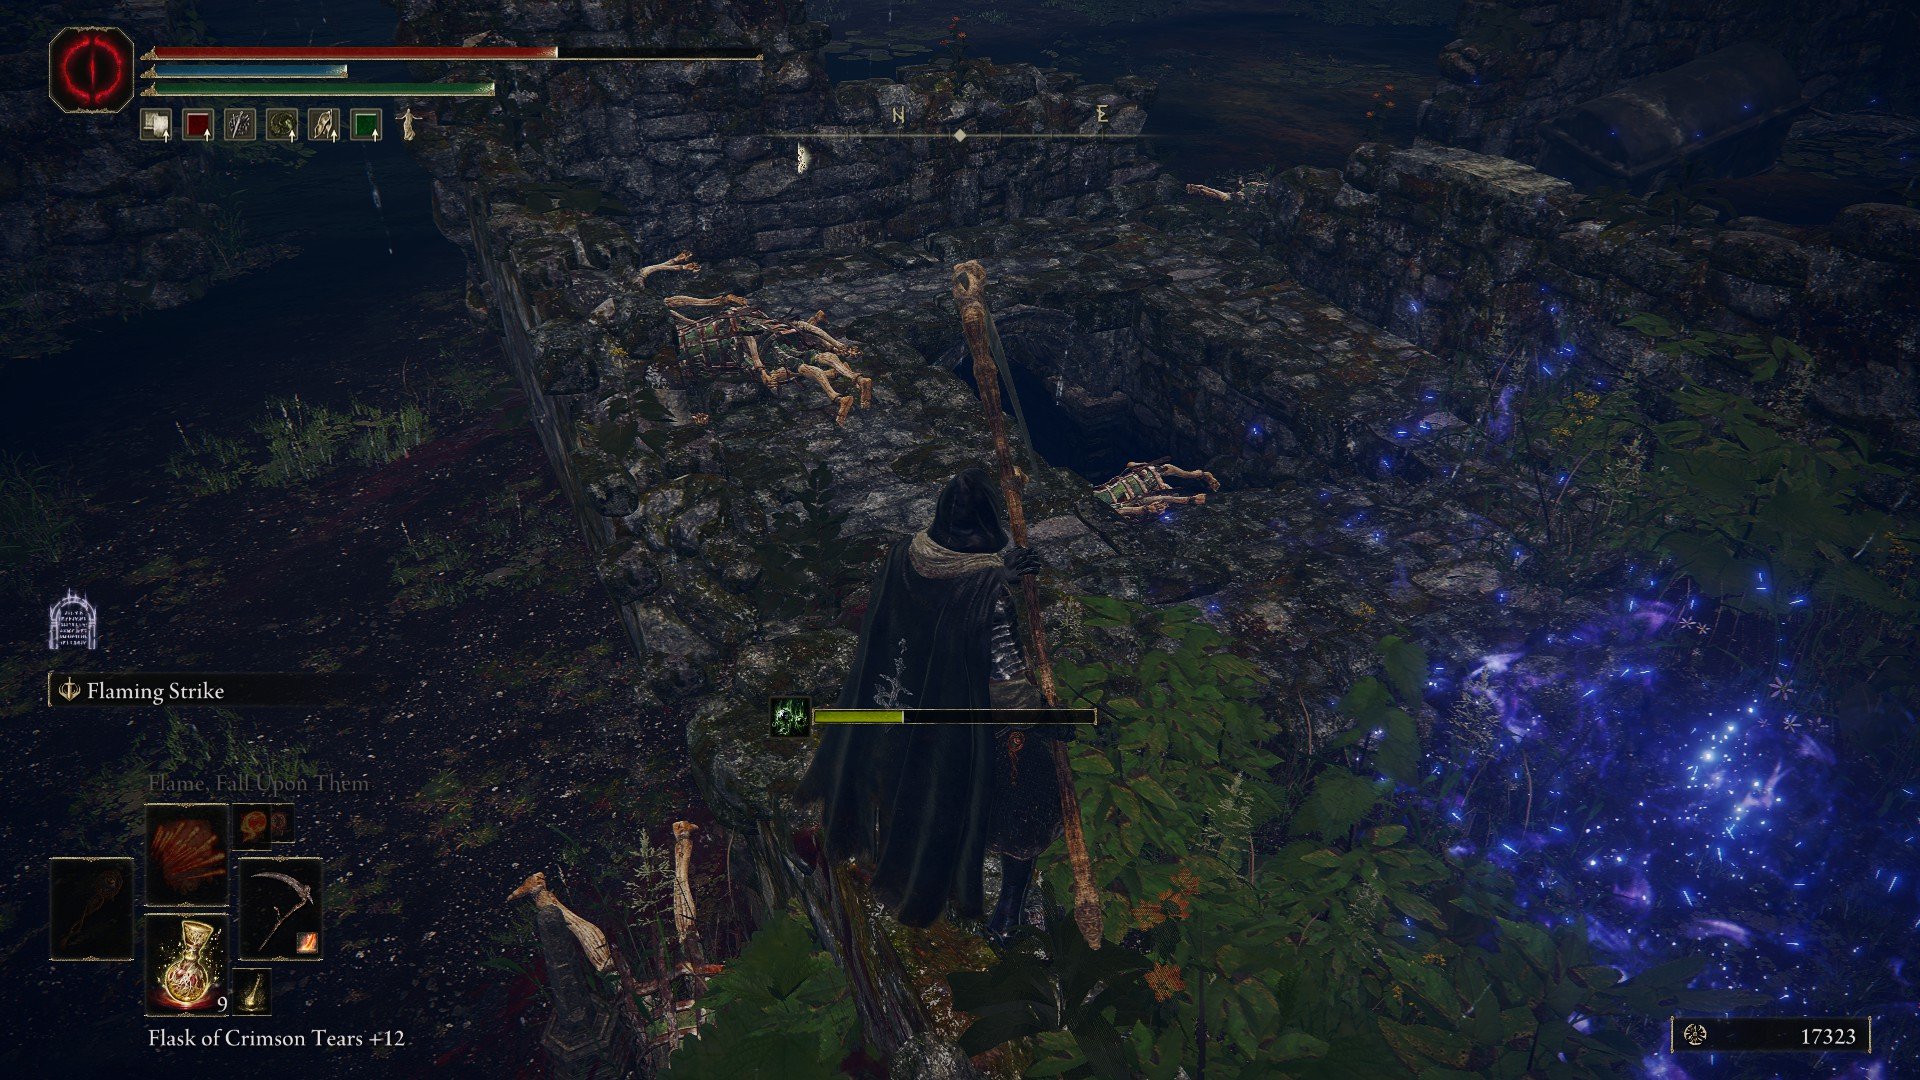
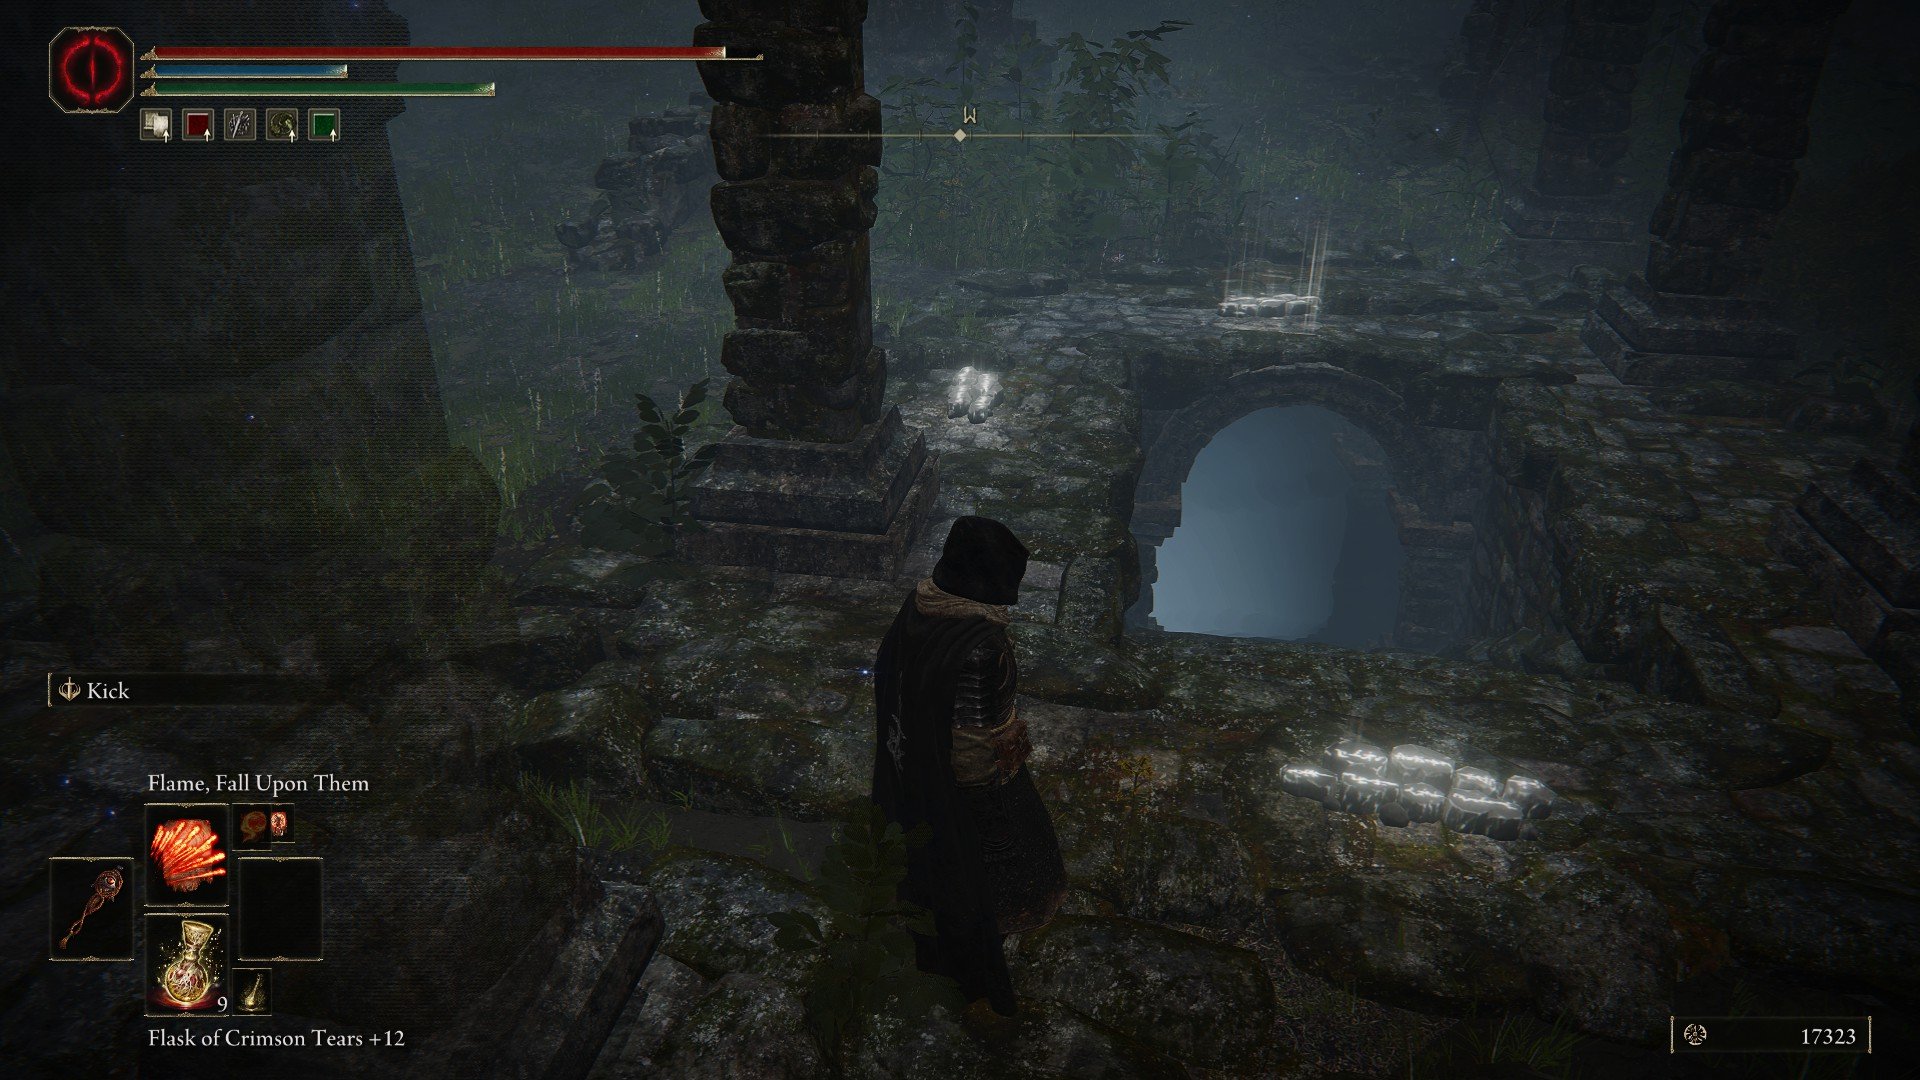
There’s no boss in the Witchbane Ruins, but there is a large sphere of sorcerer masks spamming AoE attacks guarding a stairway down.
Head down into the ruins near the sphere, and speak to Sellen’s true body. She’ll ask you to take her Primal Glintstone to find a new body.
Step 8: Progress Until You Reach the Three Sisters Area and Reveal Seluvis’s Hidden Cellar
Make your way to Caria Manor, defeat Loretta, and head to the ruins south of Renna’s Rise and east of Ranni’s Rise. At the westernmost portion of those ruins is an illusory floor. Attack or roll into it to dispel the illusion, then had down.
Step 9: Place the Primal Glintstone into the Sellen Puppet
You’ll see a message at the back of Seluvis’ Hidden Cellar that says, “Seluvis’ puppet. Do not touch.” It sits before another illusory wall.
Go past the illusion, and you’ll see a puppet of Sellen standing in the back of the hidden chamber. When prompted, insert the Primal Glintstone into the body to revive Sellen.
If the option doesn’t appear and you have the Primal Glintstone in your inventory, quit to the main menu and reload the area.
Step 10: Defeat General Radahn and Speak to Jerren
Return to Caelid and conquer Starscourge Radahn, then return to Castle Redmane and go up the stairs leading to the elevator that went to Radahn’s arena. Jerren, the castellan in charge of the Radahn festival, will be sitting in a chair before the chapel. Speak to him and exhaust his dialog. He’ll disappear shortly after that.
Step 11: Return to the Witchbane Ruins and Speak to Jerren Again
Go back to the Witchbane Ruins to find Sellen’s body covered in blood with Jerren standing over it confidently. Speak to him to learn some of Sellen’s background she wouldn’t reveal willingly. Exhaust Jerren’s dialog completely.
Note: I encountered a bug where Jerren was not present at this step, but the quest progressed anyway. I had already gone well past Radahn in the playthrough, so if you’ve made it to the Mountaintops of the Giants or farther, you should go to step 12 to see if your quest also progressed.
Step 12: Defeat Rennala; Go to the Entrance of the Grand Library and Take the Red or Yellow Summon Sign
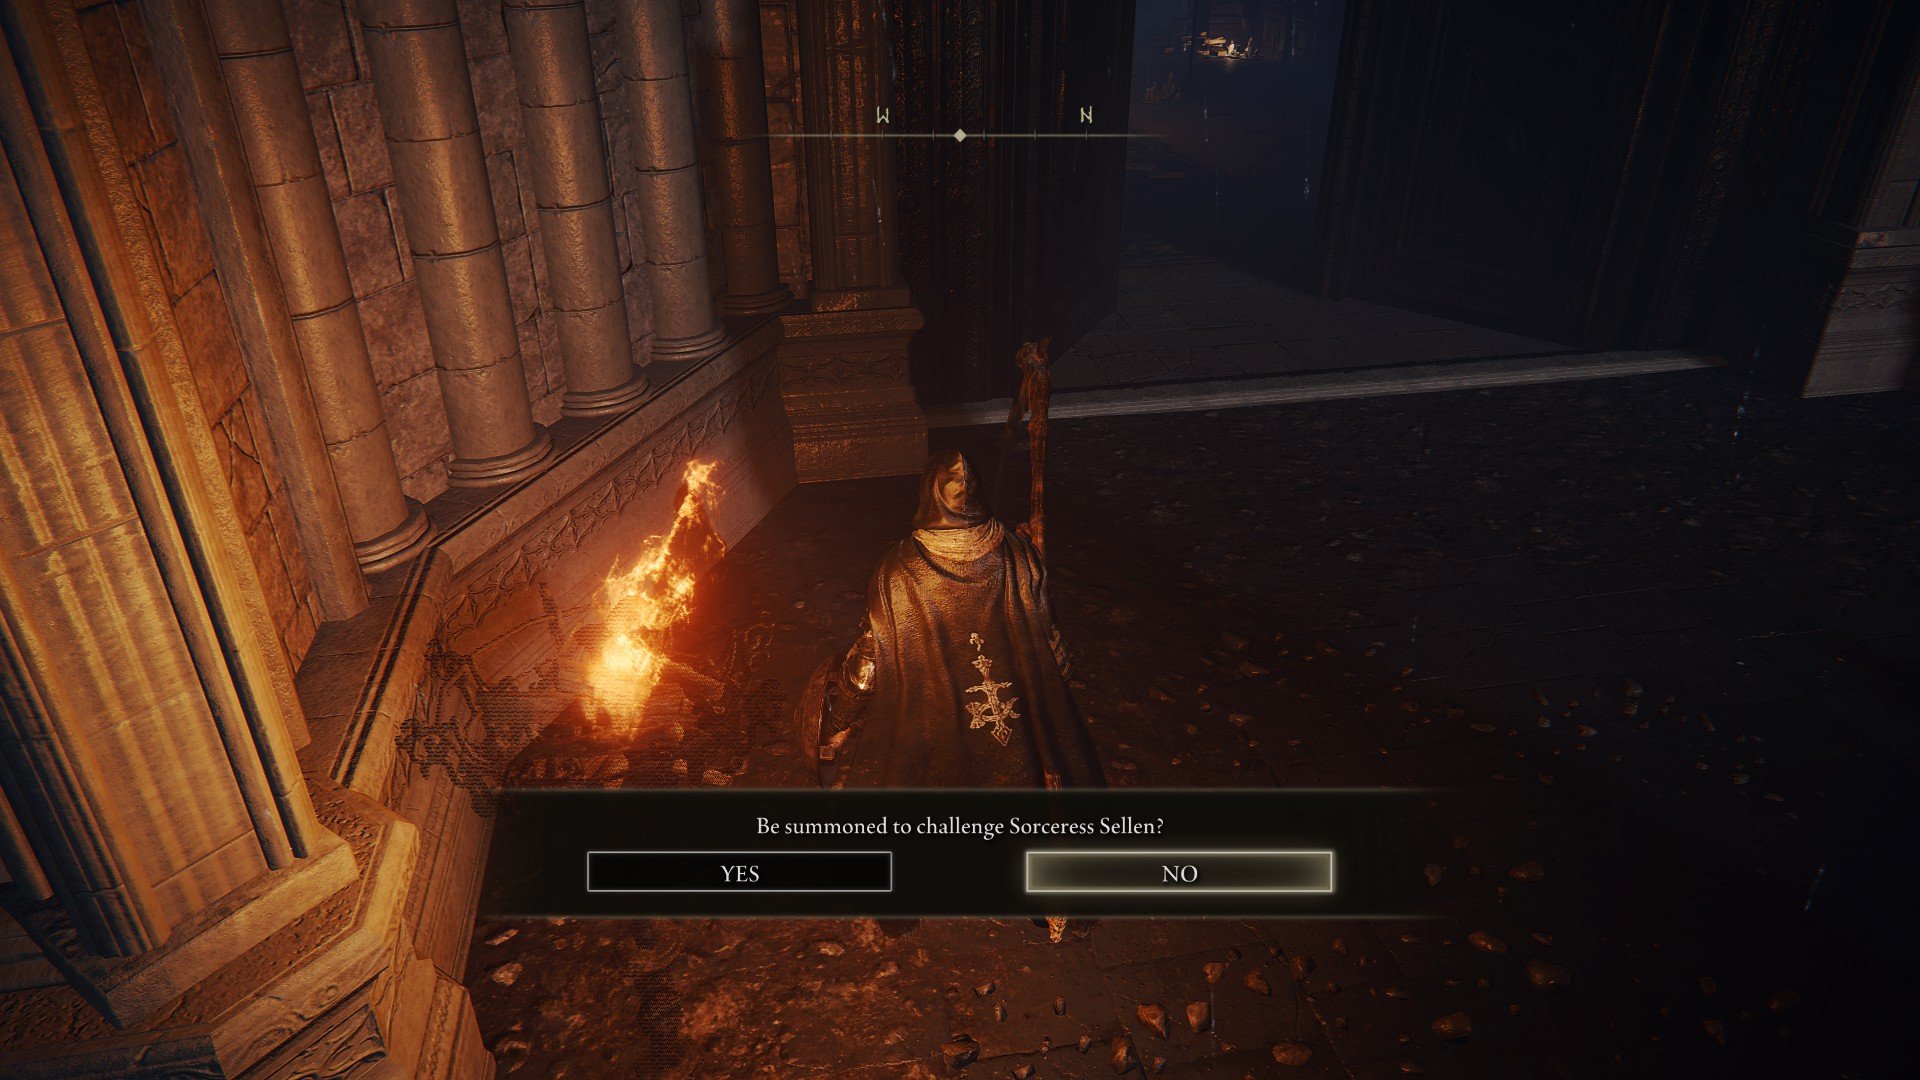
Complete the Raya Lucaria Academy and defeat Rennala of the Full Moon, then go to the entrance of the Grand Library to see two summon signs: one red, one yellow. The red one summon sign will have you assist Jerren in defeating Sellen. The yellow summon sign will have you assist Sellen in fighting Jerren.
Challenging Sellen removes her as a trainer and locks you out of any spells you haven’t already bought from her. You get her mask, staff, and an Ancient Dragon Smithing Stone from Jerren, but nothing else.
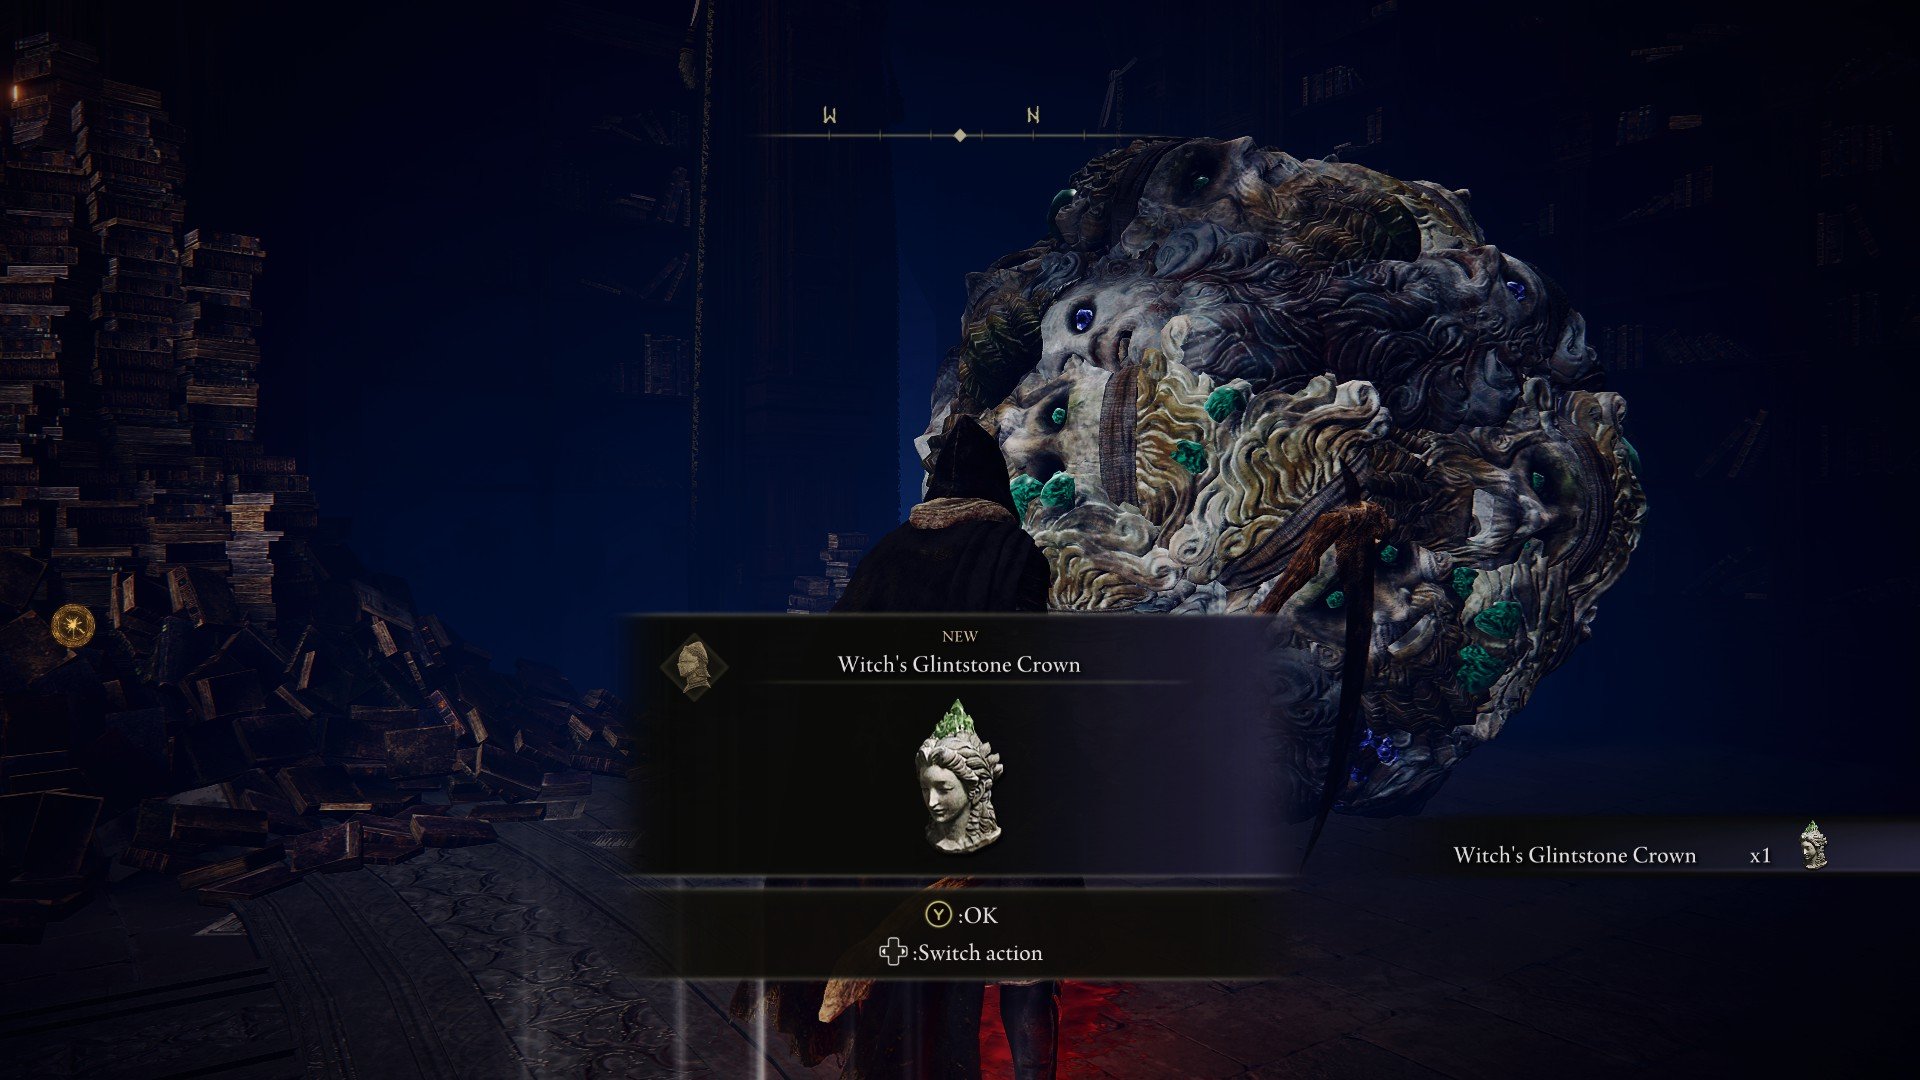
Assisting Sellen against Jerren gives you his armor set (the Eccentric Set), the Glintstone Kris dagger from Sellen as thanks, the Witch’s Glinstone Crown, and access to the Shard Spiral Spell in Sellen’s inventory.
Step 13 (If You Assisted Sellen): Reload the Area to Make Rennala Reappear and Transform Sellen
If you were worried about losing the ability to respec after assisting Sellen, don’t be. Simply rest at the Grand Library Site of Grace, and Rennala will be back in business. Sellen will be as well, but not in the shape you or she expected.
Tucked behind and to the right of Rennala will be another sphere or sorcerer heads: this is all Sellen’s quest has wrought for her. Reduced to a semi-mindless sphere or sorcerer souls, she can still teach you spells, and her helm, the Witch’s Glintstone Crown, will be sitting just in front of her.
Those are the endings to Sellen’s questline in Elden Ring. Neither ends well for our good buddy Sellen, but it’s Elden Ring. What NPC quest has a happy ending? None of them, from Diallos to Thops, Yura to Gurranq. Everything is awful all of the time. Head to our Elden Ring guides hub for more about the horrid fates of everyone you meet.






Published: Apr 25, 2022 05:43 pm