You’ll need full security clearance to find everything in the Ishimura in the Dead Space remake, as its officers locked several crucial doors as the situation aboard the ship went the rest of the way to hell.
In order to fully explore and get every upgrade, you’ll need to bump up your security clearance to Level 3 and then obtain the Master Override. Here’s how to gain full access to the Ishimura.
How to Get Full Security Clearance in Dead Space
Over a typical run through the Dead Space remake, you’ll gradually raise Isaac’s security clearance level to a maximum of three.
- You receive Security Level 1 for retrieving the Captain’s RIG from the Morgue in Chapter 2.
- Security Level 2 is automatically assigned to Isaac by Hammond when you rendezvous with him on the Bridge Deck in Chapter 4.
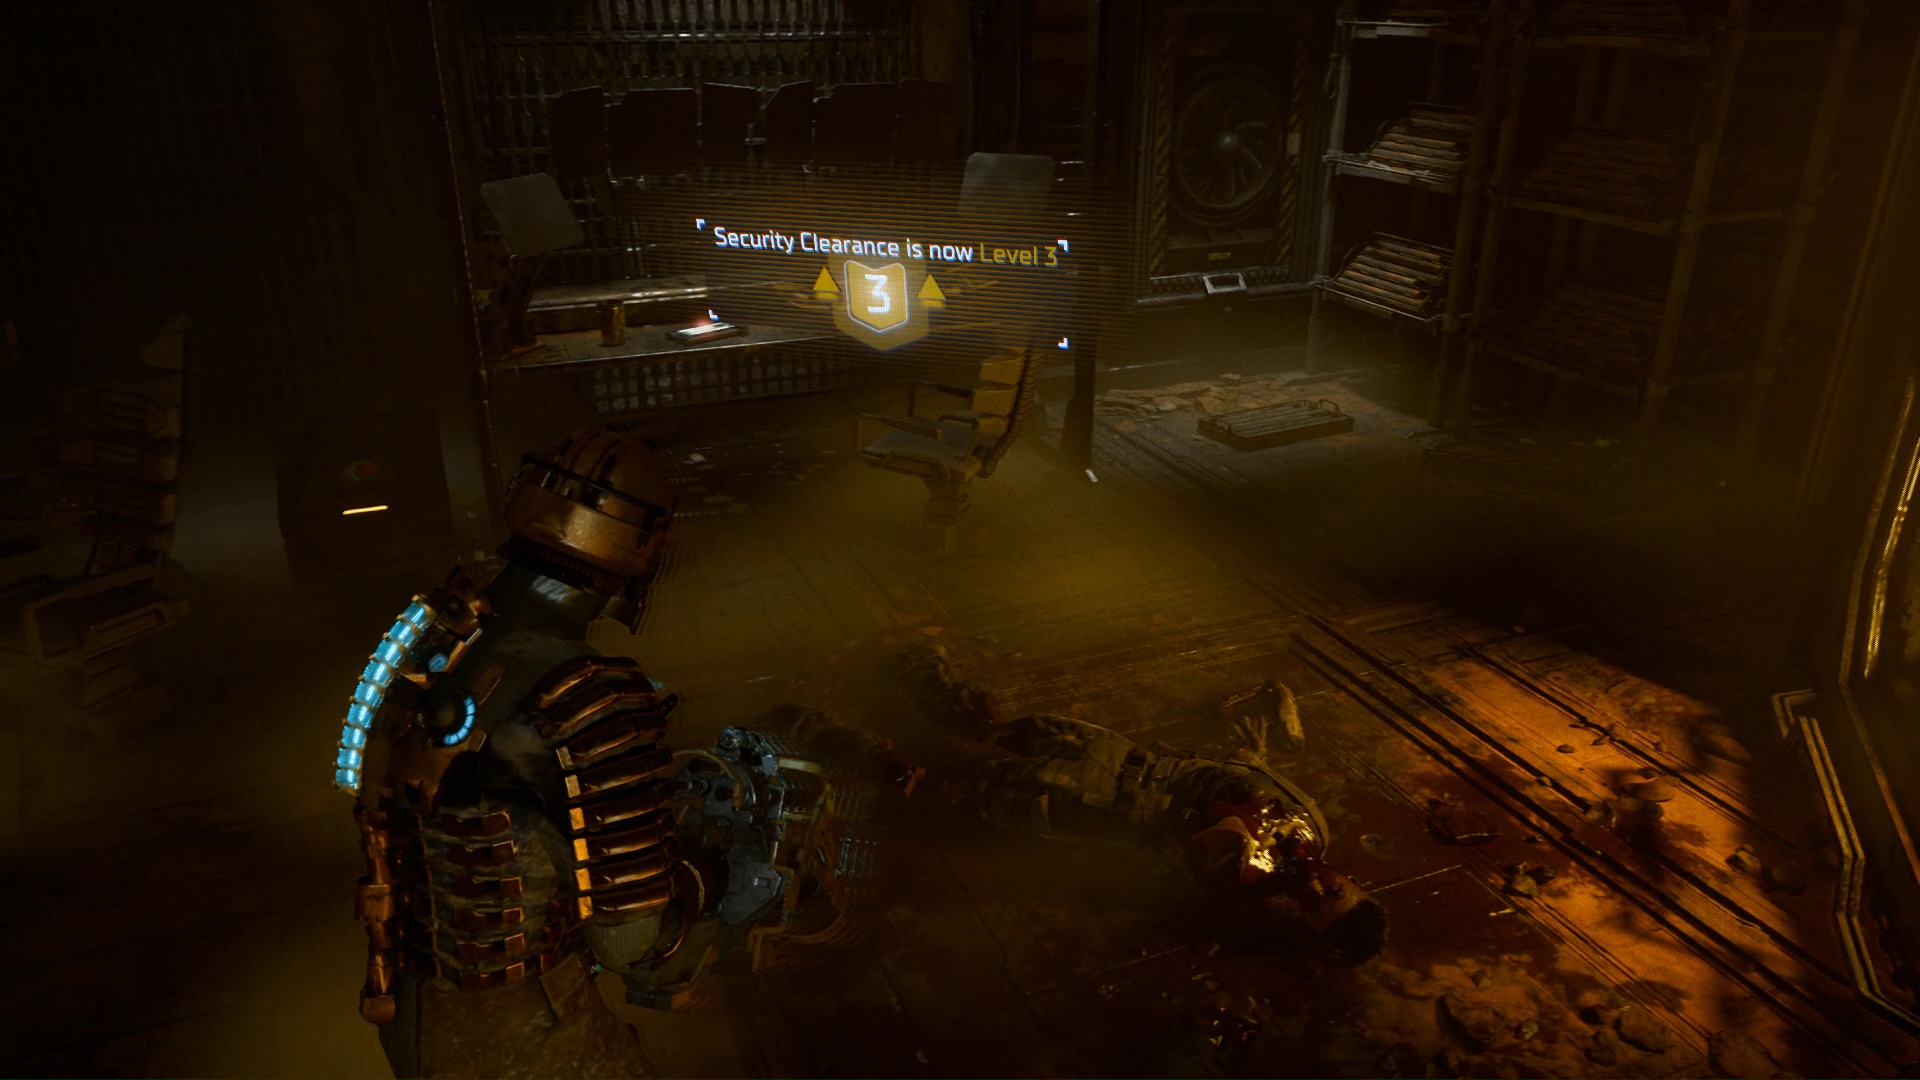
- You’ll get Level 3 in Chapter 7 when you recover the mining supervisor’s RIG from the Processing Control Room.
These are all major story objectives, and as such, can’t be missed.
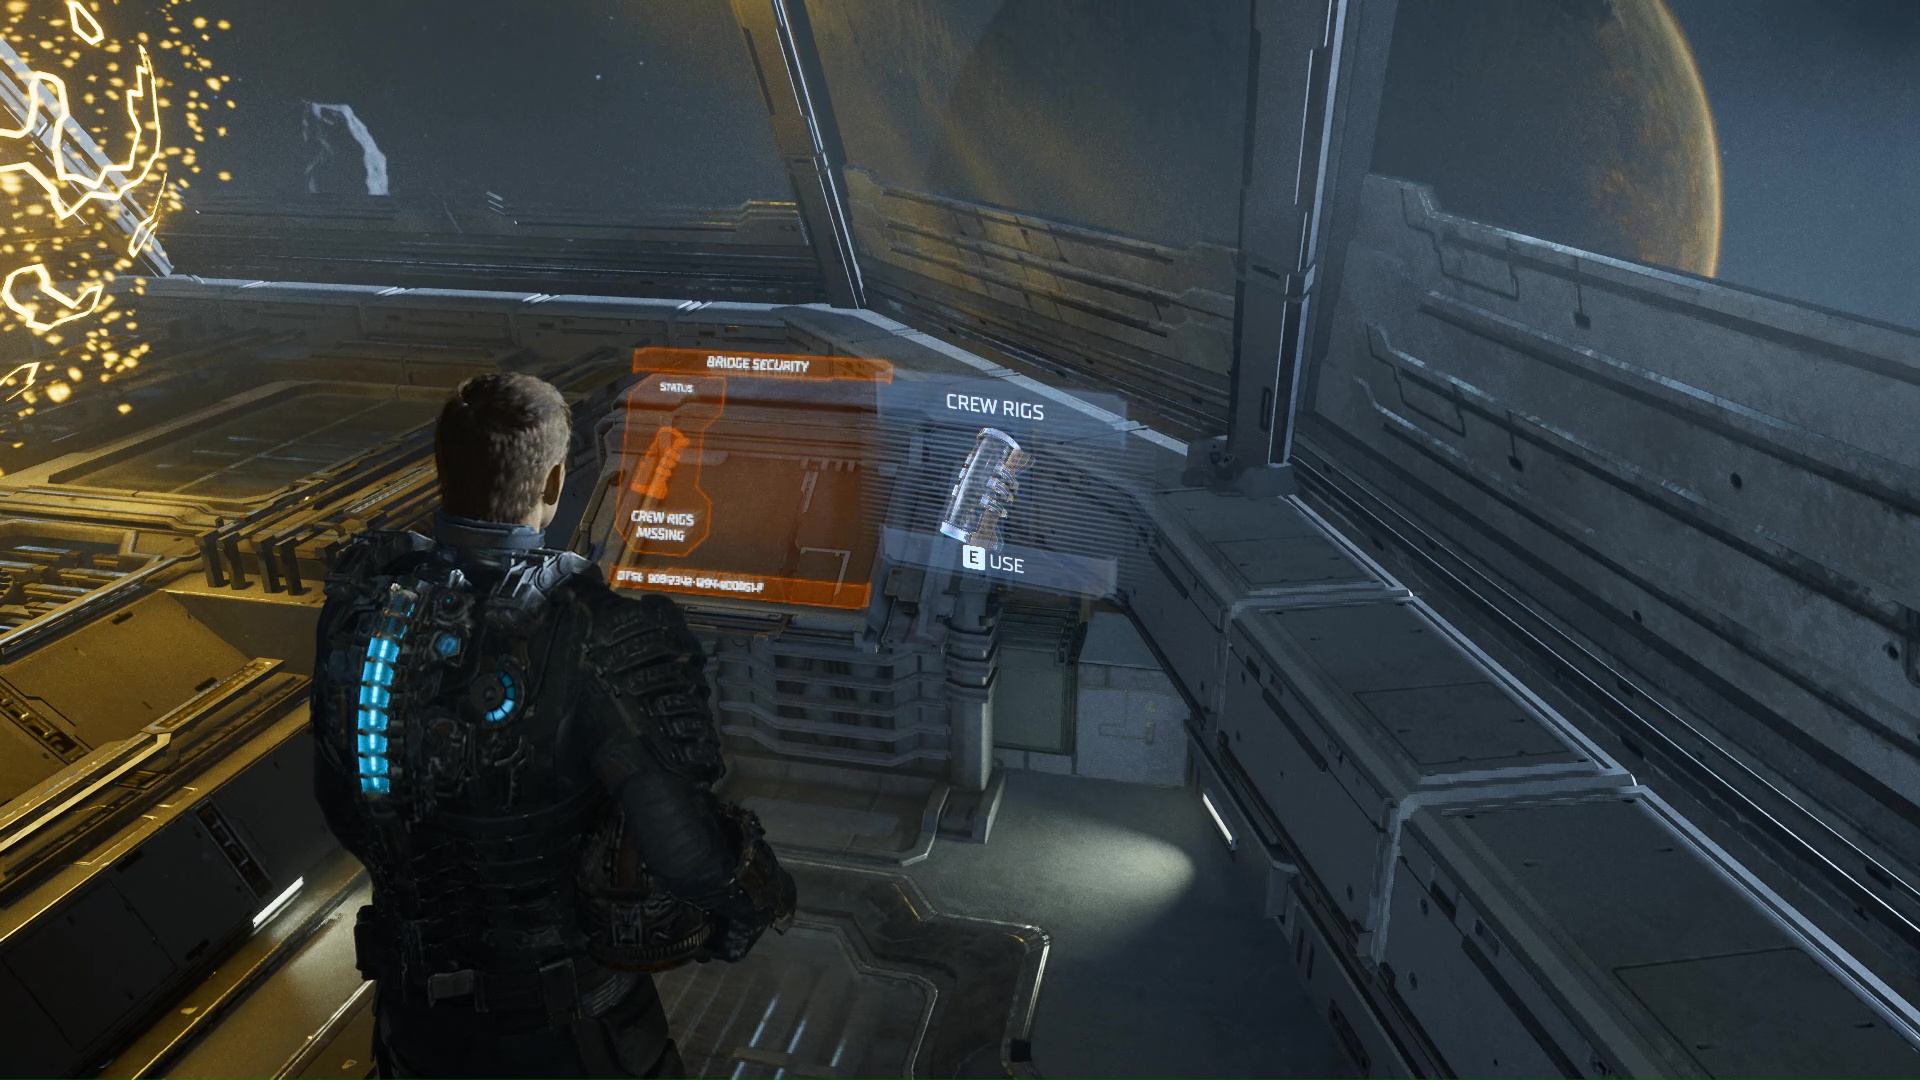
Near where you speak with Hammond in Chapter 4, there’s a small console by the captain’s chair that you can interact with to start a new side mission titled “You Are Not Authorized”. This mission requires you to find 7 Ishimura officers’ RIGs which are scattered across the ship.
Since several of these RIGs are found in story-locked locations, the earliest you can realistically complete “You Are Not Authorized” is right as you gain access to the Crew Deck in Chapter 10.
Each RIG’s description in the side mission menu comes with a hint about where they’re found, although some are quite vague. You can also track the individual RIGs as you can with any other mission objective, which lets you use the guide button on Isaac’s suit to show you where to go.
Where to Find All Officer RIG Locations
Here’s where to find all 7 officers’ RIGs, in roughly the order they’re presented in the mission briefing:
-
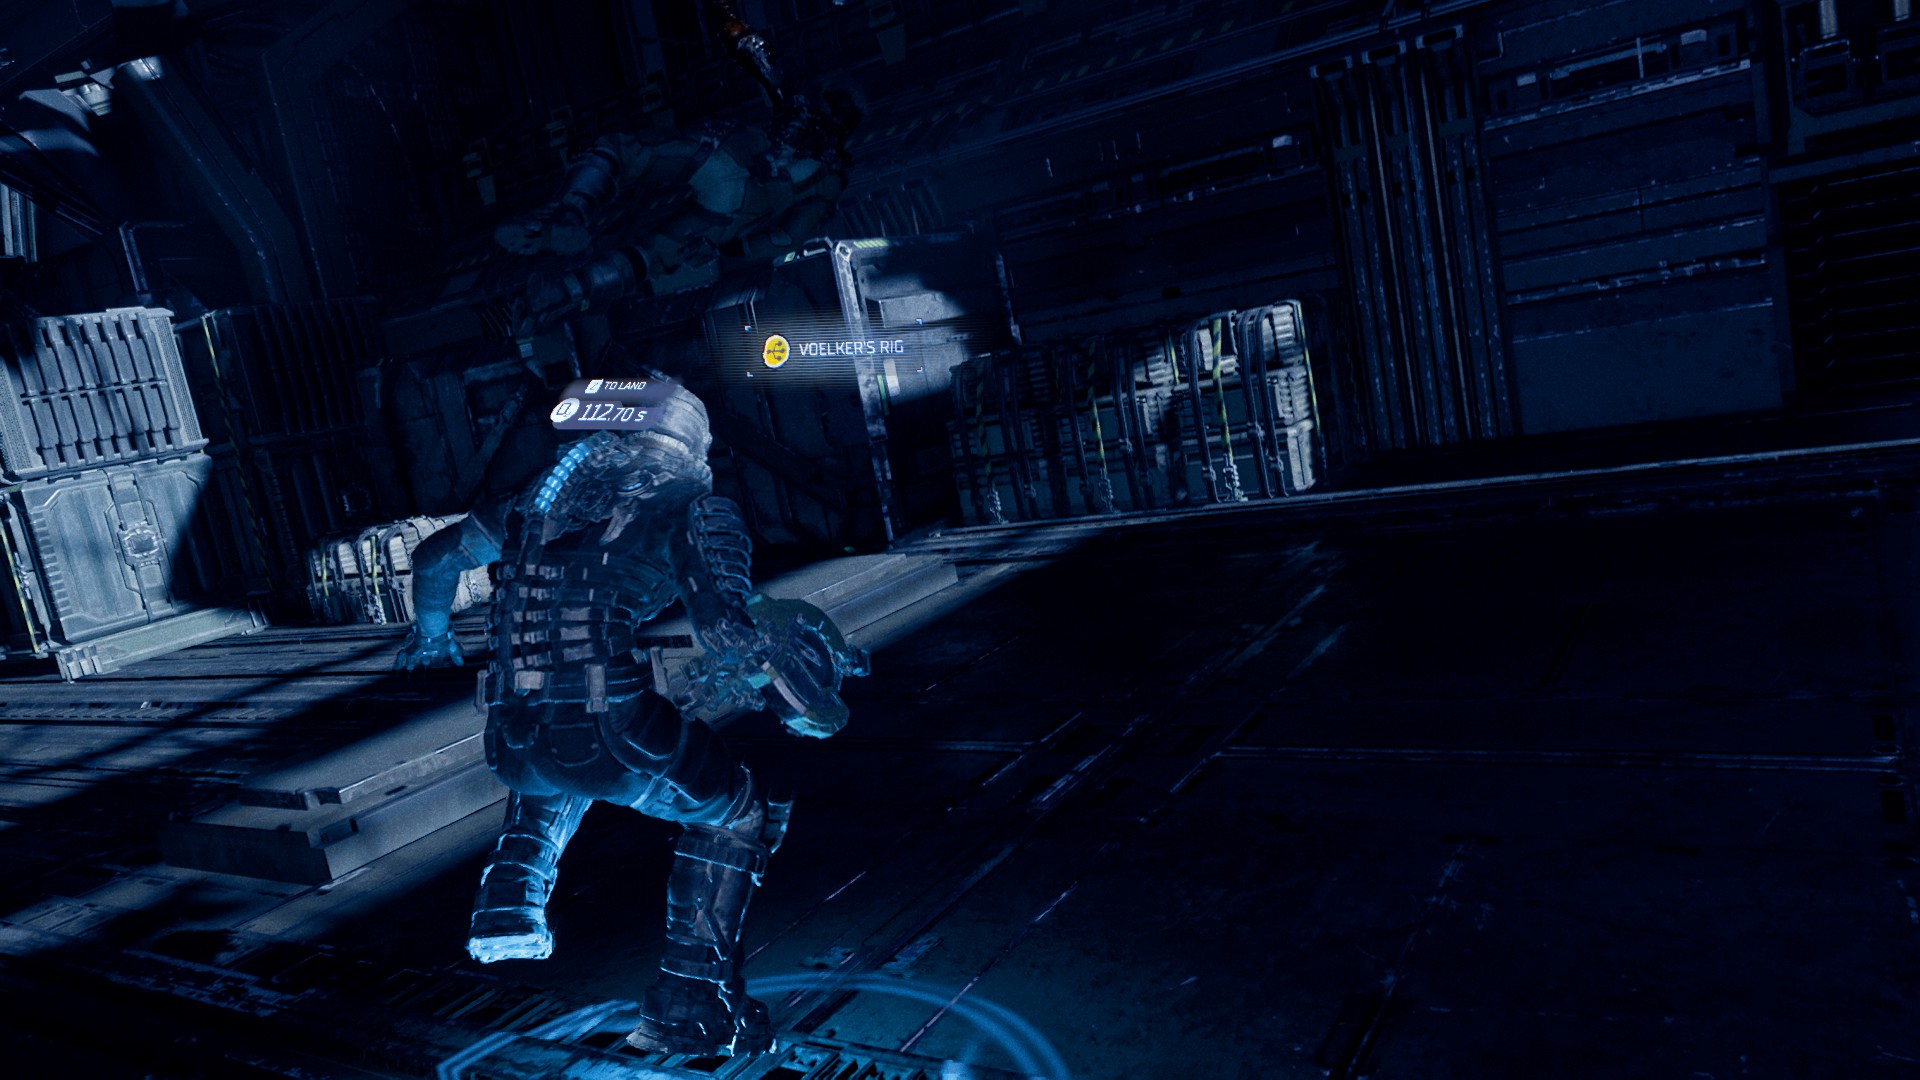
Hangar Supervisor Voelker: You can find this as early as Chapter 2, although you might not know what it’s for at the time.
-
Voelker’s RIG is at the far end of the hangar (below), on the other side of the room from the inactive cargo lift that leads to the Engineering Deck. It’s very close to an O2 station, so it’s easy to trip over the RIG while you’re trying to refill Isaac’s air supply.
- Mining Supervisor Dallas: As noted above, you can’t miss this, as it’s required to get Security Level 3.
- Chief Engineer Rousseau: This is the only RIG of the lot that requires some backtracking.
- Once you’ve got Security Level 3, return to the Engine Room on the Engineering Deck and open the locked door on the top level. You’ll find this RIG inside, next to an audio log that tells you just what happened to your buddy from The Bench.
- Comms Officer Bailey: Check Bailey’s office on the Communications Deck while you’re on your way to fix the comms array in Chapter 8.
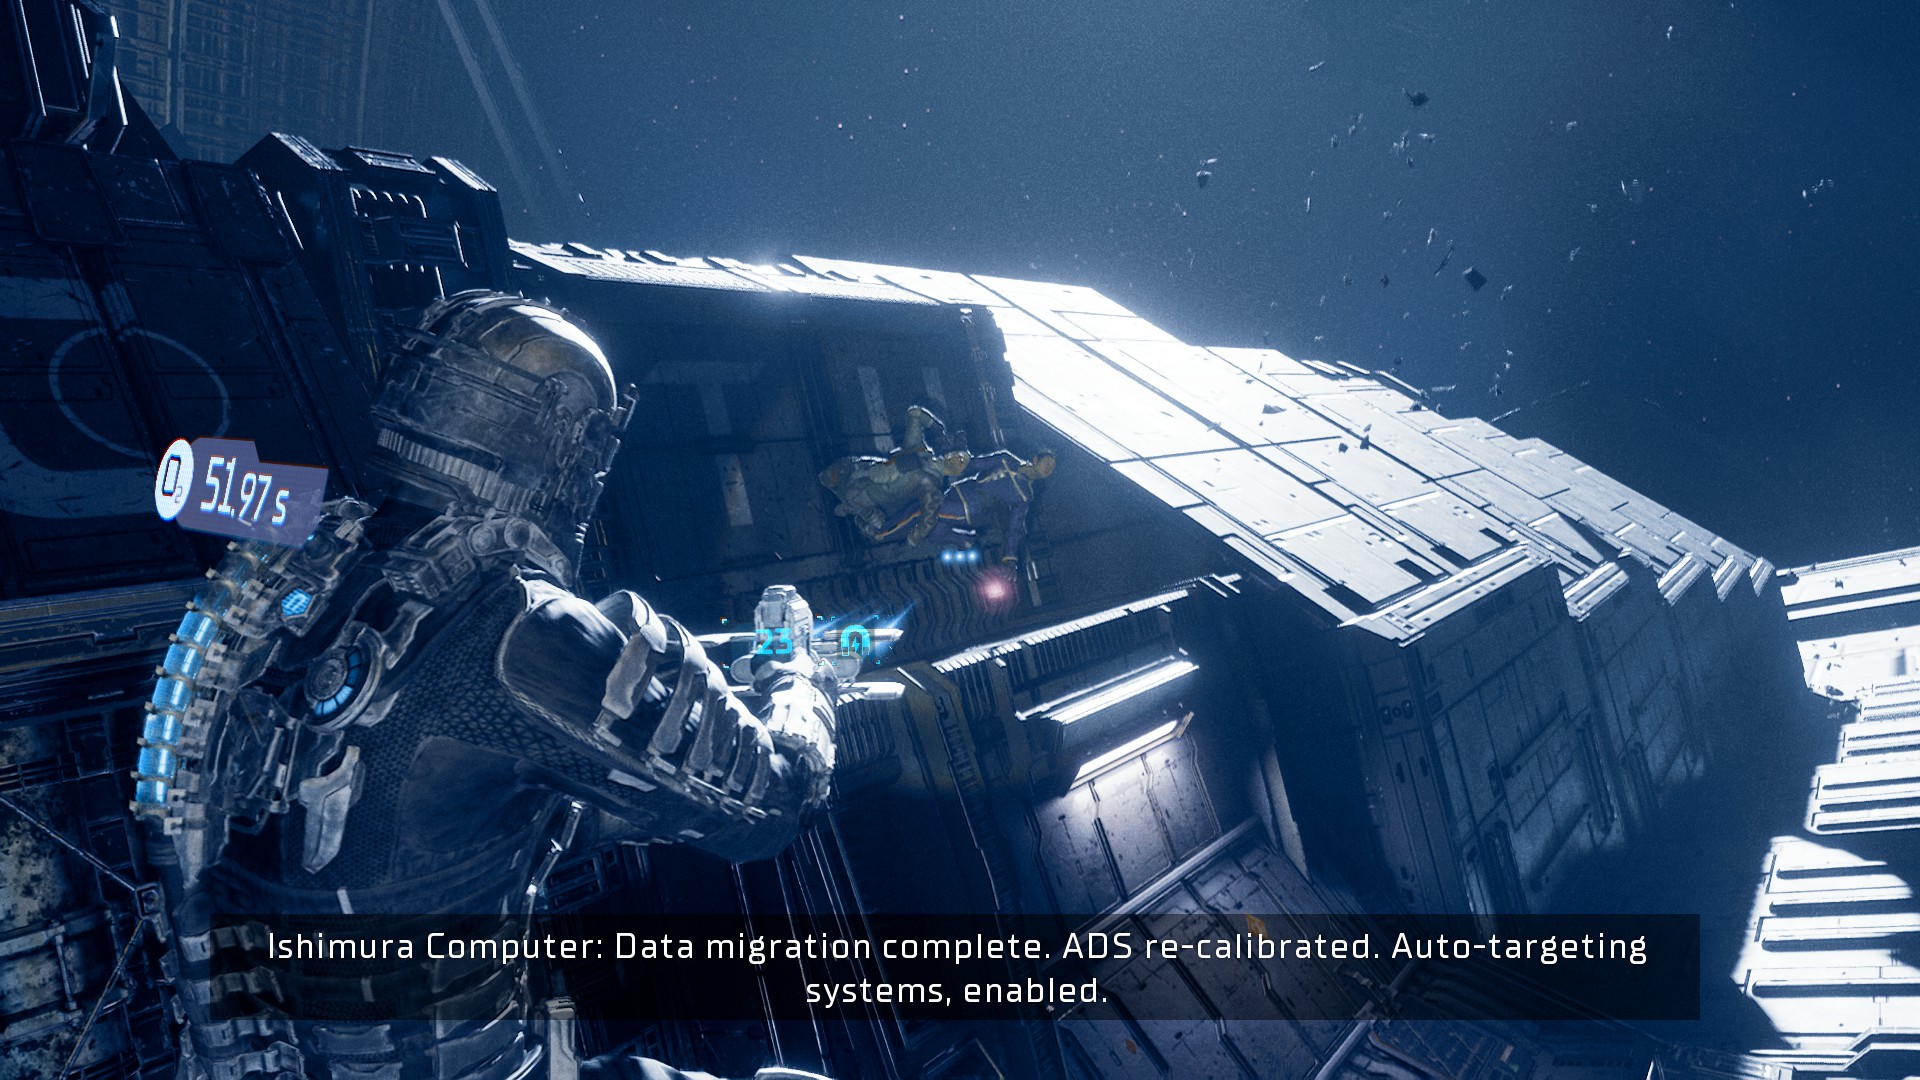
- First Officer White: After you recalibrate the ADS cannons in Chapter 4, proceed to the far end of the trench (below) to find White’s corpse and RIG.
 Screenshot by GameSkinny
-
Tram Supervisor Benson: When you descend to the tram’s floor at the start of Chapter 10, you can find Benson’s corpse and RIG at the far end of the tunnel.
-
You can see the RIG on the floor from the Bridge Deck’s tram station as early as Chapter 4, but can’t grab it with kinesis.
-
Lt. Commander Holt: In Hydroponics, while you’re on your hunt for the Wheezers, Holt’s RIG can be found on the second-floor walkway of the East Grow Chamber, near the ledge where Wheezer #6 is hanging out.
-
You have to turn off gravity to get up here, which means it’s possible for Holt’s RIG to end up floating around the room, particularly if you’re throwing around a lot of explosives. As a result, it may get lost in the random aerial clutter, but you can use your mission tracker to point the way towards it.
How to Get the Master Override
Once you have all 7 RIGs, you can return to the console in the captain’s nest on the Bridge Deck to create the Master Security Override. This unlocks the Full Clearance trophy/achievement, and lets you open the last remaining secured boxes and doors throughout the Ishimura.
This, in turn, is necessary to get the final upgrades for most of the weapons in your arsenal, which are generally found in the big yellow locked chests that are randomly scattered across the ship. Most of these chests can only be opened once, and will still be open and empty in New Game+.
That’s where to find all the RIGs you need for the highest security clearance and the Master Override. You can read more about the remake, along with plenty of other topics, in our Dead Space remake guides hub.
Featured image by GameSkinny.


Published: Feb 1, 2023 02:41 pm