After a pivotal battle in the Druid Grove, the refugees have made a harrowing journey to the Shadow-Cursed Lands. Unfortunately, they were ensnared by the forces of the Absolute. In that case, you may be wondering how to rescue the Tieflings in Baldur’s Gate 3. Our guide tells you how to find and free them as part of the Rescue the Tieflings quest.
How to Rescue the Tieflings in Moonrise Towers in Baldur’s Gate 3
The Rescue the Tieflings quest can be completed by freeing the Tieflings in Moonrise Towers in Baldur’s Gate 3, which is in the southwestern portion of the map (X:-151; Y:-123). However, before heading there, I suggest visiting Last Light Inn, which is in the northwest. That’s because the location has several NPCs that you need to talk to.
Make sure you complete this quest before you venture deeper into the Shadowfell realm beneath the Gauntlet of Shar. That particular location is a point of no return for Act 2, which causes many areas to be inaccessible, and some quests, such as this one, to abruptly end. If you go there without saving the prisoners, then they’ll all be dead when you visit the Moonrise Towers prison.
Where to Find Quest Giver NPCs
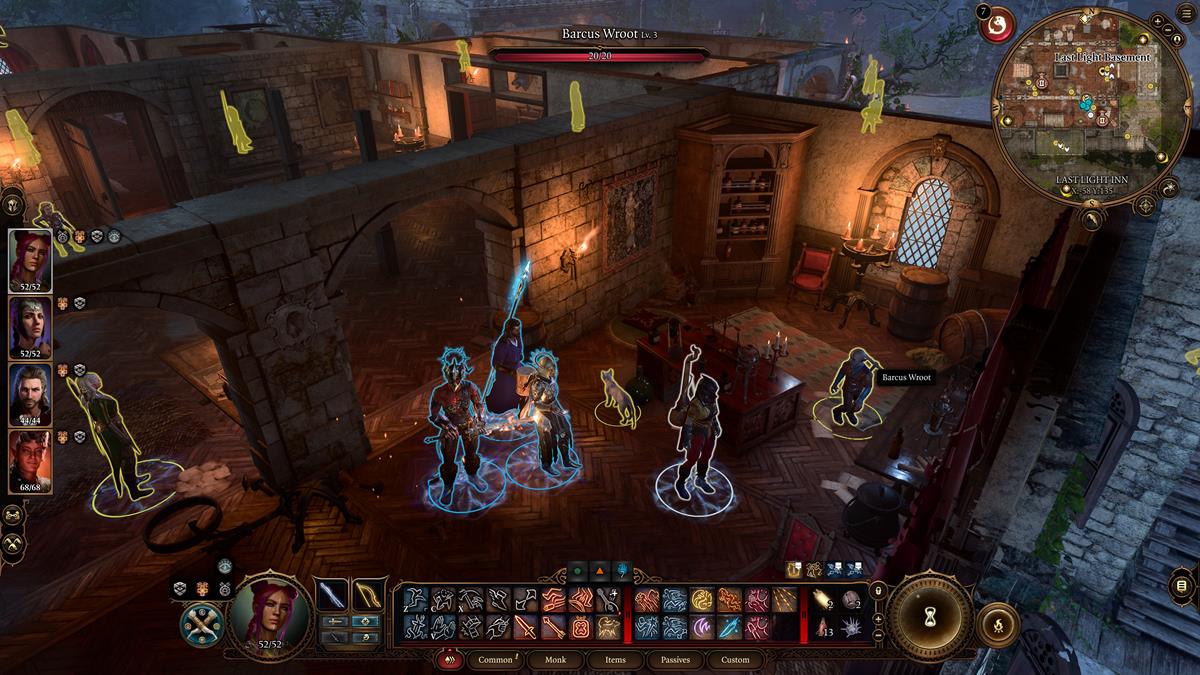
Upon reaching Last Light Inn (X:-65; Y:150), you can talk to various NPCs, such as Barcus Wroot, Alfira, and Rolan. They’ll tell you about their loved ones and friends that were kidnapped by the Cult of the Absolute.
Likewise, while you’re in Last Light Inn, make sure you save Isobel from the invaders. Her survival is extremely important, as she’s the only one preventing the darkness curse from swallowing the entirety of the sanctuary. Failure to keep her alive would mean the deaths of numerous NPCs and potential companions.
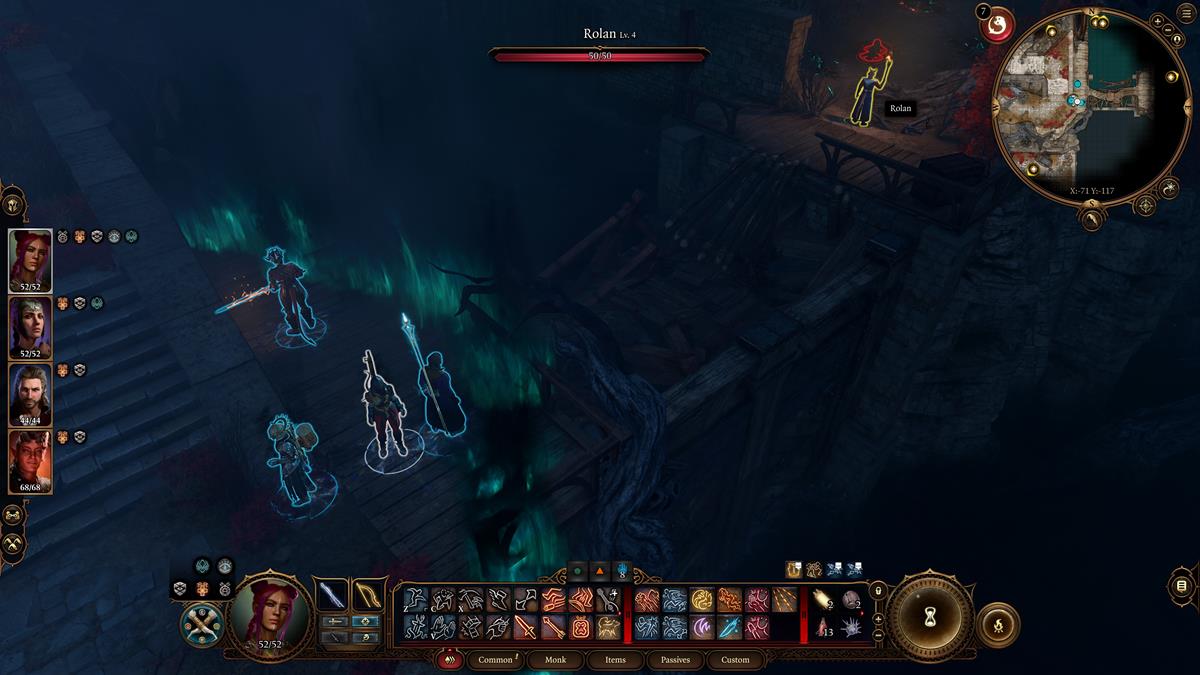
From there, continue south and go across the river to reach Reithwin Town. Follow the path further to the south and check the ruined bridge near the Tollhouse (X:-71; Y:-117). There, you’ll encounter Rolan once more. Eliminate the two shadow enemies so he can retreat to safety.
How to Reach Moonrise Tower Prison
Continue south along the main path, which lets you tag the Moonrise Towers waypoint (X:-151; Y:-123). Inside the main hall, you’ll meet Ketheric Thorm and Commander Z’rell. Try to avoid any confrontations here, as you certainly won’t win. Instead, play it cool so you can continue to explore the area.
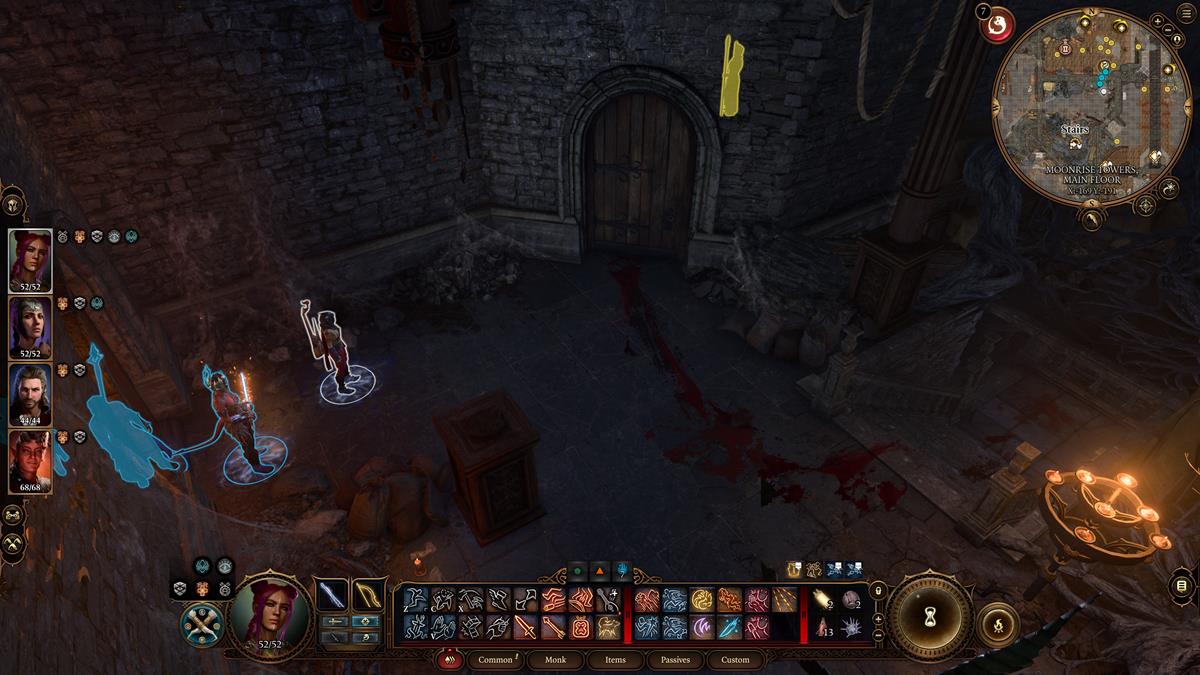
For this part of the Baldur’s Gate 3 Rescue the Tieflings quest, you need to head to the prison. Go to the western side of the main hall and look for blood trails on the ground. They lead to a staircase that takes you further down to the prison.
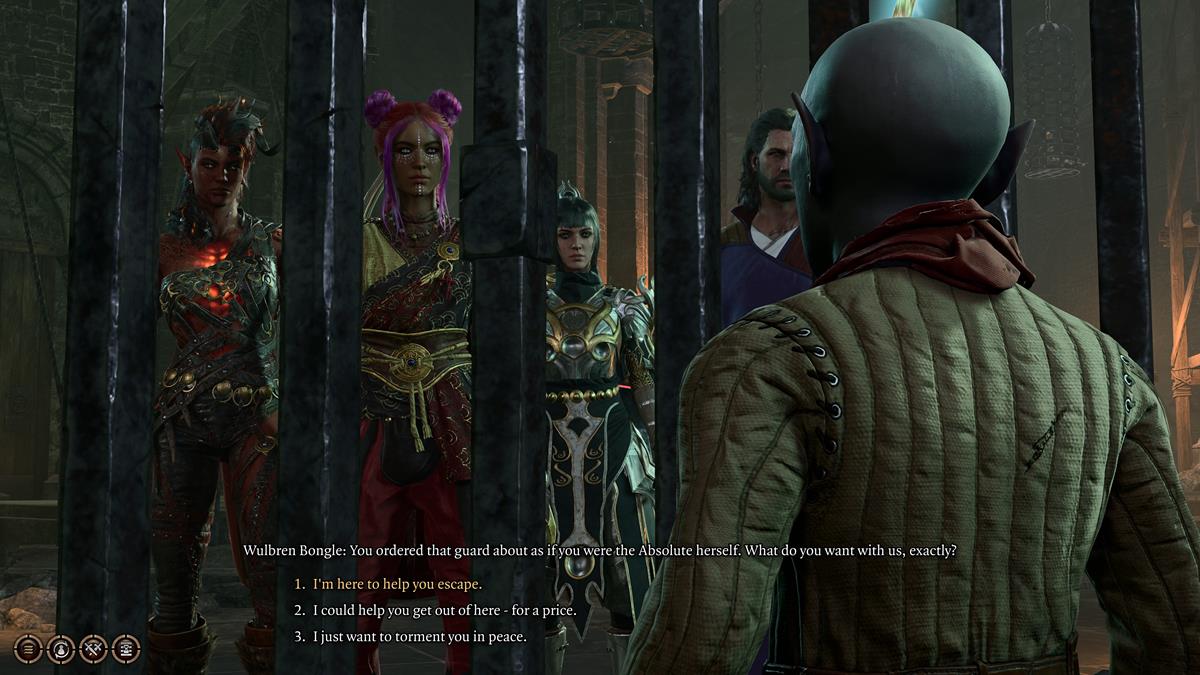
There, you’ll see the Tieflings inside their cells. Wulbren, a friend of Barcus Wroot, is in another cell. They’re guarded by a couple of cultists, as well as Scrying Eyes that patrol the area. The Warden, a tougher disciple, is also nearby.
How to Free Wulbren and the Tieflings
Talk to Wulbren, who presents an idea: give him a weapon that can break rocks, so he and the other prisoners can make their escape. There are several methods for you to tackle the Baldur’s Gate 3 Save the Tieflings objective, such as going with Wulbren’s plan, tricking the Warden that’s guarding them, or even finding the gnome’s hammer.
However, for the purposes of this guide, I suggest the simplest method:
- I feel that throwing a blunt weapon inside Wulbren’s cell is the most straightforward way to accomplish this task.
- If you have a mace, hammer, or similar object, right-click on it in your inventory and pick the throw command.
- Wait for the soldiers and Scrying Eyes to pass by (i.e. make sure their backs are turned), then toss the weapon to a spot next to where Wulbren is standing.
- Wulbren will automatically pick it up. While the enemies aren’t looking, he’ll destroy the walls in the gnomes’ cell before heading to where the Tieflings are imprisoned.

How to Defeat the Warden and the Cultists
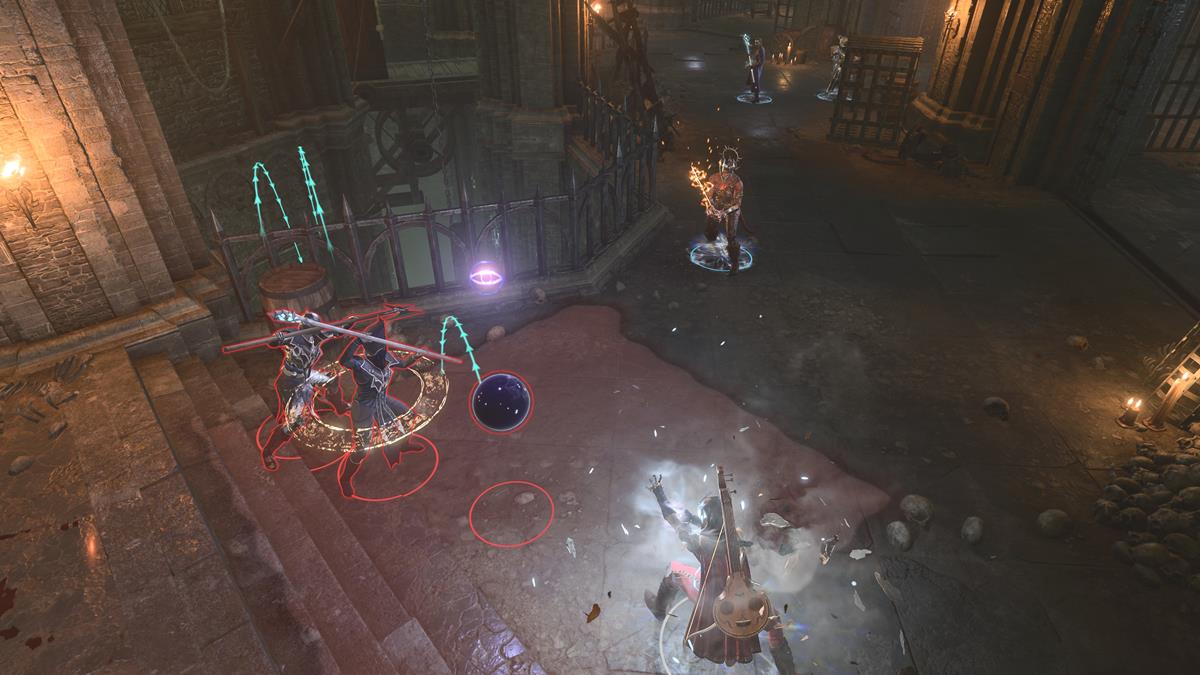
Here’s where things can get tricky if you plan to rescue the Tieflings and Wulbren in Baldur’s Gate 3. The moment the Tieflings are freed, the cell doors will also open. This causes the Warden and the other guards to turn hostile.
The cultists will run through the opening in Wulbren’s cell, and they’ll intercept the escapees as they make their way to the boat. This can potentially lead to several casualties. Here are some tips based on how I completed this part while keeping everyone alive:
- If you go through the Tieflings’ cell, you’ll be at the back line by the time the two groups start fighting. You might not reach your allies quickly enough.
- If you go through Wulbren’s cell, make sure to use stealth and that you don’t get spotted. This will allow some of your characters to attack the enemy group from behind.
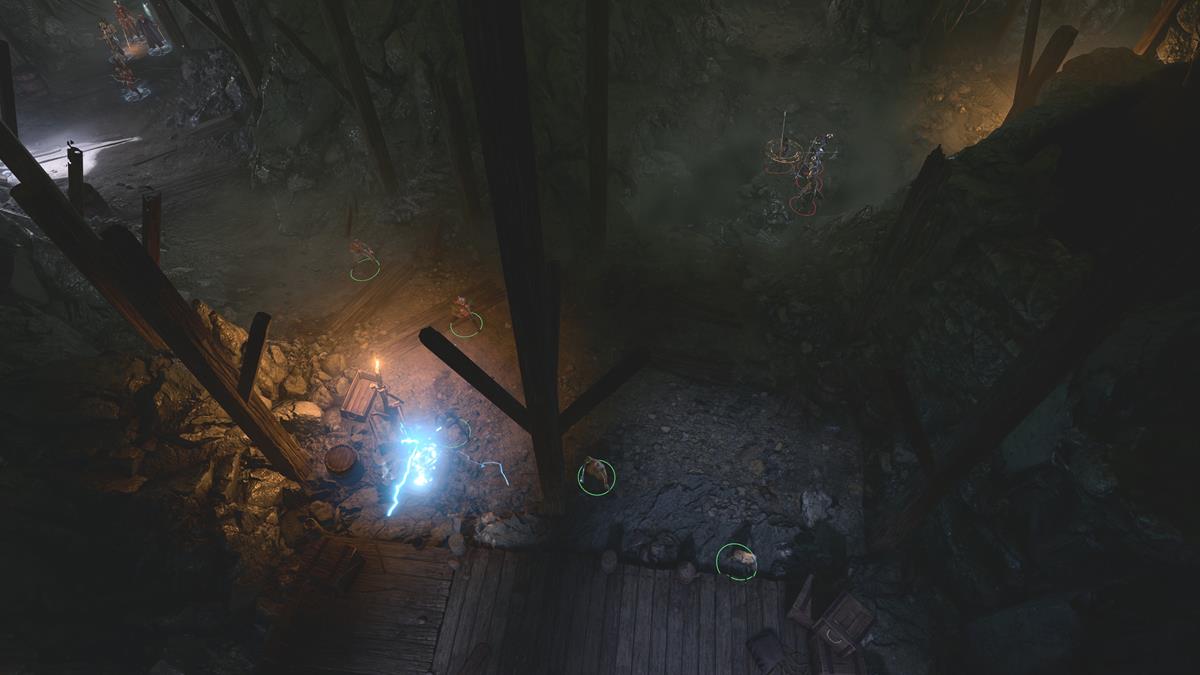
- Alternatively, I was able to engage the hostiles before they even went through the cells. This allowed me to Shove and Thunderwave some of them to their doom.
Alternate Method: Reaching the Escape Tunnels
There’s also another cool option that I tried, but it entails not throwing a weapon to Wulbren:
- Basically, I made use of the barrels and chests at the far end of the prison. I moved and stacked them until my party was able to jump to reach a high ledge, which led to the back of the cells.
- From there, I repositioned my characters so that they’re hidden, and they overlooked a narrow walkway behind Wulbren’s cell.
- Instead of tossing a weapon, I had to manually strike the weakened wall, which freed Wulbren and the gnomes.
- That caused the cells to open, and the guards went to investigate. Due to the positioning, it’s possible to funnel them into that narrow walkway.

While Thunderwave won’t push them all to their doom, I was still able to perform a surprise attack, which meant the enemies couldn’t act for a full turn. Likewise, it made them susceptible to AoE damage and spells since they were all clustered together. In any case, with the enemies defeated, I manually destroyed the other wall behind the prison of the Tieflings.


Returning to Last Light Inn
Once all the enemies have been eliminated, the prisoners will thank you for your help. They’ll attempt to strike the chains of the boat to make their escape. From here, you can go with them directly to Last Light Inn, where they’ll be inspected by a Harper to see if they’re infected by parasites.
Alternatively, you can tell them to head to the location, and you can just fast-travel there later. For your efforts, you’ll receive 400+ gold from Rolan, the Brilliant Retort bomb from Barcus Wroot, and the Potent Robe from Alfira.
That’s everything you need to know about how to rescue the Tieflings in Baldur’s Gate 3. With everyone safe and sound, you’ll be able to proceed further in your adventures. Also, don’t worry about the remaining cultists in Moonrise Towers. None of them are aware of what transpired in the prison, so you can still explore the area without causing hostilities (at least until a bit later in the chapter). For more tips and tactics, visit our BG3 guides hub.


Published: Aug 21, 2023 10:24 am