Kena Bridge of Spirits Meditation Spots are hard to find. Their locations are always off of the beaten path, and some require a bit of backtracking once new areas have opened up. It’s worth finding all 12, though, because meditating at them increases your overall health. You’ll also get the Zen Master (silver) trophy for resting at them all.
You’ll want to find all of the Meditation Spots in Kena Bridge of Spirits to stand tall against the game’s bosses. That’s doubly true if you’re playing on Master Spirit Guide difficulty.
Unlike other collectibles such as Spirit Mail or the adorable Rot, you can’t keep track of how many of these locations are in each area or how many you’ve found. If the trophy doesn’t pop after resting at the final spot, try going back to the one at the Mountain Shrine.
Taro’s Tree (1)
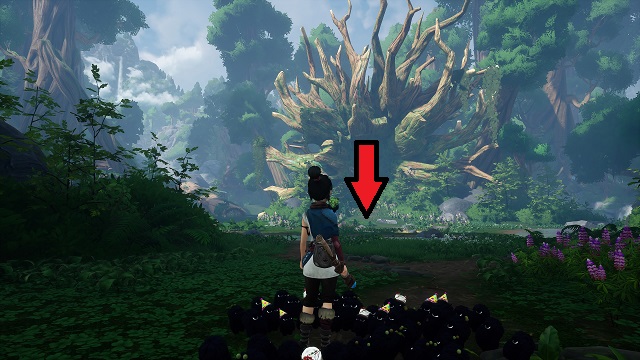
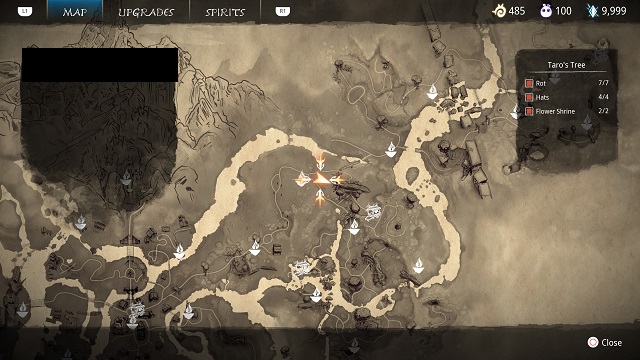
This Meditation Spot will be directly in front of the large tree in the center area, just east of the Warp Stone, after completing Free Taro.
Rusu Mountain (1)

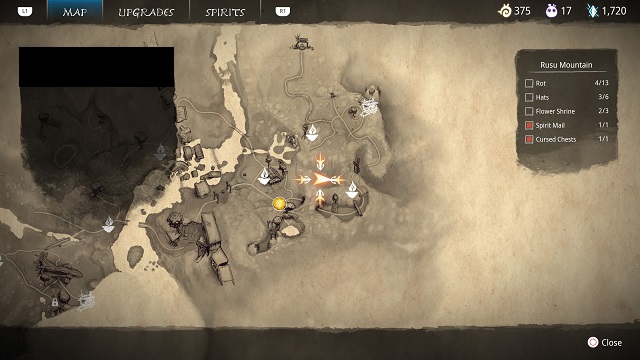
Complete Rusu’s archery training, and destroy the corruption below the area (after you slide down the mountain the first time). Lower the bridge, and activate Rusu’s backyard warp point. Don’t slide down the mountain again just yet.
Facing Rusu, turn around. Jump over the small outcropping, and use your bow as a grappling hook on the bright blue flower/tether point.
Forgotten Forest (2)
Meditation Spot #1
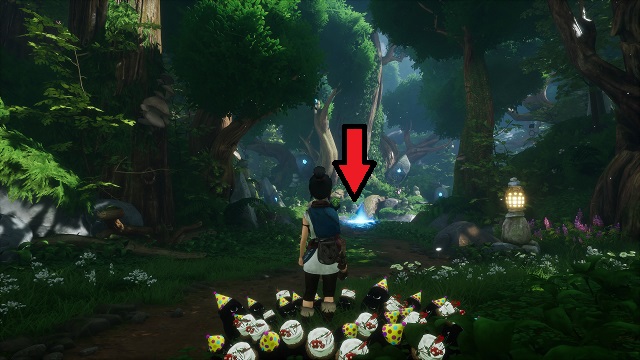

From the Water Shrine warp stone, go up the steps to the right (across from the actual shrine), and follow the path up the cliff and left. Turn right at the wooden root bridge, and follow the water into the cave.
Jump on the rock on the right side and shoot the blue gem to raise two pillars in the water. Jump over to find the Meditation Spot.
Meditation Spot #2
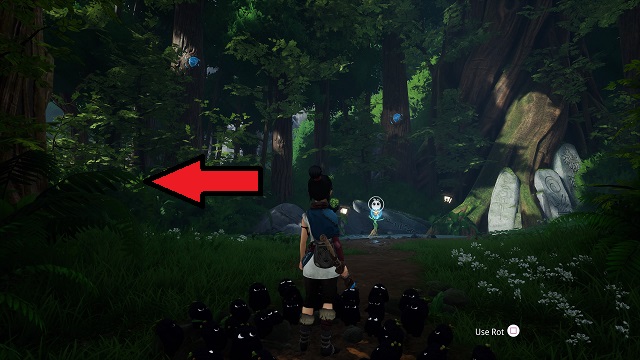
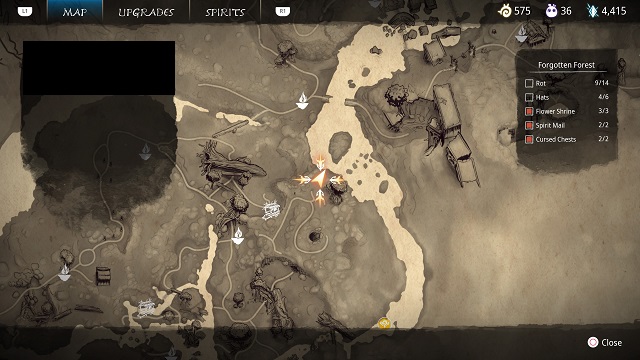
Complete all of the Shrines, and open the gate for Toro’s Regret, heading toward the Lantern Cave. Go through the now-open gate, and climb up the cliff in the back left of the area.
Follow the path until you get to a Forest Tear. Use it to clear the corruption on the left side. Go through the new opening in the bushes to find the spot.
Fields (3)
Meditation Spot #1
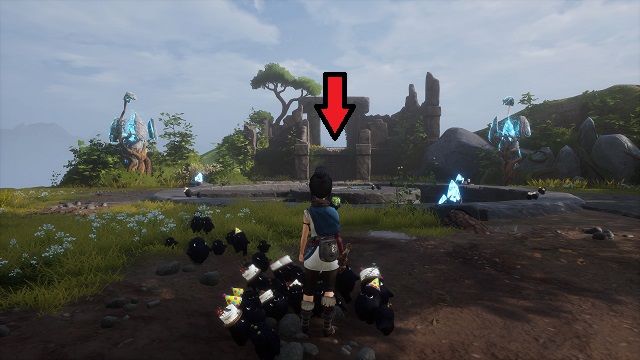
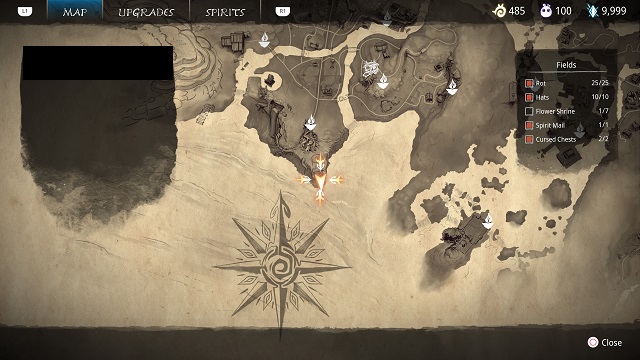
When you open the stone spiral staircase behind the Watchtower, don’t go down. Instead, go to the very back of the area to find this Meditation Spot.
Meditation Spot #2
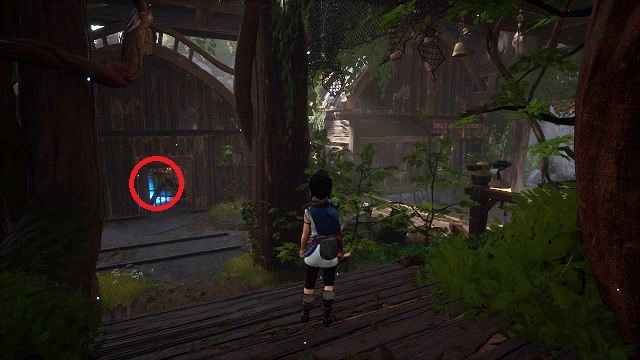

Defeat the boss at the forge. Go through the forge from the boss arena to the other side. Go right toward the elevator and turn right again.
Go to the building with vines on in front of it, and turn left inside to see some grapple points. At the top, jump over to the opposite building with the hole in the roof.
Meditation Spot #3


Complete Free Adira, and this one will be in front of you.
Village Heart (1)

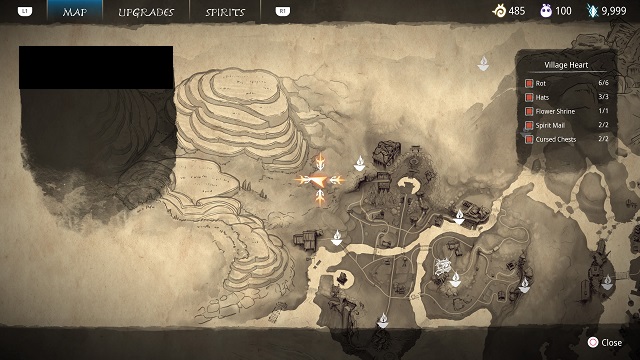
From the Village Heart Entrance Warp Stone, go straight toward the large stone door ahead. Turn left when the area opens up, and stay left. Turn left at the end of the path, and go over to the gap between the two ledges.
Look down and left to clear the corruption and reveal rocks to create a path over to the other side. This Meditation Spot is to the right, at the edge of the cliff.
Village (3)
Meditation Spot #1
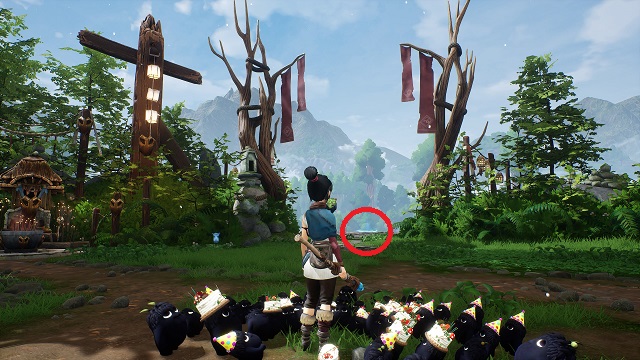
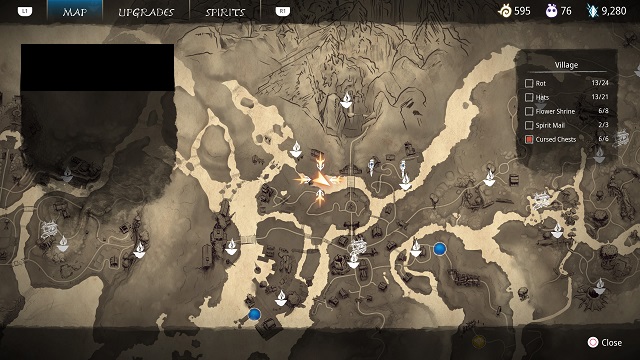
Complete Toshi’s Fear. It’s to the right of the boss arena.
Meditation Spot #2
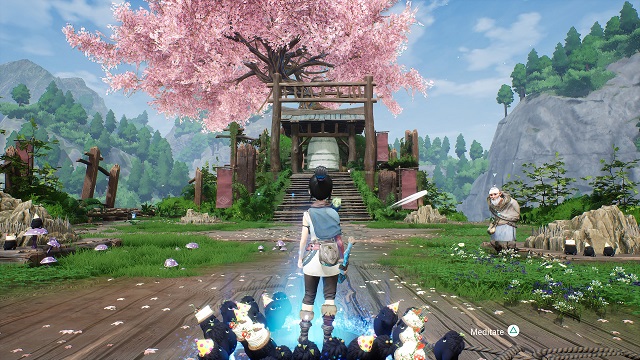
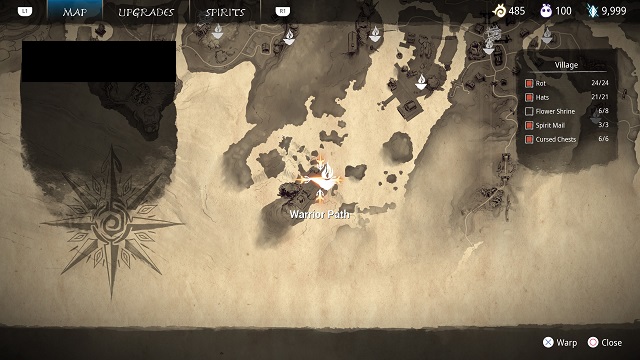
Complete Toshi’s Love. It’s right in front of you after the boss fight.
Meditation Spot #3
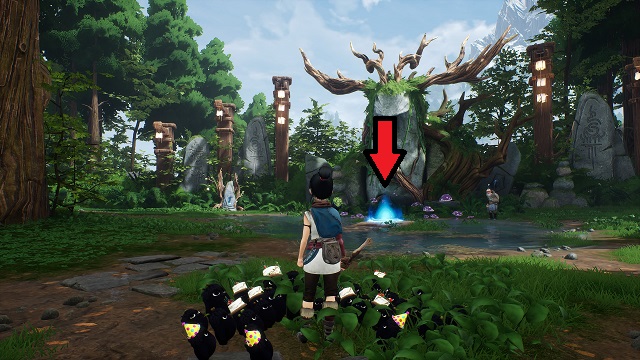
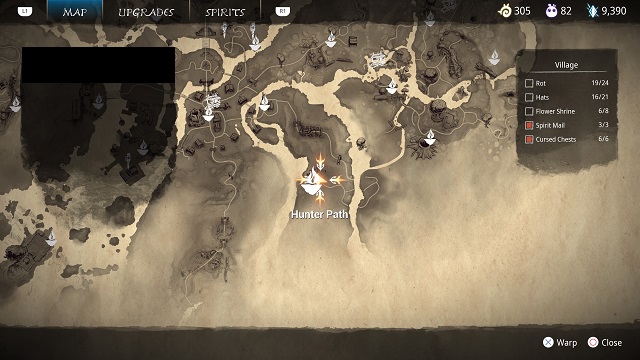
Complete Toshi’s Regret. It’s right in front of you after the boss fight.
Mountain Shrine (1)
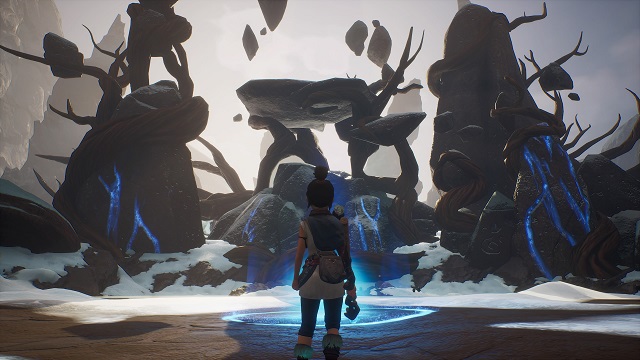
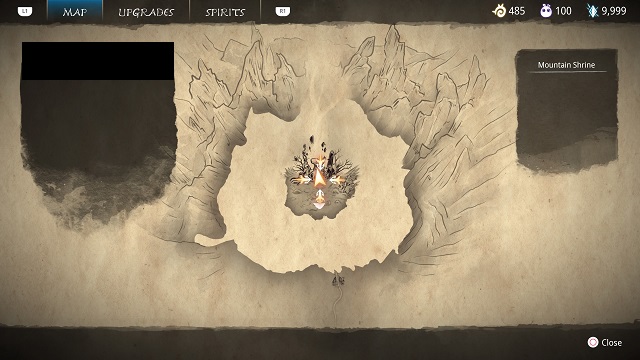
Beat the final boss for this one.
Here are some more guides that you might find useful during your journey:
- All Flower Shrines
- All Spirit Mail Locations
- All Cursed Chests
- All Rot Locations
- All Hats
- Fishing Shrine Puzzle Solution
- How to Heal in Kena Bridge of Spirits
Kena gets a good health boost every time you find one of these Meditation Spots. Not only will you get the Zen Master (silver) trophy for resting at them all, but you’ll also see some of the best-looking vistas in the game while doing so. If you found this helpful, consider heading over to our other guides for Ember Lab’s action-adventure title.




Published: Sep 22, 2021 05:38 pm