You can take a little break from the usual rolling in Sol’s RNG in Roblox and go on a scavenger hunt. Lime needs help tracking down 15 eggs around the world, and will reward you with special items: Easter Blessing and Star Egg. Here are all the egg locations to make it easier for you.
Where to Find All Eggs in Sol’s RNG – Roblox
To begin the scavenger hunt for eggs, speak to Lime right in the main lobby area. When you spawn in, she’s sitting on the bench directly to your right.
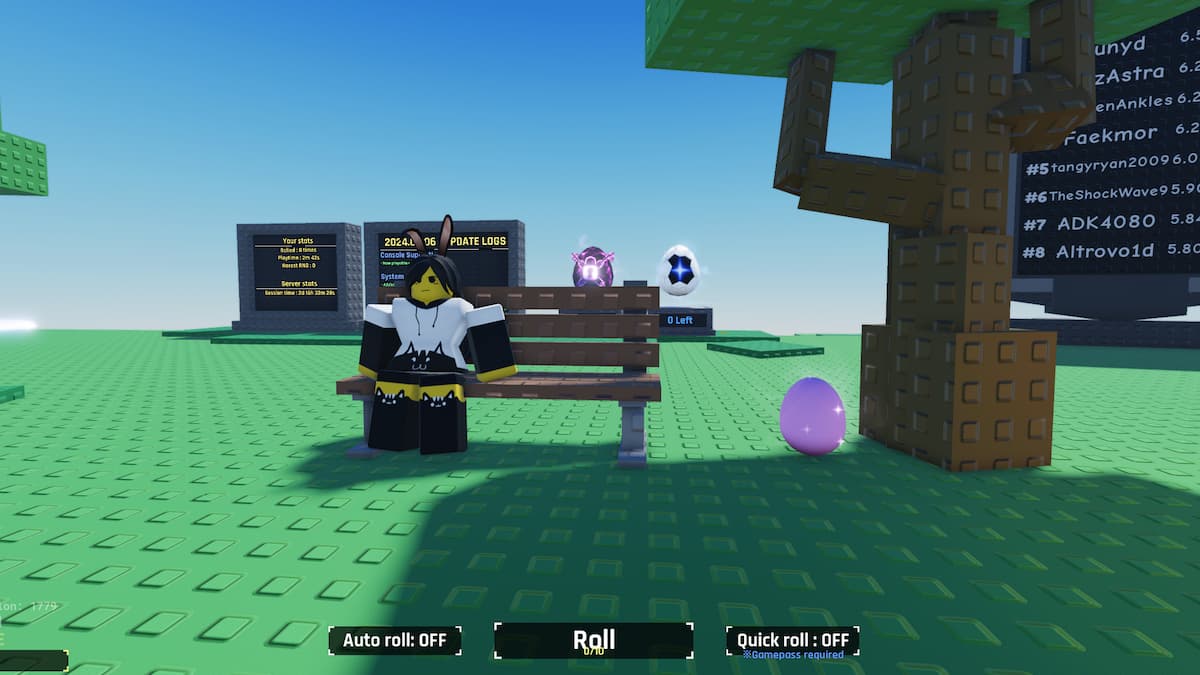
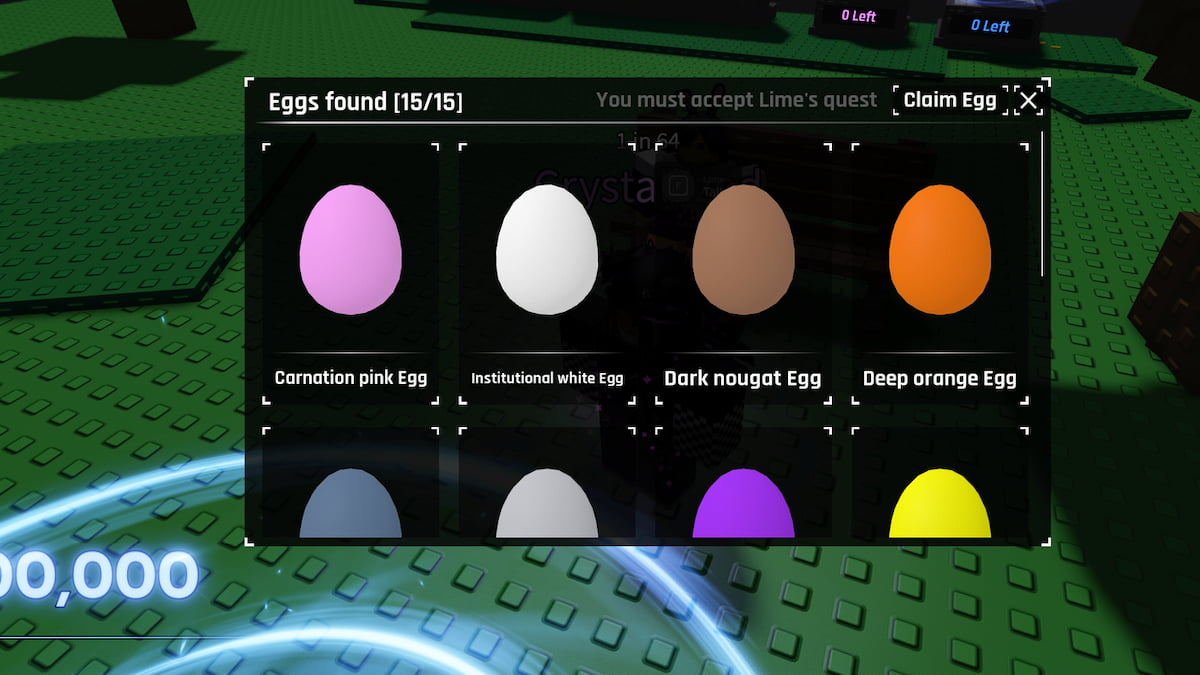
Then, there are 15 eggs to find scattered all around the map. You can keep track of the eggs you have in the Egg menu on the left side of the screen (it will be the last icon, which is an egg shape). Here’s where you can find each of them:
Egg 1 – Near Lime’s Bench
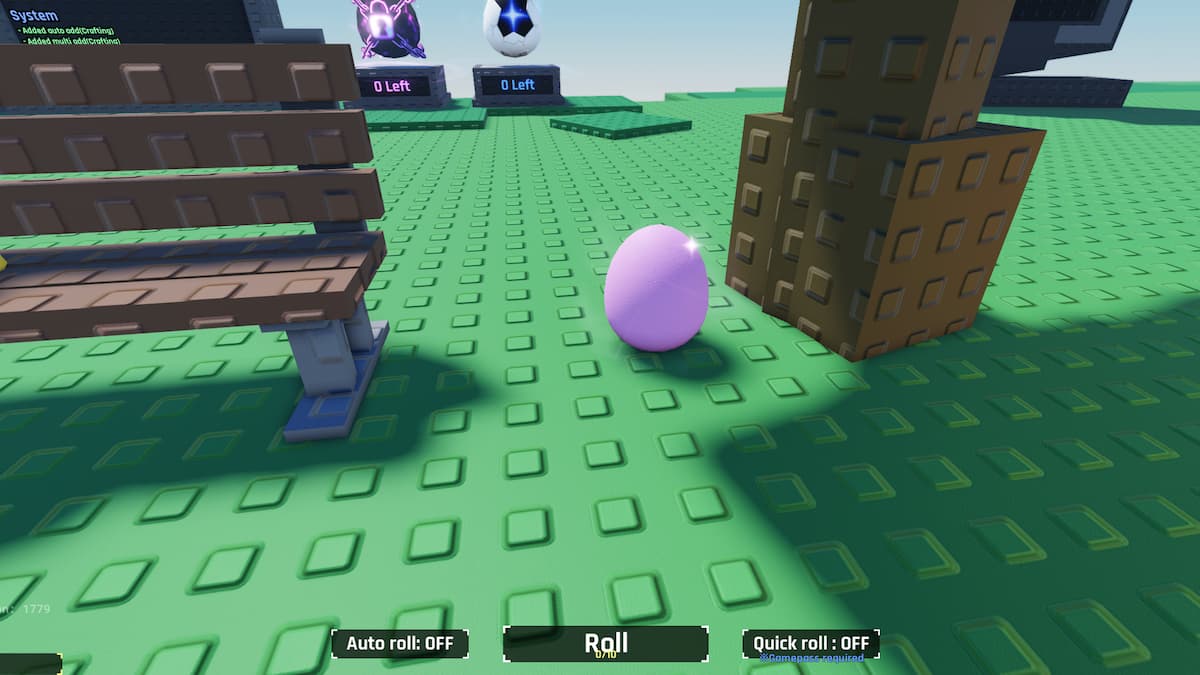
The very first egg is the simplest of them all to find, and you’re bound to spot it right after speaking to Lime. It’s directly to the right of the bench she sits on at the base of the tree. Run into it to collect it.
Egg 2 – In Resting Place Cabin
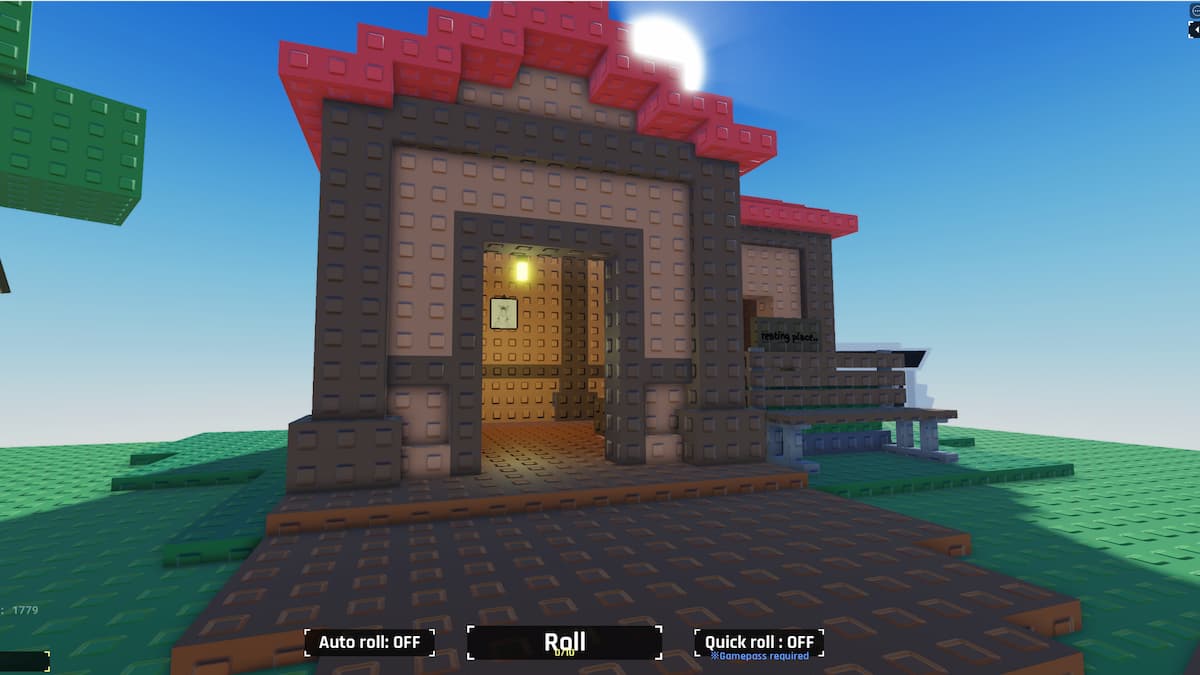
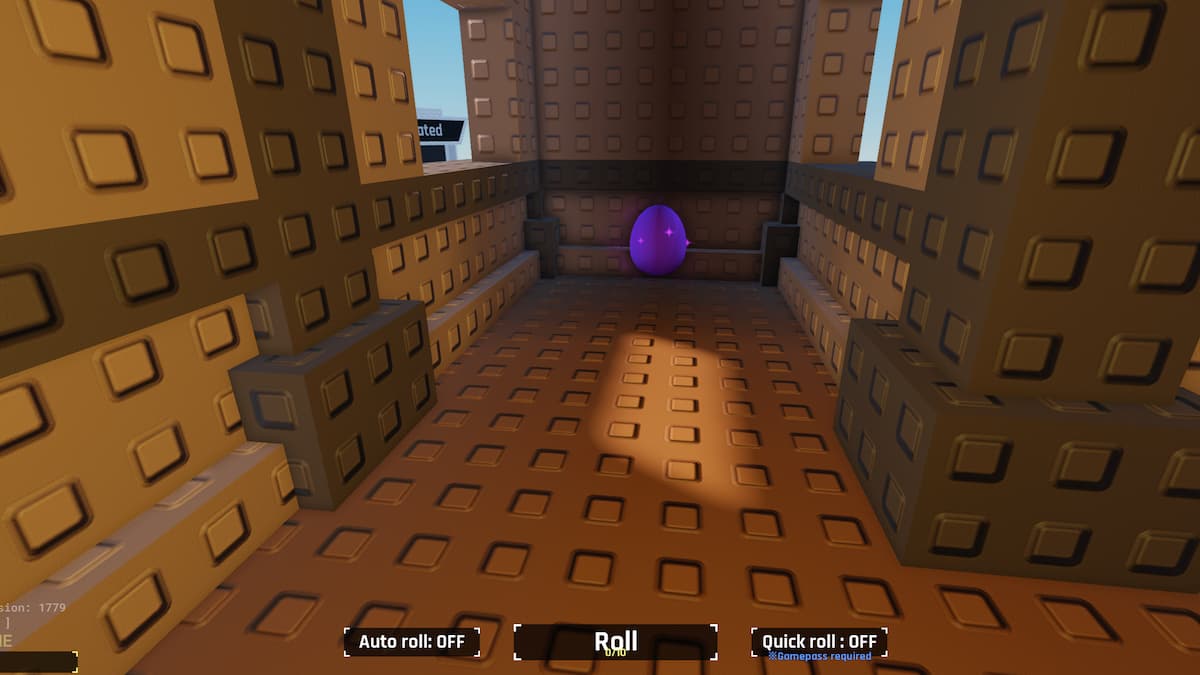
The next egg is found just a few feet away from Lime and her bench. Head up the hill where there is a cabin or small house with a bench against it. You’ll see a sign reading, “resting place…” Go inside the house and turn right, and you’ll see the dark purple egg.
Egg 3 – Behind Leaderboard Sign
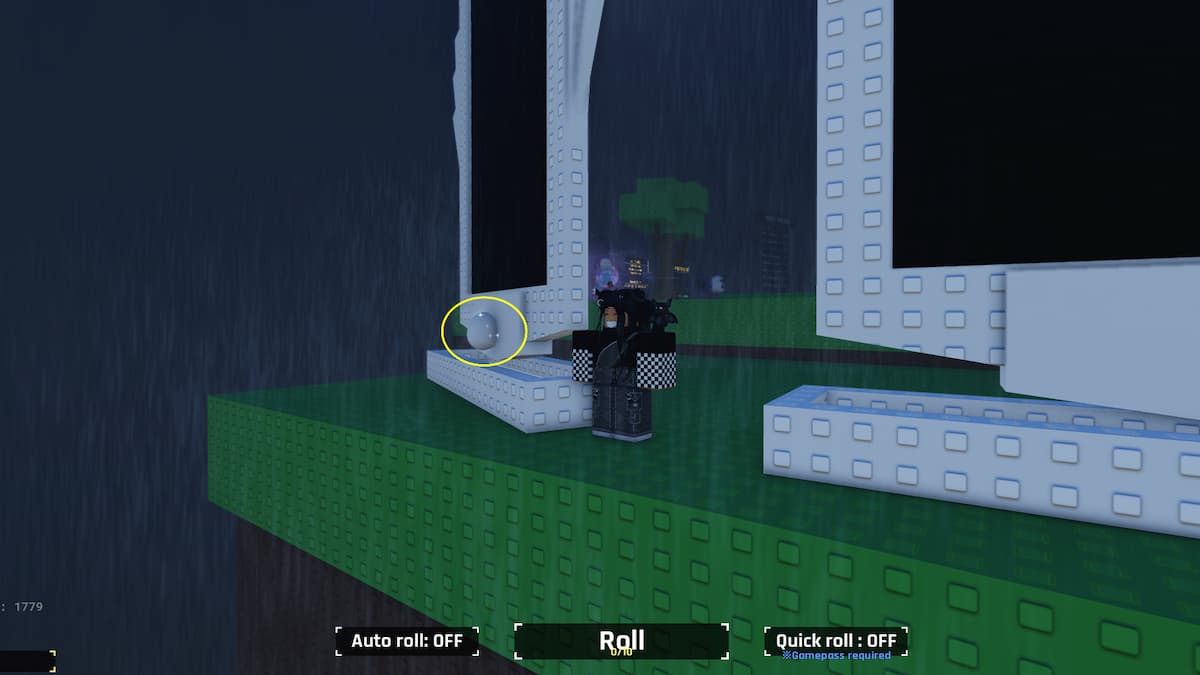
Once you find the house egg, go around the outside of the house toward the donation board and leaderboards. Look behind the leaderboard, and you’ll spot the shiny grey/off-white egg blending into the back of it.
Egg 4 – In Display Case
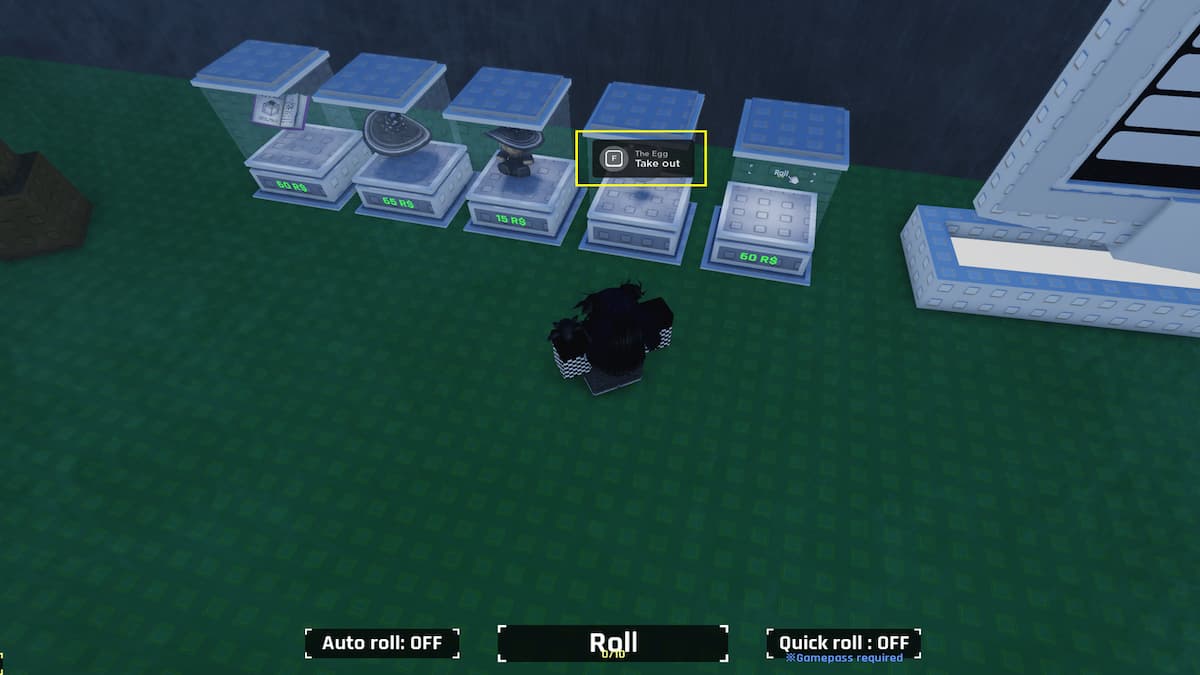
Directly to the left of the leaderboards are display cases of Robux items. Among them will be your next egg to collect. Approach the display case with the egg inside, and you’ll receive a prompt to “Take out.” Hold F on your keyboard, and you’ll add it to your collection.
Egg 5 – Below the Fenced Hill
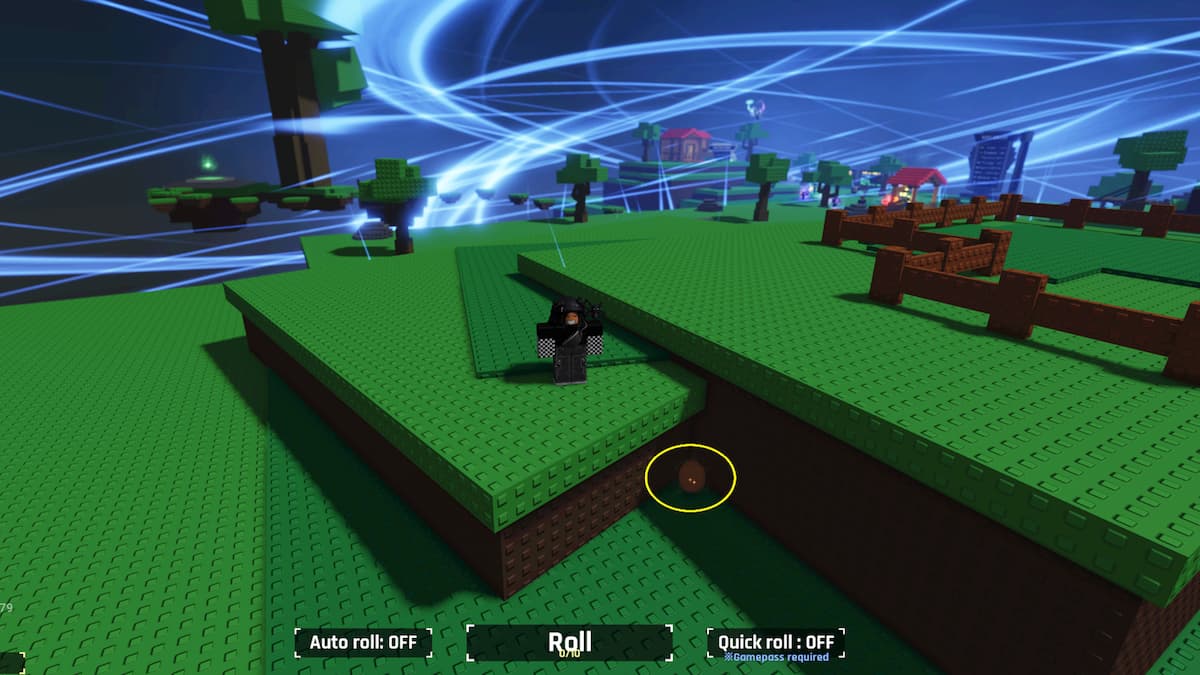
Your next egg is a bit further away, but it won’t take any time to collect. From the ‘resting place’ house, head forward until you see a hill with a fence. Look just below the backside of the hill, and you’ll see a shiny orange egg to collect.
Egg 6 – Behind the Big Tree
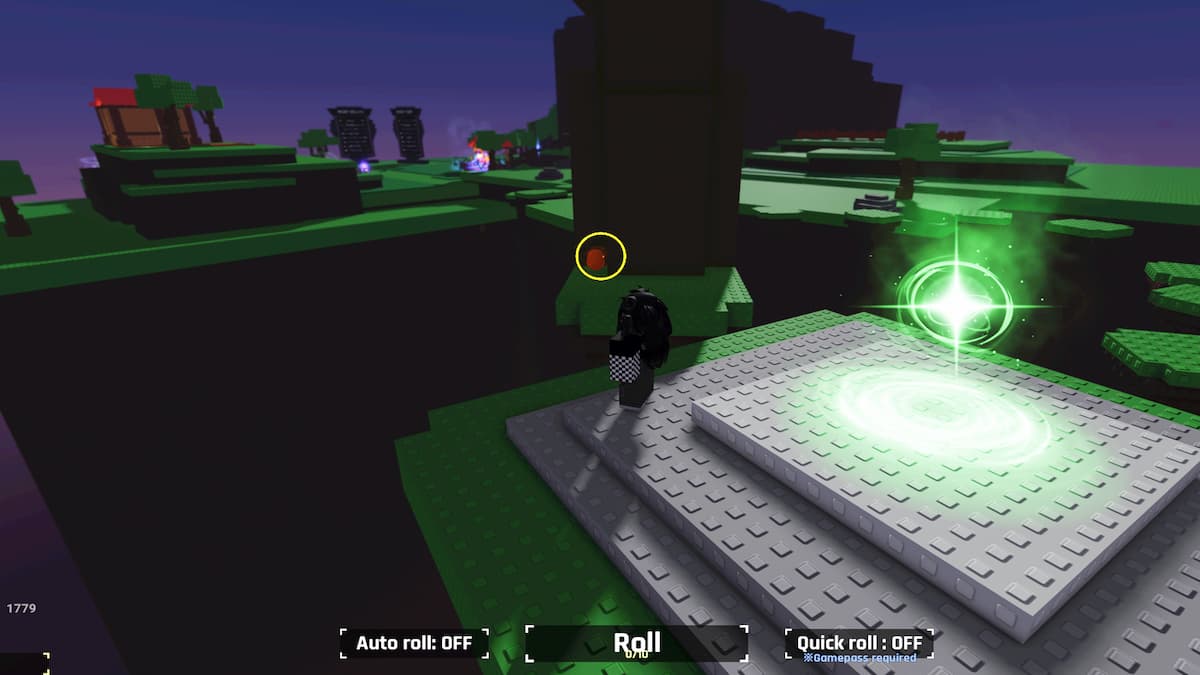
There is another orange egg to find across from the fenced hill on the floating island. You won’t be able to miss the giant tree near the glowing green orb. Jump across the floating platforms to the green orb and then to the back of the tree. That’s where your other orange egg will be waiting.
Egg 7 – Floating Beside the Green Orb
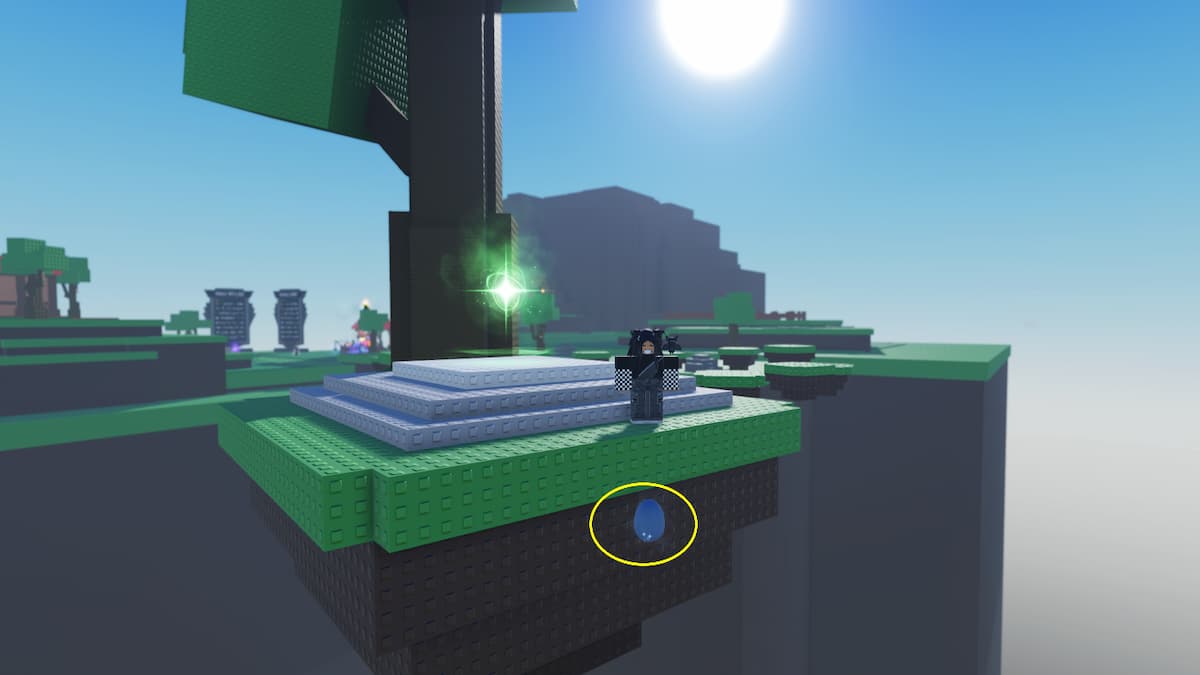
Although it’s easy to miss at first glance, you’re sure to notice a floating egg just below the green orb platform on your way back from the big tree. This floating egg requires you to leap off the edge to collect it. However, jumping straight down can make you miss it, so hitting it at an angle is better.
Egg 8 – Lowered Platform
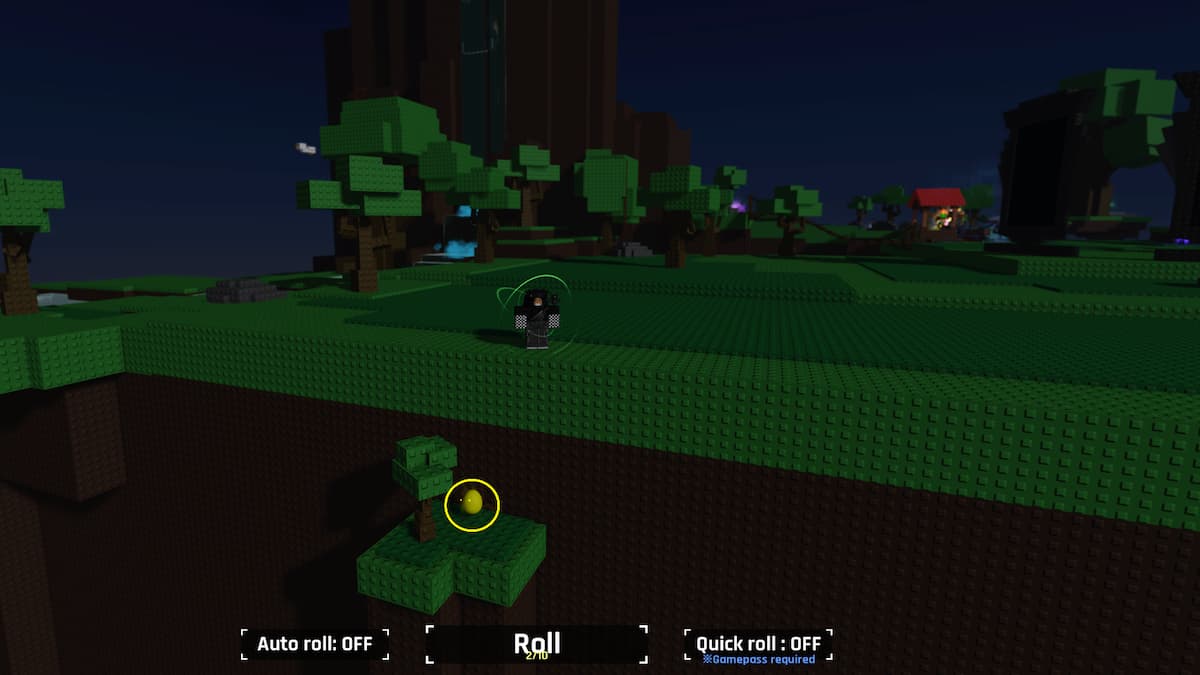
Once you get the floating egg, return across the parkour section to the main island. Then, head in the opposite direction, back past the house on the hill. When facing the tall cliff with the waterfall, take a left toward the edge of the map. You should see a small lowered platform with a tree and your yellow egg.
Egg 9 – On the Waterfall Cliffside
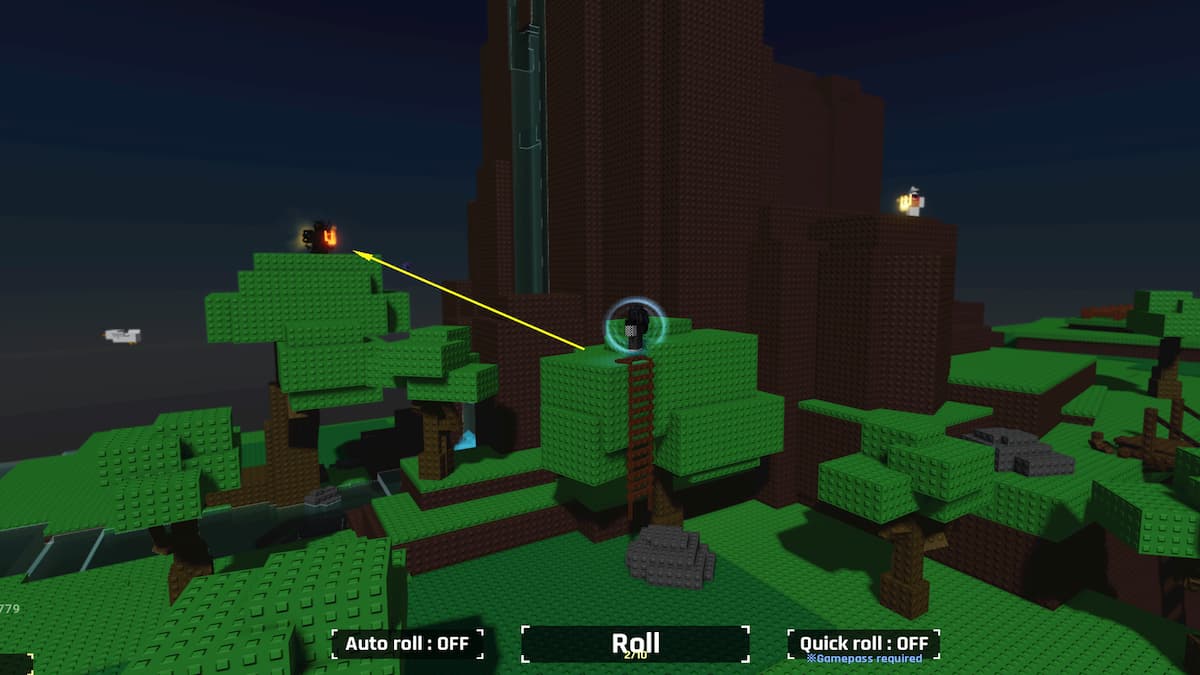
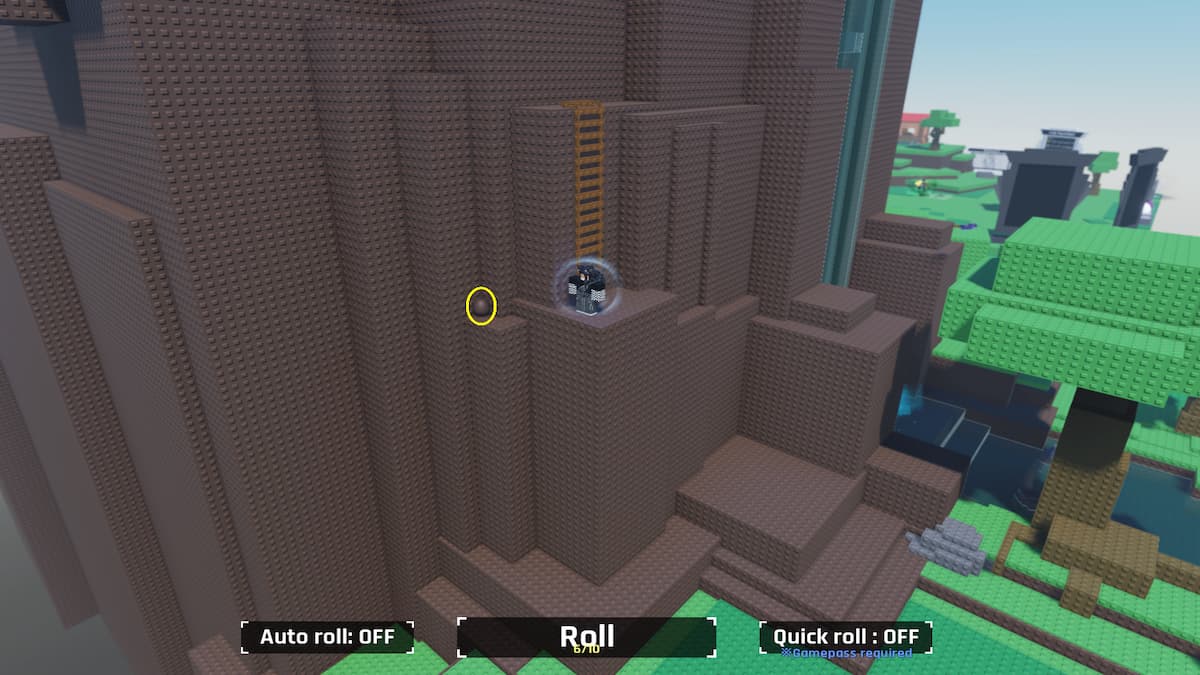
Your next egg is a bit tricky because it blends in perfectly with the waterfall cliff. To get there, head toward a tree with a ladder hanging from it and climb up. Now, parkour your way across the treetops until you can jump over to the cliff. Keep jumping to high edges until you see another ladder. The brown egg will be just around the corner of the ladder.
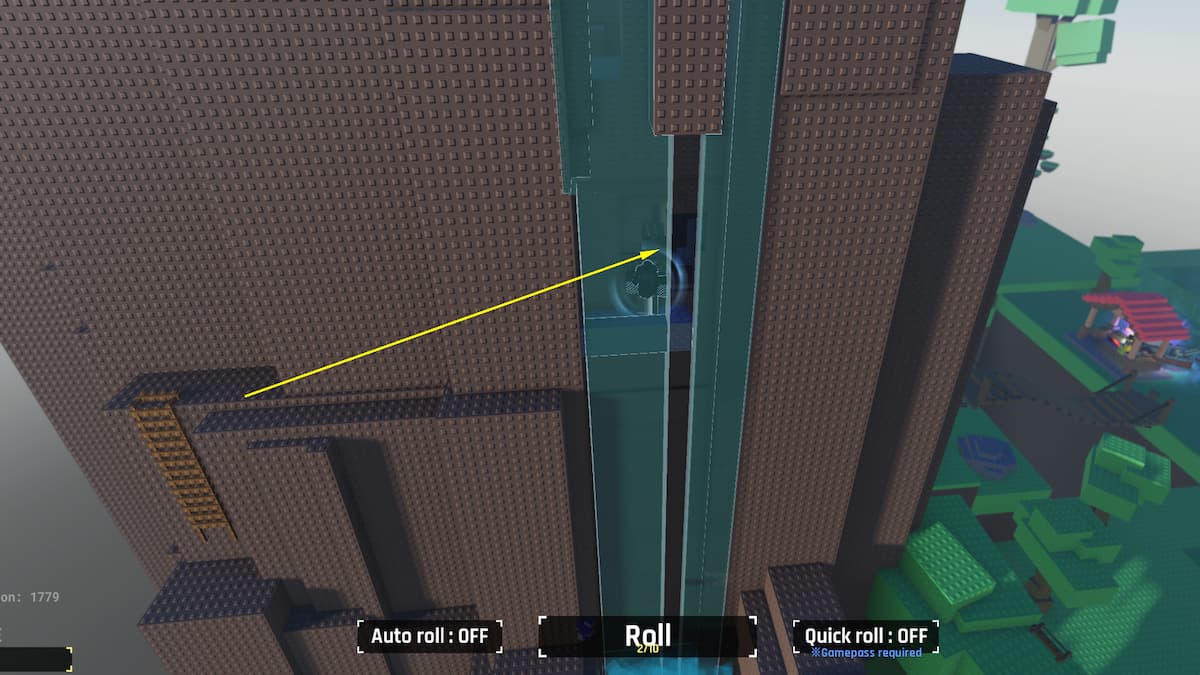
The next few eggs are inside the Cave. To get inside the cave, use the ladder directly next to where you found the brown egg, and climb up until you’re right next to the waterfall. Behind the waterfall is a small ledge and a hole in the cliff where you can enter. Walk all the way through and drop down until it teleports you into the cave.
Egg 10 – At the Cave Memorial

Once you’re inside the cave, you can find the next egg by heading forward and crossing over the hanging bridge. If the bridge collapses (which it did for me every time), you can jump up the edges of the wall to the other side. Head around the corner to the right, and you’ll see a small memorial site with two candles, a picture, and your next egg.
Egg 11 – Near Cave Mini’s Camp
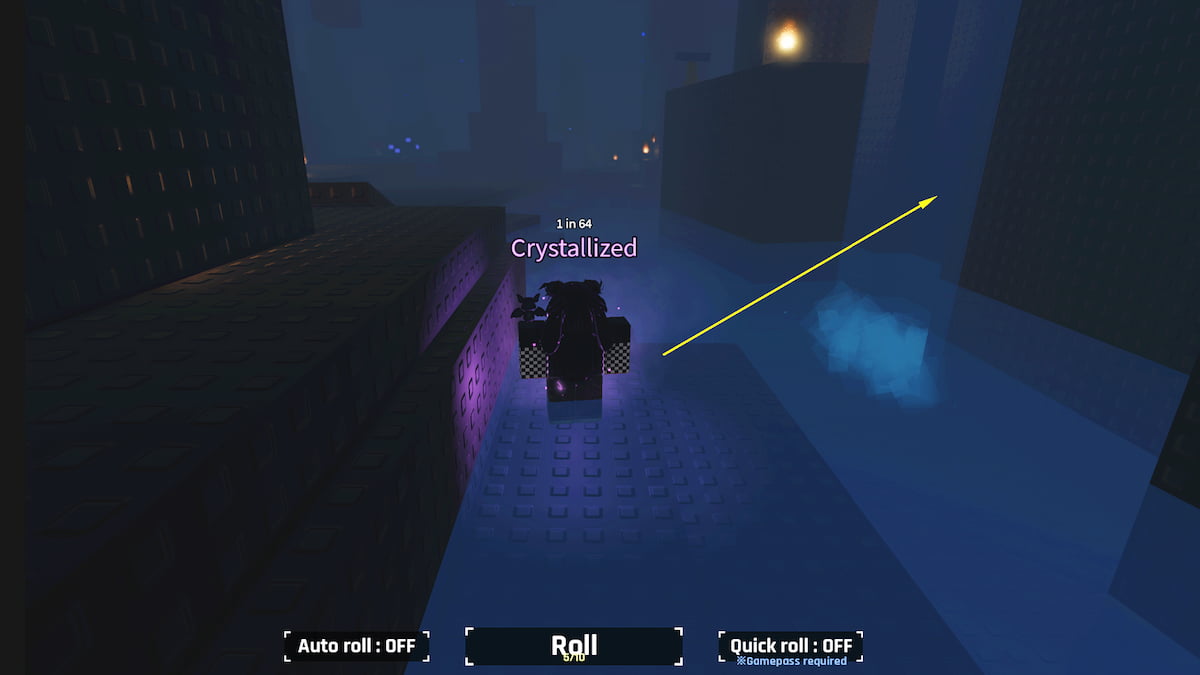
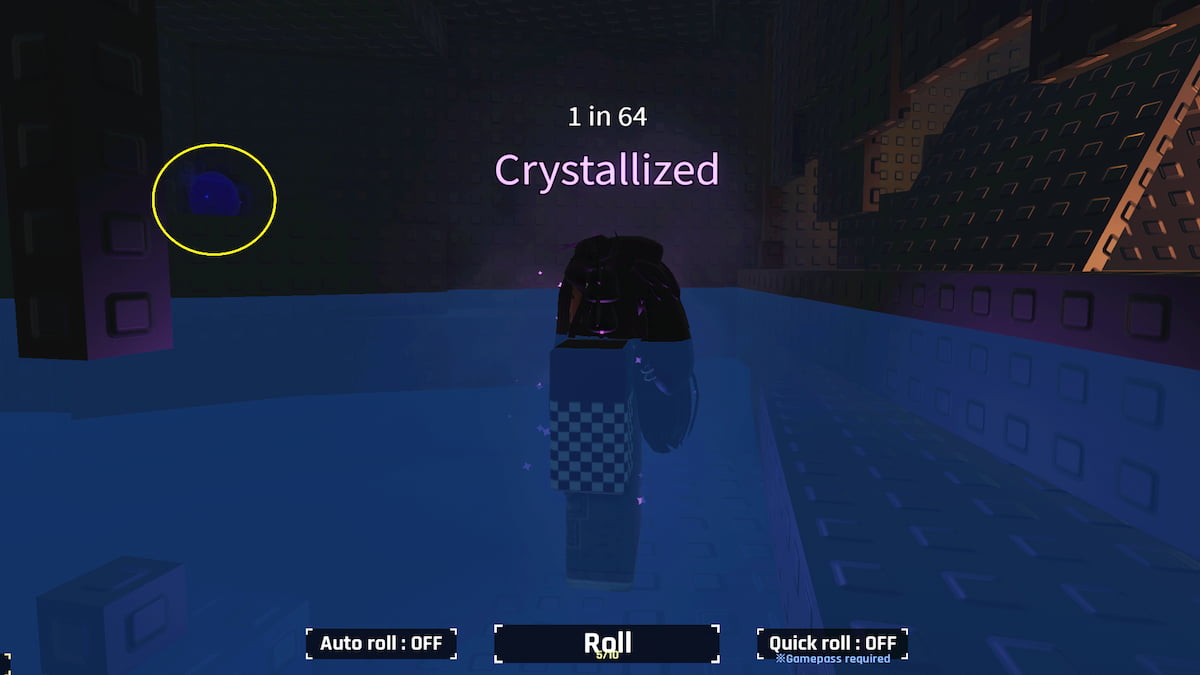
The next egg is a bit tricky to find because it’s in a secret location. To get to it, jump down from the memorial site until you’re in some water. Keep going forward deeper into the cave until you see a waterfall on your right side. Walk through the waterfall until you see a small camp hidden behind the wall. At this little miniature camp, turn to face away from them and you’ll see the egg in the very right corner.
Egg 12 – On the Cave Pillar
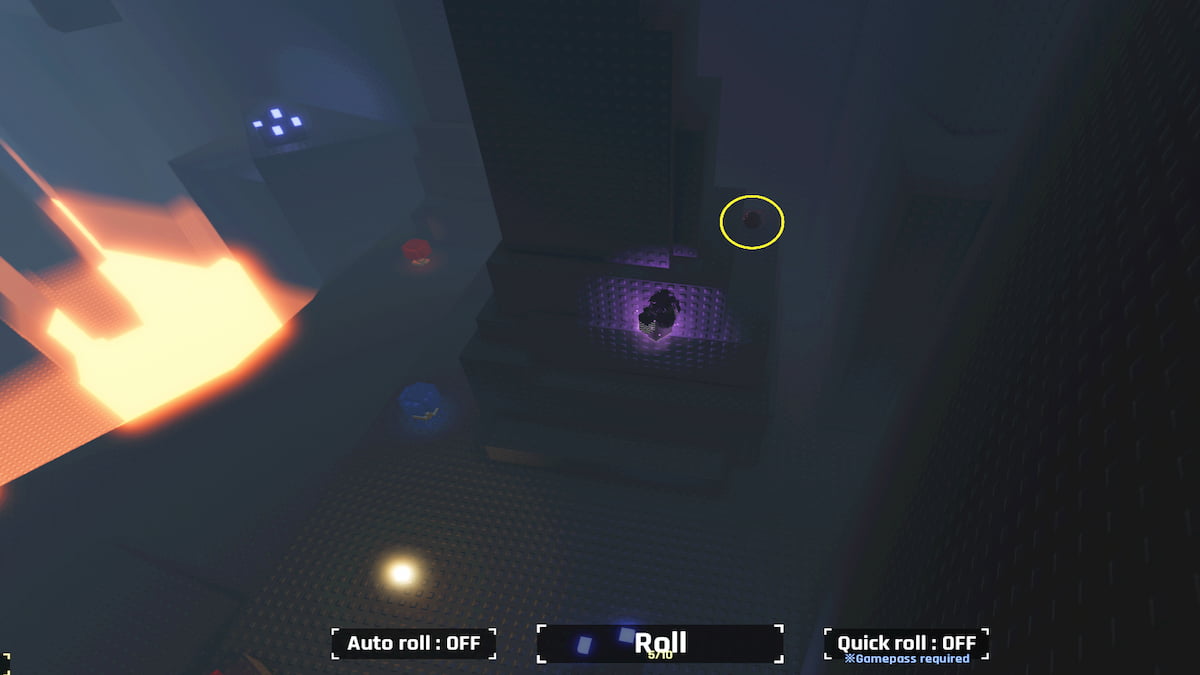
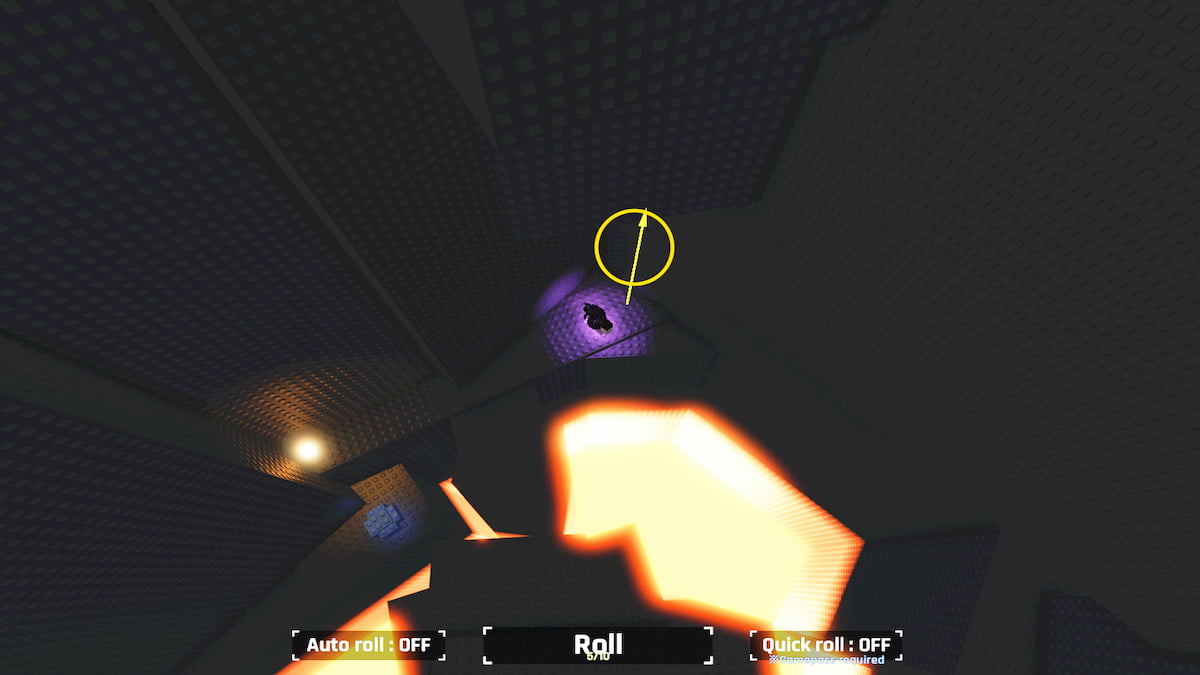
To get to your next egg, head back out of the waterfall and deeper into the cave. You’ll see a bunch of pillars here. However, the pillar you need is to the far left backside. Head to the left at the split and jump up the sides of the pillar to reach the egg behind it.
Egg 13 – In the Altar Room
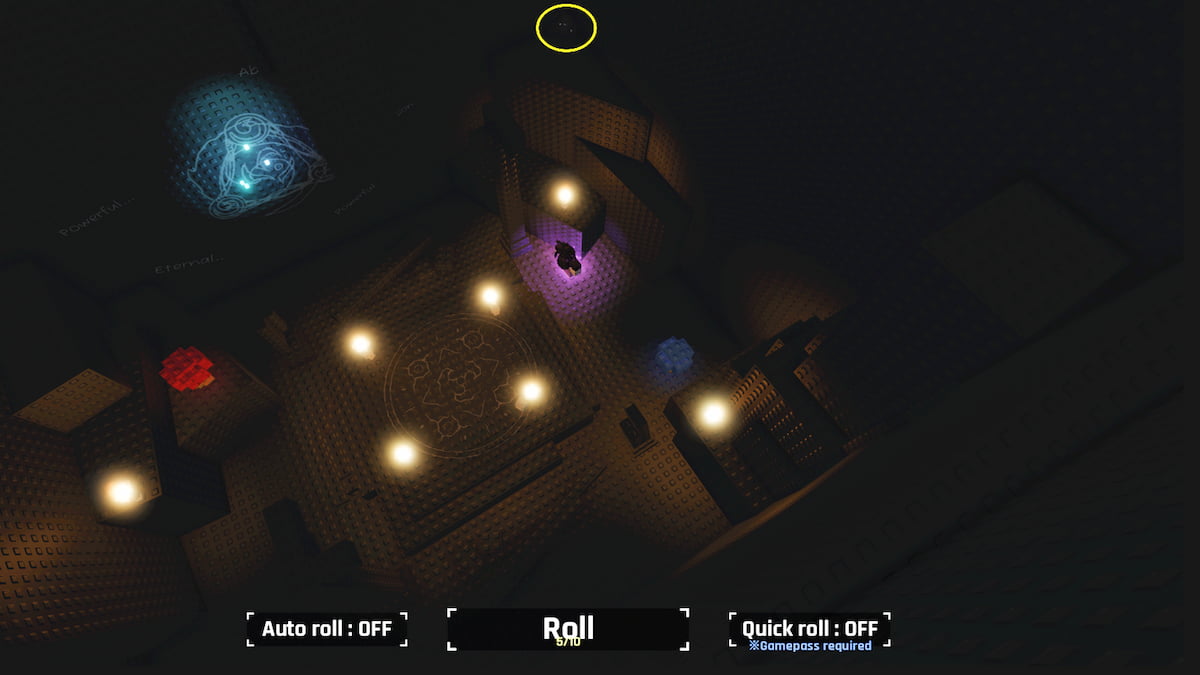
13 is said to be an unlucky number, and believe it or not, it’s also the most complex egg to find. It’s located in the Altar Room, one of the most well-hidden rooms to get to. You can find it by heading away from the pillar egg toward the first pillar and then hopping across the parkour over the lava. Once you get across the parkour, you’ll end up at a corner, which appears to be a dead end. However, in the very corner, you can find a hidden passageway that leads to the Altar Room. When you enter, the egg sits right in the upper right corner of the Altar Room directly in front of you.
The last two eggs are in Stella’s Room within the cave. To get there, backtrack all the way to the cave entrance. The best way to do that is to exit the Altar Room and jump down into the lava. Then, trace your steps back to the start. Instead of crossing over the suspended bridge, turn immediately to the left and start parkouring your way across the rocks. Keep following the shiny candles to get to Stella’s Room.
Egg 14 – In Stella’s Tent
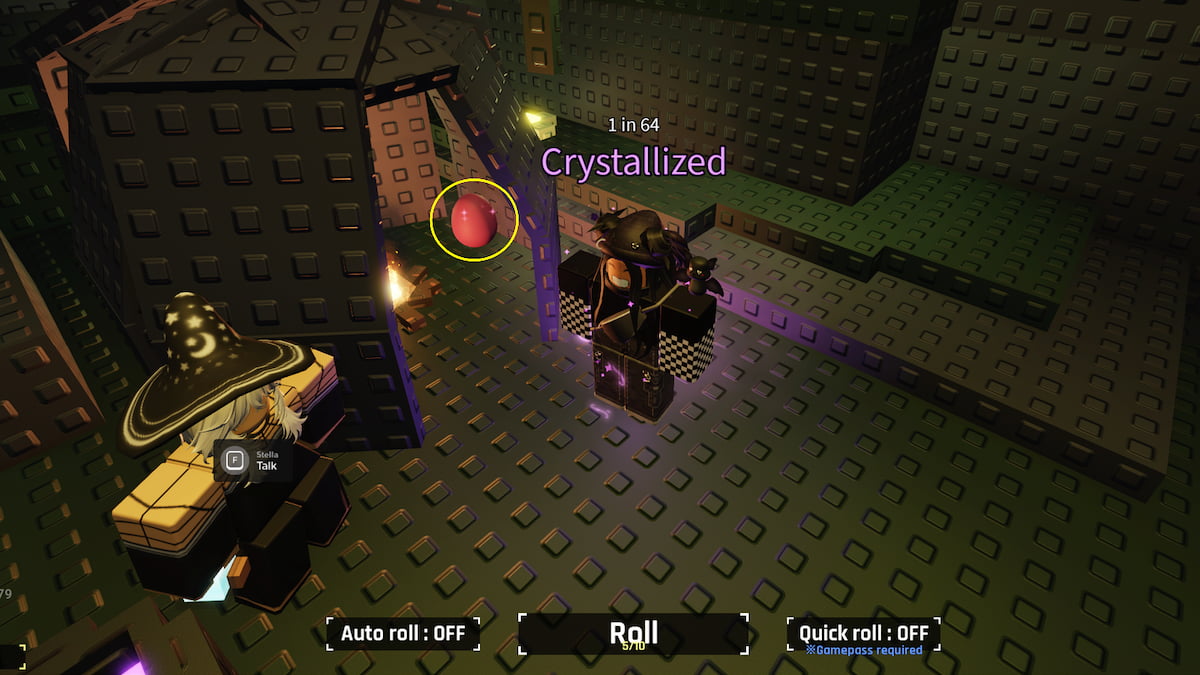
Now that you’re in Stella’s Room, find egg number 14 inside her tent. It’s directly beside her and to the right.
Egg 15 – In Stella’s Gold Bath
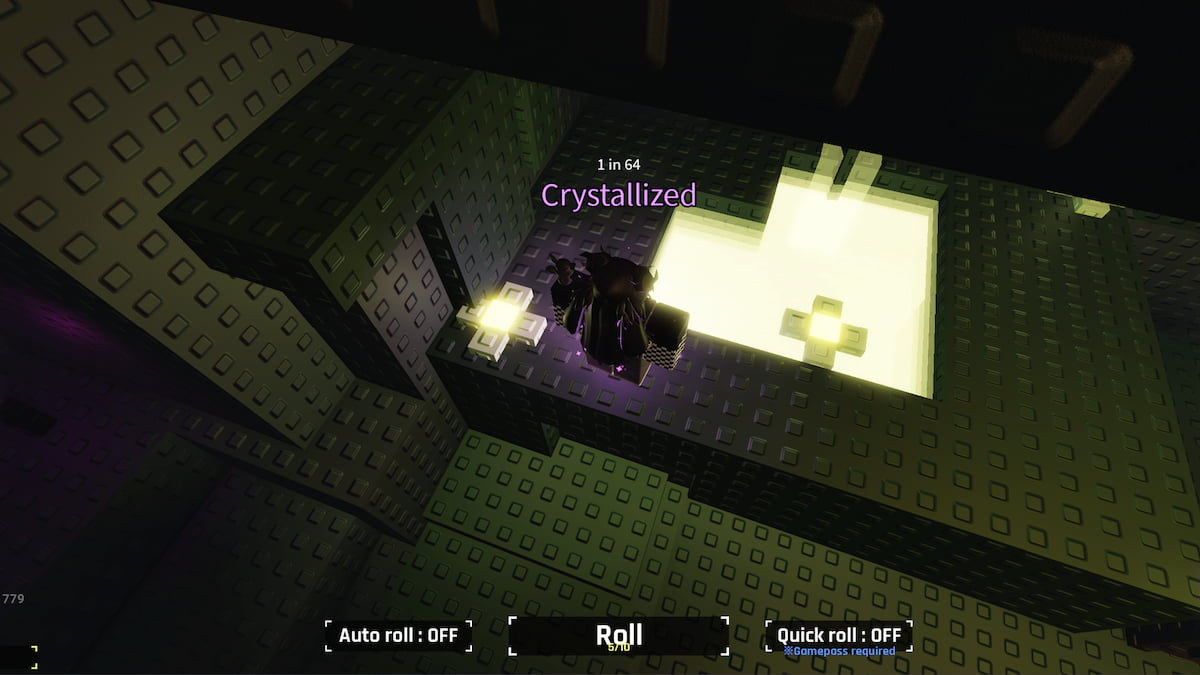
The very last egg is right in Stella’ Room as well. Hop up to the gold-colored water to your left when you enter the room. You won’t be able to see the egg under the water, but jump down into it and walk along all the corners to collect it.
Once you have all the eggs, you can head back to the main lobby and speak to Lime again to receive your reward. You will get some Easter luck, but unfortunately, the rare Star Egg is sold out. Don’t be too discouraged, though, because you have to finish this quest to start Lime’s following quest. This quest allows you to collect even more goodies.
Want some more tips and tricks like this? Check out GameSkinny’s Roblox hub and follow along with our guides, like how to call people, or the best Five Nights at Freddy’s games.





Published: Apr 15, 2024 04:47 pm