Asymmetrical gaming makes a horrifyingly awesome return with Dead By Daylight (check out our full review here), a multiplayer-only title that pits four desperate and squishy survivors against an unkillable slasher straight from horror movie lore.
How do four vulnerable human beings manage to live through a round while a supernaturally-powered killer is chasing close behind? Lots of practice, a little luck, and the right Dead By Daylight survivor strategies, that’s how.
Basics Of Dead By Daylight Survival
When playing as a survivor, staying still is usually a much better idea than moving, unless you know for a fact the killer is busy with someone else. Wherever you are going, work to remain near obscuring objects like trees or rock mounds that you can easily slip behind.
 Pull down pallets and stay behind boxes to remain out of sight
The killer is stuck in first person mode and primarily can only detect you if you have made noise or decided to sprint. Breaking line of sight with a large object and remaining stationary makes it unlikely you will be noticed.
Sprinting leaves a trail of red scratches the killer can follow, so only ever run if you know for a fact there’s something ahead you can use to slow the killer down. Unless you have certain perks, you can’t outrun the killer anyway, so its a better idea to always break line of sight (as that removes the trail) and then sit still and wait for the killer to blunder past.
Remember that this is not an FPS for the survivors though – you don’t have to keep looking in the direction you are walking! Swivel the camera around whenever the heartbeat indicator goes up so you don’t get caught unaware.
Besides large objects like rocks and walls, always be on the lookout for windows, which the killer moves through very slowly. In fact, it’s even possible to get in an “infinite window” loop at the killer’s shack where there are two windows close to one another.
As the slasher struggles to pass through windows pointlessly chasing you, it gives someone else time to work on powering up generators.
 Make use of windows whenever possible!
There are two caveats to remember with this method though:
- Before trying out this strategy, always look on the other side of the window first to make sure the slasher didn’t trap it! A decent killer will have trapped the opposite sides of windows to prevent window looping.
- Be careful of over-utilizing the infinite window loop. A killer who doesn’t realize he should stop the cycle himself and chase someone else is likely to get frustrated and rage quit, effectively ending the match.
Other than windows to jump through, objects to hide behind, and pallets to knock over, vertical terrain is also critical to success.
Always look for generators that are inside buildings where there are escape routes, like second floor windows or choke points such as stairways. The killer’s advantages are effectively negated here if you pay attention to the heartbeat indicator.
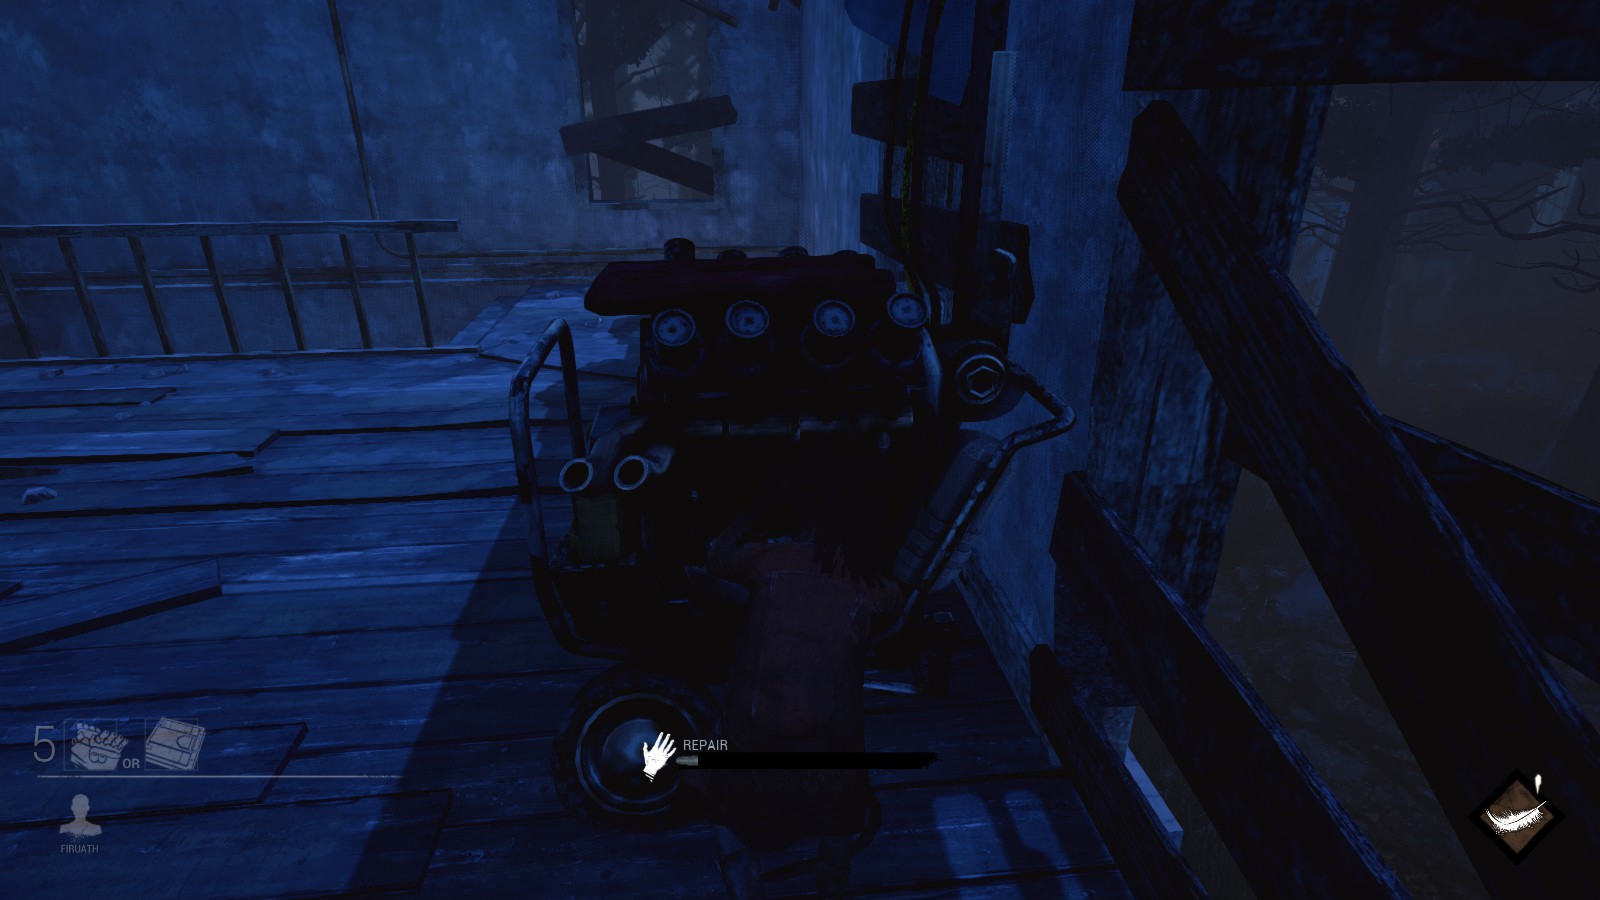 Good line of sight and only one way for the killer to approach
Help Your Buddy Or Let Him Die
One of the biggest strategy questions to tackle at the start of any given Dead By Daylight match is whether you plan to utilize teamwork or go solo and screw over everyone else in an effort to survive.
Keep in mind that (barring certain perks that can let you know where people are), there is no minimap showing the position of the other survivors, just like if you were in an actual horror movie. If you spawn near another survivor, it’s a good idea to stick together for a while. Two targets are harder to kill than one, especially if you are aiding one another in disarming traps, healing wounds, escaping meat hooks, and so on.
There is a very valid secondary strategy, however, that throws teamwork out the window. Why waste time binding another survivor’s wounds when you could use their misfortune as your gain? While the slasher is busy sacrificing an easy target at a meat hook, use the opportunity to turn on a generator instead! One player dying can mean the rest all quickly finish the map objectives.
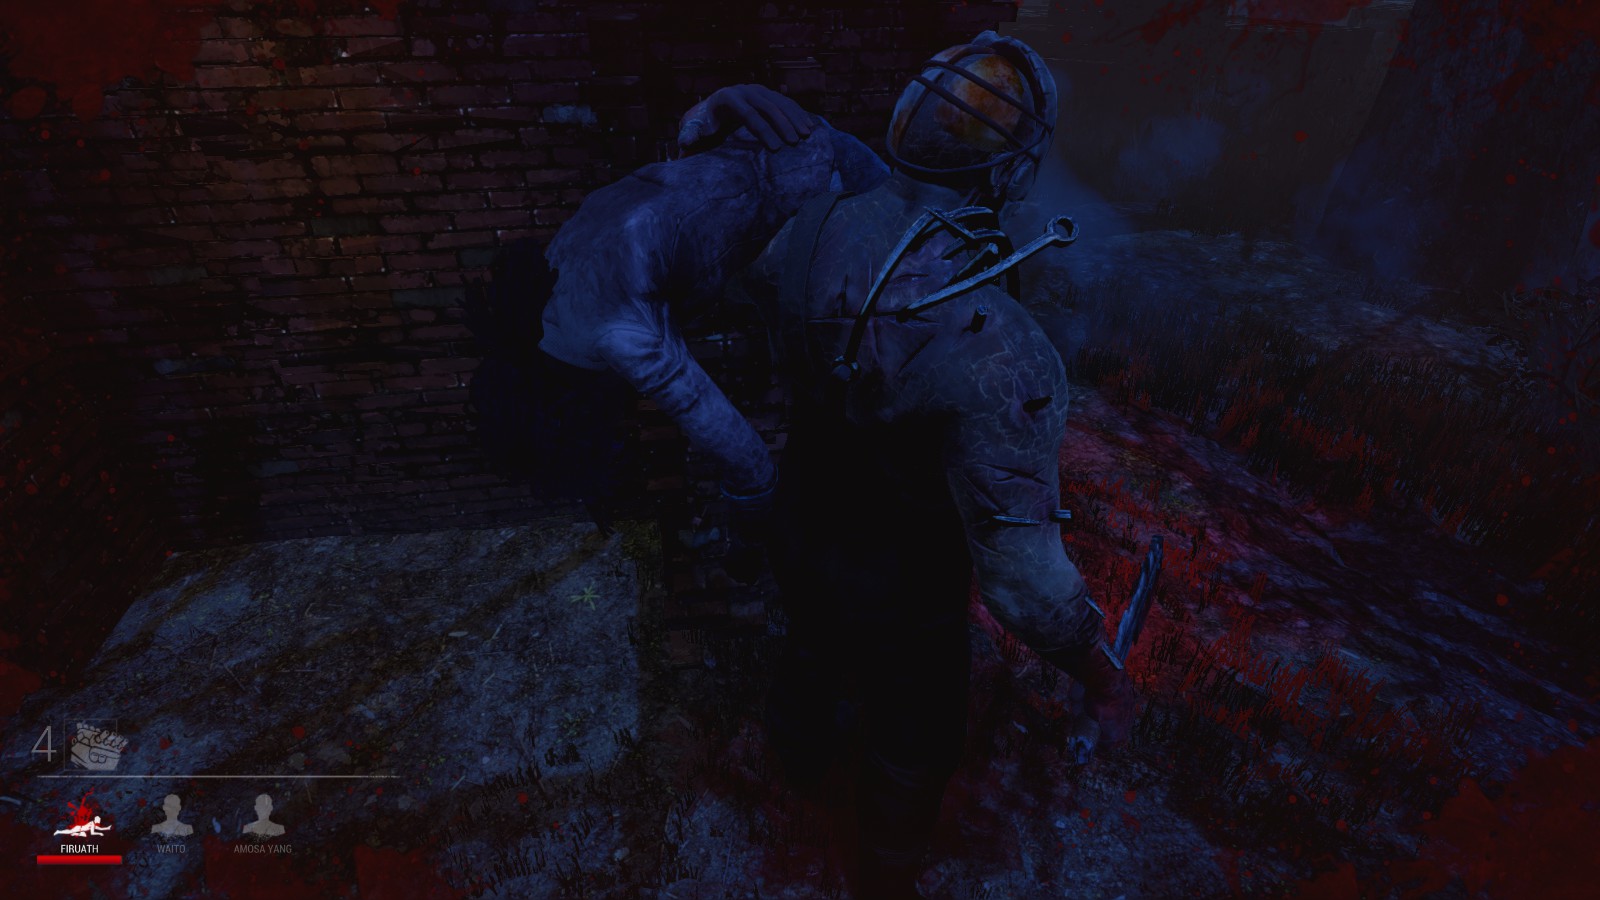 When your teammate is in this position, make a beeline for the generator
On the opposite end of that strategy is to purposefully be the bait once you’ve learned a map’s in and outs. If you have a good spot where there’s lots of ways to slow the killer down, it can be an excellent tactic to distract the slasher while the other survivors get the generators going.
Ranking Up And Choosing Bloodweb Options
The more you survive, the higher up the Bloodweb you move and more options you have to help out your team.
The Bloodweb offers several different options for spending points, such as Offerings that are removed from your inventory when used, and Equipment that also goes away when you either use all the charges or die while carrying the item. Addons are also used up after you select them, and must be attached to specific items (for instance, the spring kit makes the bear trap harder to escape).
While all the different items have their uses, the toolbox is probably the most immediately useful in all instances, as it lets you disable traps and even sabotage meat hooks. The flashlight on the other hand should only be picked if you plan to travel in a group, as it forces the killer to drop a survivor who is being carried.
 The killer is much less deadly if he can’t put you on a meathook
Besides Offerings, Equipment, and Addons, there are also Perks that remain in your list even after being used, and each of the four survivors gets a unique Perk at level 5. All of them offer you a leg up, but some are more useful than others.
Bond is incredibly helpful, as it makes other survivors visible when you are near them. This is a strong boon both if you are being a team player or purposefully trying to lead the killer to another character.
For those who like to work in tandem, Leader is another must-choose option, increasing the speed of repairing and sabotaging for all other players who are near you. Saboteur is useful for everyone, as it lets you disable traps even without a toolbox, making you the most useful survivor on the map straight from the get-go.
For maximum points and to move up the Bloodweb more quickly, always try to destroy every trap, open every chest, turn on all the generators, and aid your fellow survivors with healing and escape attempts in a match.
That’s all the basics you need to know to survive your first few rounds of Dead By Daylight – we’ll see you in the matchmaking lobby, and be sure to share your own survival tips below!




Published: Jun 13, 2016 06:25 pm