I’ve been loving Square Enix’s newest mobile title Star Ocean Anamnesis, and part of that is due to it’s constantly updating end game content. Every couple of days there are new missions, that with some grinding, can unlock you some sweet high level loot. Though as the case is with most video game, the good stuff is tucked behind a wall of difficult battles.
For this weekend, SOA is hosting the event Crystal Guardian Extermination. This event will occur every weekend with no end date mentioned.
Related Content:
- Jie Revorse Boss Guide
- Augmentation and Leveling Guide
- Beginner’s Tips and Tricks
- Transmutation Guide

Once I started up this new event, I could tell something was off. Simply put, our party on four were doing no damage to the mech enemies. I could tell there were moments when he was taking more damage than others, but I couldn’t wrap my head around why. Well after some research and experimentation, I have uncovered some tips to help you take on this event.
This monster’s biggest strength is that it has MASSIVE defense. That’s why most of your attacks barely make a dent in its health bar. They way to get around this is by choosing characters that Boost Critical Hit Chance. Boosting damage is nice as well, but critical hits ignore defense entirely, meaning that critical hits are the best way to take down this foe.
Characters to Bring
Maria
 She’s great because her rush mode endows the party with +40% increase to critical hit chance for 20 seconds.
This gives a nice window of opportunity for your party members to use their rush modes and actually have them do damage.
Anne
 She passively gives the party +30% critical hit chance and her Rush gives an insane +60% critical hit chance to the party, which is just insane.
Unlike Maria, you don’t have to rush to attain this boon. I would say if you had to pick between the two, go with Anne.
Cliff
 He is great for himself and himself alone, he gets a passive +20% critical hit chance and +30% attack.
He’s great if you have other party members that can spread around the increased critical hit chance.
Nel
 She grants a passive +10% critical hit chance to herself and allies.
This is bonus much lower than Anne’s, but she does make up for it with her abilities that poison her enemies, applying steady damage over time.
As long as you have at least one of these characters, things shouldn’t be too bad. Without them you can still get by, but it will take you forever to be able to complete this mission. Luckily Maria is a pretty common character as of now, so your chances of having one in your party are pretty high.
Tips for the Fight
I recommend doing this event and most other events in multiplayer. It uses only the host’s stamina and allows three others to participate for free.
If you are the Host of the Party, I recommend having a slot set aside for a tank, a sharpshooter, and a healer. It’s a prolonged fight so a healer is definitely necessary. Tanks are a no brainier. Someone has to keep the boss busy! Sharpshooter is debatable, but given how common Maria is, its a safe bet to get someone that can doll out some crit chance. Your last slot can vary between Attacker and Invoker. This can be up to your preference.
Stage 1
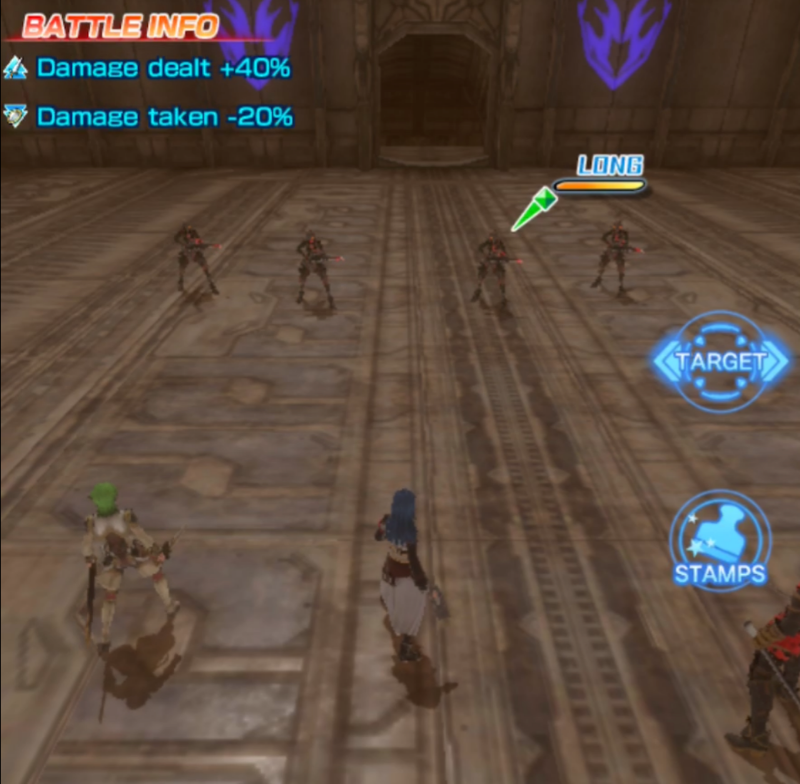
This fight is just a bunch of weenies, so it shouldn’t be any trouble.
Stage 2
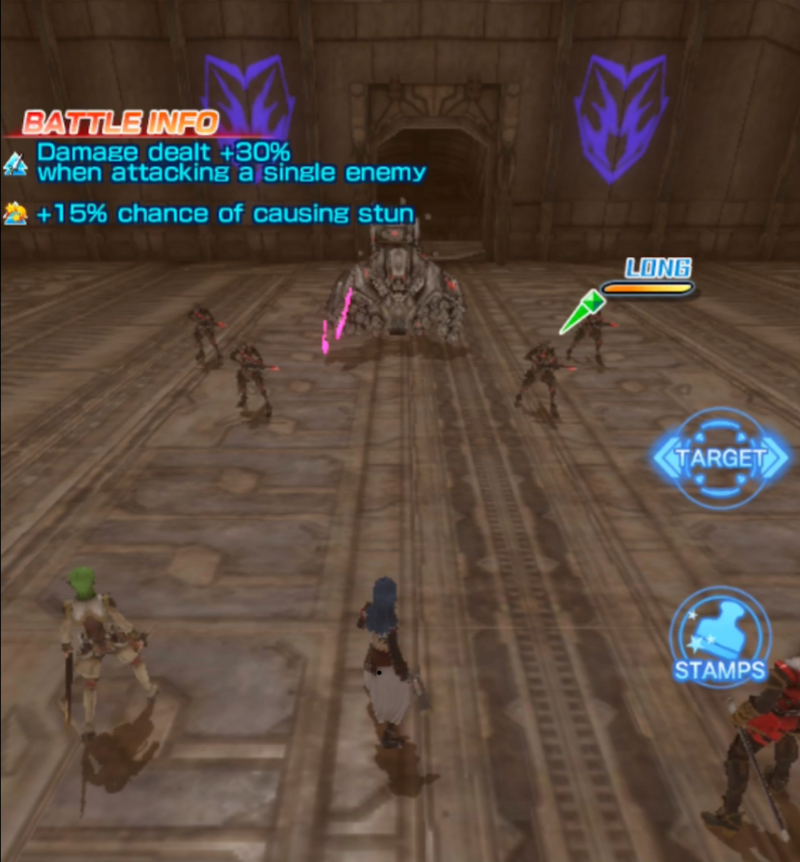
Deal with the weenies first as usual. After that you will soon notice that the mech in the back seems somewhat near invincible. It’s only major damage dealing attack is where it jumps up and pounds into the ground. To avoid it just swipe your screen when you see it jump into the air, and you should be out of the way before it comes back down.
If you’re using Maria, I would recommend just using your rush mode on it. Sure you’ll probably get some Yikes! stamps from your teammates, but just know that’s because they don’t understand how the enemy works yet.
Stage 3
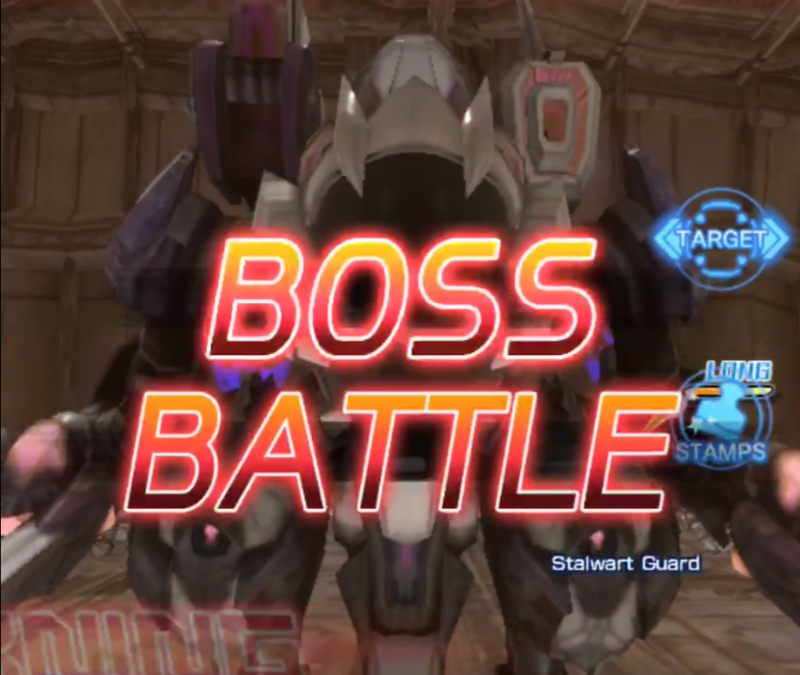
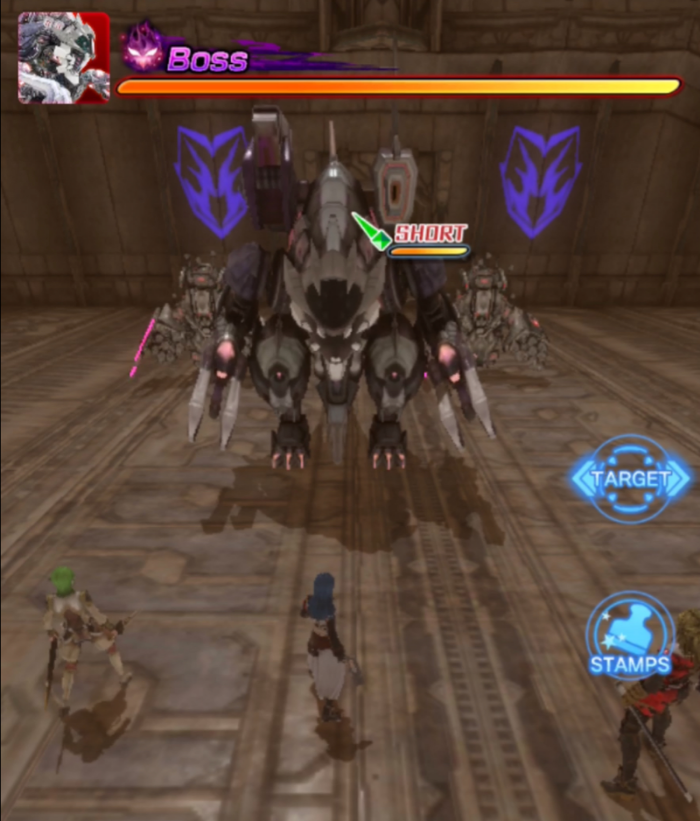
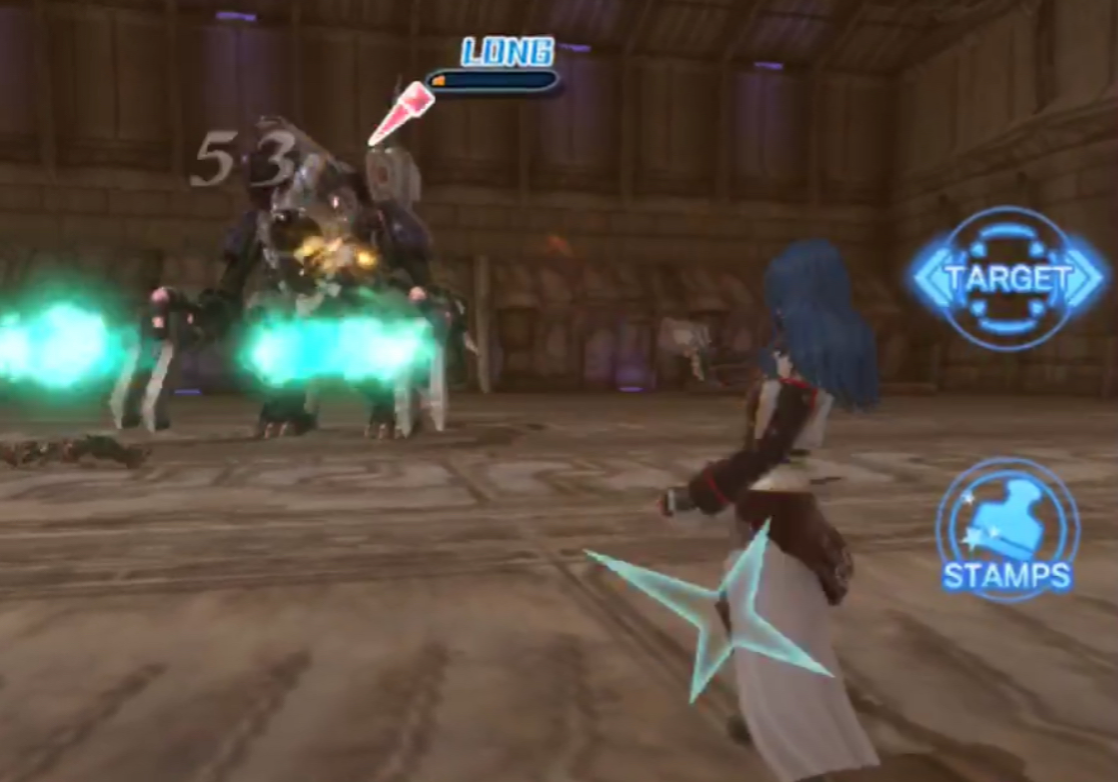
Things are gonna be a little rough at the start. Your best bet if to focus the two smaller mechs first, and then move on to the main boss. This will take some time, given that they all have high defense. The fight after that will get considerably easier now that you don’t have to worry about their constant bombing, but the boss is still difficult.
On top of having a great defense, its offense is nothing to scoff at either. It has a series of high damage, long range attacks that can go off simultaneously.
Stage 3 Boss Attacks
He has 4 different attacks which have no official name as far as I can tell so I’ll do my due diligence and name them myself:
Zip-Zap Attack
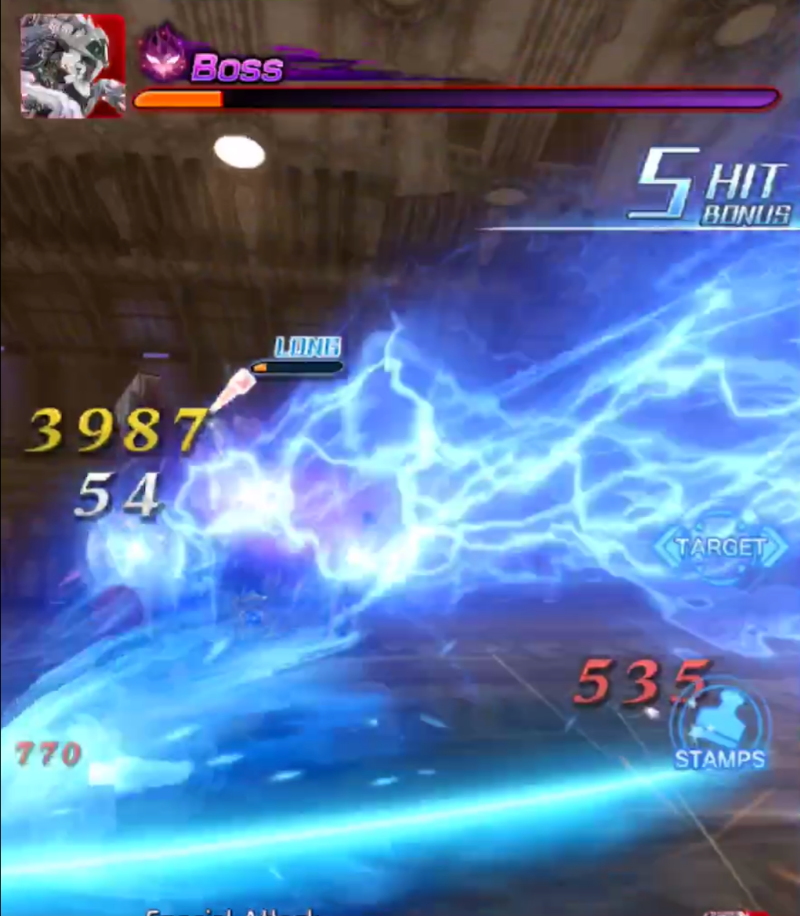
Basically just shoots out a ray of electricity that has a lot of hangtime so if you get hit, get moving as soon as possible.
Dark Boomerang Attack
It sends out two dark looking crescents at you, which come back around like a boomerang.
Three Dangerous Blue Orbs
Pretty much what it sounds like, three balls of electricity. I’ll update as soon as I get a decent picture of the attack.
Green Balls of Pain
He shoots out a handful of green balls which stay in the arena for a while and move back and forth. They;re pretty easy to dodge on their own, but sometimes they can move in and out of your field of vision, so be careful.
Random Beams of Exploding Death
Multiple Blue Balls will appear around the arena. You will only have a few seconds to get out of the way, because they will soon turn into pillars of light that will deal damage if you’re too close.
Most of the attacks are easy to avoid on their own. Things get tricky when multiple attacks go off at the same time, so it can be tricky to dodge them. Your best best is just to stay far far away if you’re ranged, but if you are a tank or attacker, you’re just gonna have to be vigilant and hope you have a good healer. Just keep in mind that there a good chance you can take a load of damage in a matter of seconds, so if you’re below half health, consider disengaging for a second until your healer realizes your situation.
Stage 3 Boss Phases
The boss has a series of indicators that let you know what state the boss is in. It will constantly cycle in and out of each phase throughout the fight.
Phase 1
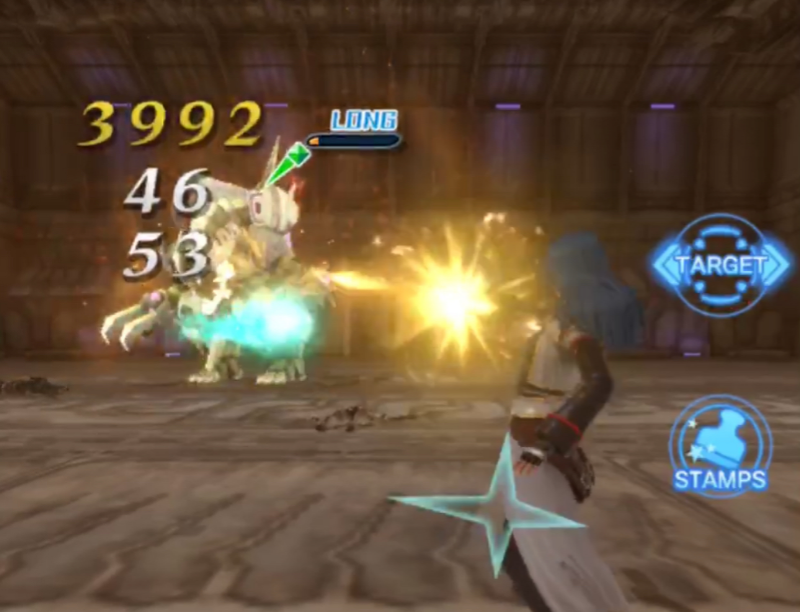
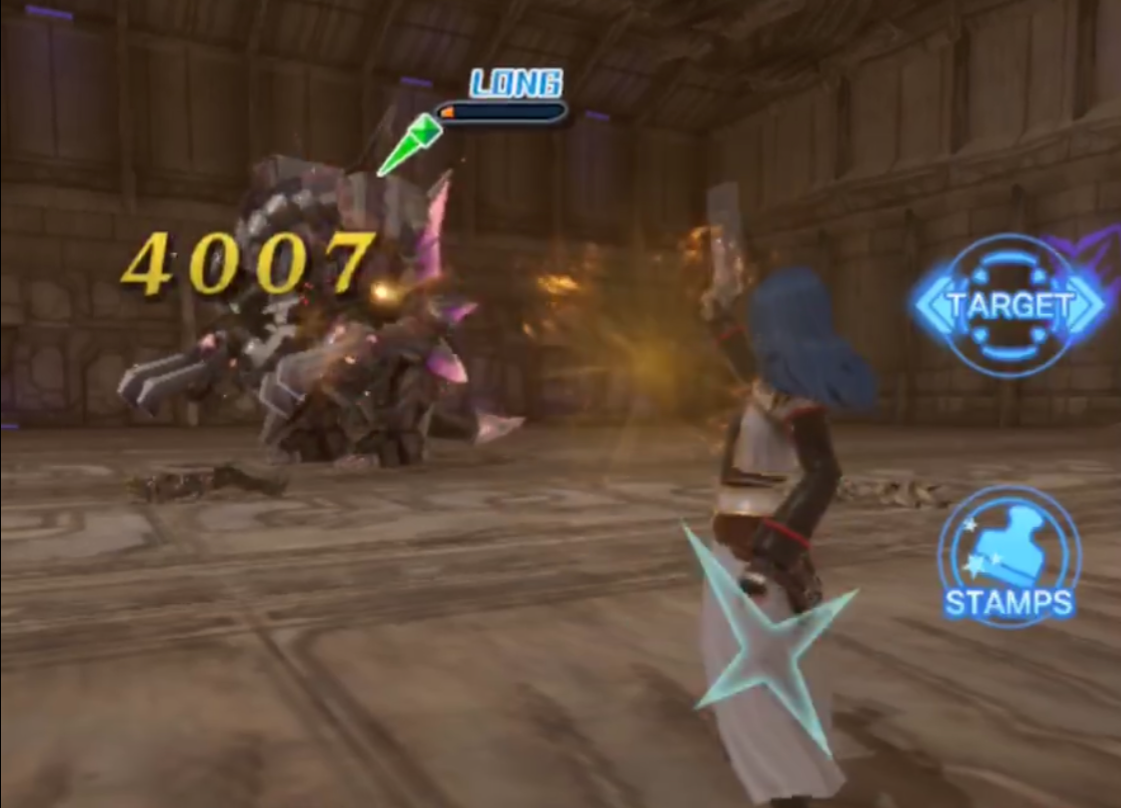
If it looks bright, this is its most powerful form. It won’t take hit stun and it seems to be more aggressive with its rate of attacks. This is the time to be playing cautiously and defensively.
Phase 2
After you beat on it for a while, it will gradually become darker. When it looks near black, its rate of attacks decreased and you are able to stun it.
Phase 3
If you score enough attacks on an enemy with symbology, skills or weapons that have an element, an elemental burst will occur and stun the enemy. This is indicated by stars moving around its head.
Usually this will take place after a Rush Mode, given the immense amount of damage dealt. This is your time to lay a beat down on the boss. If you have any characters that can hit enemies into the air, you should use them now. Depending on who is in your party, you can keep it up there for a good while. After the end of this phase however, he usually powers back up to Phase 1.
That’s it for my guide on how to complete this event successfully. Happy hunting, and be sure to check out the other Star Ocean Anamnesis guides on GameSkinny!





Published: Jul 14, 2018 04:43 pm