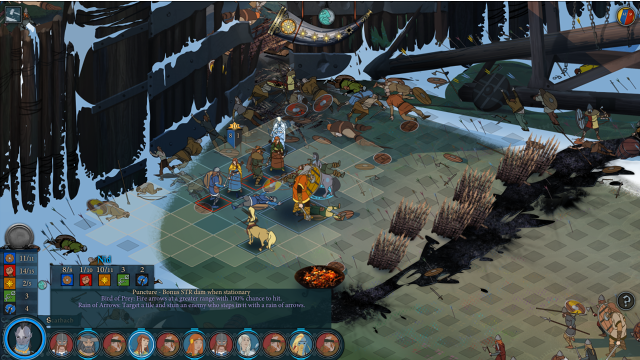
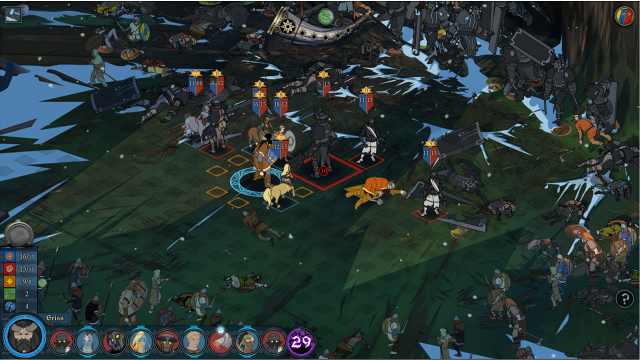
The one big new addition in The Banner Saga 3 is waves combat, which is a sort of quasi-endless battle. Enemies come in waves: after fighting a mandatory first wave, you choose whether you want to stay and fight additional waves or flee with what you have. Fighting through all the waves earns you more renown (the game’s currency) and a rare item.
Wave combat really exemplifies the risk vs reward philosophy of the series, and it’s a great addition to the game. Here are a few tips on using waves combat battles to your advantage.
Minor spoilers for The Banner Saga 3 follow.
General Tips
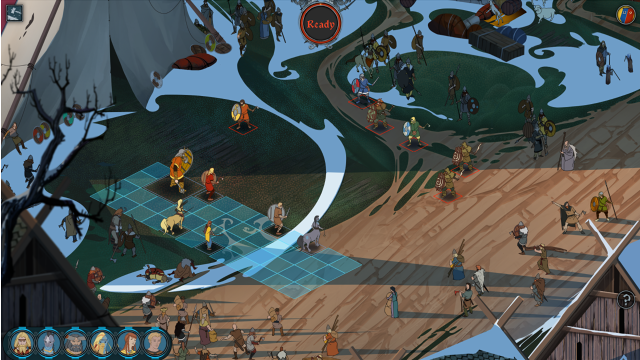
Before each round, you’re given the opportunity to arrange your heroes on the battlefield. Placing your varl in front and forming a shield around your weaker units allows them more protection when the enemies come in. If you have ranged units, they can still attack from behind the varl when enemies get close.
Because of their extraordinary blocking abilities, varl are the most important allies to keep alive. They’re capable of taking the most hits and dealing the most damage, so they’re invaluable when trying to fend off large enemy waves.
While you may want to try to fight as many waves as you can, it’s important to remember that any units that fall in combat will be injured until you get another chance to rest. This holds especially true in the Darkness journey chapters, where you’re never sure where you’ll get your next opportunity to rest. It’s a good idea to use characters you don’t normally use, so if they become injured, your best fighters aren’t affected.
When you have a chance to bring in reinforcements, think about your strategy for the previous round and how it went. If your units were getting killed too easily, swap in a few varl for more tank power. If the enemies seemed to be focusing on your units’ shields, including a mender would also be a good idea.
The most important thing is to learn from the previous round and adjust your strategy for the rounds to come. Allies that remain on the battlefield do not heal between rounds, so that’s another reason to include a mender in the second round if you hadn’t already.

In these battles, willpower is best used for attacks and abilities. Using it to move farther may put a unit at risk to be surrounded, which can result in a quick loss.
Save your willpower for tearing down enemies’ shields and strength. It is restored each round depending on your units’ morale, but be mindful of using it all during the first round if you plan to use the same units in later rounds.
Health and strength are one combined stat. Because enemies’ strength decreases as their health decreases, it can be a good idea to attack several different enemies and get their health/strength down a little bit rather than focusing on one enemy. Focusing on one enemy leaves you vulnerable to other units whose health/strength you haven’t whittled down yet.
It might be tempting to fight your way through wave combat battles as soon as they become available, but it’s a good idea to wait until you have a better idea of how your units work and which are best for your fighting style. This also gives you a chance to promote them and give them new titles, which provide perks that can be used in these battles.

Take into consideration the size and shape of the battlefield as well as environmental hazards during a wave combat battle. While varl are good fighters and excellent tanks, it’s difficult to maneuver them through small and narrow battlefields, particularly when environmental hazards are present. In that case, it’s better to have smaller and more nimble units, like horseborn, in your party.
You won’t know a battle is wave combat until you defeat all the enemies in the first round. This makes things difficult, because if you intend to continue to fight waves, it’s important to play defensively and preserve your units’ strength and shields.
A good way to tell if a battle is wave combat is if the enemies seem a little easier than the ones you’ve fought in other battles. Since waves combat battles have multiple rounds, the enemies in each round are a little weaker to make up for there being more of them. If the enemies seem a decent bit weaker, there’s a good chance you’re in a waves combat battle.
Story-Specific Tips
Arberrang
You can be a little more daring in wave combat battles during the Arberrang chapters because you have more units to choose from, which means there’s less of an issue if some of your units are injured. You also have easier access to items at Arberrang’s marketplace, making the items you may win here less important; you’re also more likely to get a chance to rest, which means that unit injury isn’t as big of a deal as it is in the Darkness chapters.
Using allies’ abilities effectively is key to succeeding in wave combat battles; they can help rearrange enemies or deal extra damage. Gudmundr’s Bloody Flail ability is an excellent choice for the Arberrang battles because it cuts down enemy armor and strength at the same time. It’s good to use when he’s near death because its power isn’t affected by his current strength.
Willpower flows more freely in Arberrang wave combat thanks to the ability to restore one willpower to a unit following a kill. Enemies certainly won’t be conservative with their willpower, so feel free to use yours to strike back just as hard. Willpower can also be used effectively with abilities, and they pack more punch if you use more willpower.

The Darkness
If you’re fighting a wave battle in the Darkness chapters, Juno is always a good choice. Not only does she act as a pseudo-tank by absorbing damage with her willpower, but she can also revive herself if she’s killed. She doesn’t do a lot of damage, but having a character that can come back to life repeatedly is extremely useful.
Warped bears should be priority targets in the Darkness chapters’. They’re almost more tanky than varl and have a lot of strength available to them. Use your willpower to enable abilities to confuse them or deal extra damage to ensure they don’t run behind your tanks and destroy your weaker units.
A good unit ability to use in Darkness battles is Apostate’s Umbrage. It takes time to cast but grants all alive allies at least 3 strength (depending on the amount of willpower used during the cast). It also subtracts armor from allies, so there’s a trade-off, but it’s useful for granting your units additional last-minute strength to fight through a battle.
—
Juggling wave battles with the other needs of your party can be difficult, especially in a game like The Banner Saga where resource and unit management is paramount to victory.
You may not do so well in your first battle or two, but by the time the late game rolls around, you’ll be much more comfortable with the strengths and weaknesses of your units and the risks you can take in these battles. Hang in there, and good luck with The Banner Saga 3!


Published: Jul 17, 2018 12:04 pm