While Uncharted 4: A Thief’s End has the resilient Nathan Drake and his team hunting for Henry Avery’s long-lost treasure, Drake is never one to adventure without finding other little artifacts en route to the big, golden pay day. As seasoned players of the past three games can testify, the fourth installment rightfully includes secret treasures hidden off your beaten path, which only your trusted instincts and curiosity can help you discover.
We’ve been hooked since we received early access, and as we dive, climb, and shoot our way through the gorgeous canyons and posh villas, we began jotting down instructions on where to find the lovely treasures hidden through out the game. As such, we’ll continue to update this page as more trinkets are recovered.
Uncharted 4 Treasures by Chapter
Chapter 1
No Treasures
Chapter 2
Number of Treasures: 2
1. After Vargos sets you free, head to the location where your grapple is hidden. You will see a deep well that you can jump into. You’ll find a Panamanian Cat Pendant hidden in the corner.
2. Before making it to the tower, inside a small room with a set of broken stairs and a letter, the Najava Folding Knife can be found next to one of the columns.
Chapter 3
Number of Treasures: 4
3. From the start of Chapter 3, swim forward until you see a large log held up by two rocks. The Chiriqui Shark Trinket can be found right below it.
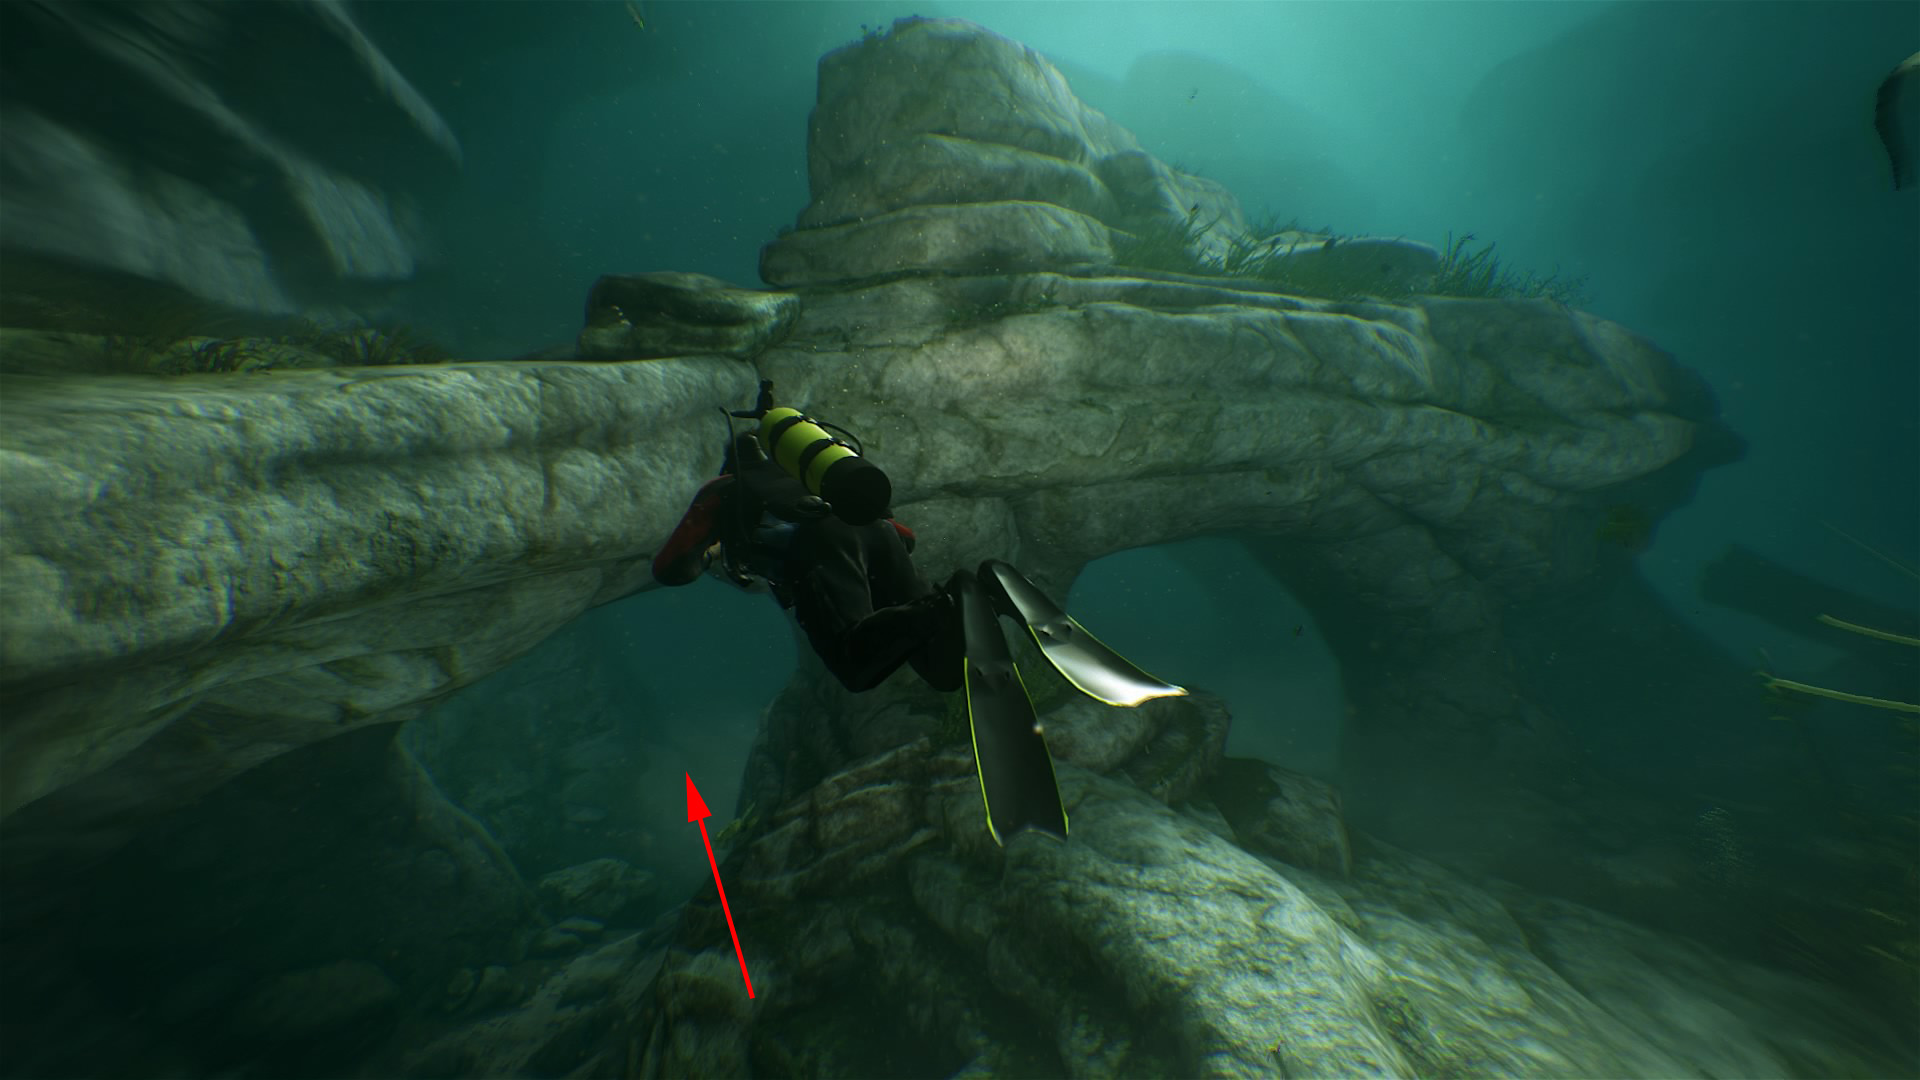
4. Swim further and looking for rock structure with a hole. Just past it on the ground is the Antique Padlock. Hard to miss.
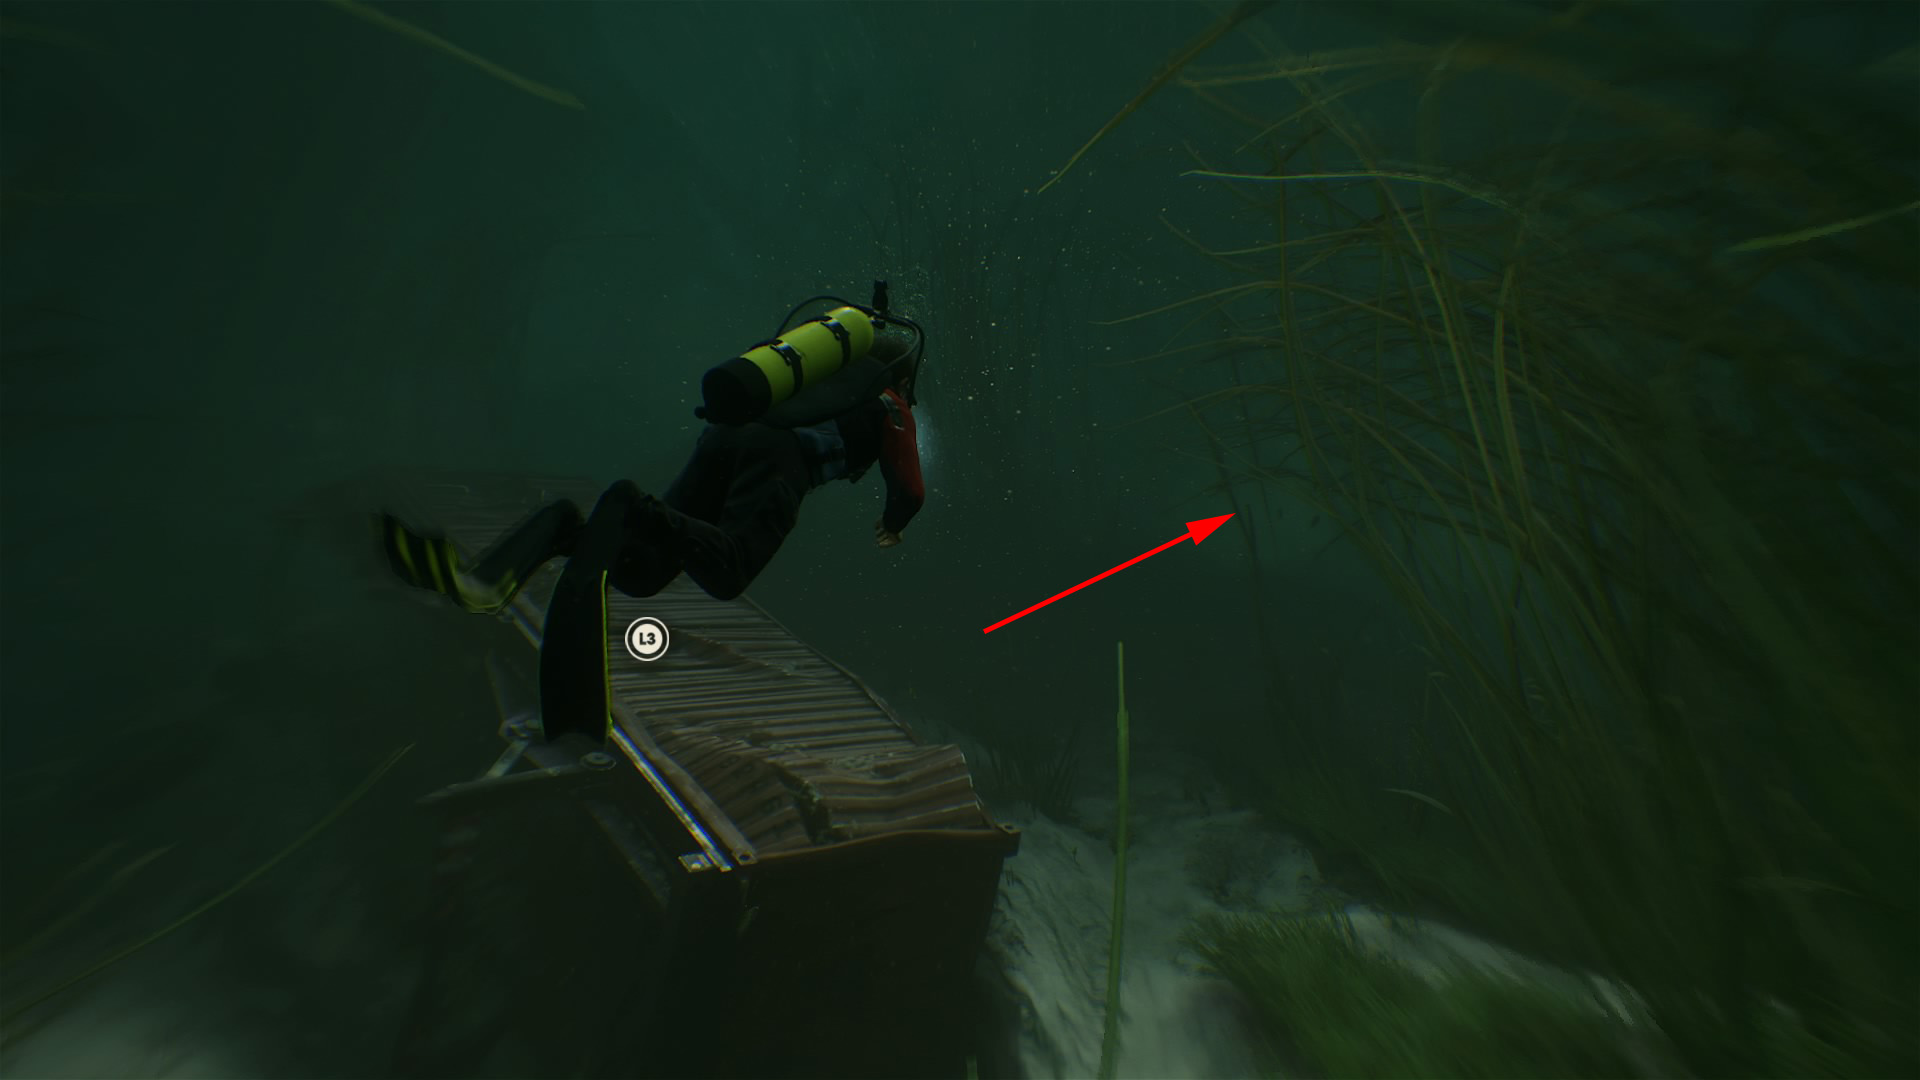
5. Once you have reached the submerged train, head north from the topside of the train, past the weeds towards the rocks. An Antique Pocketwatch sits against the wall.
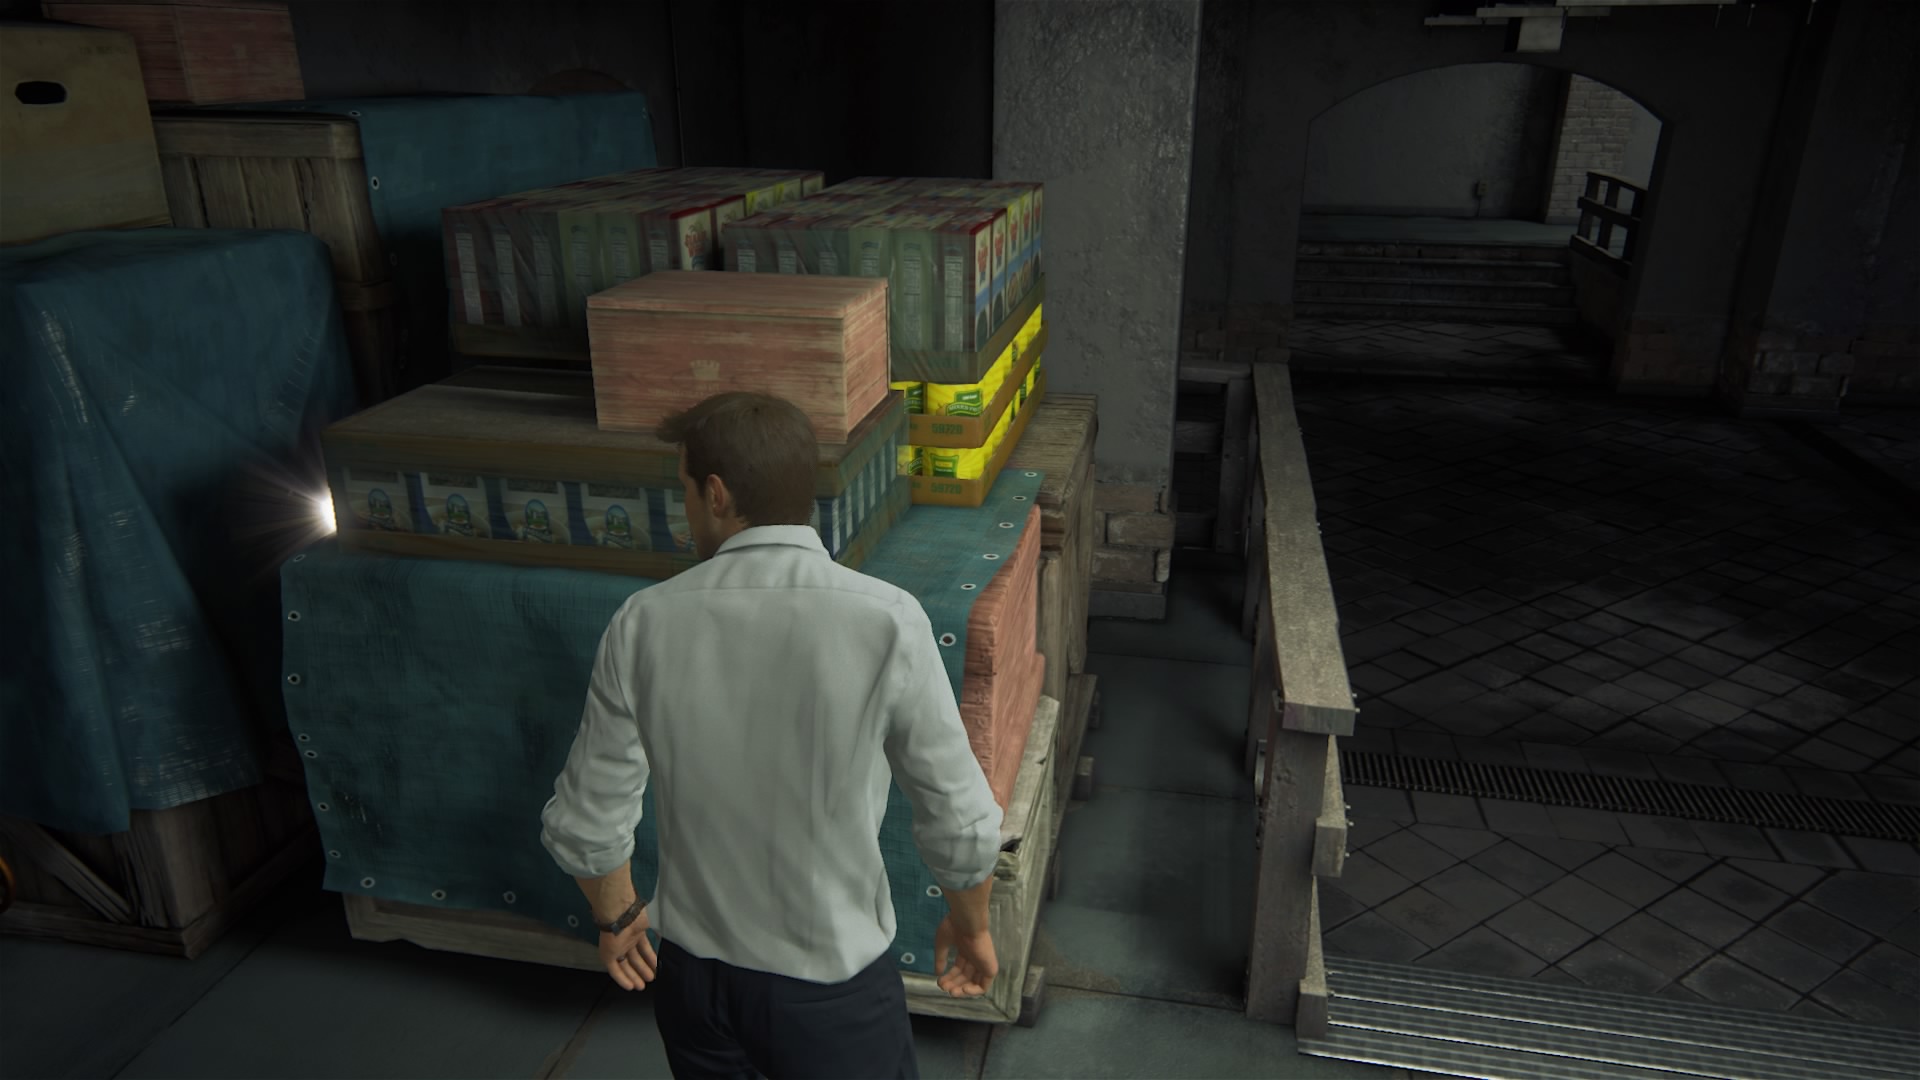
6. On the boat, head up the stairs and take a look at the shelving on the right to find the Antique Arcade Token.
Chapter 4
No Treasures
Chapter 5
No Treasures
Chapter 6
Number of Treasures: 9
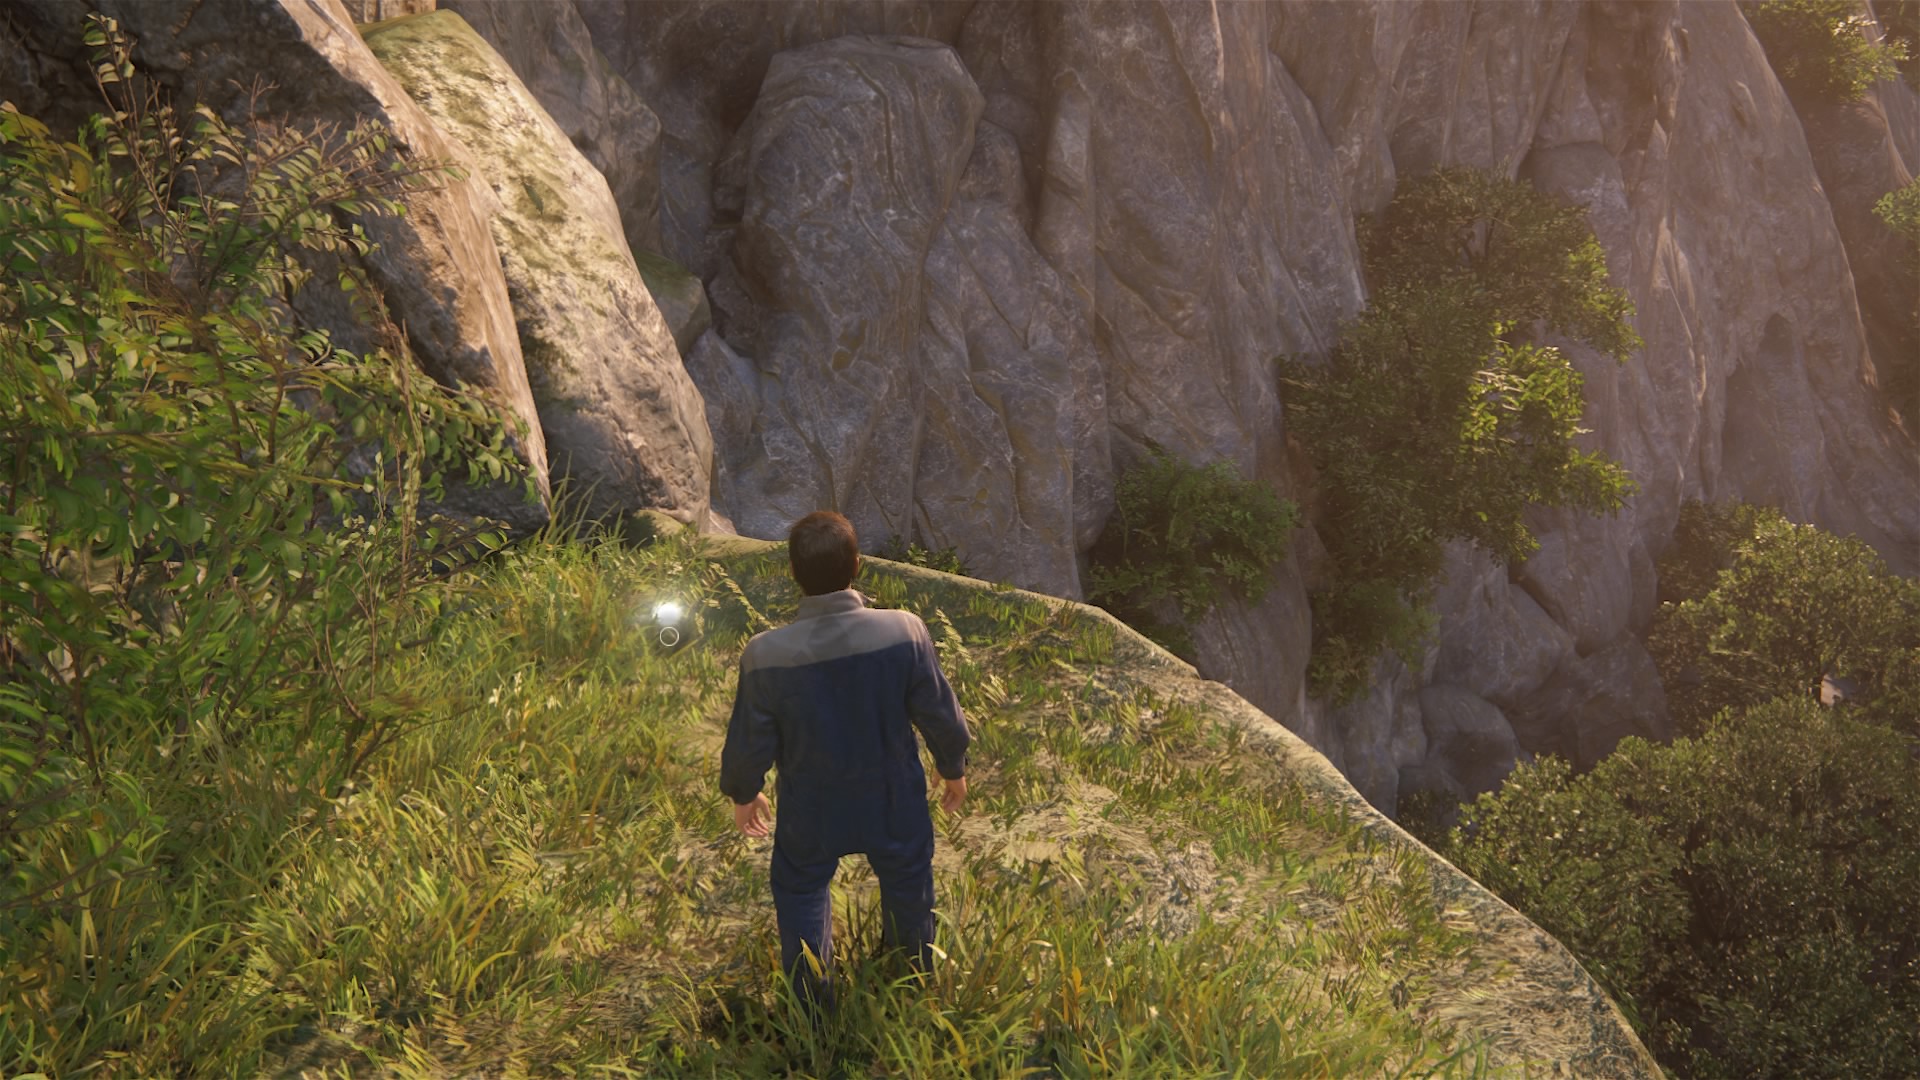
7. Follow the path from the start of the chapter. Once you hit the fork in the road, with the villas to the right, instead head left and look to the ground near the cliff on the left to find the Mughal Water Container.
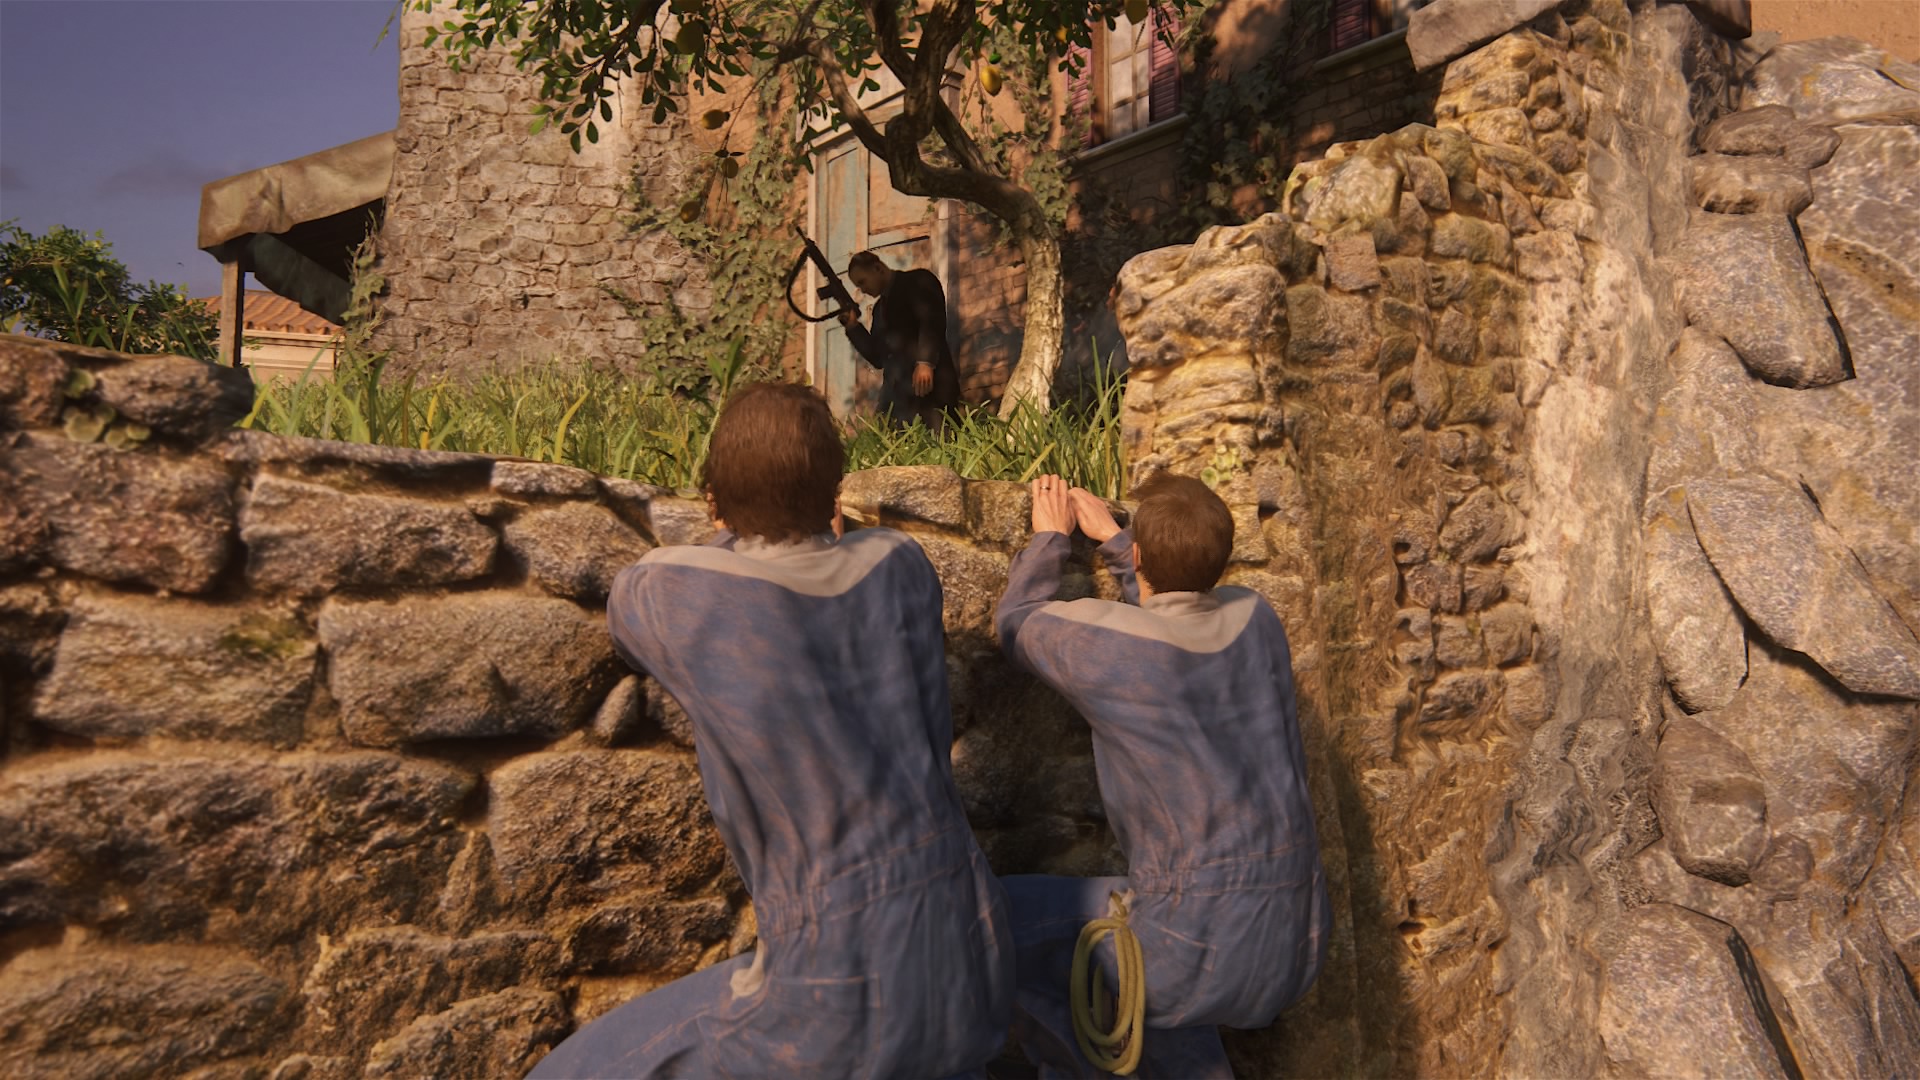
8. After the first set of guards leave, head straight ahead towards the pear tree. A Nephrite Brass Cup sits against the boarded window.
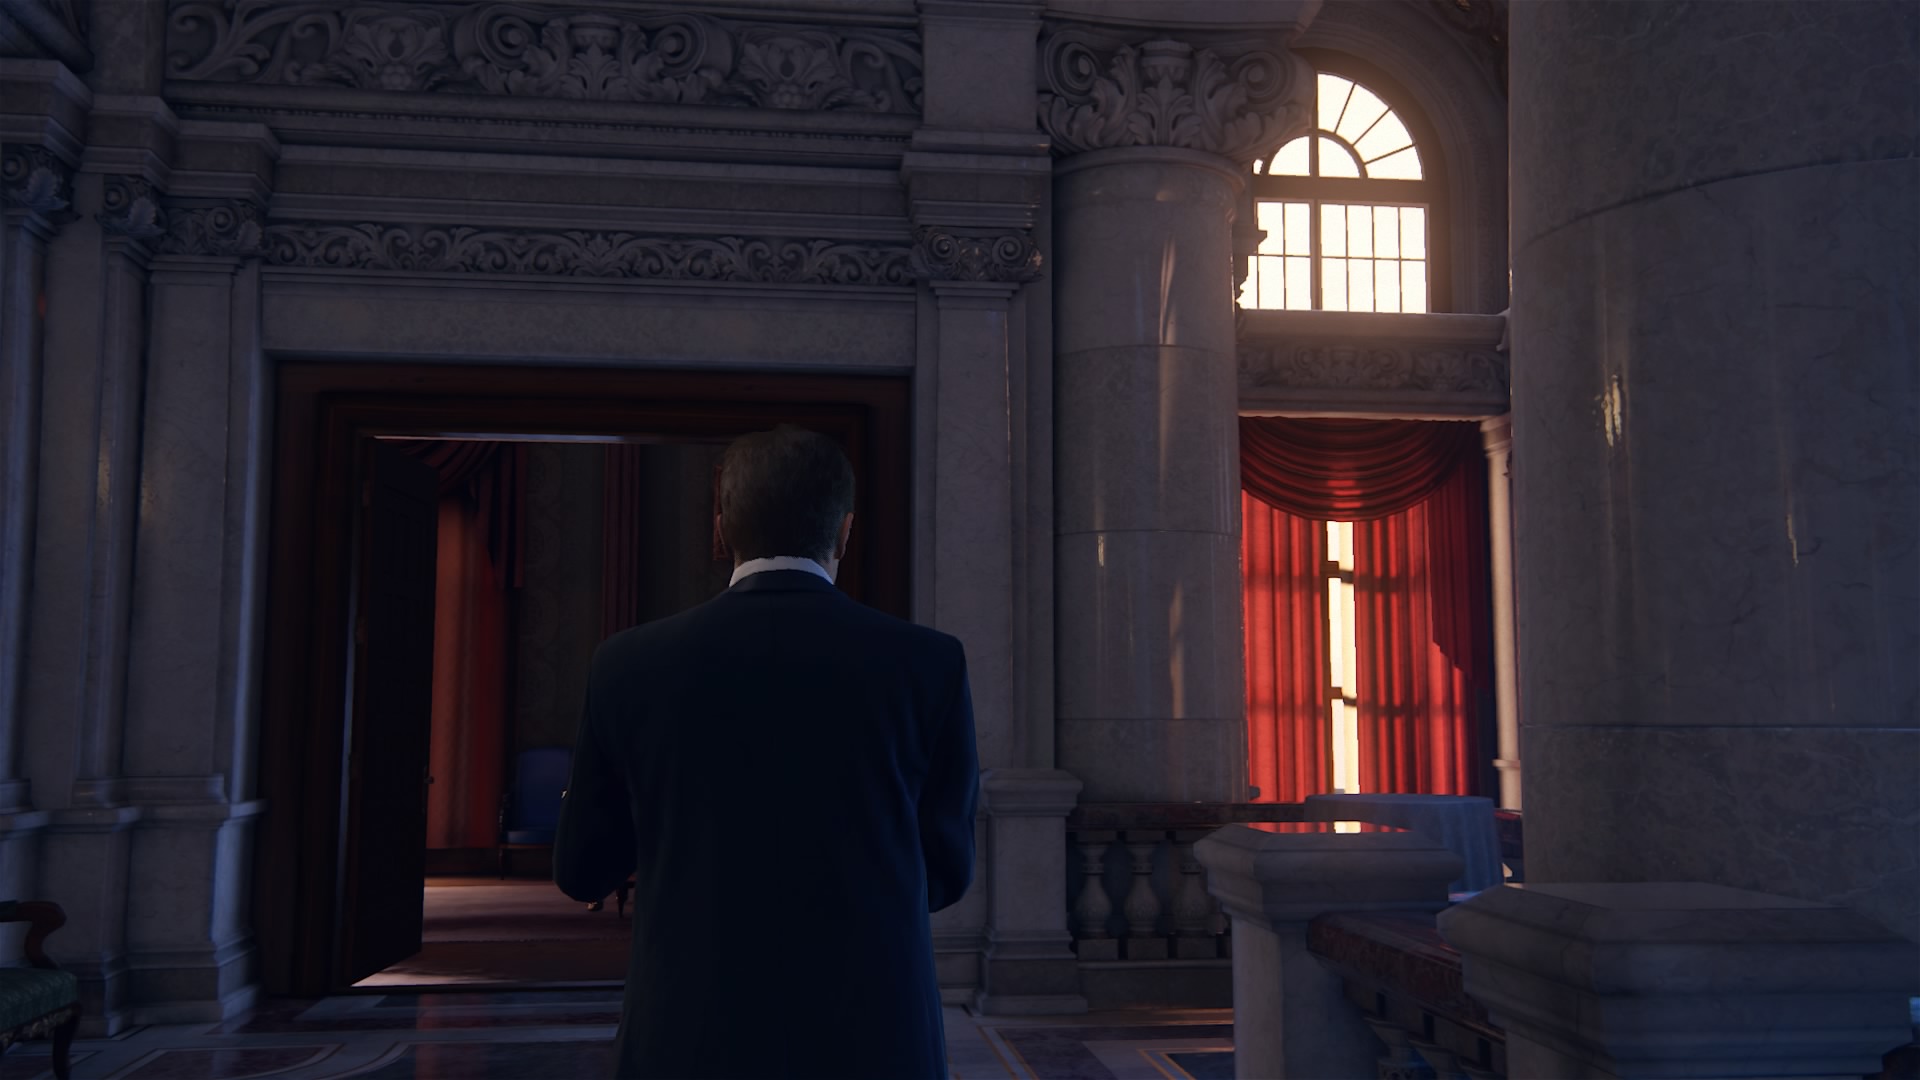
9. Once the heist begins from inside the mansion, instead of following Sullivan and Sam, turn around and head into the study behind you. You will find the Viking Cloak Clask on a desk ripe for the taking.
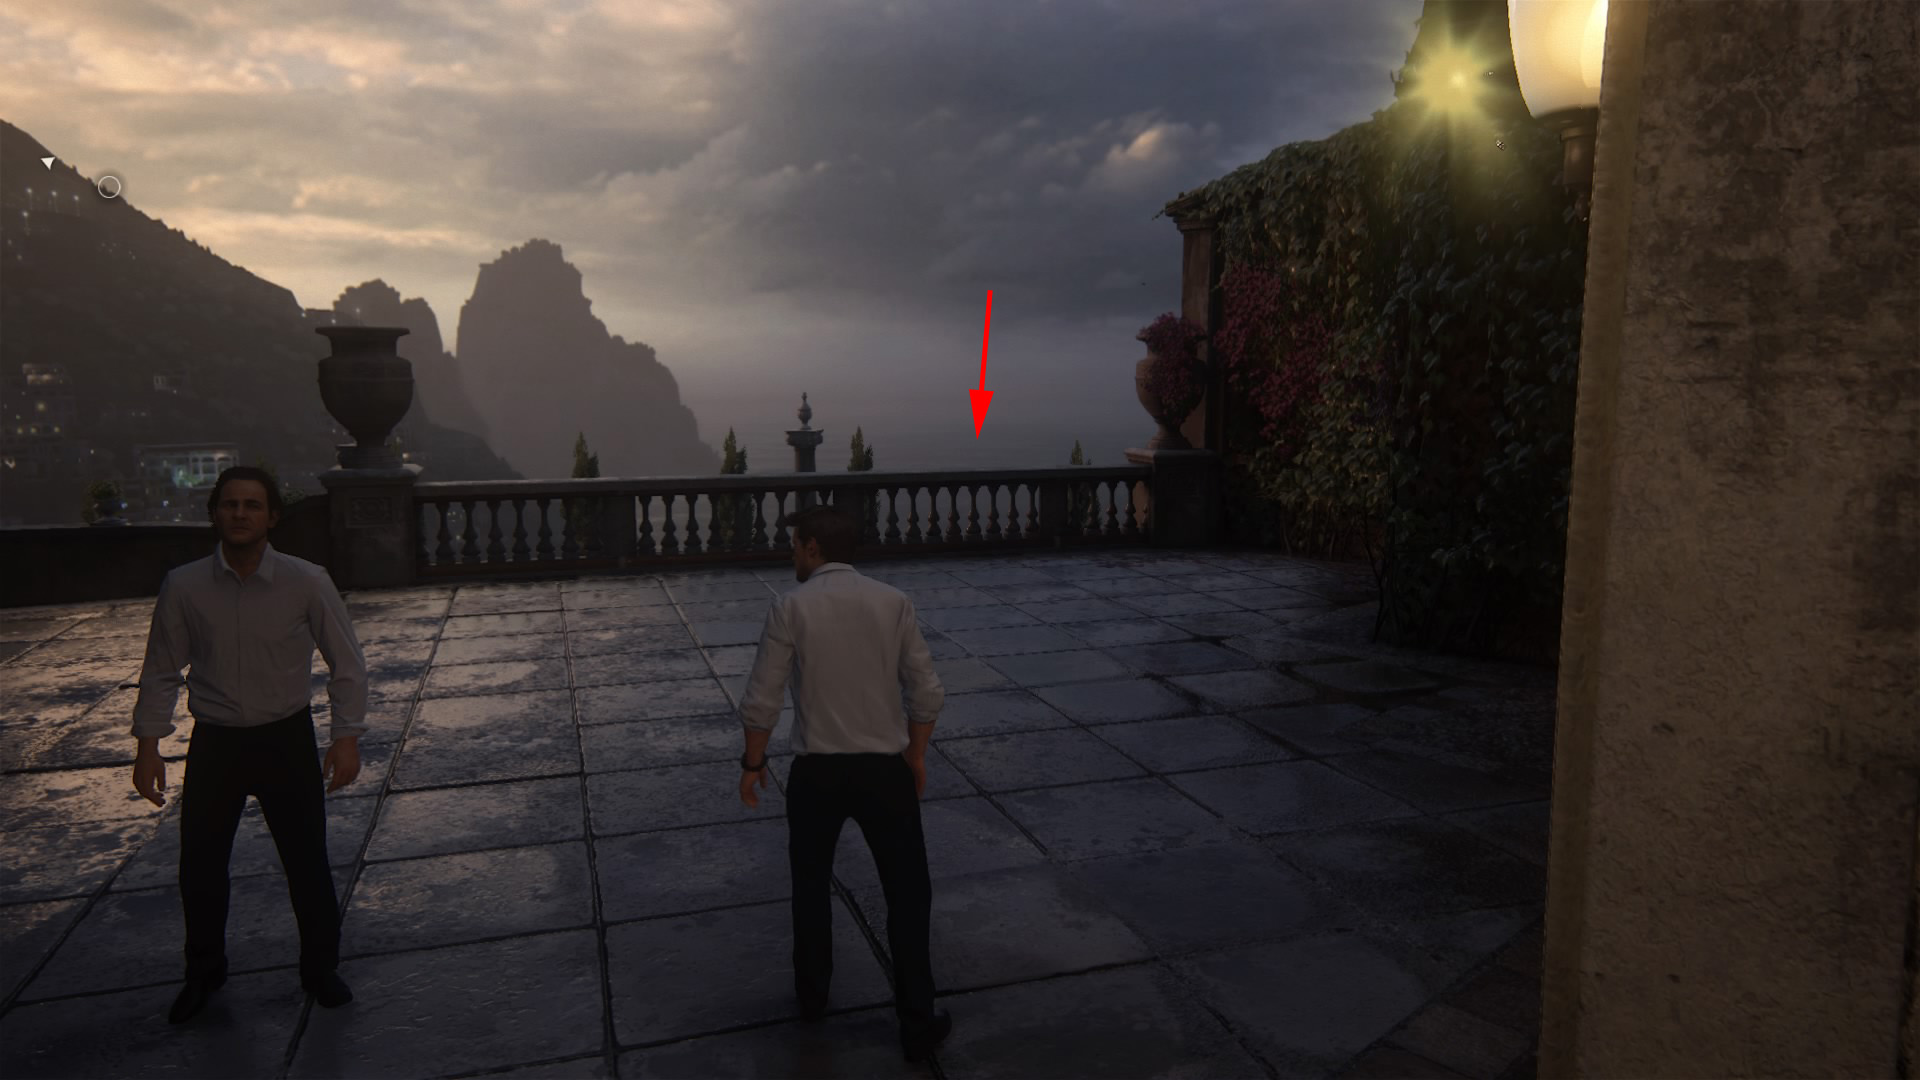
10. Return to following Sullivan and Sam. After squeezing past the group of people, hang right towards the open balcony entrance. To your immediate right is the Mother of Pearl Horn on the ledge.
11. In the cellar, follow Sam until you enter a room with folded tables in the lit area to your left. Head up the stairs and find the Persian Bronze Bowl on your right sitting on a table.
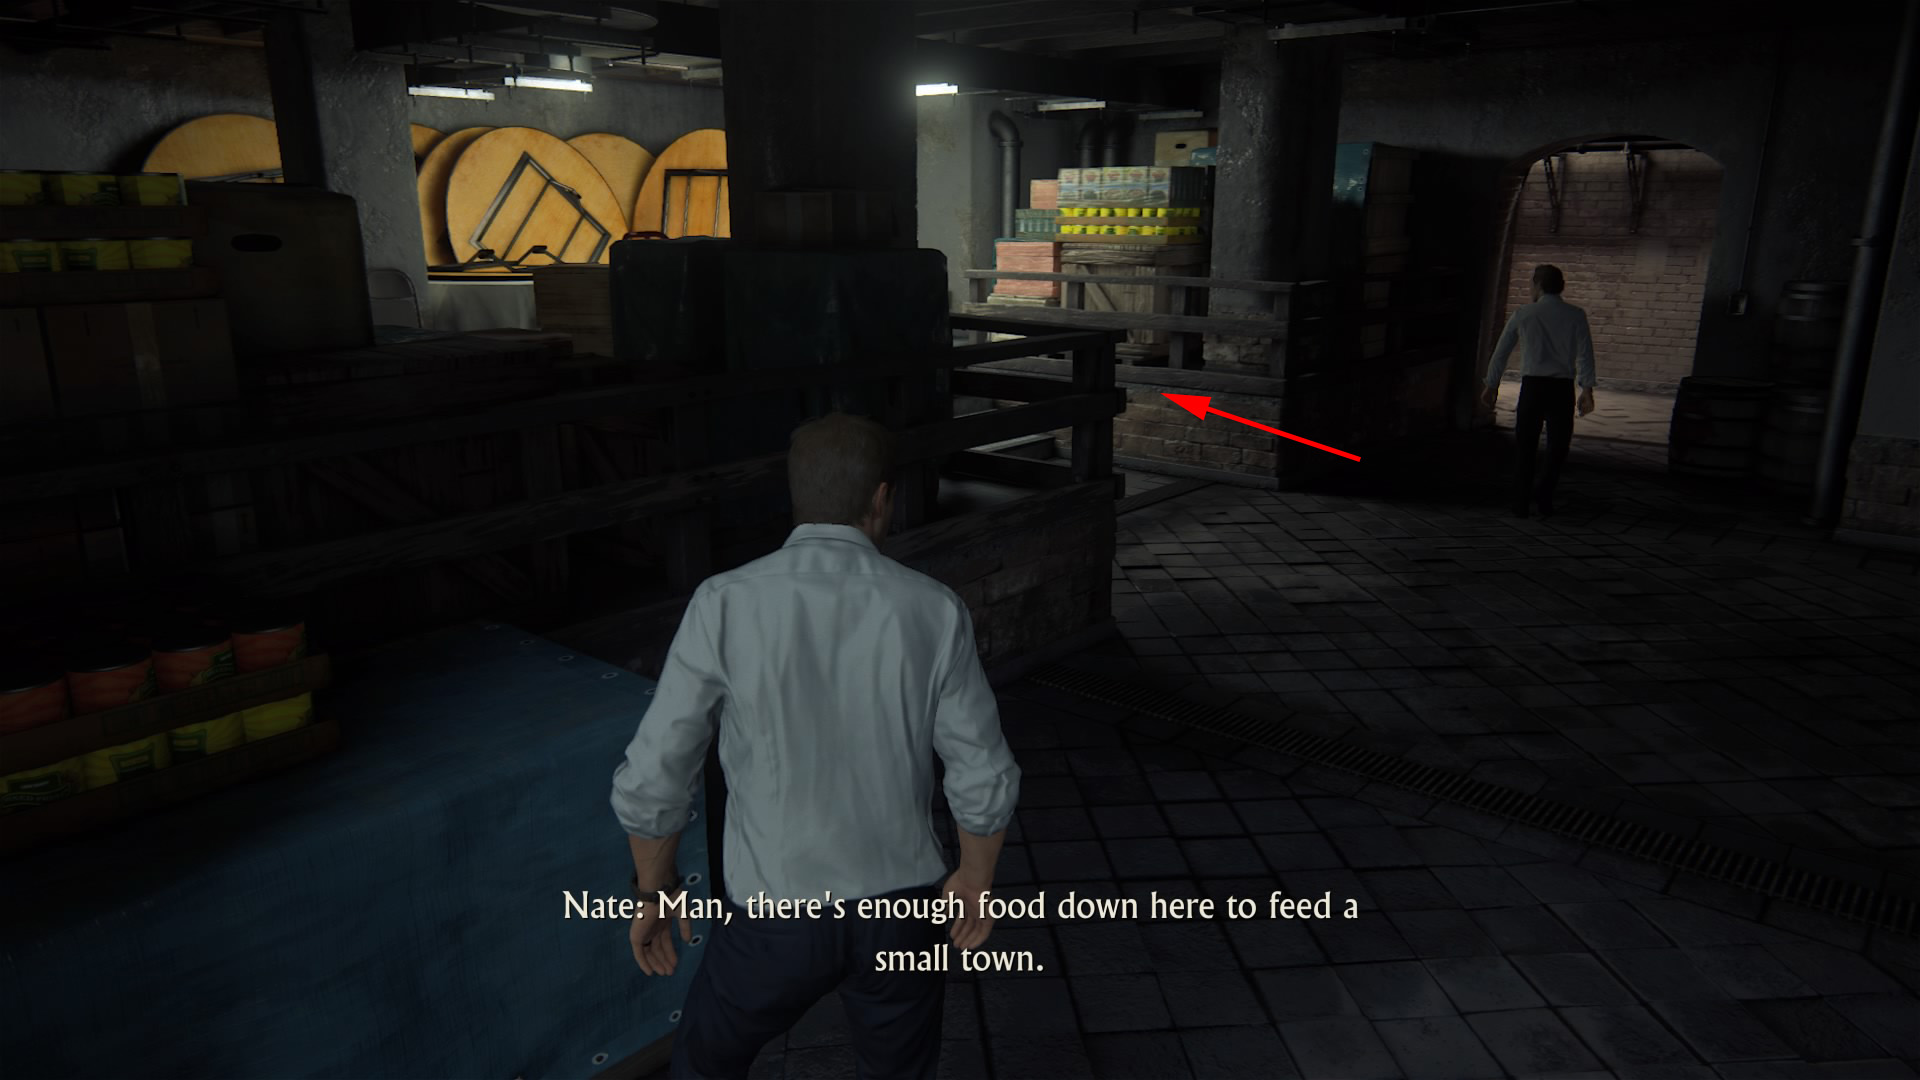
12. Follow Sam forward and head down the set of stairs. Once at the bottom, turn around and head under the stairway to find the Brass Barber’s Bowl.
13. After taking a glimpse of the cell (radio?) tower through the locked gate, turn around and drop down to the balcony behind you. To your right, scale the wall and head right around the corner. Afterwards, you can drop down to the small rooftop below and grab the Syrian Vase off the ground.
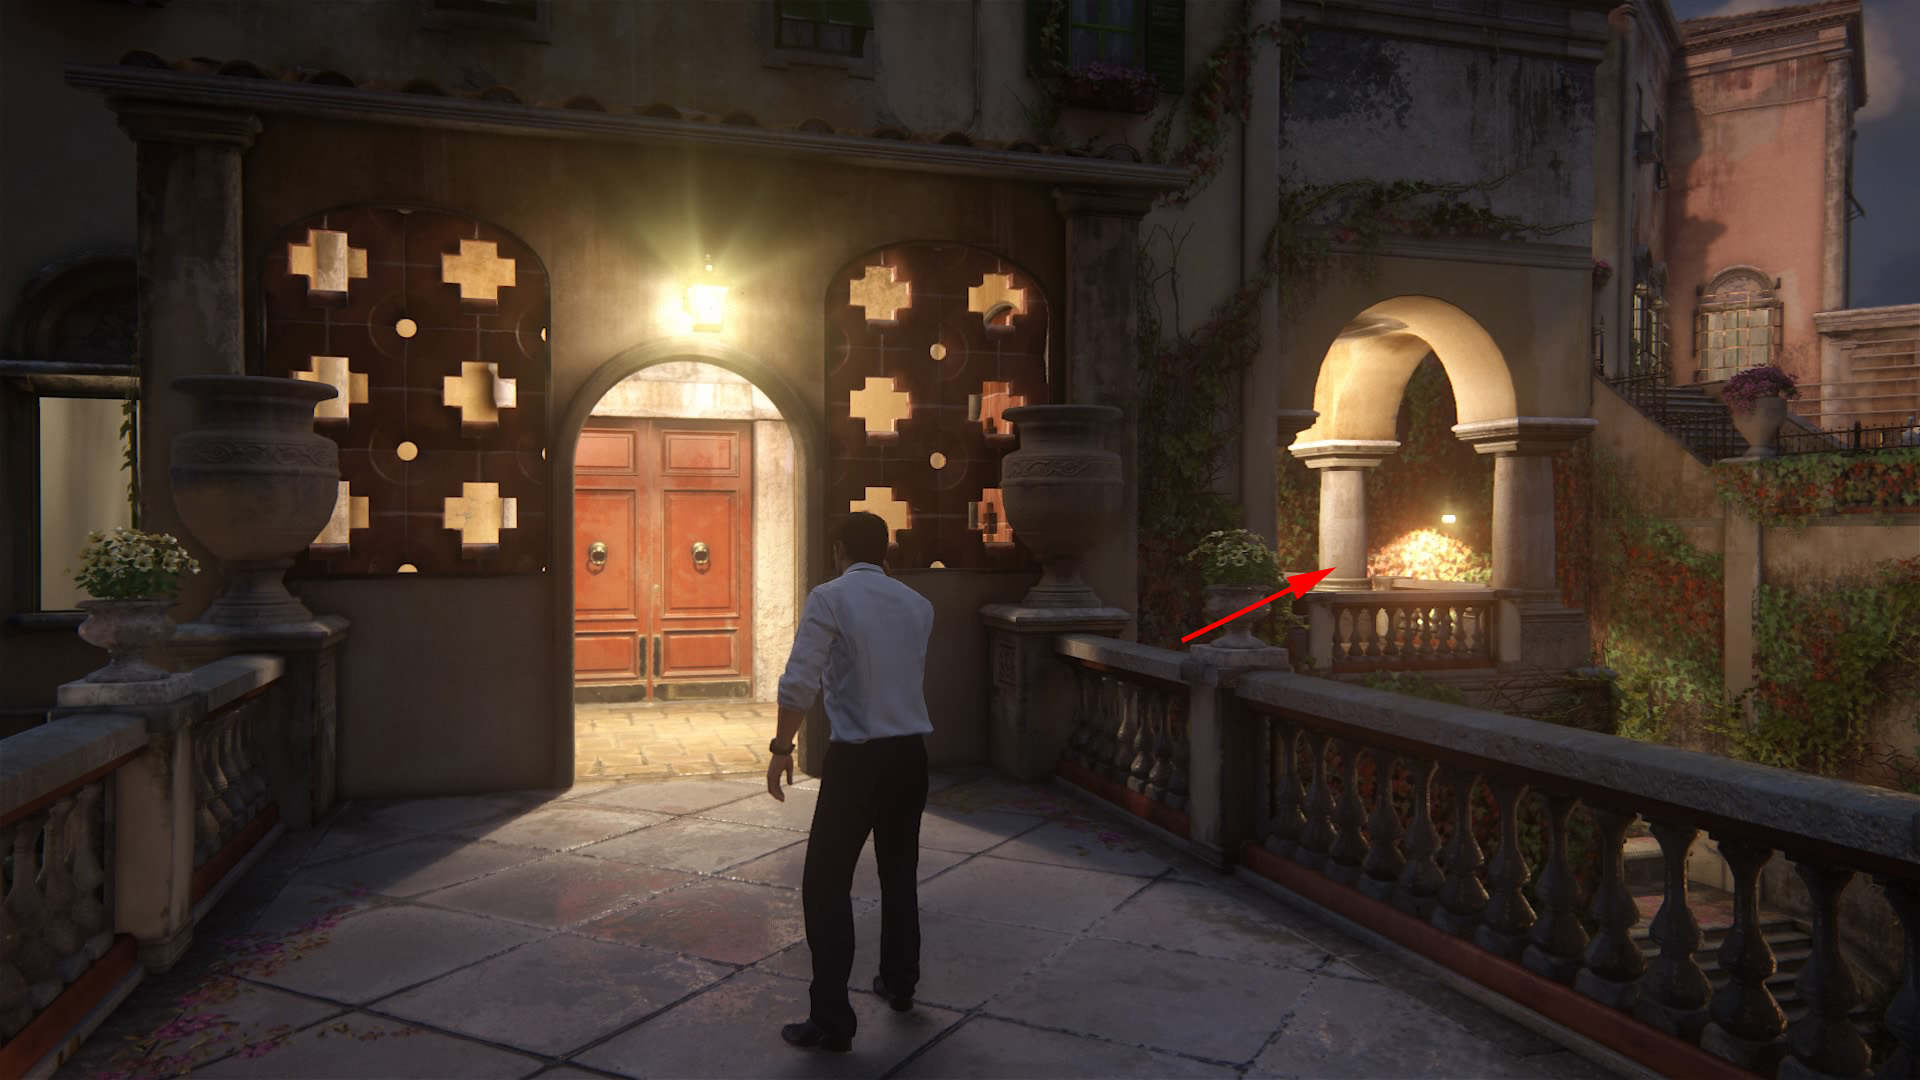
14. When Sam drops the ladder down to you, and Nathan attempts to unsuccessfully contact Sullivan, rather than follow Sam, hang a left. Climb to the first roof, and jump to the adjacent balcony. You will find another hidden treasure on the ledge.
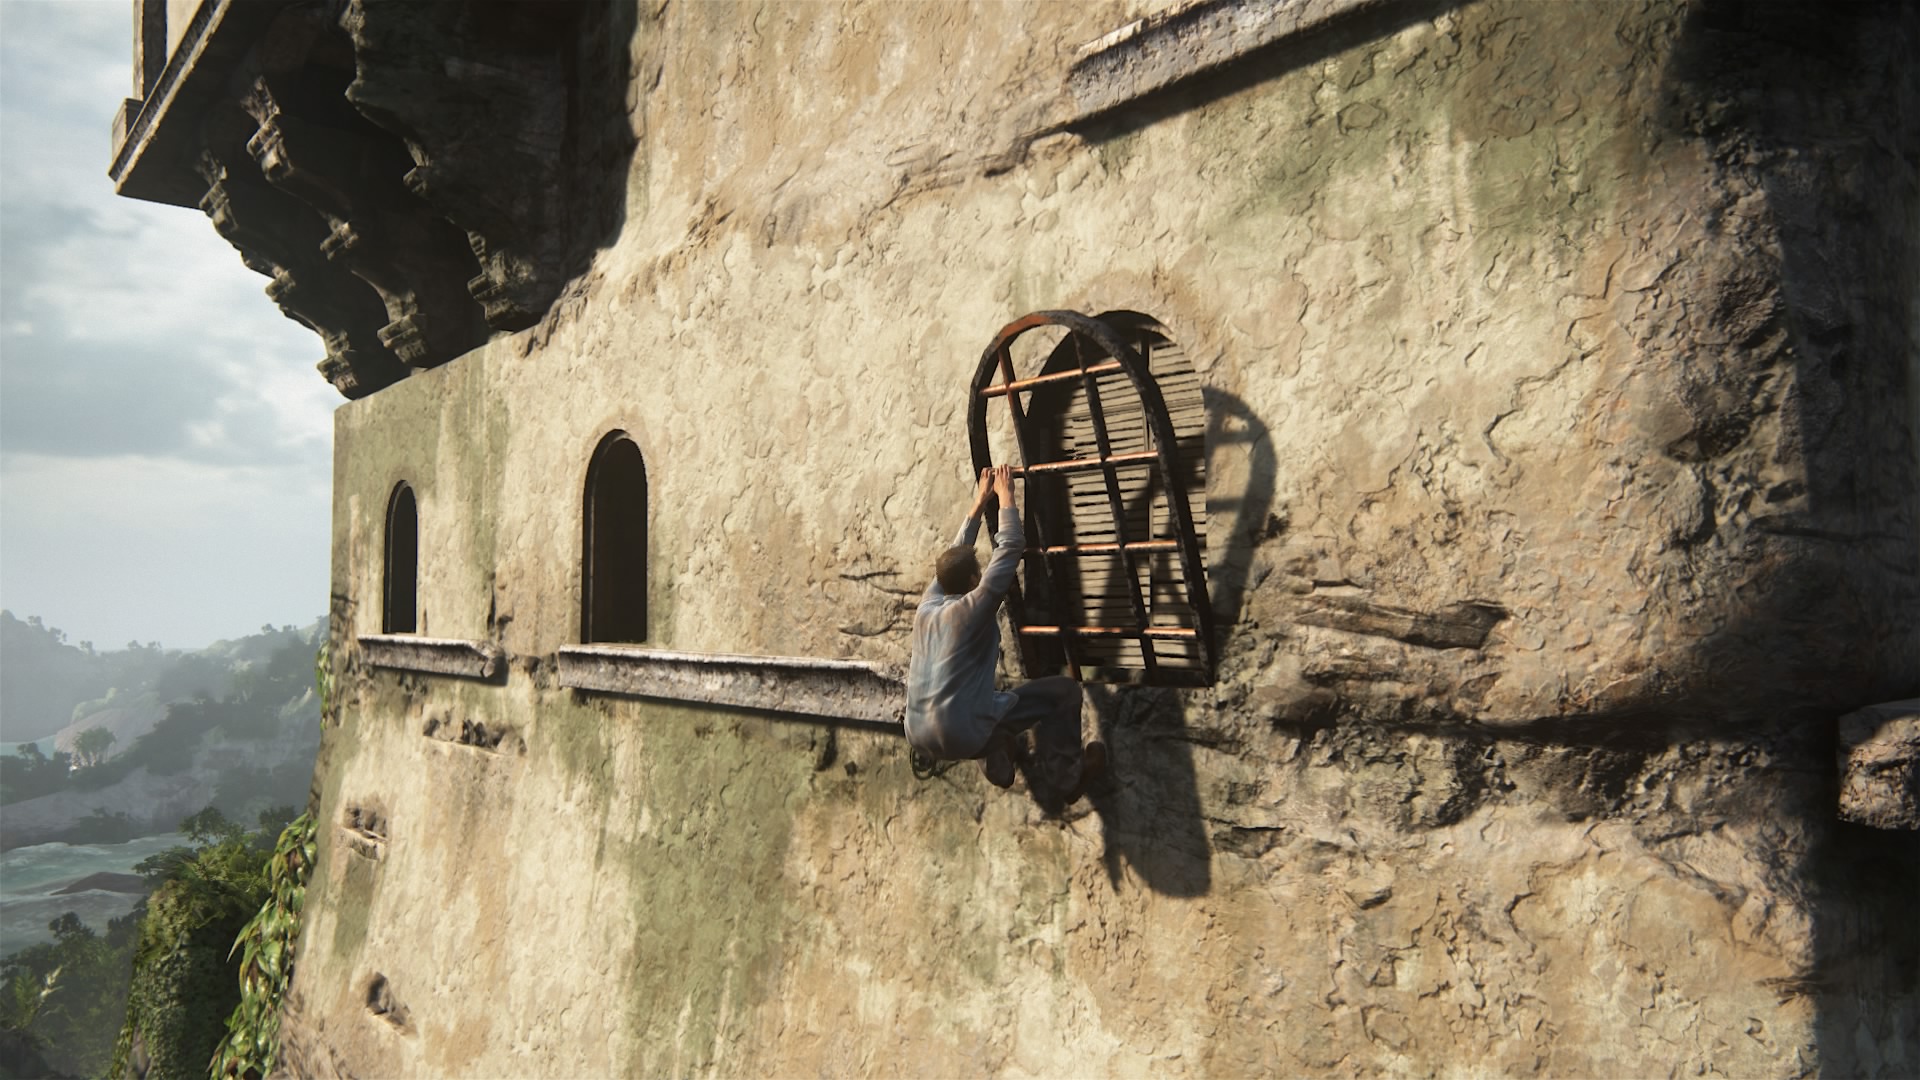
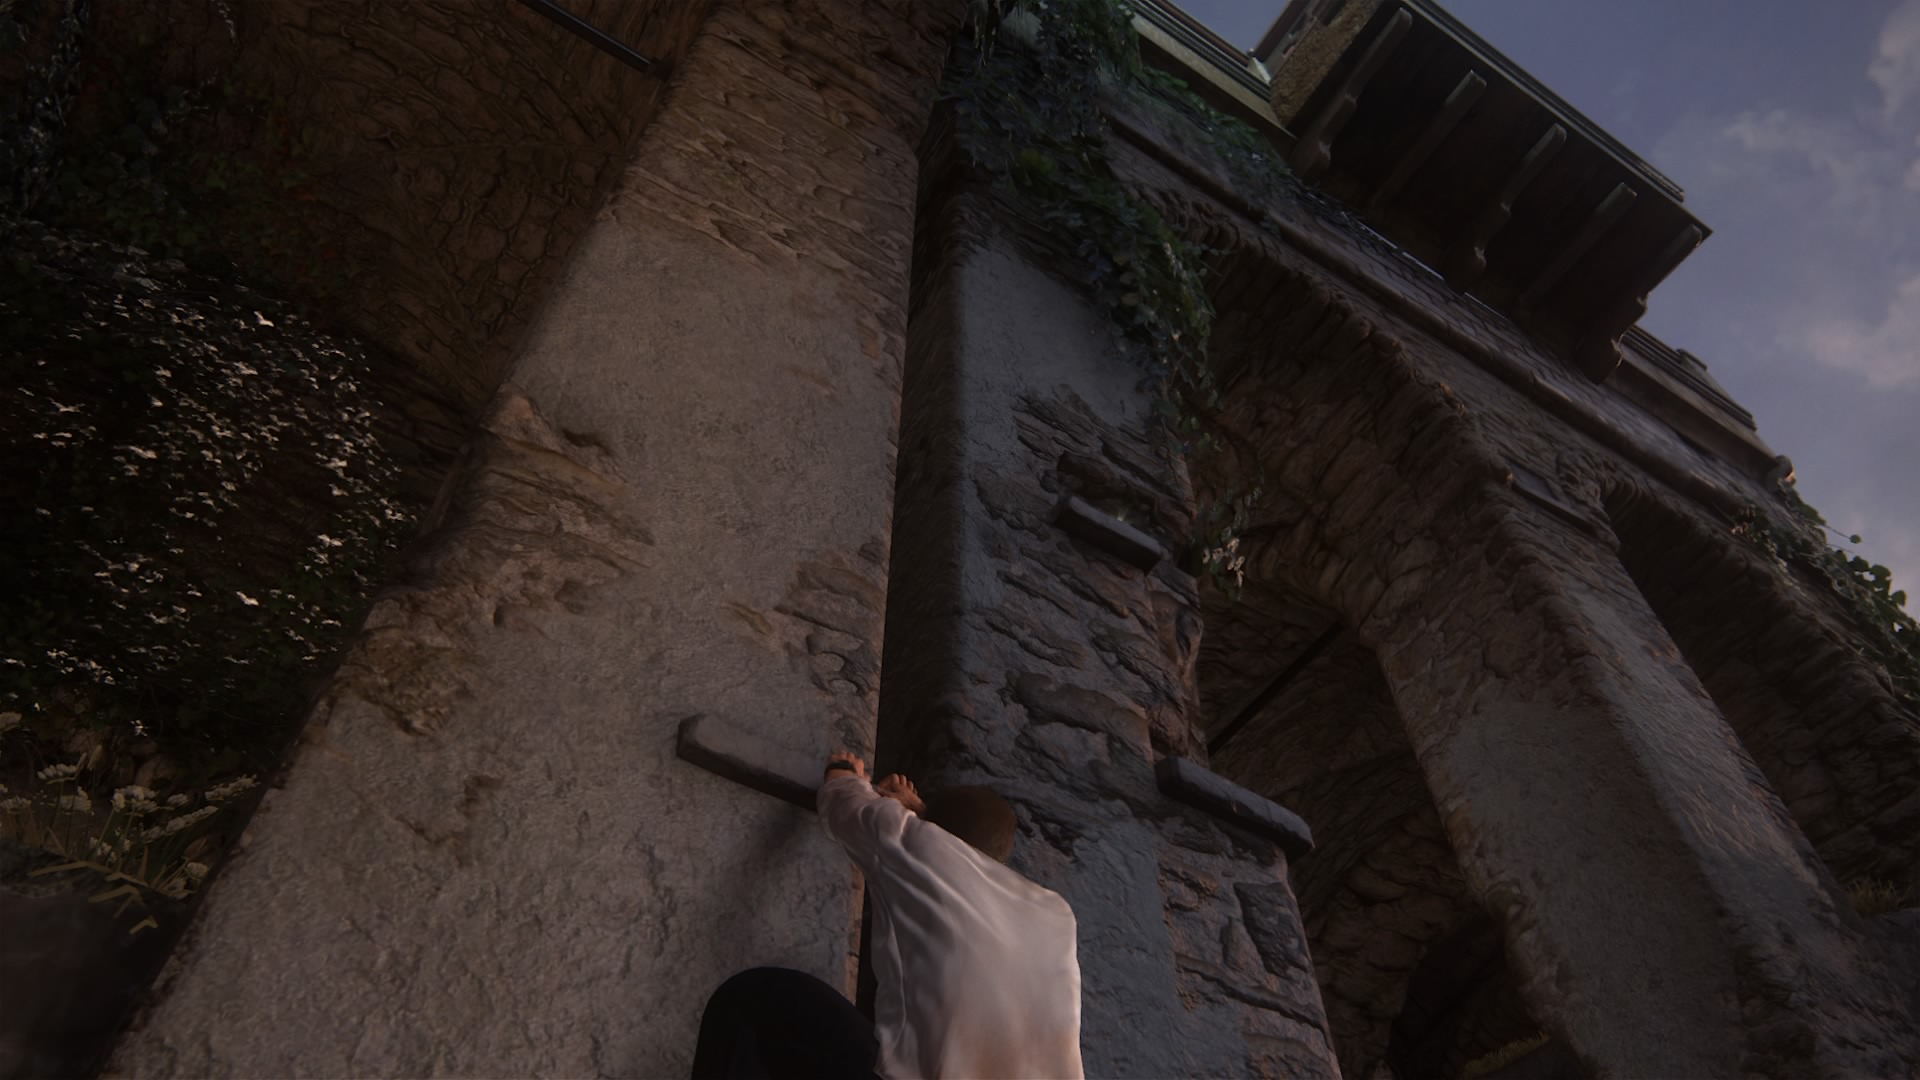
15. Swinging from pole to pole, land onto the platform and hang off the ledge ahead then climb right then up the wall to grab the Mughal Dagger.
Chapter 8
Number of Treasures: 11
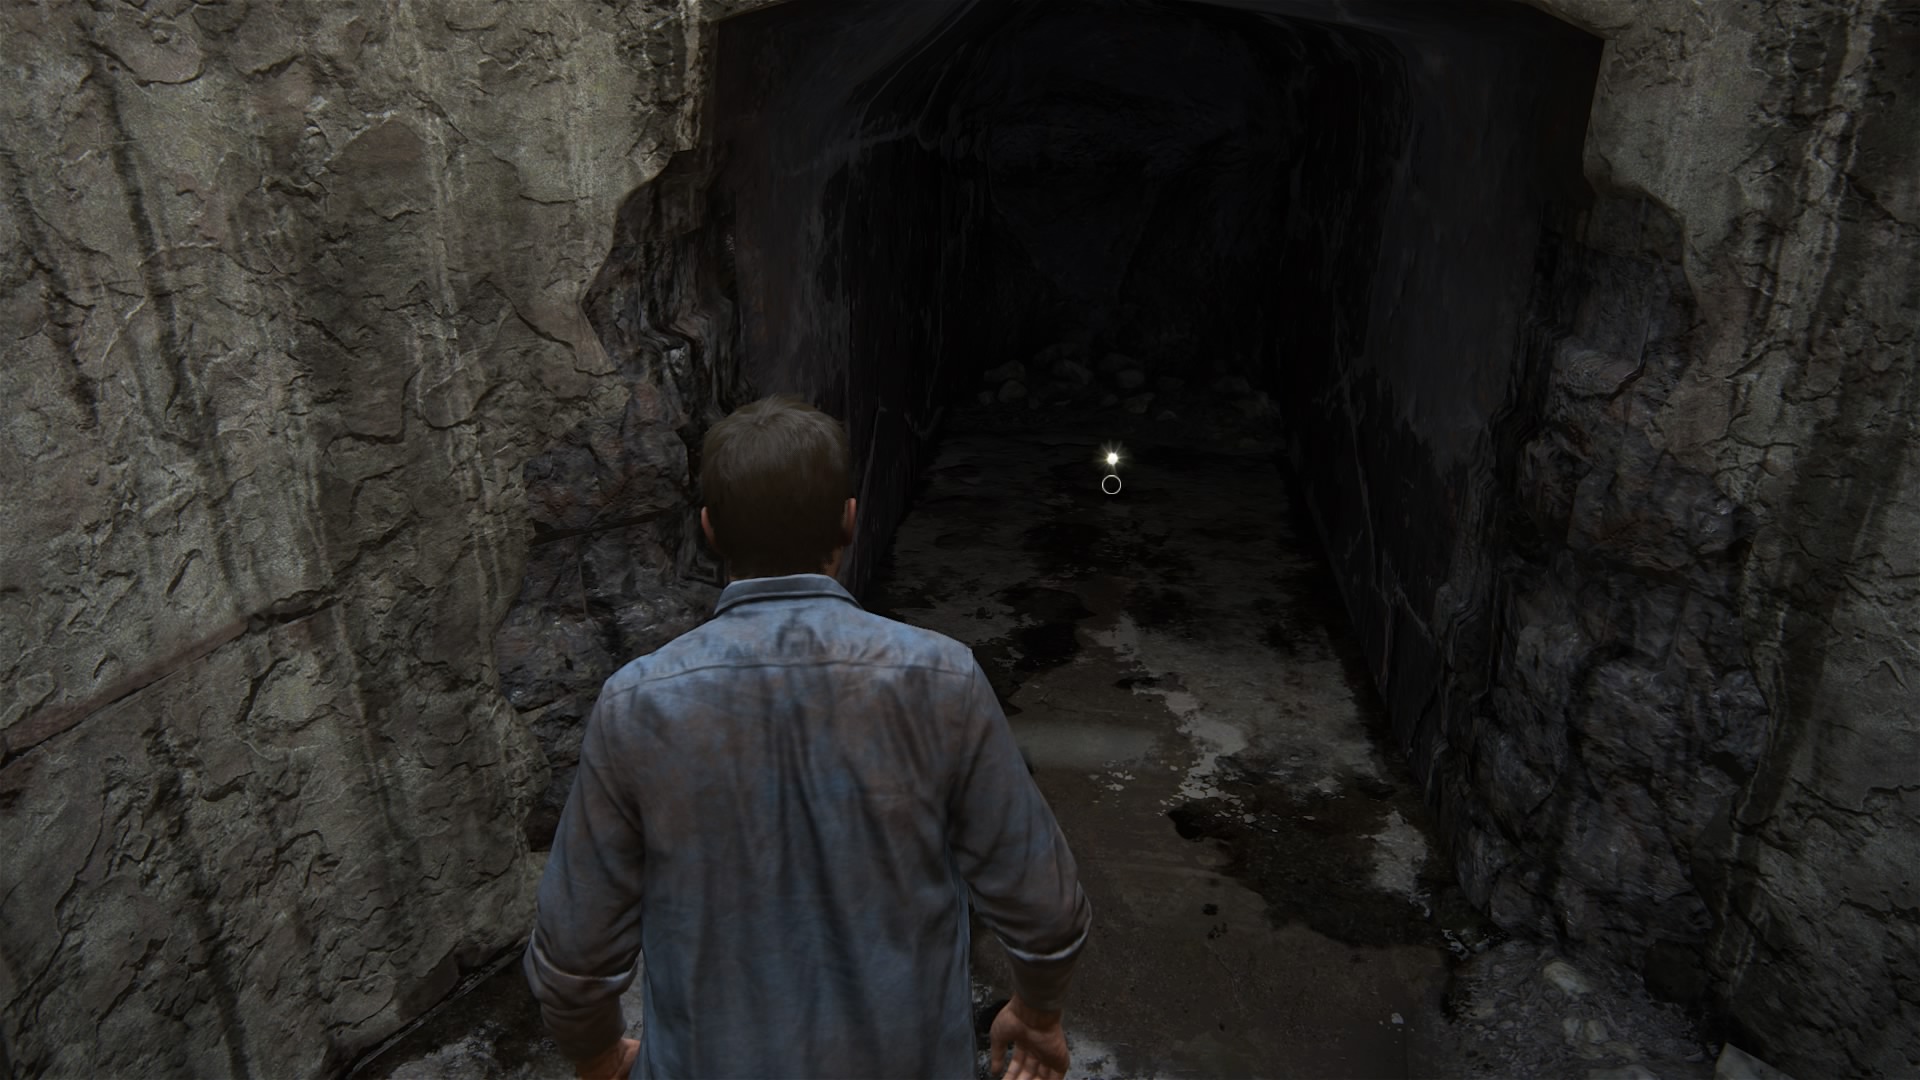
16. At the start of the chapter, head forward and to the right into a cave and find the treasure on the edge.
17. Return back to the path, but move straight up the hill following the snowy path. Your next treasure is casually laying on the ground between two rock formations.
18. Prior to blowing up the door with dynamite, head towards the very back against the cliff, where the green and blue containers are scattered. The treasure is tucked at the very edge of the cliff.
19. After climbing up the hole in the ceiling via the movable container, toss a dynamite at the low hanging cave up ahead to break it open. Inside sits another treasure.
20. Nearing the top of the mountain, while circling it a hidden ledge is available to drop down onto. A treasure can be found sitting on it.
21. Before you request help from Sam to pry the door up, to the left of the door, climb the side of the structure. You will find yourself inside of a small cove with a statue — with your treasure sitting directly beneath it.
22. Once you have reached the bottom of the crypt, hang a left into a small room where a treasure is placed below the face palming statue.
23. Once you have made it back outside, look for a low hanging cave pathway to find both a pirate gun and another treasure.
24. At the platform looking towards the ocean (you can see a large cross on a rock formation below in the waters), jump across from one platform to another, and head into the large cave. The treasure sits on a small box inside.
25. After Sam helps Nathan up and talks about hot cocoa, walk immediately to your left and scale back down the wall towards a visible path that leads into hidden platform. Treasure is easy to spot on the ground.
26. Jumping from wooden platform to platform, head under the wooden stairs and find the treasure underneath. Easy pickin’s.
More chapter collectibles to be added as we discover them. Come back for updates!
















Published: May 9, 2016 09:22 pm