Runner Duck’s Bomber Crew offers an intense and strategic simulation experience that puts you in full control of (surprise!) the crew of a Lancaster Bomber. But the game doesn’t always tell you what you need to know, and there can be a sharp learning curve. That’s why we’ve put together this tidy, little guide to help get you started with everything you need to know for success.
Your Crew and Gear
Recruitment
In the early stages of the game, the main thing you’re going to want to pay attention to when recruiting new crew members is speed. Armor and the ability to survive on land or at sea are important, but equipment upgrades later can improve all of those stats. Plus, a lot of the good equipment puts a dent in the speed stat.
Speed determines how fast your crew member moves, which sounds really obvious, but its significance can’t be overstated. The last thing you want is a pokey engineer moseying along to put out an engine or wing fire or a gunner who can’t make it to the turret fast enough. It’s not just the more active crew members who need to move fast either. Your navigator and radio operator still need to be able to book it under pressure, for example, if they have to deliver ammunition to a turret at the other end of the plane.
Thankfully, the flashiness of your plane doesn’t attract more enemies to you.
Picking the Right Gear
For a little while, your access to equipment for your crew and plane is very limited. Most of the good stuff is locked behind intel requirements, the second reward type you get for completing missions. You won’t be getting any just for getting through training. But, when you do start raking in the rewards, it’s best to upgrade your plane first because it’s the first thing to get damaged in a firefight.
Better extinguishing systems are an absolute must, along with efficient turrets (though those can come later unless you are having a tough time in early air fights). However, it’s a good idea to install equipment racks as well. They not only boost your plane’s armor; they give you a place to store parachutes too. Parachutes are vital in case you have to order everyone to jump, but it’s good to equip your engineer with one anyway, so you can be sure he or she doesn’t die if there’s an accident while on the wing and they get blown off.
Training and Skills
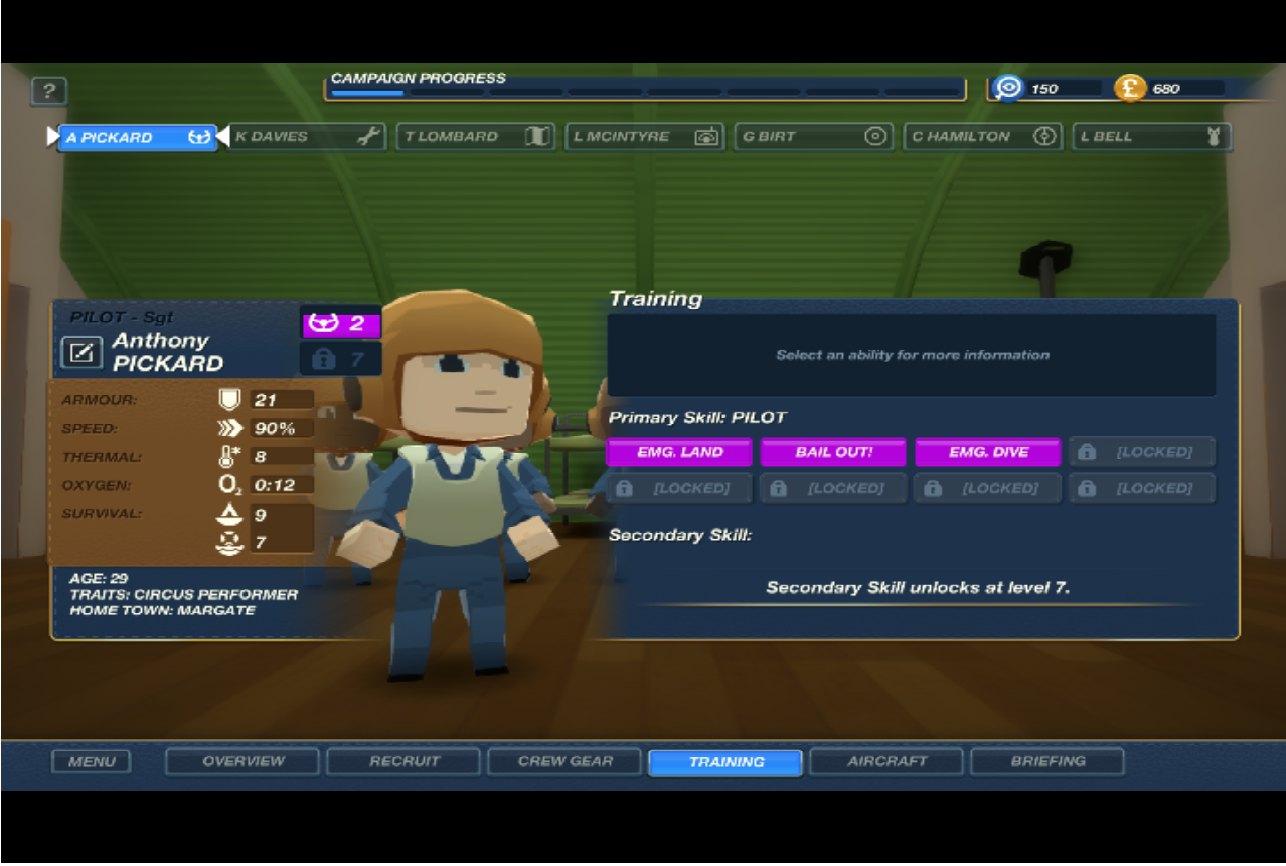
The Training section is a bit of a misnomer, since you can’t actually engage in additional activities to train your crew. Instead, it’s where you check out any skills they might have learned and see when they unlock their secondary skills. The game doesn’t do a tremendously good job of informing you what these locked skills are, though, so when your crew levels up, you’ll want to come back and pay special attention to the skills as they do unlock.
There are some very important ones that might influence success or failure. For example, a level 2 pilot learns the Emergency Landing ability. If you encounter a problem or can’t seem to put a fire out, this ability is truly a life saver. You can still have the option to perform an emergency landing without a leveled up pilot, but if your pilot doesn’t know the skill, it’s basically a death sentence for your crew and plane.
There are other less vital, but equally important, skills like the Engineer’s Lean ability that helps you burn less fuel and the Gunner’s Focus ability that makes dealing with enemy fighters easier. The takeaway from all this?
- Make sure your crew is able to perform an action beyond the basics like landing gear or opening bay doors, even if the game prompts you to choose the action
- Keep your crew as safe as possible, even if it means ditching your plane if a mission goes sour.
Bombs Away!
So you’ve got your crew and plane all ready to go, and you’re about to tackle some missions. Don’t just rush in blindly, though, or Bomber Crew will punish you.
Mission Basics
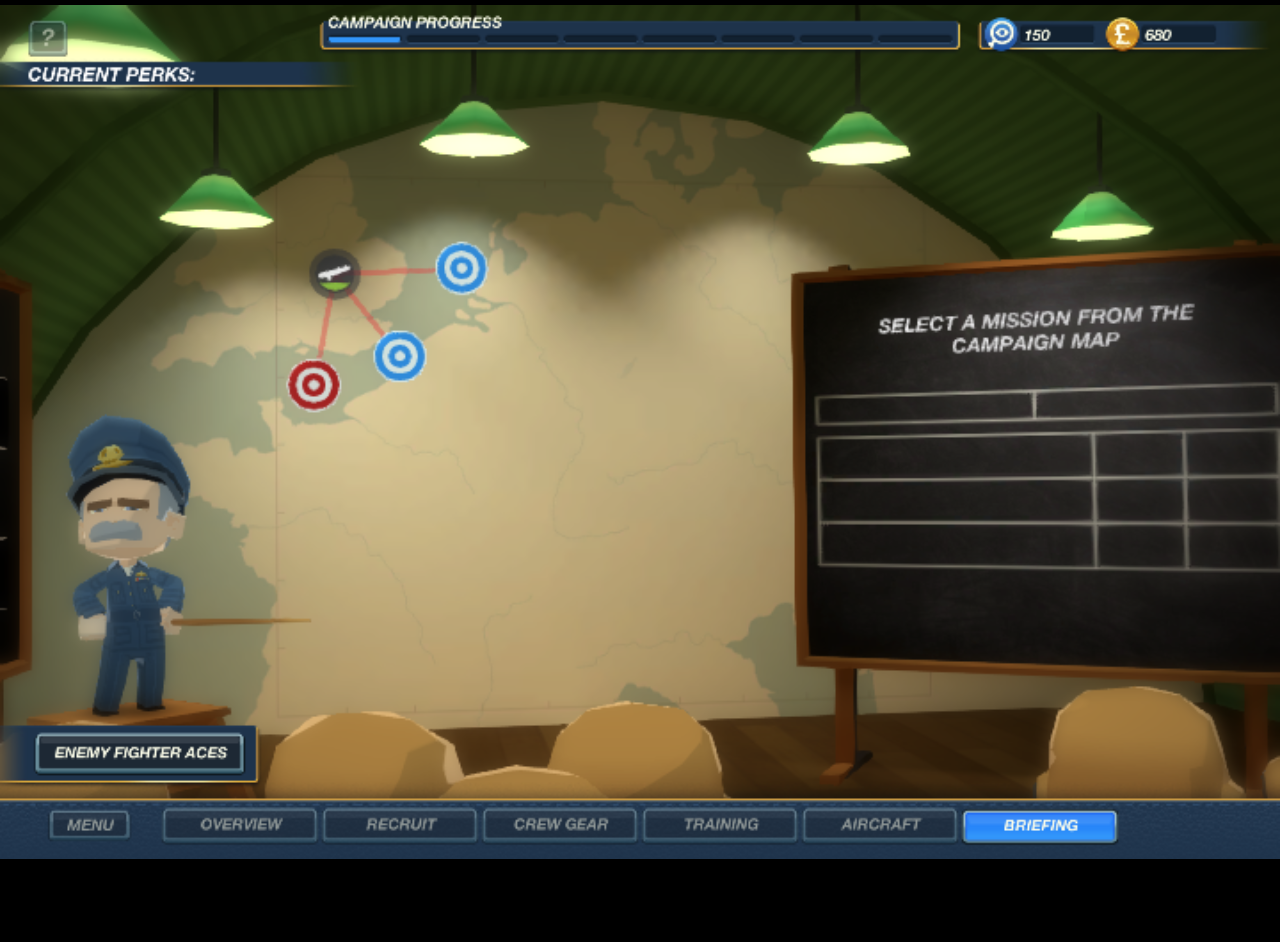
You’re given several missions to pick from at once, so which mission to choose first? However appealing the more challenging missions might seem, don’t pick those just yet. It’s much better to complete the easier missions so you can get your crew leveled up and take in some cash and intel points. Doing that gives you a better chance of surviving the tougher missions later on. And you want to survive. If your crew members die, it’s back to level 1 with a new recruit to replace them, and if your plane goes, there’s no repairing it.
You have two basic objectives in your early missions: accomplish the primary task and return to base in one piece. If you accomplish the main task, but crash on the way back to base, you still earn your cash and intel rewards. (Of course, you’ll be spending that money getting back to where you were before failure.) The ideal situation is completing both, so you earn more rewards and experience.
During many missions, you’ll find an additional recon sidequest of sorts, where you have to fly to a new navigation point and take accurate photos of a subject. It’s definitely worth your while to do so, since it’s a way to earn extras all around. But, if you find that you’re surrounded by enemies or you’re low on fuel, it may be best to ignore the prompt to tag a new navigation point and just keep on with your primary mission.
Some missions also offer bonuses for completion, such as lowering enemy defense in the next mission if you complete the entire thing.
In-Flight Info
There are some other things to keep in mind to ensure your mission is as successful as possible. When Runner Duck tells you this is a simulation game, they aren’t kidding: you are in control of even the smallest of details.
The Little Things
After takeoff, don’t forget to raise your landing gear. Otherwise, you burn more fuel for the extra weight added. And then don’t forget to lower it when trying to land, or you’re in big trouble.
Likewise, timing is everything for the bomb bay doors—you don’t want them open too soon, or it uses more fuel, but if you wait too long, then you’ll miss your golden chance to hit your target. You’ll need to select which bomb and how many to use each time too. And one of the most important things? Tag all new fighters that come into view, else your Gunners won’t attack them.
In most cases, you’re responsible for positioning your crew. Sometimes, they’ll start in position—like the Gunners and the Navigator. But for others, it’s up to you to get them where they need to be, when they need to be there. Never move your pilot—unless absolutely necessary—or you’re doomed.
Those crew members whose positions aren’t quite so important can be used to ferry supplies like ammunition to the necessary turret when they run out. As an extra best-practice tip, try to make sure you add an extra round of ammunition for each turret before reaching your objective, as it helps ensure they don’t run out quite so fast.
Communication is Key
Listen to your crew members. On the left side of the screen, you’ll see little messages from them pop up every now and again if something arises—if there’s a new objective, if a turret runs out of ammo, and things like that. You can click the little icon to select your desired crew member quickly and more accurately. But, make sure to line up the cursor precisely where you need the member to go, or it’ll end up taking a lot more time to accomplish a simple task.
If You Could Turn Back (or Forward) Time
If all this seems like it’s getting too much, there’s an easy way to slow things down to give yourself a chance to multitask. In the upper left corner of the screen, you’ll see a purple bar with a clock and the Control key symbol. That bar indicates how long you can slow down time by holding the Control key. It’s perfect for issuing orders, finding that navigation point you flew past ten minutes ago, or tagging the squad of fighters that came up out of nowhere.
If the sky is free of enemies and you’re just trying to either get to or from your objective, you can click the Fast Forward button at the top right of the screen to speed things along. This is especially helpful for landings back at base, which can move pretty slowly at times.
Happy Landings
There’s a lot to Bomber Crew and a lot to learn all at once. However, if you keep these basics in mind, build up your plane’s defenses and capabilities, and level up your crew, there’s no reason why you won’t be the next WWII flying ace.
Let us know down in the comments how you’re faring so far in the game!


Published: Oct 30, 2017 03:35 pm