There are lots of weapon stats to consider when you’re arming yourself in Horizon Zero Dawn. From flat out damage to attributes like tear and handling, it can be a little difficult to parse out what each stat means and how it affects your combat.
But we’ve gotten it all figured out, so we’ll break down each stat for you and tell you exactly what it does, why it’s important, and whether you need to pay special attention to it.
What Weapon Stats Mean in Horizon Zero Dawn
Before I dive into what each stat means, it’s important to note that your ammo stats are just as important as your weapon stats. No amount of modification will really change your weapon stats so much as it will change how ammo stacks damage on top of your base stats.
There are basically only three tiers of weapon in the game, so there’s a limited difference in stats between them. That means your ammo and weapon modifications are going to be essential in determining what kind of damage your weapon actually deals.
With that said, here’s a breakdown of each attribute, what it means, how it affects combat, and how it increases from weapon to weapon.
Damage
The damage stat is exactly what it sounds like — a measurement of the base damage your weapon can do regardless of ammo. The game doesn’t say so, but this is the physical damage of the projectile, and it does not take into account other types of damage, elemental or otherwise.
This stat is represented by the pointed arrow symbol.

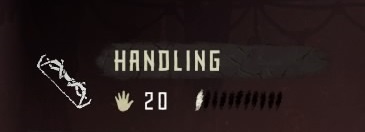
Handling
This is the most baffling stat of them all. Horizon doesn’t really explain what handling means. So what does handling do? As far as we can tell, it’s referring to your rate of fire and reload time. The higher the handling, the faster the weapon, and the faster you can cause damage.
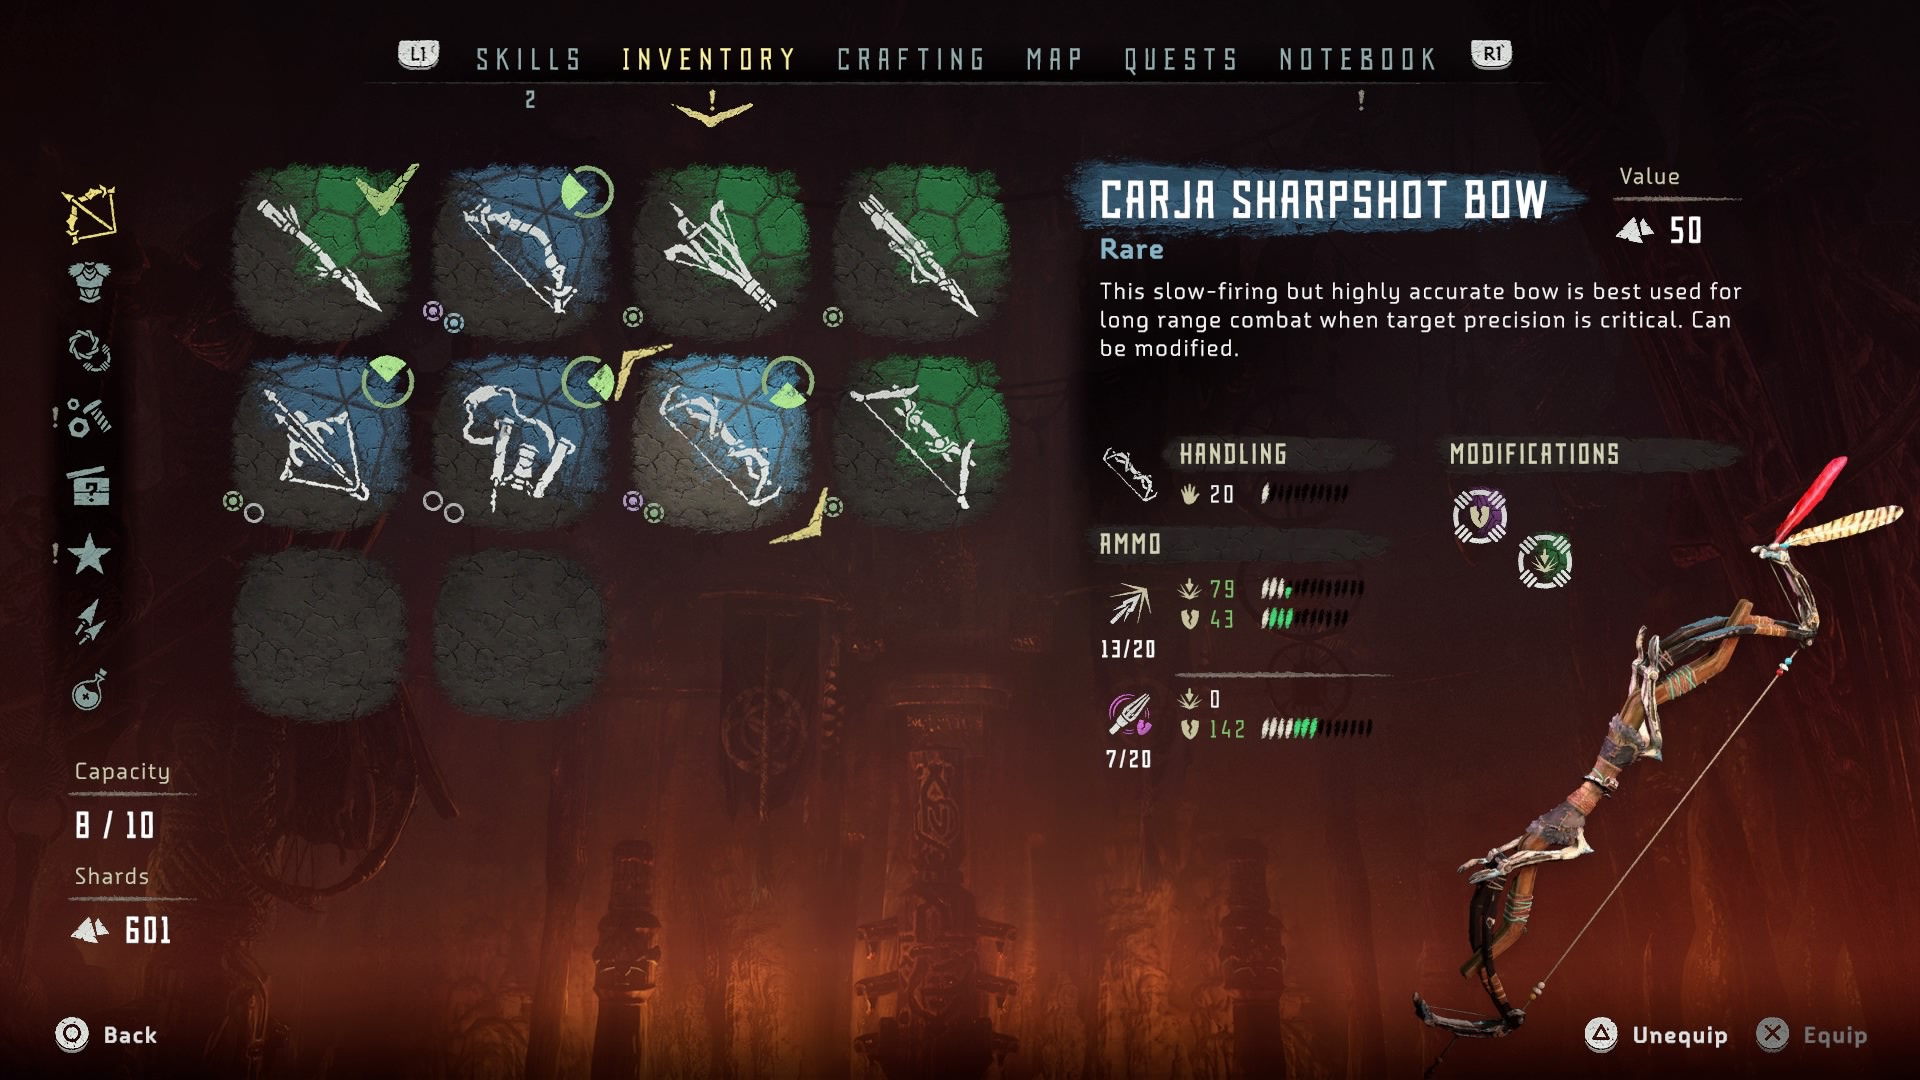
You can see this in action when comparing the Hunter Bow to the Sharpshot Bow. The Hunter Bow has a higher handling stat, so it fires and reloads faster than the Sharpshot.
Handling is NOT a measure of how accurate the bow is — that depends on whether or not it’s fully drawn, and how good you are at aiming. (Remember, a half-drawn shot is far less precise than a fully-drawn shot.)
This stat is represented by the hand symbol.

Tear
Tear is pretty self-explanatory and refers to your weapon’s ability to tear out components from enemy machines. It’s important to remember that Tear does very little actual damage — so it’s no good for knocking down health bars.
You should be paying attention to the tear stat when you need to get specific components off a machine. For example, the Freeze Sac on a Snapmaw.
This stat is represented by the broken shield symbol.

Elemental
This is the last stat you’ll see listed on your weapons, and it’s represented by a number of different icons depending on which sort of elemental damage you’re working with. Elemental damage includes fire, shock, freeze, and corruption.
Depending on the weapon and type of ammo you’re using, elemental attacks may or may not do extra physical damage alongside their other effects. It’s very much like the Tear stat in that its primary purpose is to impact specific parts of hostile machines.
This stat is represented by elemental icons:
![]()
![]()

Full Stats for All Weapons in Horizon Zero Dawn
This table breaks down every weapon and ammo type, then gives the rundown on its damage, handling, tear, and elemental stats. Should we discover any more weapons or ammo types, we’ll update this table accordingly.
| Weapon | Damage Stat | Handling | Tear | Elemental |
|---|---|---|---|---|
| Sling (Freeze Bomb) | 25 | 40 | 0 | 50 |
| Ropecaster (Light) | 0 | 50 | 150 | 0 |
| Tripcaster (Shock Wire) | 0 | 30 | 0 | 160 |
| War Bow (Shock Arrow) | 6 | 50 | 0 | 25 |
| Sharpshot Bow (Precision Arrow) | 75 | 20 | 30 | 0 |
| Rattler (Metal Bolts) | 13 | 100 | 5 | 0 |
| Blast Sling (Freeze Bomb) | 125 | 40 | 0 | 0 |
| Carja Hunter Bow (Hunter Arrow) | 19 | 80 | 25 | 0 |
| Carja Hunter Bow (Fire Arrow) | 15 | 80 | 0 | 25 |
| Carja Sling (Freeze Bomb) | 25 | 40 | 0 | 50 |
| Carja Sling (Shock Bomb) | 25 | 40 | 0 | 50 |
| Carja Tripcaster (Shock Wire) | 0 | 30 | 0 | 160 |
| Carja Tripcaster (Blast Wire) | 313 | 30 | 0 | 0 |
| Carja Ropecaster (Medium) | 0 | 50 | 150 | 0 |
| Carja Sharpshot Bow (Precision Arrow) | 75 | 20 | 30 | 0 |
| Carja Sharpshot Bow (Tearblast Arrow) | 0 | 20 | 100 | 0 |
| Carja Rattler (Metal Bolt) | 13 | 100 | 0 | 0 |
| Carja Rattler (Shock Bolt) | 6 | 100 | 0 | 5 |
| Carja War Bow (Shock Arrow) | 6 | 50 | 0 | 25 |
| Carja War Bow (Freeze Arrow) | 6 | 50 | 0 | 25 |
| Carja Blast Sling (Sticky Bomb) | 188 | 40 | 0 | 0 |
| Carja Blast Sling (Blast Bomb) | 125 | 40 | 0 | 0 |
| Shadow Sling (Freeze Bomb) | 25 | 40 | 0 | 50 |
| Shadow Sling (Fire Bomb) | 13 | 40 | 0 | 50 |
| Shadow Sling (Shock Bomb) | 25 | 40 | 0 | 50 |
| Shadow Hunter Bow (Hunter Arrow) | 19 | 80 | 25 | 0 |
| Shadow Hunter Bow (Fire Arrow) | 15 | 80 | 0 | 25 |
| Shadow Hunter Bow (Hardpoint Arrow) | 38 | 80 | 75 | 0 |
| Shadow Tripcaster (Shock Wire) | 0 | 30 | 0 | 160 |
| Shadow Tripcaster (Blast Wire) | 313 | 30 | 0 | 0 |
| Shadow Tripcaster (Fire Wire) | 0 | 30 | 0 | 160 |
| Shadow Sharpshot Bow (Precision Arrow) | 75 | 20 | 30 | 0 |
| Shadow Sharpshot Bow (Tearblast Arrow) | 0 | 20 | 100 | 0 |
| Shadow Sharpshot Bow (Harvest Arrow) | 13 | 20 | 50 | 0 |
That wraps up our guide for weapon stats and what they mean for you in Horizon Zero Dawn. Need more help with the game? Check out our other guides!
- Horizon Zero Dawn Beginner’s Guide
- Horizon Zero Dawn: Complete Guide to Resources, Components, & Crafting
- Horizon Zero Dawn: Armor Stats and What They Mean
- How to Upgrade Your Spear in Horizon Zero Dawn
- Horizon Zero Dawn: How to Farm 10,000 Shards Per Hour
- Horizon Zero Dawn: How to Farm Purple (Very Rare) Mods


Published: Mar 3, 2017 12:00 pm