Knowing where to find all eight of the Dragonriding Glyphs in Zaralek Cavern can be a daunting task in WoW: Dragonflight. Patch 10.1 added the new underground area, and the cavern’s design can be cramped at times. That means some glyphs are hidden behind stalactites or are obscured by buildings. Here’s where to find their locations.
All Dragonriding Glyph Location in Zaralek Cavern
I started my glyph search at Glimmerogg and traveled around the map counterclockwise. Overall, it took me about 15 minutes to grab all eight glyphs, so there’s not much time investment needed here. I’m listing the glyph names below in alphabetical order. That way, if you’re missing a few from the achievement, you can jump right to the ones you need in this guide.
Abberus Approach
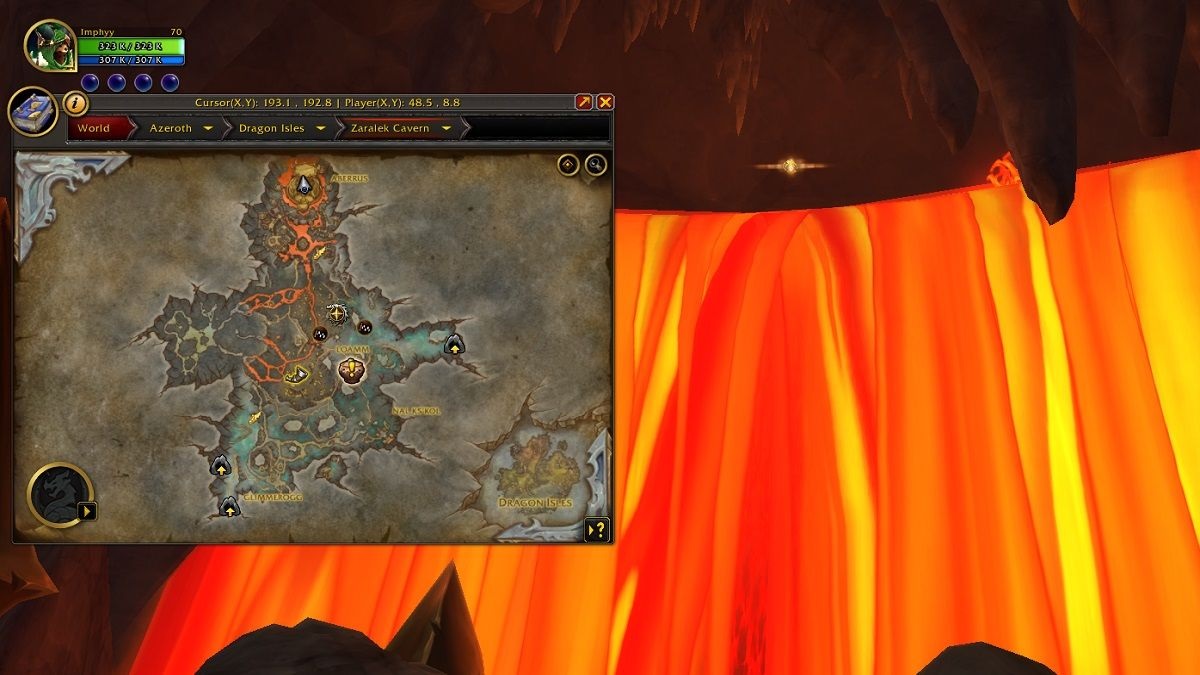
The Abberus Approach glyph is located around (X:48, Y:7), and you’ll see it near the top of the lava waterfall. I used the top of the building to recharge my Vigor before grabbing this glyph.
Acidbite Ravine
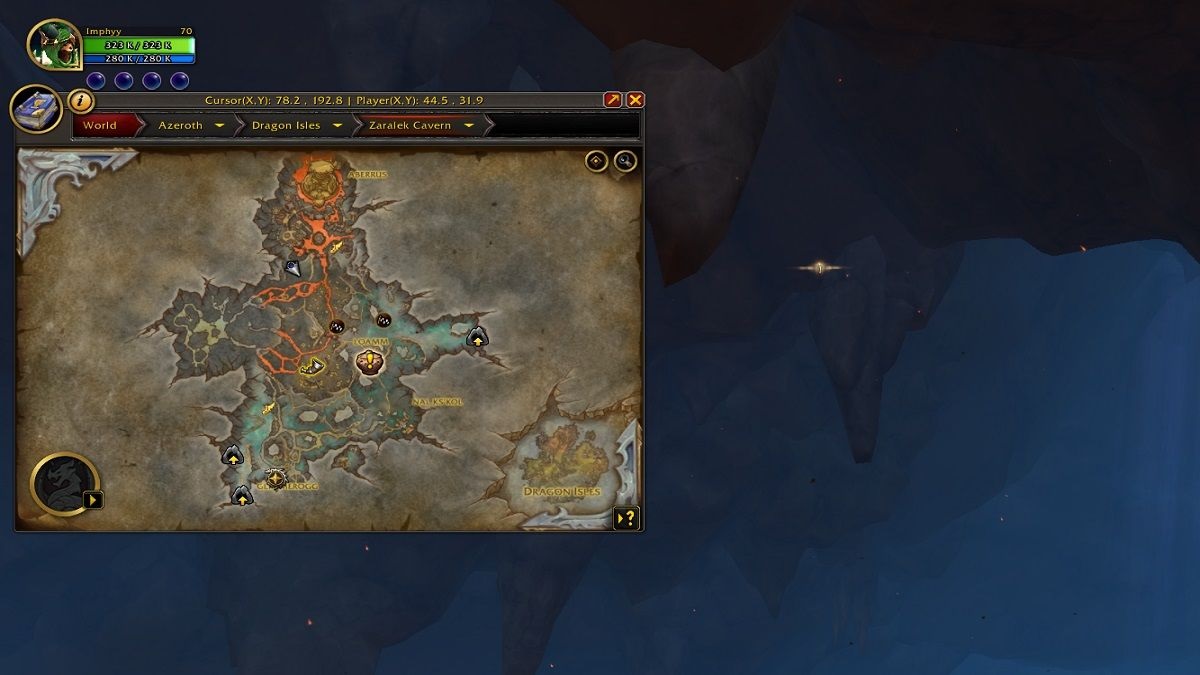
Located around (X:47, Y:37), the Acidbite Ravine glyph is tucked up near stalactites without many platforms that you can use to recharge Vigor around it. I had 5 Vigor at the time I went to grab it, and I didn’t run into issues with running out or needing to recharge after starting my flight from the distant location seen in the above image.
Glimmerogg
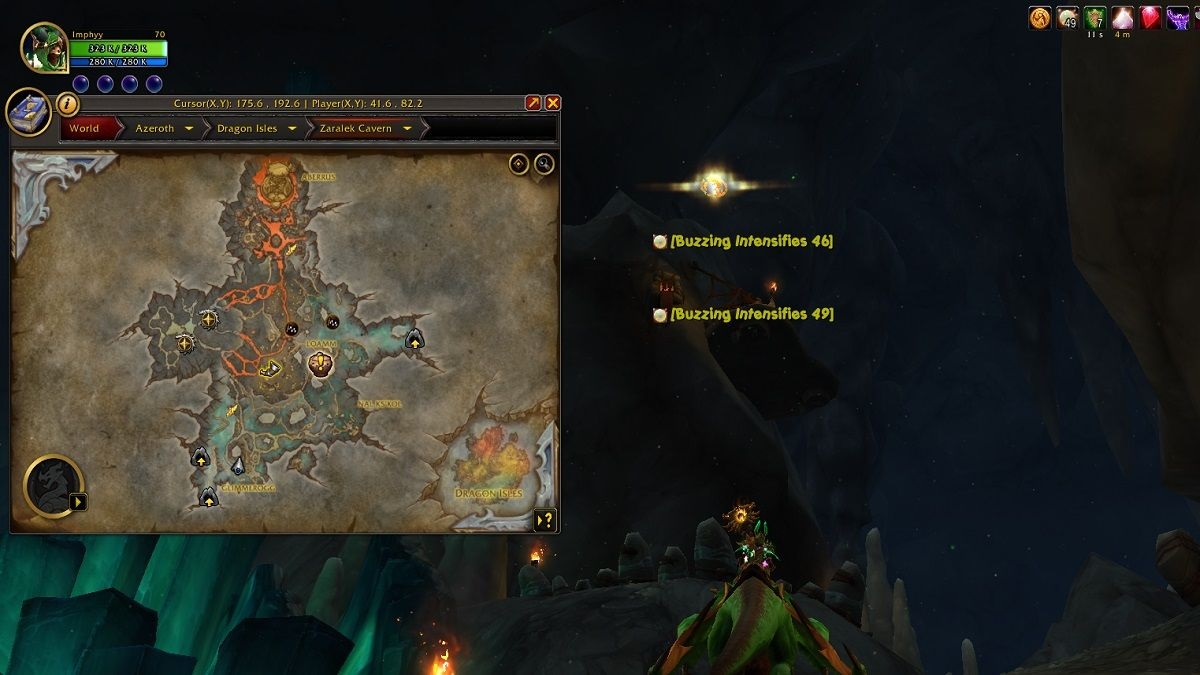
Located near (X:42, Y:81), the Glimmerogg glyph is one of the easiest to grab. There aren’t really enemies in that area, and there are plenty of platforms that you can use as a starting point to fly toward it.
Loamm
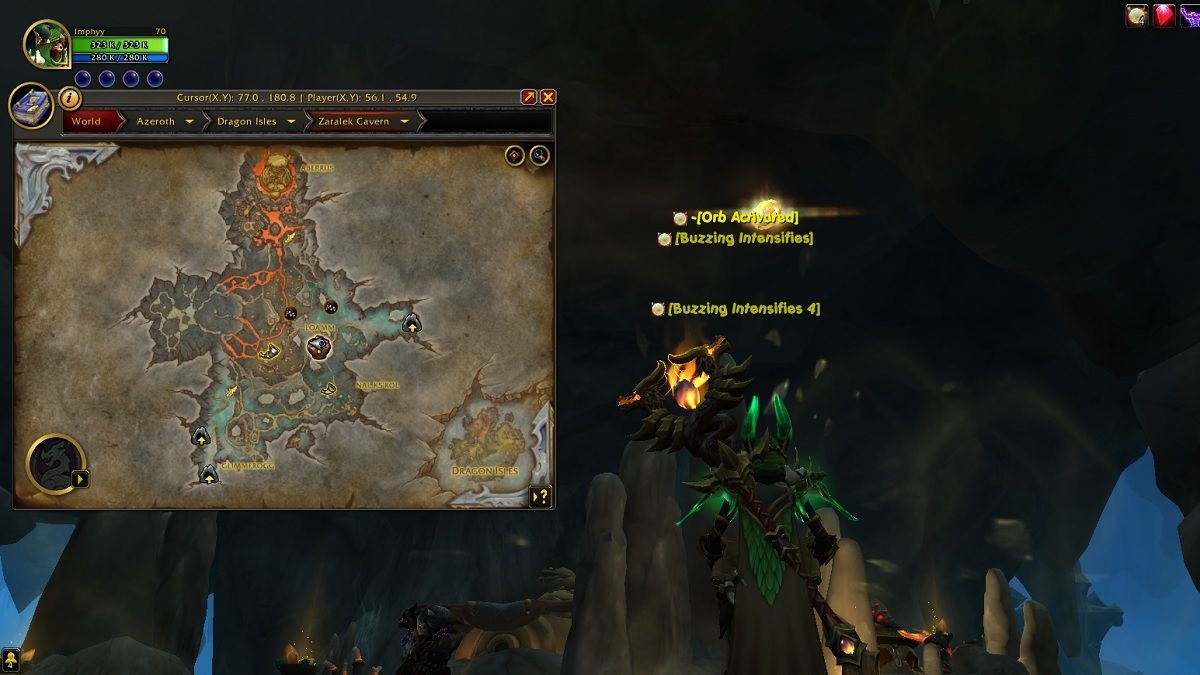
Found by (X:55, Y:55), the Loamm glyph might be the first you grab since this is the city you travel to early in the “Embers of Neltharion” campaign. It’s another one that’s easy to grab since it’s not that high up and you don’t need to worry about enemies.
Nal ks’kol

The Nal ks’kol glyph is near (X:63, Y:73). This glyph is tucked in the corner of the map, but there’s a nearby building you can use as a stopping point for your drake before grabbing it.
Slitherdrake Roost
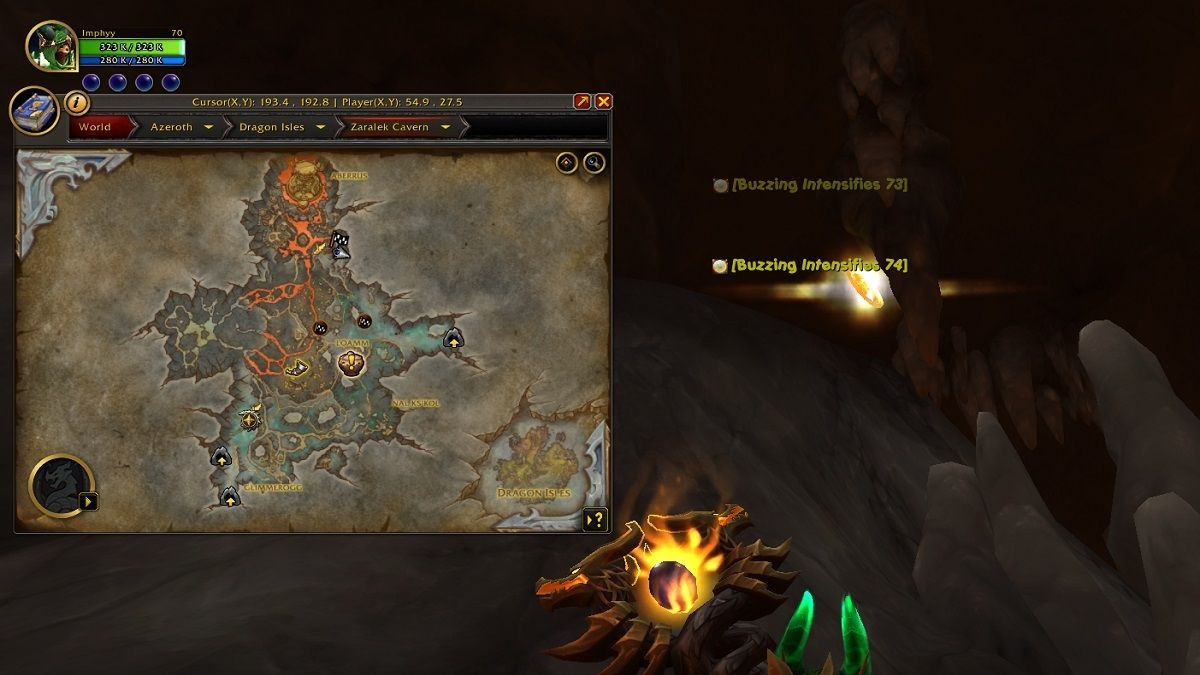
Located near (X:55, Y:28), the Slitherdrake Roost glyph is another that’s tucked in stalactites, so you’ll want to keep your eyes on the wall of the cavern to grab this one.
The Throughway
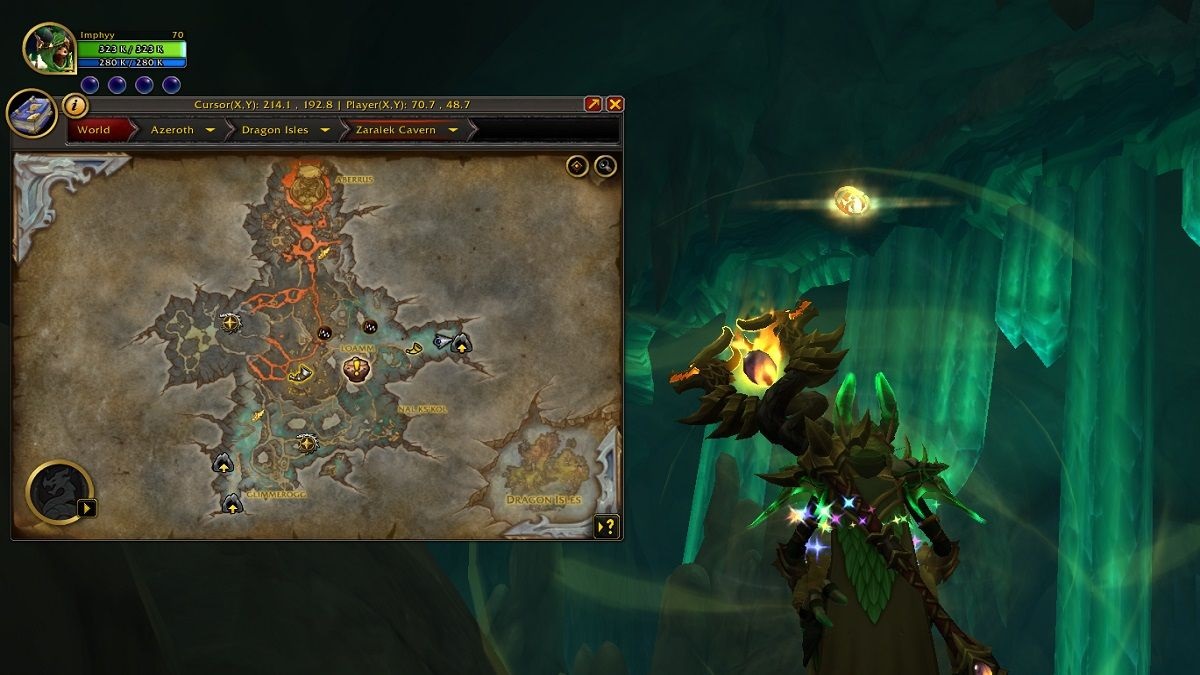
Located near (X:72, Y:48), this is one of the easier glyphs to spot and grab. The Throughway glyph is by green stalactites, and that helps increase its visibility.
Zaqali Caldera
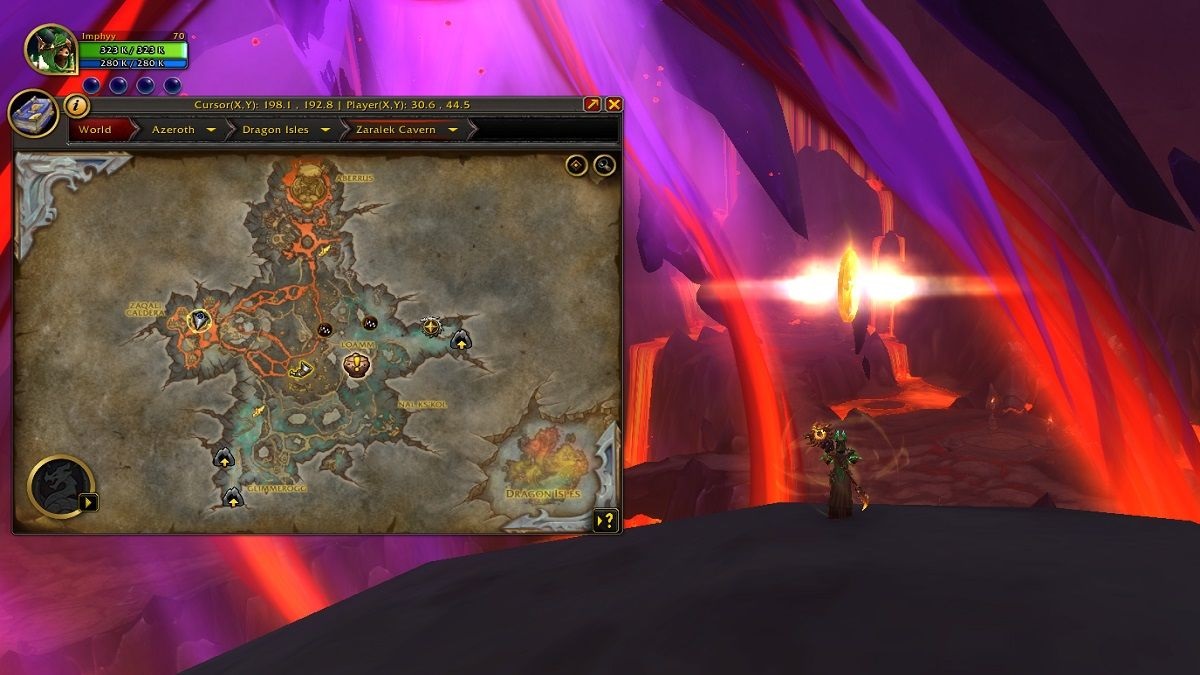
Definitely my least favorite to grab, the Zaqali Caldera glyph is near (X:30, Y:45). Once you enter the Zaqali zone, they start trying to shoot you down. If you get 10 stacks of the debuff they put on you, you’ll dismount. Don’t be shy to use your Vigor here to get to the platform that has the glyph. You can take a moment after to recharge it and zoom out of the area.
And that’s where to find all eight glyphs in Zaralek Cavern. You’ll earn the achievement verifying that you’ve collected all of them, too! We have more WoW: Dragonflight guides outlining useful tips and tricks, too, such as where to find Ponzo and how to get the new Winding Slitherdrake.



Published: May 10, 2023 11:52 am