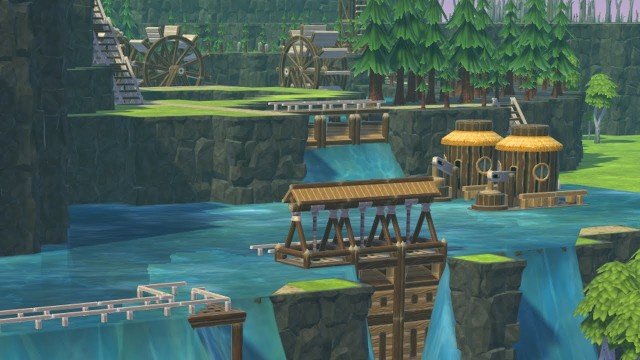
To keep your community of beavers growing and thriving in Timberborn, you’ll need to know how to manipulate water flow through your villages. The purpose of dams in this game is to reduce — but not totally stop — a river’s flow by allowing only small portions of water to pour over the top.
With this guide, you’ll learn everything you need to know about building and operating dams.
How to Use Dams in Timberborn

Dams in Timberborn are considered a basic resource and are unlocked by default, so it’s what you’ll be using to survive your first drought and to begin constructing your world. Only water that flows above 0.65 meters will make it past these, meaning that if the water in your colony is held in by dams, then you will never have to worry about the water completely flowing out.
Dams can be found within the eighth tab of resources, “Landscaping“, and is the first building object listed within that. Simply select the dam option and place it wherever in the river you wish to construct it. You need to ensure that builders can reach that place, so be sure to also build a path to it if it’s not close enough to a district. Paths can be found under the seventh tab, “Paths and Structures”.
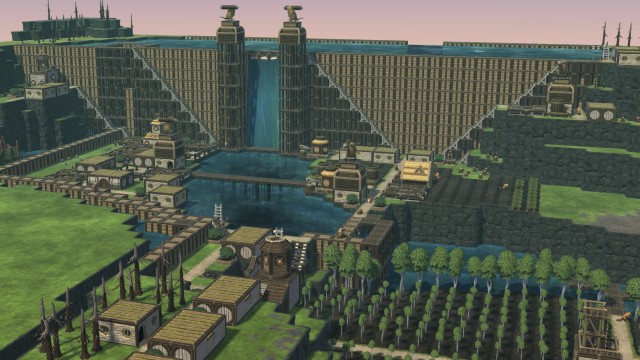
Each dam piece you construct will cost you 20 logs and takes up a 1x1x1 space. The dam does not only allow you to manipulate water, but also allows you to expand your plots a bit, as structures can be built atop them. Not only that, but dams can be used to cleverly control the speed of a river’s flow.
If a river is five blocks wide, and you build a four-wide dam, for example, this will increase the flow speed out of that one block. This will be very useful if you are working with water wheels.
While these dams are very cost-efficient, you need to be wary of the potential for floods to happen if you aren’t careful.
How to Use Floodgates in Timberborn
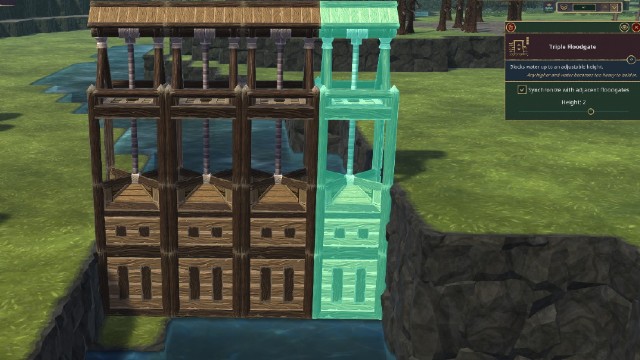
If you aren’t allowing enough water to exit, then you’re gonna have problems. To solve this issue, you can use floodgates. There are three different heights, which require 150, 250, and 500 research points to unlock, respectively.

Floodgates require planks and logs to build, with the amount depending on the height of the floodgate. These act to completely block water flow up to an adjustable height, but can be opened to release water at any time, allowing you to quickly solve any flooding issues. You can simply incorporate a floodgate into your dam and handle these problems smoothly.
Contrary to this, if you want to flood (perhaps you’re making an artificial lake), then you can use levees. These are similar to dams, but will completely stop all water flow. They can also be stacked on top of one another, allowing you to control the depths of your artificial water bodies. They’re also cheaper, costing 12 logs, meaning they make a good substitute for dams if you’re in a mad rush and need a reservoir.
That should be everything you need to know about the basics of dam building in Timberborn. This is an essential must-know to ensure that your colonies can thrive through droughts, and is one of the first things you should master, but there is so much more to learn in this city-builder. Check out some of our other Timberborn guides for more help.


Published: Sep 28, 2021 12:47 am