Beware: there are area spoilers in this guide. Proceed at your own risk.
The Headless mini-bosses in Sekiro: Shadows Die Twice are some of the easiest enemies in the game to take on.
Or they would be if you weren’t struggling against the environment or momentum during the fight.
But you are, so what’s the best way to take them out, and where exactly do you find them? And what is your reward for beating them?
Read on to find out.
Fight on the Ground
Three of the five Headless fights happen the way most boss fights do: on the ground, going toe-to-toe with the boss. The strategy here is straightforward but takes preparation. The first time you come across a Headless near the beginning of the game, you aren’t likely to have the necessary items to win the fight.
You’ll need two things:
- Divine Confetti
- Purifying Agent
Divine Confetti allows you to damage the boss. Purifying Agent removes the Terror buildup that will kill you if the gauge fills. Finding these items is outside of the scope of this particular guide, but they are spread throughout the world. and you will come across them naturally.
Once you’re properly equipped, the actual Headless fights aren’t anything to write home about. Attacks are slow and easily parried, and the enemy itself doesn’t have much total posture or good posture recovery.
The trick here is the slowing mist that the boss lets out, denying you a dodge or a sprint. That means your only means of attack is raw, if sluggish, aggression.
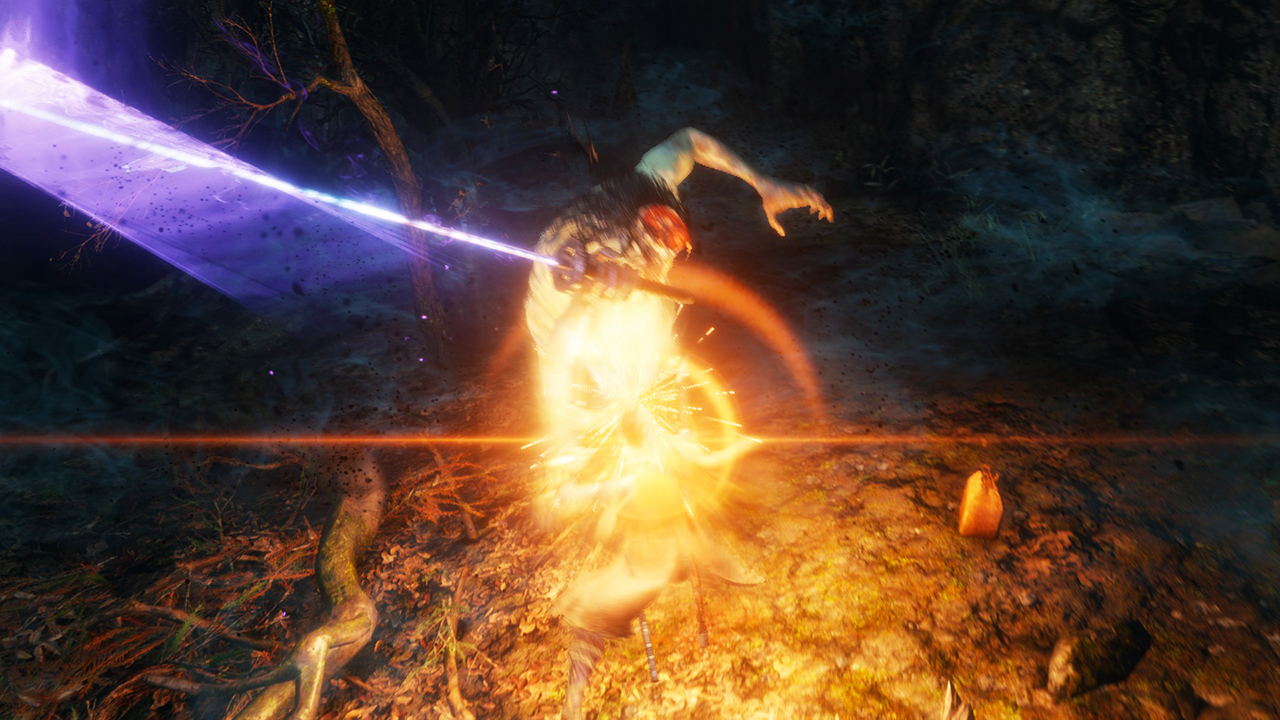
Start the fight by applying the Divine Confetti buff, then attempt to parry every attack you can. Dodge what’s left.
The timing on the parry isn’t terribly generous, but you can execute one easily enough if you tap left bumper about a quarter second before the swing would otherwise hit you.
The only thing you need to worry about here is the sweep, but you can still jump regardless of mist, and a quick headbutt will do a good bit of posture damage.
You should try to get two to three vitality attacks in between the boss’s long attack and stun animations. You’ll still have time to cancel into a parry in most cases, and enough hits to the body will cause the mist to dissipate, giving you back your mobility for a few moments.
Be aware that if the mist is up, any non-perfect Deflections will cause Terror buildup, and once that gauge reaches a maximum, you die. No questions asked.
If you can, back away from the boss when Terror is high and use a Purifying Agent to cleanse the gauge and increase your resistance temporarily.
Also: be cautious of the teleport. When the Headless vanishes from sight, he will always appear behind you after a few seconds and attempt an unblockable grab. If there is no mist, run away as fast as you can. If there is mist, turn around and start swinging to knock the boss out of his invisibility. You’ll stun it and deny the rear-grab that is likely to do most if not all of your health in damage.
Shinobi Tool Usage
Most of the tools at your disposal aren’t going to give you too much of an advantage, especially without the mobility to use them properly. Still, the Loaded Umbrella is a solid choice to keep some of the heat off, and the upgraded Finger Whistle Malcontent offers three free stuns.
Firecrackers won’t do anything because the Headless have, well, no head to flash. Other offensive options are liable to get you hit, and I’d advise against Mistraven if only because the momentary mobility will be quickly negated by the slowing mist.
Fight Beneath the Waves
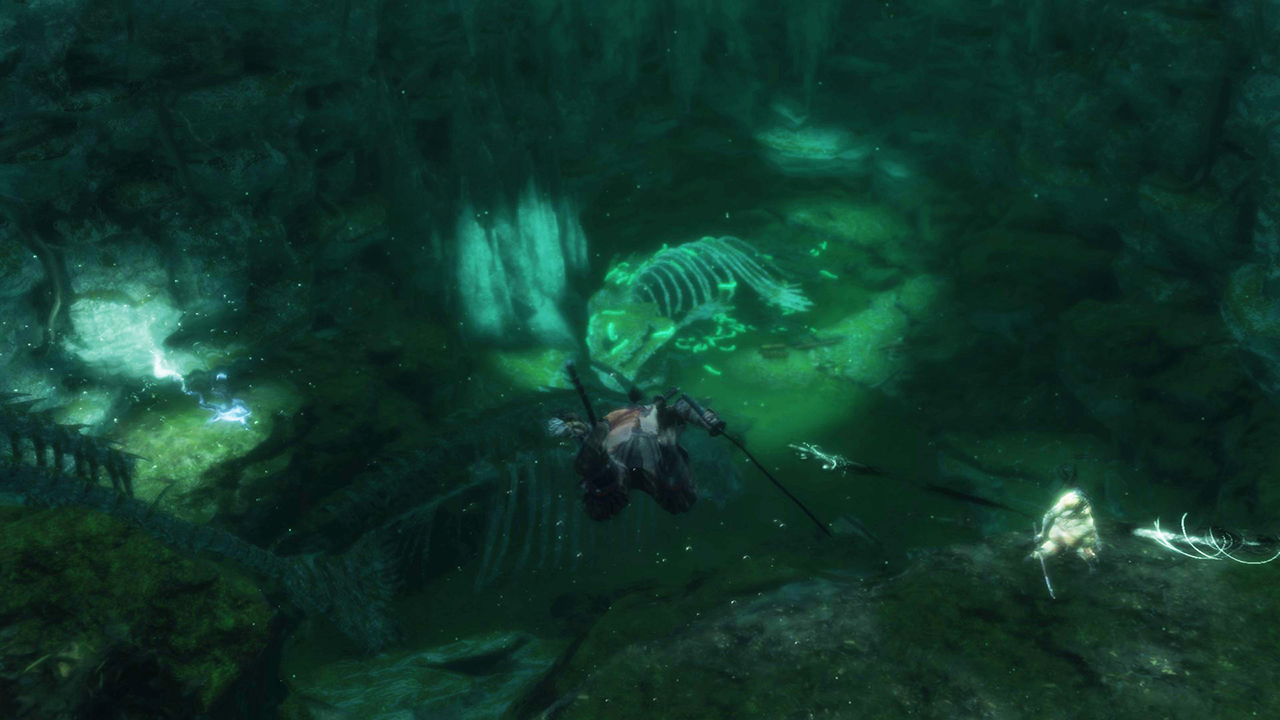
The final two Headless mini-bosses are fought underwater, and while this obviously removes the slowing mist issue, now you have the cumbersome water controls to deal with.
The strategy in these fights is also different to account for your (technically) increased mobility but slower and more sluggish attack speed.
Underwater Headless have two ranged attacks to watch out for that come with close-range variants.
- A series of water-spikes that track you but can easily be avoided by swimming perpendicular to the boss.
- A wide swing that shoots out a water-blade that does not track but has a wide and somewhat deceptive hitbox. If you think it will hit you, it will. Don’t take the chance.
Your best bet here is Vitality damage to the boss. After one or two big attacks, the Headless will take a moment to recover. Use these opportunities to get in a few attacks. Don’t be too greedy. However, by this point in the game, you should have all the healing you need to tank a few hits, so don’t be too afraid of getting in a few extra swings.
Divine Confetti remains your friend here, and don’t worry, you can retreat and try again as many times as you need. The boss isn’t going anywhere.
One last thing: the final Headless you’ll encounter in Fountainhead Palace has a phantom that you’ll need to kill. As you approach it from the Palace grounds, the phantom will be farther away on your left. You can also pick it out by the eerie white glow that surrounds it.
Kill the phantom first, as it has very little health, then go after the real deal.

Why You Want to Fight the Headless Bosses in Sekiro
The reward for killing the Headless bosses is a consumable item called a Spiritfall. In essence, these are reusable items that mimic the various sugar consumables found throughout the game, and they come with the same name, too.
Instead of losing the item on use, a Spiritfall has no usage counters, this item draws on three Spirit Emblems per use.
This is what each Headless boss drops on defeat:
- First Headless: drops the Ako Spiritfall, which increases your damage and posture the same way an Ako’s Sugar would.
- Second Headless: drops Gokan Spiritfall, which decreases Posture damage.
- Third Headless: drops Gachiin Spiritfall, which makes you partially invisible.
- Fourth Headless: drops Ungo Spiritfall, which increases your defense against physical attacks.
- Final Headless and its partner: drop Yashariku Spiritfall, which halves your vitality and Posture for a vast increase in attack power.
Note that unless you have the Devotion skill unlocked, a Spiritfall will only provide a buff for about 12 seconds. With that skill, you’ll extend the duration to more than 22 seconds.
Headless Locations in Sekiro: Shadows Die Twice
You’ll find the three above-water Headless in the following locations.
Ashina Outskirts
Look for a shrine near the Underbridge Valley Sculptor’s Idol. It’s near a bridge before the path down into the Sunken Valley.
There’s a note on it. Go behind the shrine and jump on the tree. From there, look right and jump toward the cliff; look for the brown hand-hold indicators and grab on to the cliff.
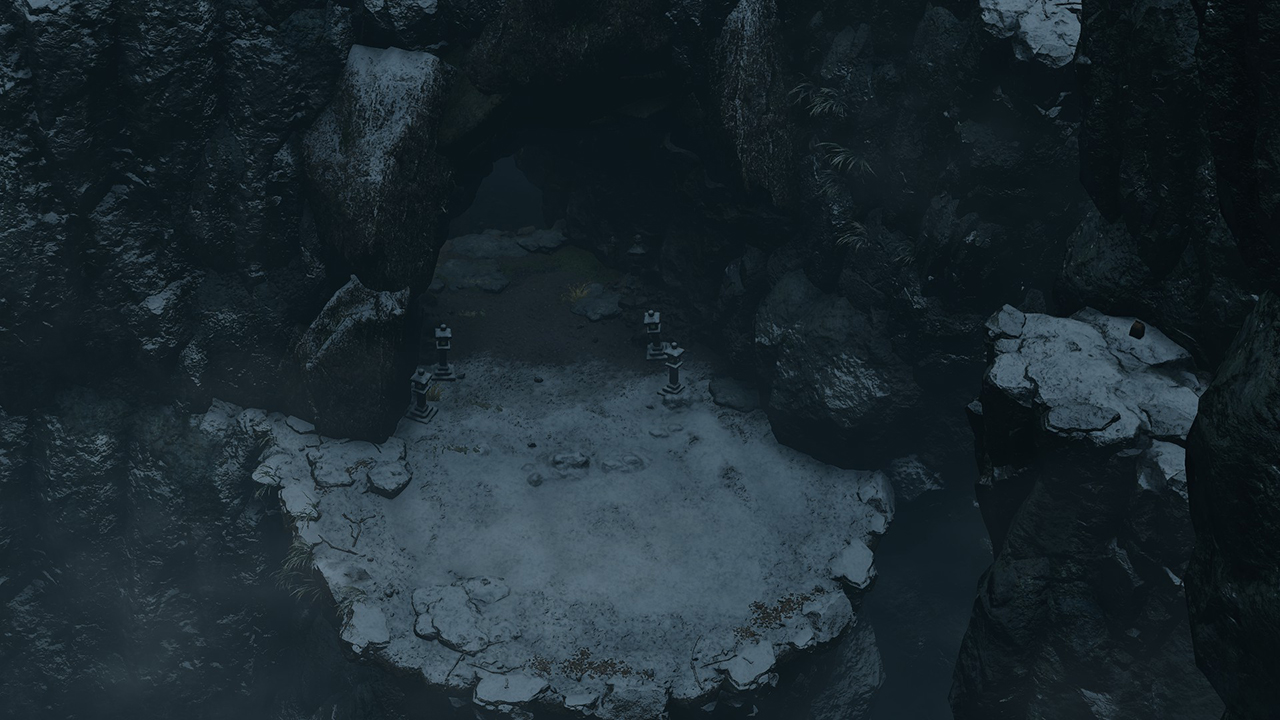
Follow the path around to the left and look down to see the cave entrance pictured below. The Headless is in the cave.
Sunken Valley
You’ll need the Mibu Breathing technique for this boss. You get that skill from defeating the Corrupted Monk in Mibu Village.
For this one, you’ll need to travel to the Under-Shrine Valley Idol, then turn around and run toward the opening.
Past a number of shrines is a small body of water. Dive into it and follow the path until you can surface again. The Headless will be there.
Ashina Depths
This one’s tough to miss. Teleport to the Hidden Forest Idol and look toward the Buddha statue.
Jump into the pit in front of the statue and the Headless will be on the lowest level, tucked into a corner. Beware its jumping slam attack.
Ashina Castle
You’ll need Mibu Breathing for the final two Headless.
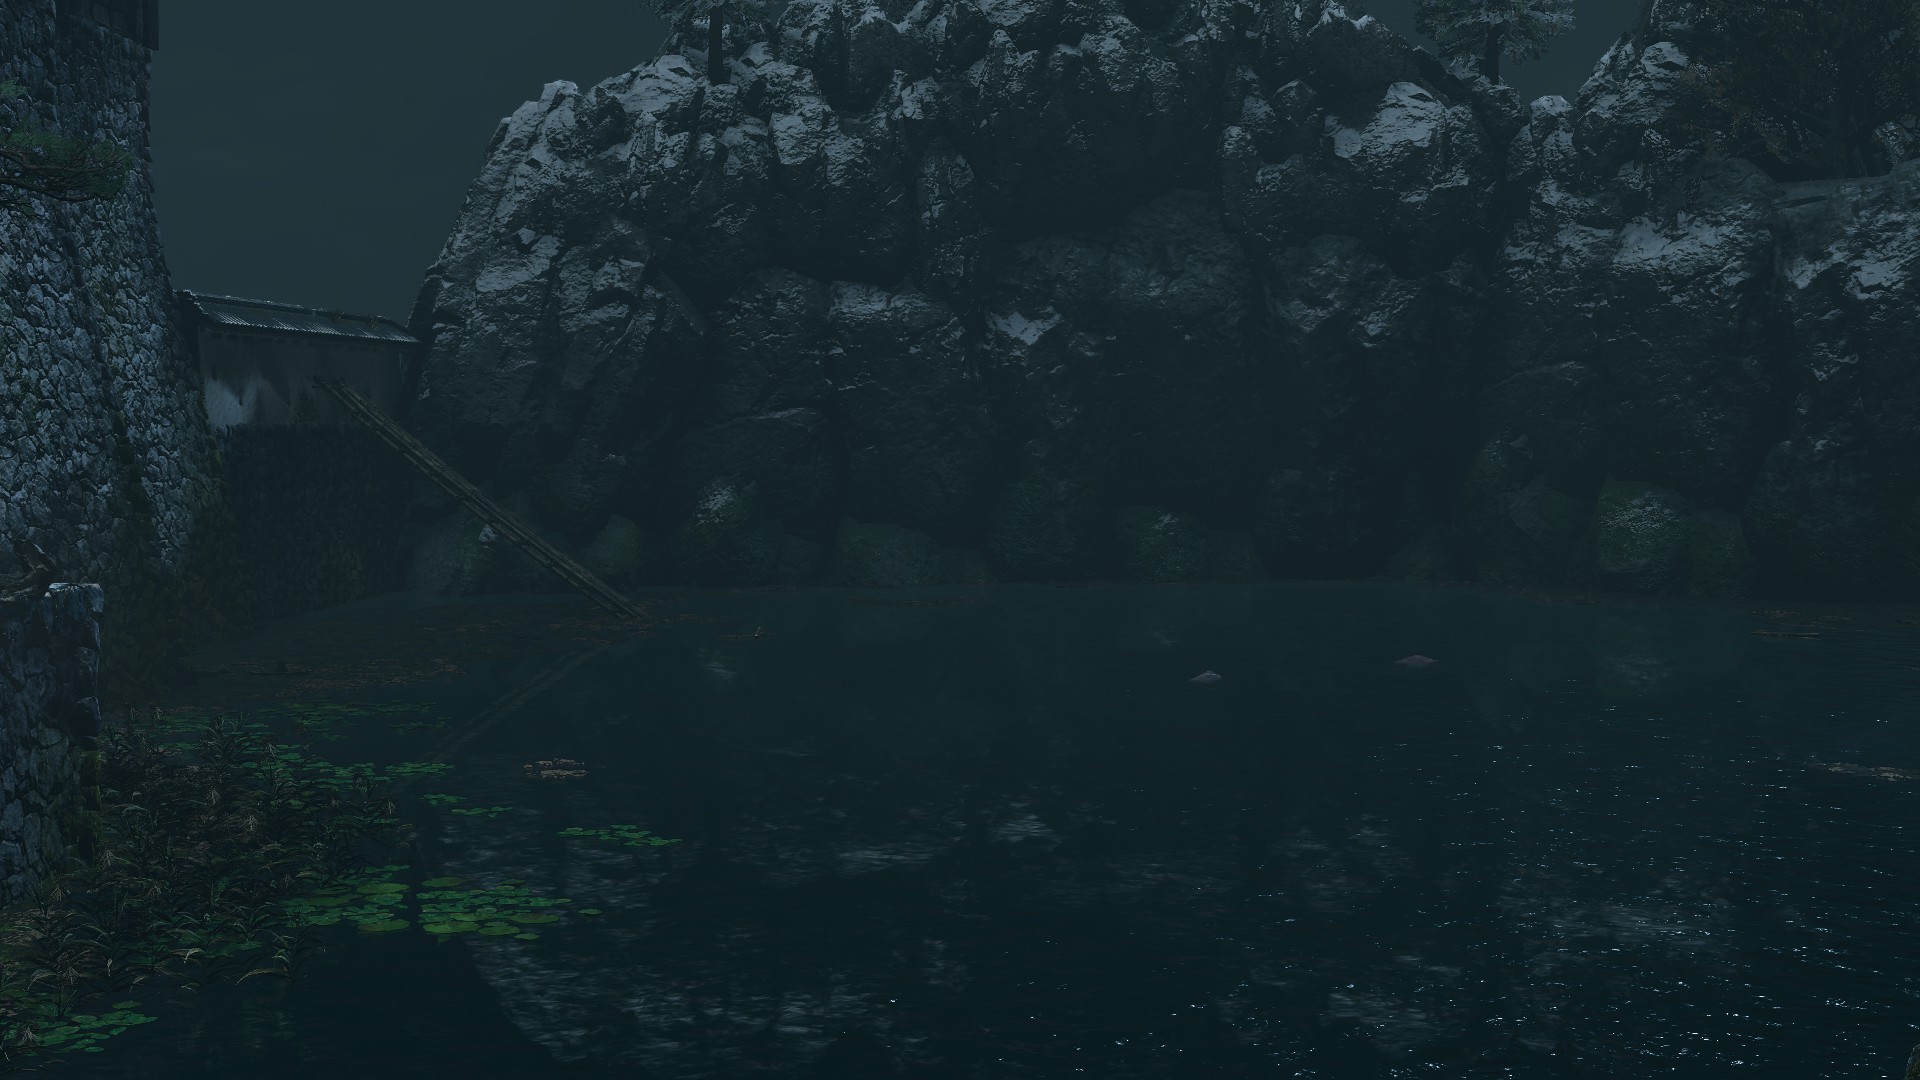
Head to the Grave Sculptor’s Idol and go back through the gate behind you. You’ll see a larger body of water. The Headless is down at the lakebed near the far wall.
Fountainhead Palace
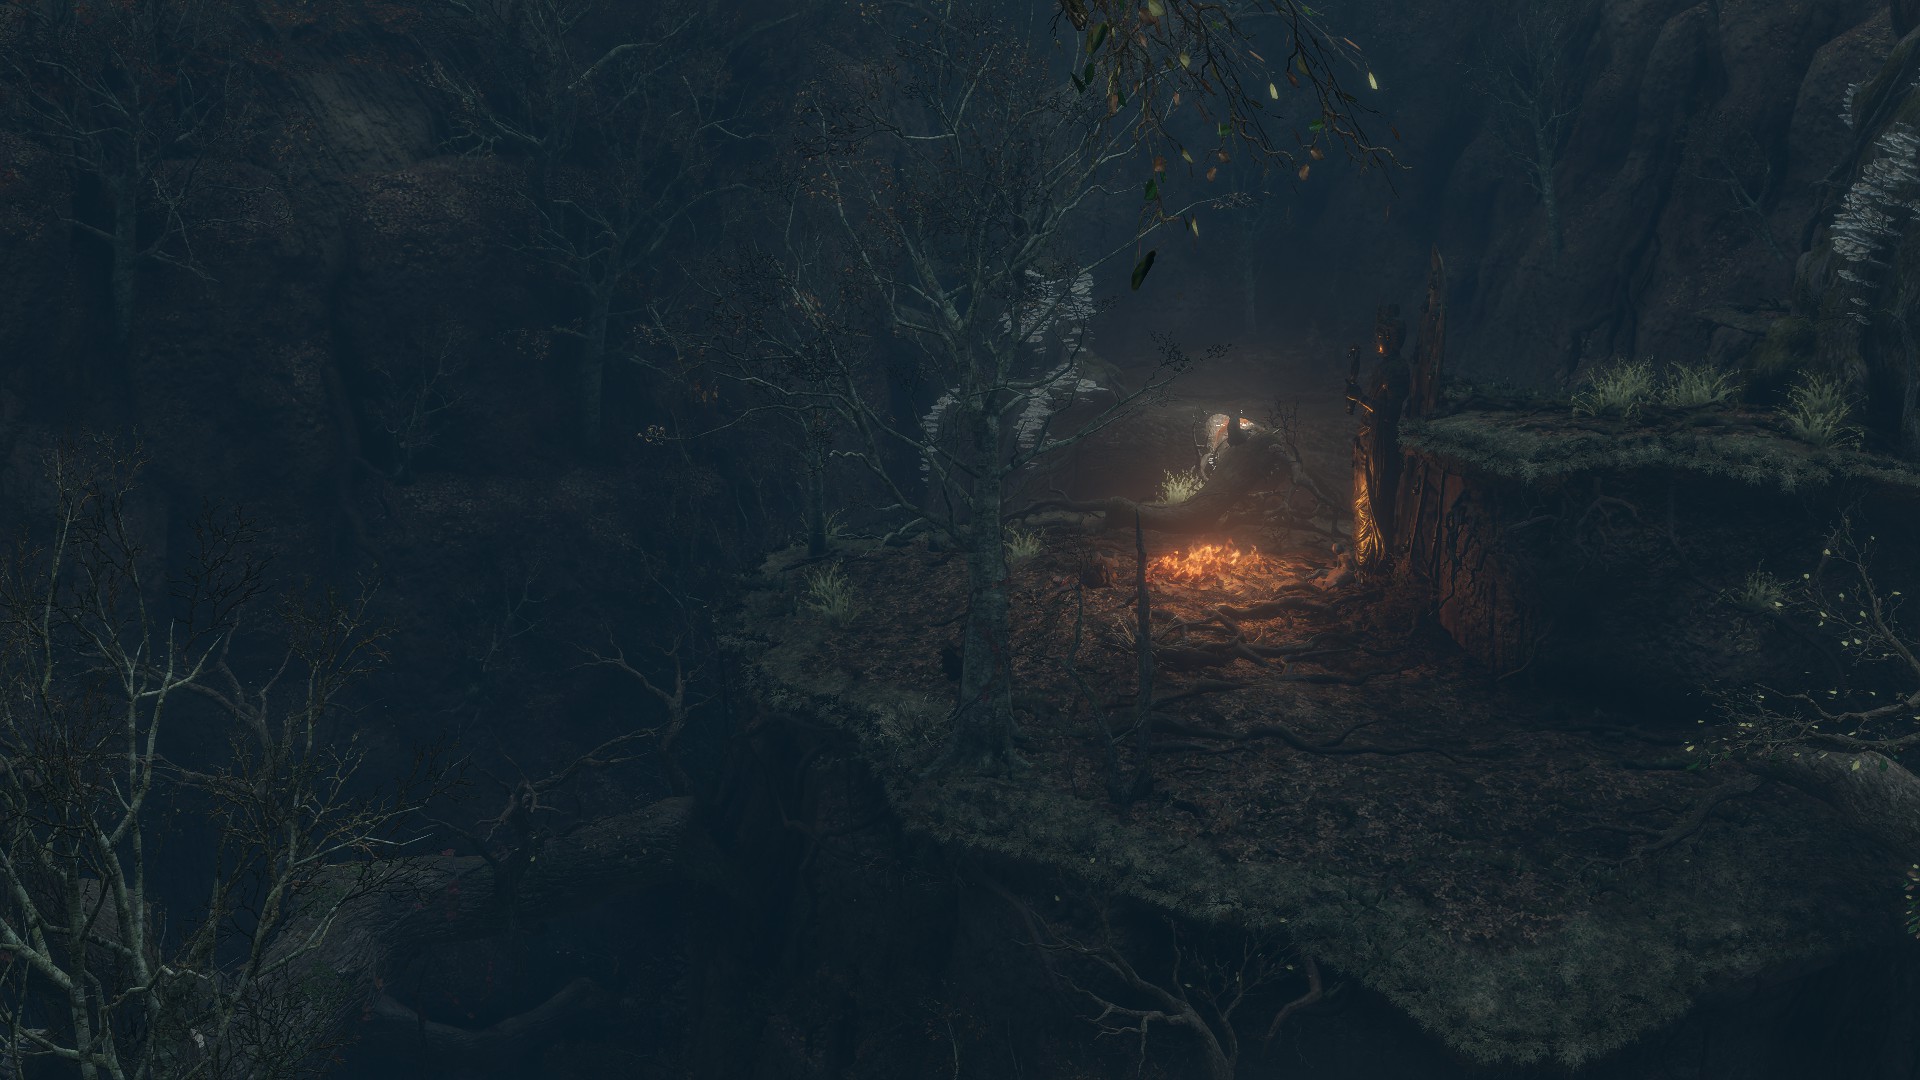
This one takes some doing, as the image below is taken from atop the large tree in the main area.
You’ll need the Great Sakura Idol to reach it efficiently, which is behind a group of enemies overlooking the water. One of them is doing a dance and three others are watching. Wander the palace for a bit, and you’ll likely see them.
That’s all you need to know about fighting the Headless bosses in Sekiro: Shadows Die Twice. For the most part, these fights are about patience, parrying, and attacking at the right moment. Just remember to have the right items with you, and these enemies should be easy to beat.
For more tips on From Software’s latest, be sure to head over to our guides page and check out our review.




Published: Apr 3, 2019 11:35 pm