As a tabletop conversion to PC, BattleTech is the sort of game that requires a strong grasp of the fundamental mechanics if you want any shot at keeping your pilots alive, your mechs outfitted, and your merc company paid.
This particular entry in the hallowed giant robot franchise can be unforgiving to new players, and the tutorials are buried in dialogue options that are easy to miss if you aren’t exploring every nook and cranny of your drop ship.
Before you get started retaking the Aurigan Reach for the Arona Restoration, this is everything you need to know about strategy and mech maintenance if you don’t want to be reloading every single battle.
BattleTech Mech Combat Basics
Navigating turn order and planning your upcoming attacks based on which enemy will move next is critical in absolutely any mission. The turn order goes in descending order of 5, 4, 3, 2, 1 instead of ascending order, so pay attention to who is going to attack next and who can be Sensor Locked that turn and then still attacked by another mech in your group.
Best BattleTech Pilot Skills
You will quickly learn that Sensor Locking and Evasive Movement are two of the most important skills to have, but they aren’t fully explained by the tutorial missions.
For instance, you don’t need direct line of sight to Sensor Lock an enemy vehicle. They just have to be on your radar as the unknown red dots within sensor range. This is important for indirect missile fire over long distances before closing the gap and engaging in short-range laser fire or direct melee combat.
Your enemies will typically be either mechs or tanks, and it’s these smaller ground vehicles like tanks that are extremely susceptible to mech melee assaults — usually going down in one hit.
Choosing Attack Types
When engaging in ranged combat, always keep in mind that you don’t have to launch the mech’s entire weapon payload with every attack. You can click each weapon in the list in the lower right corner to remove or add before firing, which is important for managing heat. Switching to melee for a round is another excellent option for venting heat.
If a weapon has a low chance to hit but will increase your heat into the critical range, just turn it off for that attack. Remember that these settings are saved for every attack, though, so don’t forget to turn it back on for the next salvo if you want to use all the weapons at once.
Finally, while shooting ranged weapons like missiles and lasers, it’s always better to try to hit enemies on their sides or from the back. Not only does this reduce their armor’s damage reduction and overcome the Guarded state, but your chances of destroying a mech section with a Called Shot shoot up significantly.
Hitting from behind, your chances of taking out a mech’s leg to knock it over will jump from 18% to the 50% range. Don’t discount the center torso, though. While the percent chance will be lower, destroying the torso with a Called Shot incapacitates the pilot and takes the mech out of commission immediately.
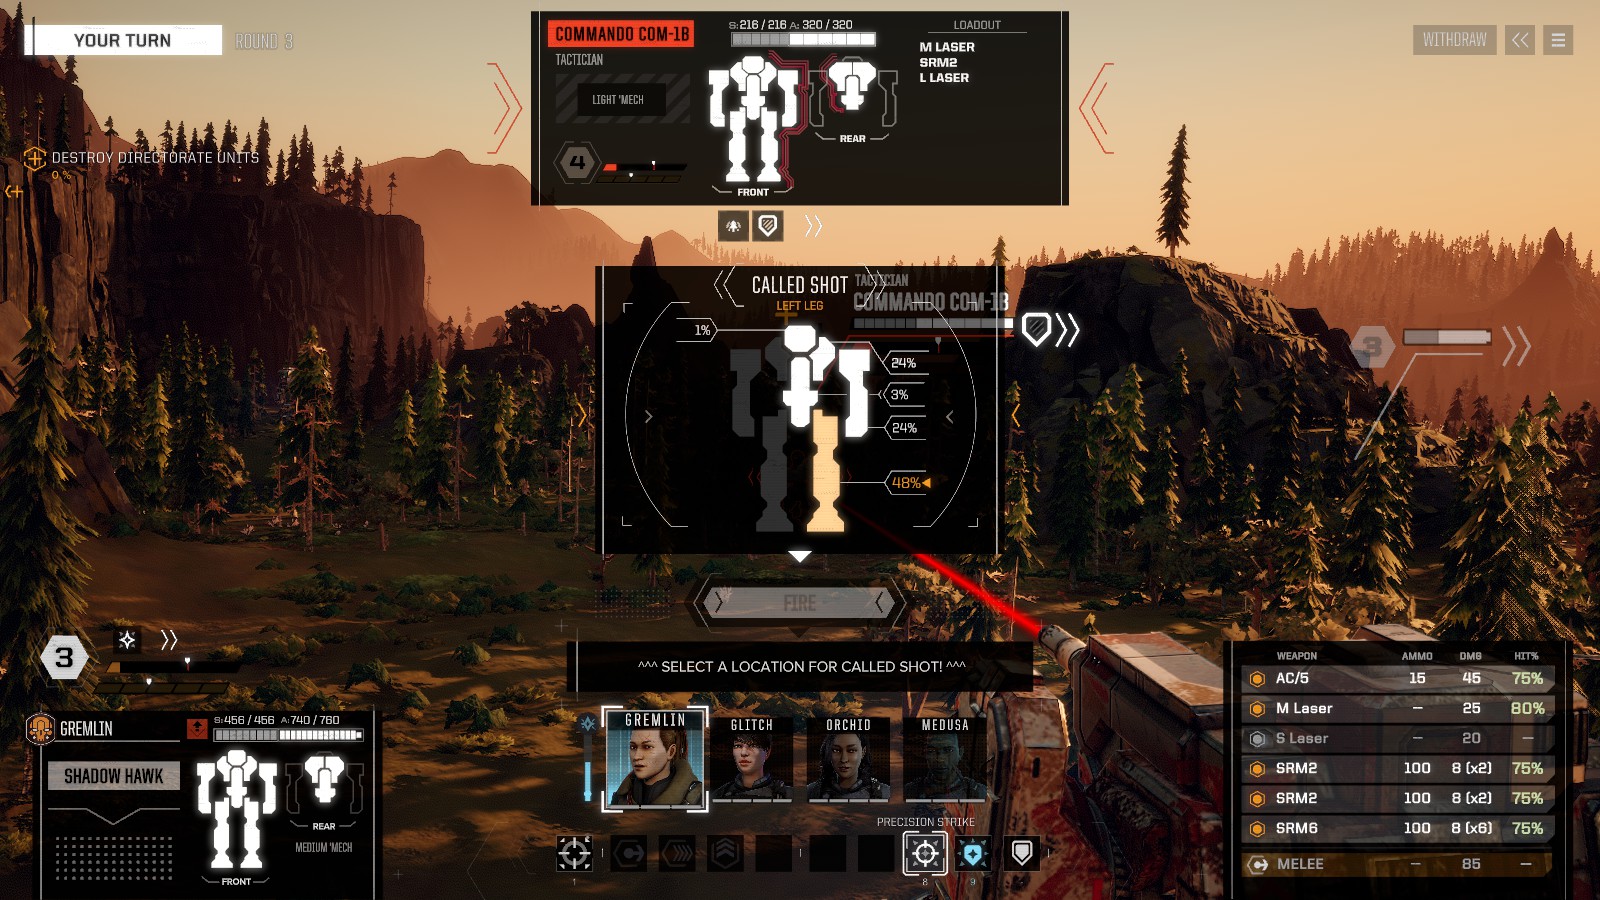 Called Shot percentages go up drastically if attacking from behind or from higher ground
Understanding BattleTech Mech and Weapon Types
There’s a huge array of mechs, from Spiders to Dragons to Shadowhawks, Vindicators, Centurions, and many more. While each has a slightly different focus between movement range, heat distribution, ranged or melee combat, and so on, the primary differences will be in their weight category.
Best BattleTech Mechs and Weapons
In general, heavier mechs have more space for more weaponry, so heavy is a good way to go for both armor and attack strength. Each mech has different weapon anchor points, however.
Not all mechs can equip an SRM 5 or AC/10 on either arm for instance, while some can equip multiples of the same type of weapon on the same location for truly devastating volleys of fire. Highlighting a weapon in the equipment list will show you which locations on the mech can use that weapon.
You can get drastically different results in a mission just by swapping out weapon types and tailoring them to each pilot’s skills. The PPC, for instance, is basically the mech rendition of a sniper rifle and is only useful at long range if you have a high Gunnery skill. Machine guns, on the other hand, aren’t all that helpful against 50-ton metal monstrosities, and they’re only useful for light mechs to deal a little extra damage and hope for a critical if the enemy is low on armor.
LRMs, SRMs, ARs, and MGs need to have their corresponding ammo types placed somewhere on the mech to be used (it doesn’t have to be the same location as the gun itself), while laser and energy weapons don’t require extra ammo to function.
Pay special attention to a weapon’s minimum and optimal ranges. A mech outfitted with just a PPM and LRMs will be useless in short-range combat (and will need several heat sinks if you intend to fire every round).
When refitting weapons, make sure to finish your loadout with extra heat sinks or jump jets to get to that mech’s specific ideal tonnage. If you have any leftover space — even a single 0.5 of a ton — you will always get an annoying warning box when entering combat.
The game doesn’t explain this at all, but if you don’t need jump jets or heat sinks, you can increase the tonnage by paying to increase armor on each individual location with the small white + buttons, which can be much more useful.
 A solid mix of long- and short-range weapons will keep you alive in more situations
Using Light Mechs Effectively
When outfitting mechs for your lance, those fast-moving, lightly armored mechs seem useless at first — but they absolutely aren’t. While they become less useful as you need heavier mechs in later missions that can take more damage, in the beginning stages, these are cheap ways to get easy wins.
Use light mechs for scouting to know which direction enemies are coming from, and reposition them quickly with their long-range sprinting and jump jet abilities to quickly take out vehicles with melee attacks.
Adding the Evasive Movement skill to a mechwarrior who uses light mechs can make them extremely difficult to effectively hit in ranged combat. You should also make use of the Reserve action to hold these highly mobile mech’s actions for later in the round. Since they can cross larger distances, light mechs reserved for the end of a round can mop up heavily damaged mechs or vehicles after your heavy hitters have launched their payloads.
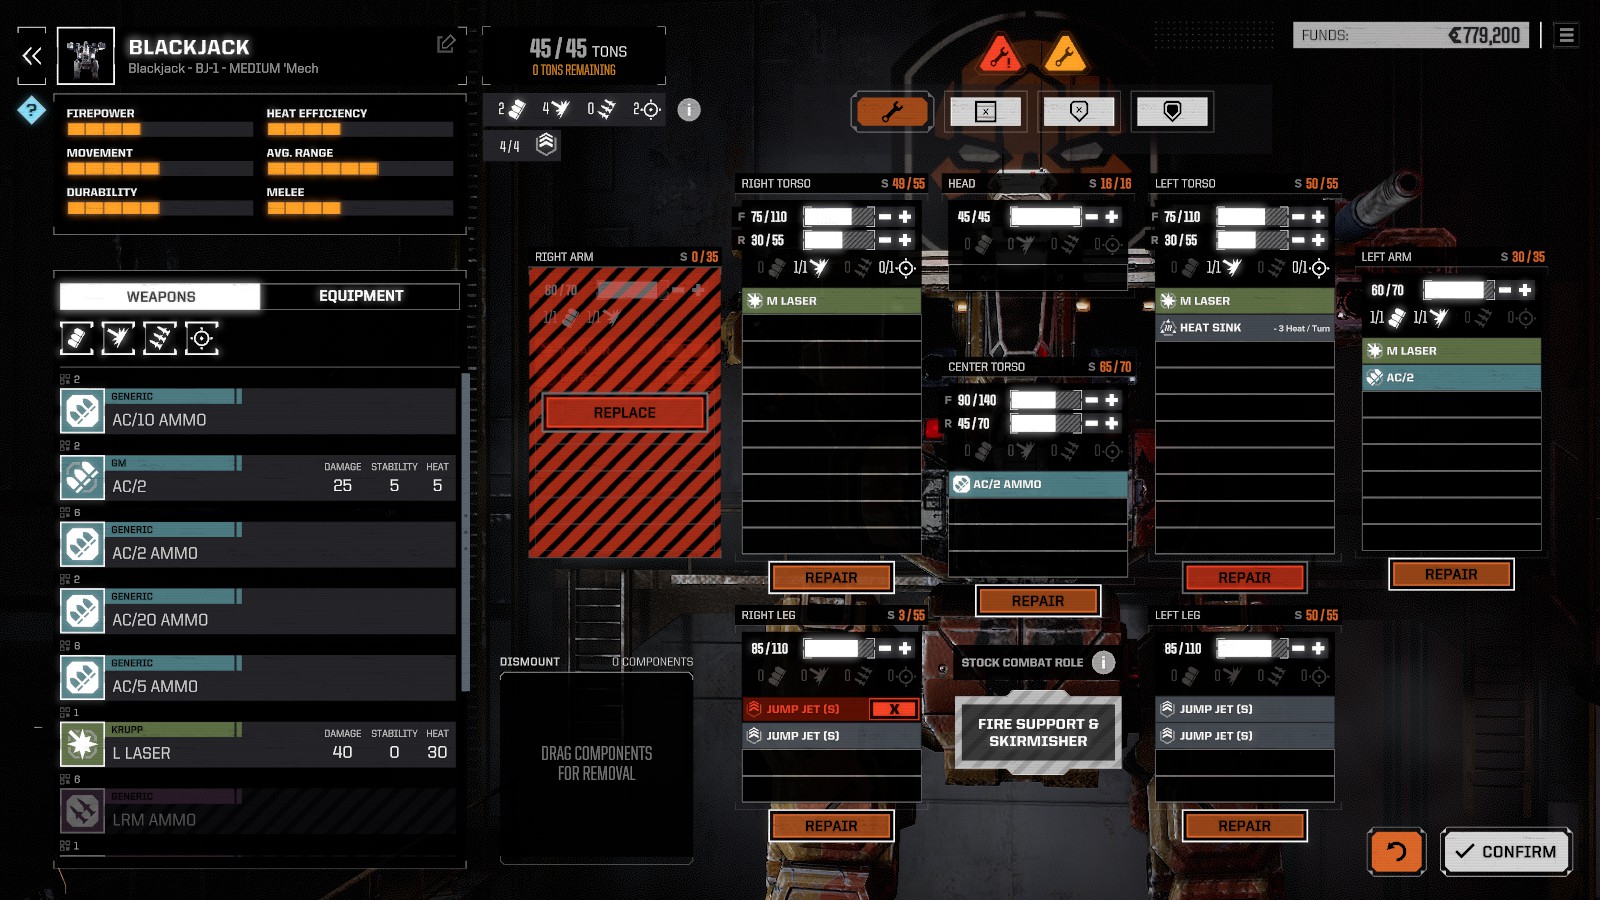 The bewildering number of mech and weapon options will be daunting at first
Mastering Movement During BattleTech Missions
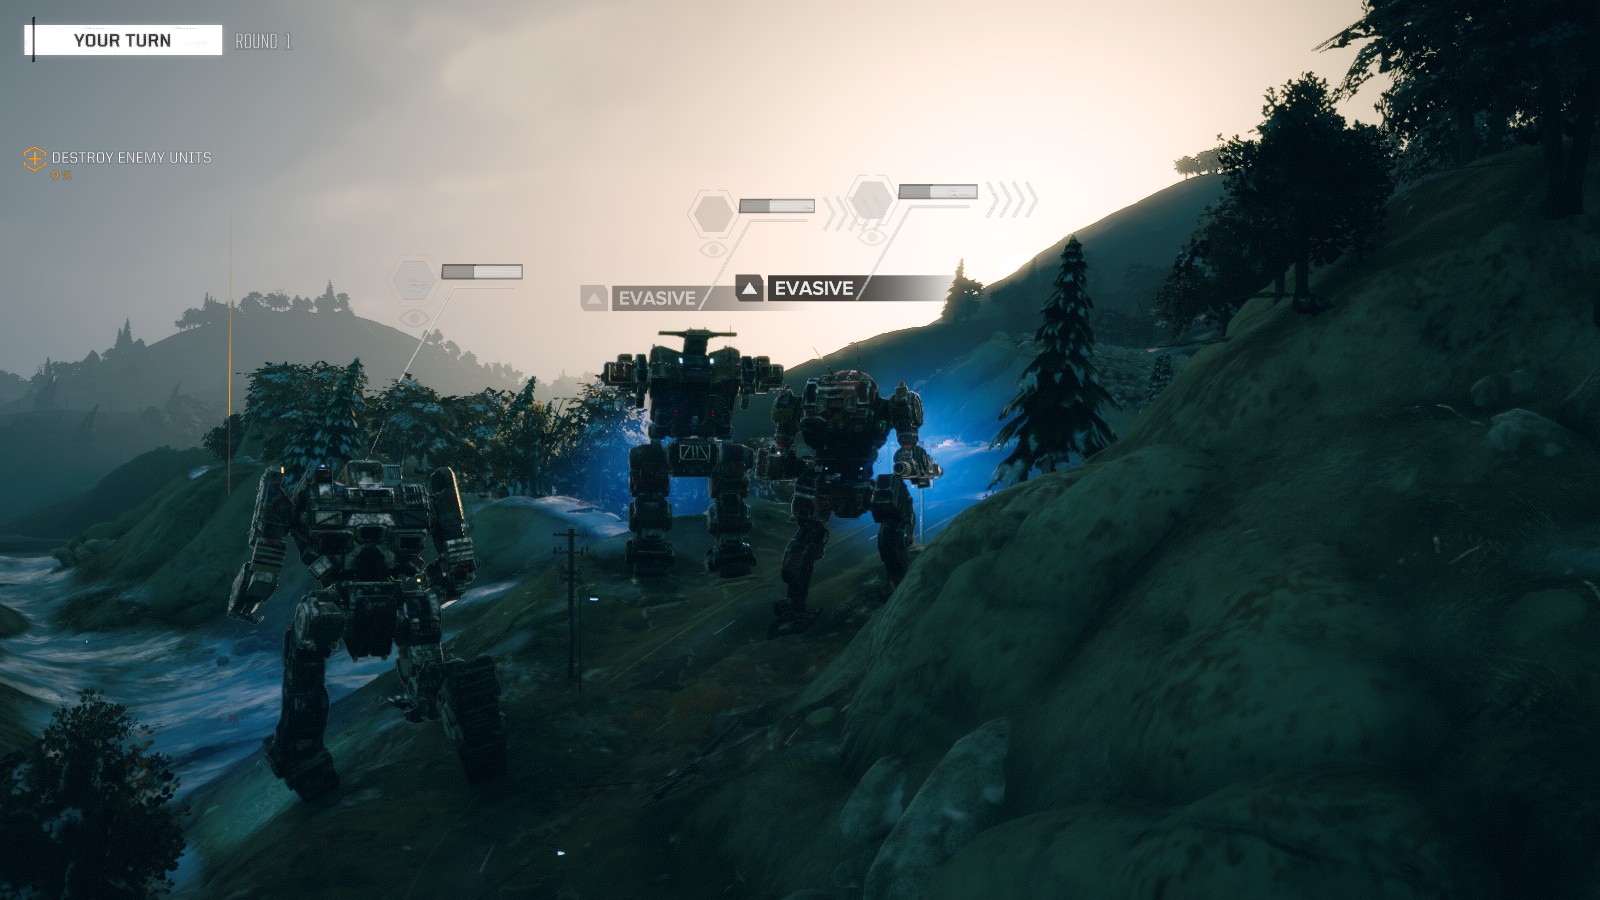
Now that you know the basics, it’s time to get into the nuts and bolts of how to win a mission. First and foremost — stay mobile! Evasion is critical to staying alive against long-range attacks. The more points of Evasion you can generate, the better. While moving across the map, use forest terrain and the Entrenched condition to your advantage against superior numbers.
Moving to get a point of Evasion and then using Sensor Lock to remove an enemy mech’s Evasion is usually more useful than standing still and unloading a bunch of ammo on a mech who isn’t going to take any damage anyway due to those Evasion points. RNG is a strange mistress, though, and there’s always the possibility you get a lucky shot and blow off a critical component.
Right-click a mech to see how many points of Evasion it currently has (these are the >>> marks beneath the black box at the top of the screen) as well as getting an overview of the enemy’s weapon loadout. Be on the lookout for enemy turrets to Sensor Lock your lance, which exposes them to indirect missile fire every round, even if they are nowhere near an enemy mech.
BattleTech Formations
In general, the old D&D adage of “never split the party” holds true. There are only a few missions where it’s worthwhile to break into small squads of two mechs and hit from different directions. You don’t have to worry about large-scale area effect attacks that hit multiple mechs simultaneously, so staying clustered together for defense is usually a better option.
There are possible exceptions to that rule. For instance, one strategy is to send a mobile, melee-focused mech ahead to engage the enemy (using jump jets to get out of harm’s way when enemies swarm around) while the three other mechs in your lance use long-range attacks from a distance.
This is a particularly risky strategy, however, as your nimble melee mech is probably going to take enough damage to make the mission a bust, unless you get incredibly lucky. More likely, you will RNG yourself out of a good, solid mech.
Spending Money on Mech Repairs/Ship Upgrades
There’s a subtle but important focus shift in BattleTech from other turn-based strategy war games. You are a mercenary company, not a fanatical military devoted to a particular purpose or plot of land. Your job is to make enough c-bills to keep operating, not to win wars for other people at all costs.
If you are going to end up spending more money on repairs, re-buying destroyed weaponry, and recruiting new pilots than the job is going to generate, then it’s time to withdraw from the mission. So long as you killed at least one enemy, you won’t even take a hit on your rating with the Mercenary Review Board.
Each job is negotiated ahead of time, with sliders used to decide whether you are going to get more money, more guaranteed salvage, or less of both in exchange for a reputation bonus.
Salvage can be better than money, especially if it means you don’t have to re-buy expensive weapons after a mech is damaged, but having money on hand at all times is always a good idea, especially when those random events pop up during space travel. In general, if you are flush with cash, you may want to go with the salvage or the rep boost, while in lean times, you should move the slider towards the high end of the monetary payment.
When you finally have a surplus of cash and get your hands on the Argo drop ship, don’t rush to buy all the ship upgrades immediately as soon as you have enough c-bills available. Besides their initial investment, they cost money every month to maintain, which can add up quickly. If you do poorly on several missions in a row, you may end up running out of cash unexpectedly.
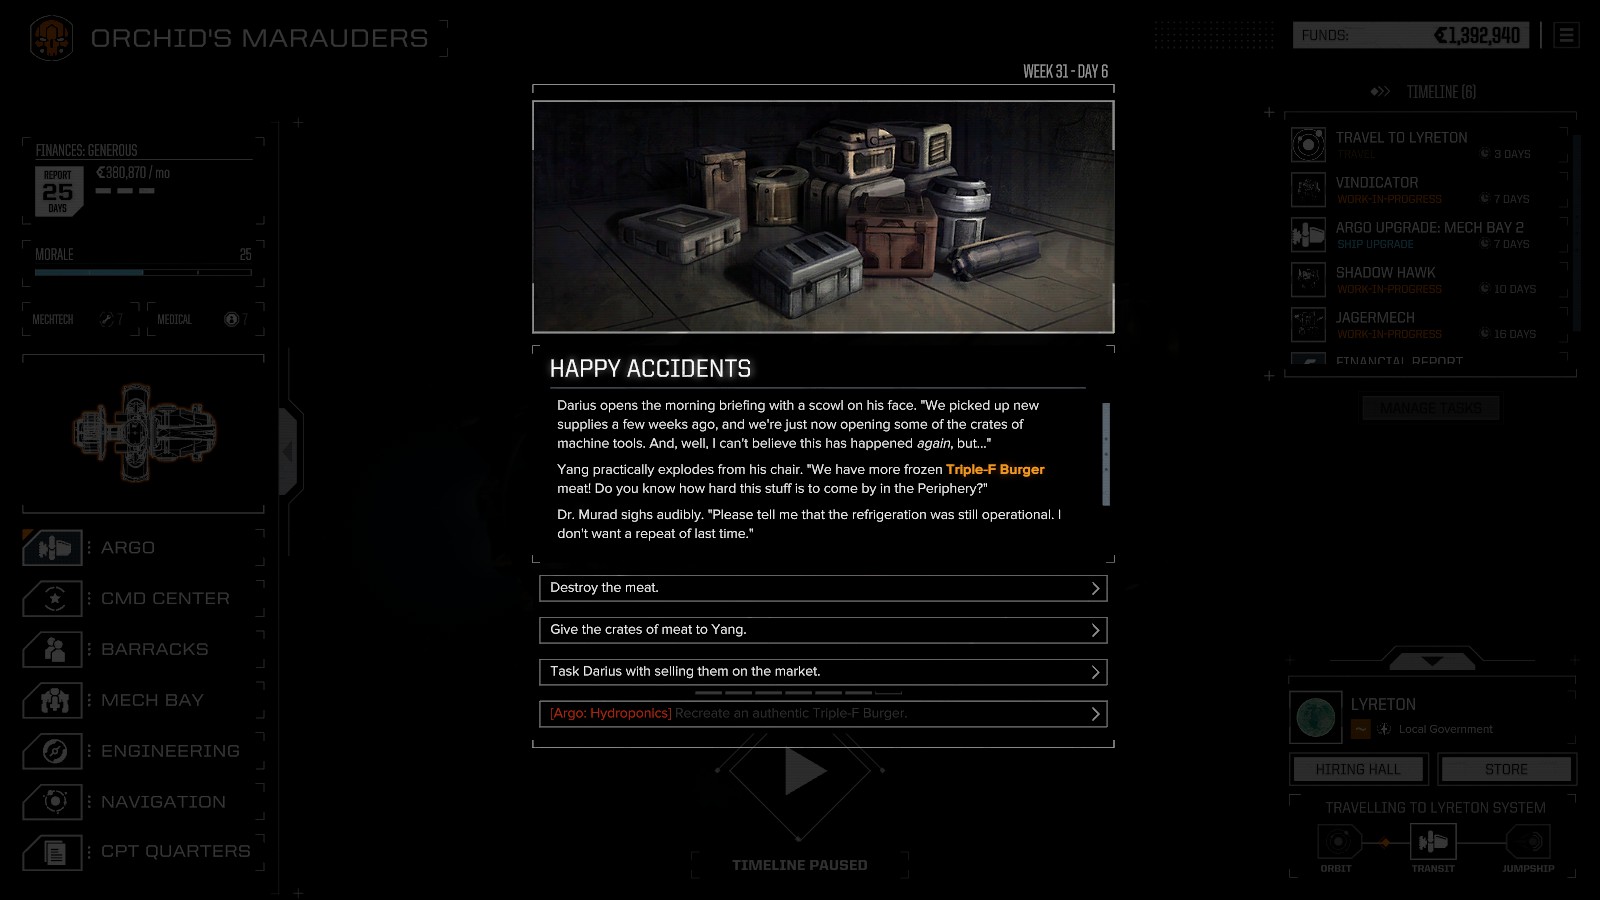 Expanding the Argo gives more event options, but not all of them are worth the investment cost
Those are all the BattleTech combat and negotiaton basics you need to know to play the game. Have any other BattleTech tips and tricks or awesome mech loadouts we should try? Let us know your best mech combat strategy in the comments below!



Published: Apr 23, 2018 04:24 pm