Product provided by Nintendo.
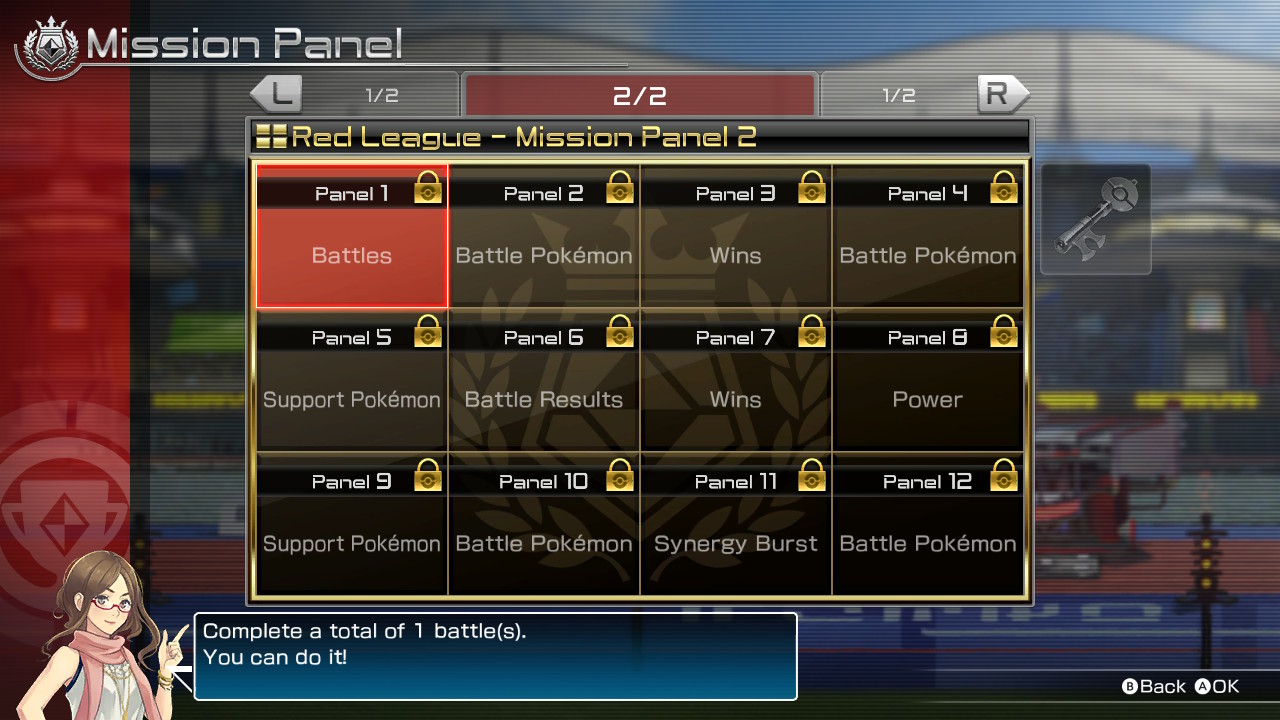
Mission Panels are a brand new addition to Pokken Tournament DX. Completing them unlocks a slew of new Trainer Customization options that were absent in the original Wii U version. If you have the tenacity to complete every objective on a Panel, you receive an extra title and some cool graphic art.
Some of those objectives get a bit crazy, though, while others are simply difficult to understand — particularly if you’re new. Whether you need help with an objective you’re stuck on or are simply looking for the most efficient method to complete them all, we’ve got everything laid out for you right here.
Pokken Tournament DX Mission Panels Guide
You find Mission Panels in the Ferrum League. Each League features its own Mission Panels, and you need to battle in that League if you want anything you do to count towards objectives. When you complete all 12 objectives, you sometimes unlock another Mission Panel for that League.
Completing 6 objectives nets you a key that can be used to unlock any one thing on the board. If you keep the key, however, you’ll receive a bunch of Poke Gold when you complete the Mission Panel.
Whether or not you decide to tackle objectives while progressing through a League doesn’t matter — there’s no way in hell you’ll be able to complete every Mission Panel before the Promotion Test. Because of this, I suggest completing them in either Free Battles or the Promotion Test itself (for extra experience points), that way you don’t risk your rank if you lose.
There are over 15 types of objectives mixed in throughout the Ferrum League. Some are rather simple while others seem insurmountable at times. Though, with a little ingenuity — and some tips from your’s truly — you’ll soon overcome any and all Mission Panels that stand in your way.
Let’s dive in!
The Most Efficient Way to Complete All Mission Panel Objectives
- Battles: Complete a set number of battles. It doesn’t matter if you win or lose.
- Wins: Win a set number of battles.
- Poke Gold: Earn an allotted amount of Poke Gold from battling. Winning the Promotion Test over and over is the fastest way to earn Poke Gold for this objective. Note that any extra Poke Gold you receive from completing a Mission Panel or finishing the League doesn’t count.
- Battle Pokemon: Win a set number of battles with the specified Battle Pokemon. Note that you must change your Partner Pokemon in order to use a different fighter in the Ferrum League.
- Support Pokemon: Call out the specified Support Pokemon a set number of times. These usually come in pairs, one for each Support Pokemon in a set. Be sure to use either the Standard or Support Focused Cheer Skill. For each battle, pick the Support Pokemon you’ve used more of for the first round, and the one you’ve used less of on the second round. The goal is to get off at least 1 Support in the first round and 2 in the second by taking advantage of the full charge you get from Standard and Support Focused Cheer Skills. Always shoot for calling more Supports if possible.
- Grabs: Successfully grab an opponent a set number of times.
- Counter-Attacks: Successfully land a counter-attack on an opponent a set number of times.
- Critical Hits: Successfully land a critical hit a set number of times. Critical Hits happen when you use the Attack Triangle to thwart an opponent’s move. You either need to counter while they’re attacking, attack while they’re grabbing, or grab while they’re countering — grabbing while they’re shielding doesn’t count. You’ll know you got a crit when your opponent is engulfed in orange sparks and “Critical Hit!” appears over your HP bar. Since computers are a little hard to realistically predict, I tend to stick with using counter-attacks to complete this objective.
- Phase Shift: Initiate a Phase Shift a set number of times. Note that it has to be your hit initiating the Phase Shift, otherwise it won’t count.
- Synergy Burst: Win a battle while in Synergy Burst mode a set number of times. Note that this objective counts every round, so if you manage to finish off both rounds with Synergy Burst active, you’ll get 2 points for the battle. Note that there are earlier versions of this Panel that only require you to activate Synergy Burst instead of finishing with it.
- Burst Attack: Successfully land a Burst Attack a set number of times. The computers don’t tend to defend against burst attacks very often, so this shouldn’t be a problem, just make sure it hits. I suggest using Shadow Mewtwo’s Burst Attack, since it both charges quickly and has a huge area of effect.
- Power: Gather 3 or more Synergy Power orbs in 1 round a set number of times. You have to collect these in the same round, it can’t be throughout the battle. However, you can do this every round for multiple objective points per battle. If you’re confident in your abilities, try purposefully losing a round for the chance to get 3 points towards the objective in one battle.
- Regain Recoverable HP: Regain 180 or more recoverable HP within 1 round. This one is tricky since you can only heal the dark green sliver on your HP bar, but with Support Pokemon like Espeon and Creselia alongside a Synergy Burst or two, you should reach this goal with conscious effort. If you’re having trouble, be sure to use Shadow Mewtwo.
- Battle Results: Achieve 4-star or higher battle results a set number of times. A 4-star is nothing to sneeze at, and you’re going to need to do well with your Attack, Defense, Technique, and Bonus grades for a chance at this result.
- Perfect Victories: Achieve a Perfect Victory a set number of times. In order for a victory to be considered Perfect, you have to knock out the opponent without taking any damage. Since Perfects are counted every round, you can get up to two per battle if you’re careful.
- Combo Damage: Land a high damage combo attack. The damage you need to reach for this objective is entirely unclear, but you should be able to pull it off if you look up some high damage combos on YouTube. The combos provided in the dojo are often simply too weak for this Panel. If you’re struggling, try using a Power type, like Machamp, or any other Battle Pokemon that packs a punch, such as Gardevoir.
- Negative Status: Afflict an opponent with a negative status a set number of times. This objective is far easier to complete when you’re using a Pokemon with access to a lot of debuffs, like Croagunk, Sceptile, or Decidueye. Note that it still counts when you reapply a negative status that’s already active, so feel free to spam your debuff moves.
Note: Check your progress by highlighting the objective on the Mission Panel page and pressing ‘A’.
A completed Mission Panel.
With that, you now know exactly how to complete each Mission Panel in the Ferrum League quickly and efficiently. Be sure to check out the rest of our Pokken Tournament DX guides for more hot battling tips.
- Pokken Tournament DX: Ultimate Guide to Stats, Skill Points, and Leveling
- Pokken Tournament DX Beginner’s Guide: Tips on Becoming a Pokemon Champion


Published: Sep 20, 2017 03:16 pm