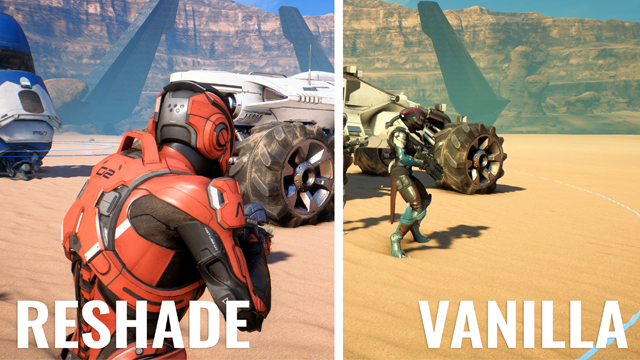
Have you ever wanted to make your favorite game look better? Today you can add your own customized post-processing to any game you desire without waiting for an official remaster. ReShade is an open-source tool that can help you do exactly that.
After the installation of ReShade you will be able to customize the following graphical features of your games: MSAA antialiasing, screen space ambient occlusion, depth of field effects, chromatic aberration, dynamic film grain, automatic saturation and color correction, cross processing, multi-pass blurring, and many others.
With the help of this guide you will learn how to do it using the latest version of ReShade available for download here.
Setting Up ReShade for Video Game Post-Processing
Step 1: Select Rendering API
After the installation of the ReShade tool you will be asked to provide a path to the game’s “.exe” file, and to choose the correct rendering API for your game. There are three possible options when it comes to API: Direct 3D 9, Direct 3D 10+, and OpenGL.
But how do you know which API is compatible with your game? Go to this page and search for your game in the list. There you should see which games are supported by ReSahde and to what extent, as some games may have only limited render options.
You will notice that older games have more limitations than the newer ones when it comes to post-processing.
Step 2: Download Standard Effects
The next step involves downloading a number of standard shaders from an open GitHub source. The installation program will ask you to choose the shaders, but you can simply download them all and choose the necessary effects directly later in the game.
The downloading process and installation of these standard effects will take some time, but it is absolutely necessary for a proper configuration of ReShade.
Step 3: Activate ReShade Settings
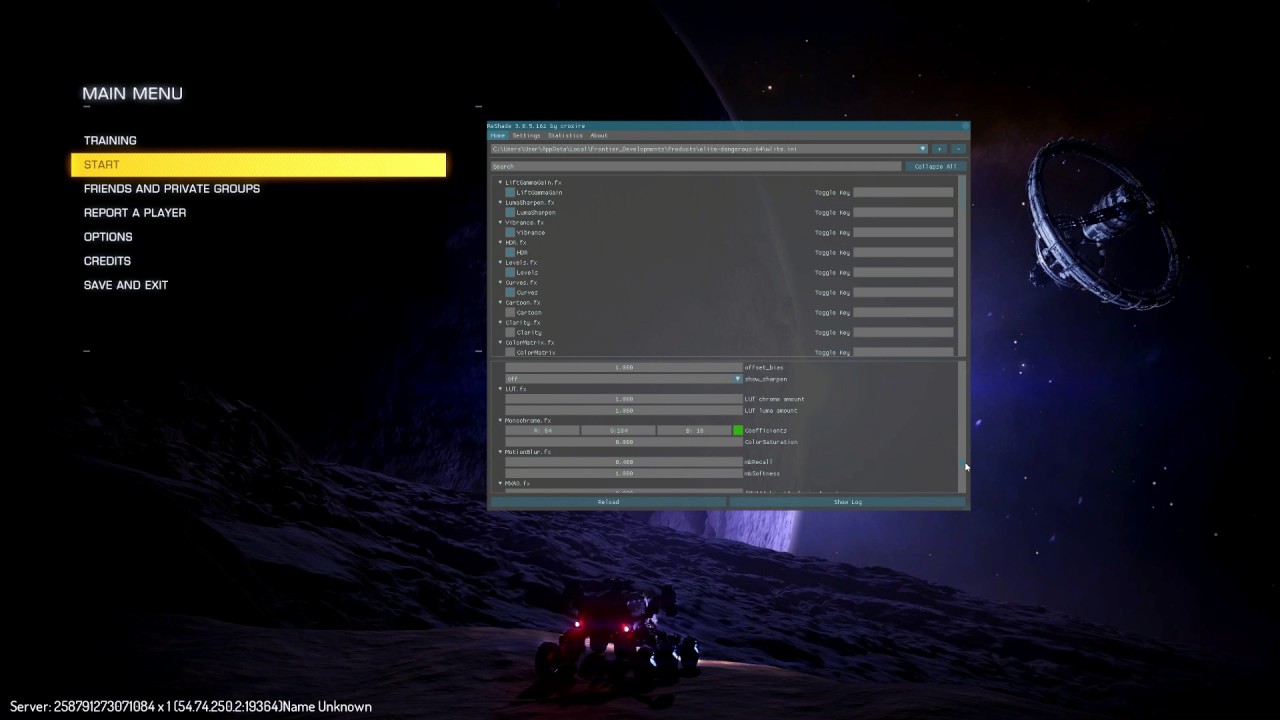
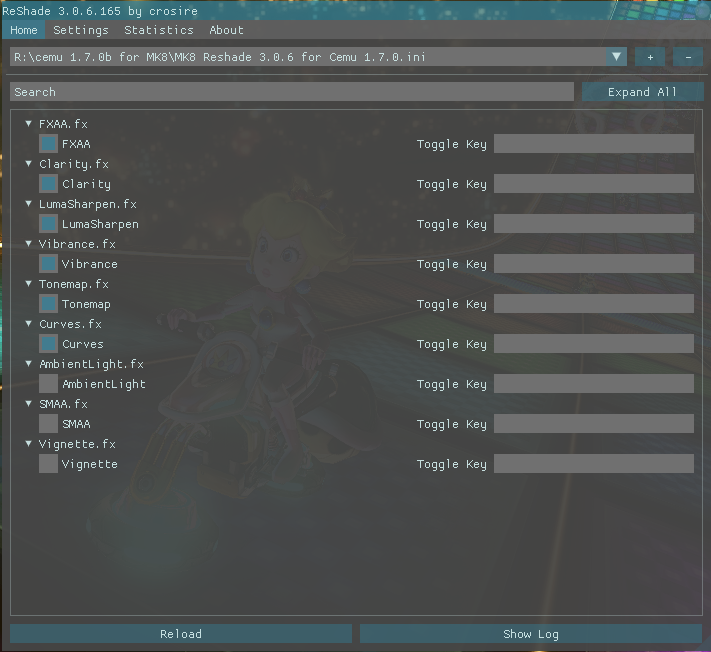
After the installation, you can start your game. In order to activate the ReShade console you need to press the “Shift + F2” combination of keys. Then, you need to create a preset with a new name in the ReShade menu.
Finally, you can switch on/off any types of effects that you think are the best for your gameplay experience. The most universally acknowledged effects are the following:
- FXAA (Fast approXimate Anti-Aliasing) — a faster and more effective shader than the typical MSAA antialiasing.
- AmbientLight — enhances the overall lighting on the surfaces, which will let you see things better even in the darkest of games.
- DPX (Digital Picture Exchange) — allows limited post-production image effects that provide more color controls over the resulting image.
- HDR (High Dynamic Range Rendering) — provides more vibrancy and contrast to the overall picture without skewing the flow of rendered frames.
Now you can fix graphics in your games the way you want it and whenever you want it!


Published: Sep 2, 2017 11:13 am