The Guide Crystals are other intricate puzzles in Wuthering Waves that you’ll come across, not too far off from the Fallen Grave puzzle. Very similarly, you’ll be using nearby pieces and placing them in the right spots to earn a reward. Here are all the steps to completing each puzzle.
Wuthering Waves Guide Crystal Puzzle Solutions
There are three different Guide Crystal puzzles you can complete, all within the Whining Aix’s Mire area of the map. You’ll earn several Premium Supply Chests and Advanced Supply Chests if you can complete all of them. Follow all the steps below for some help getting through them.
Guide Crystal Puzzle 1
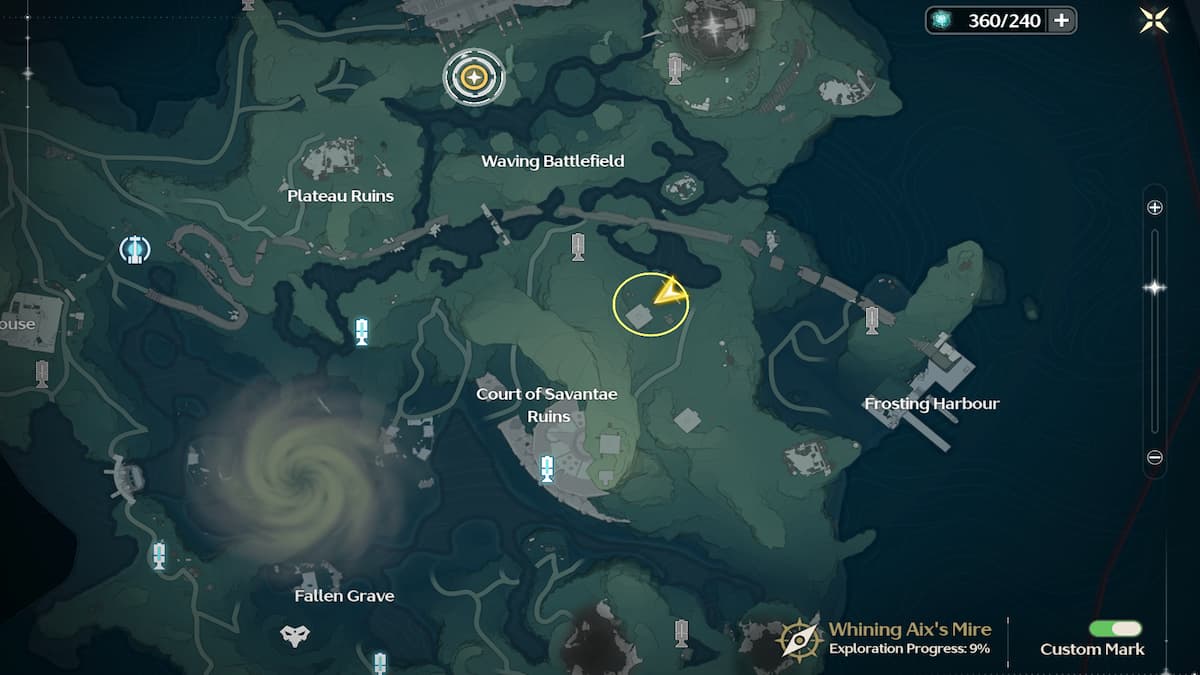
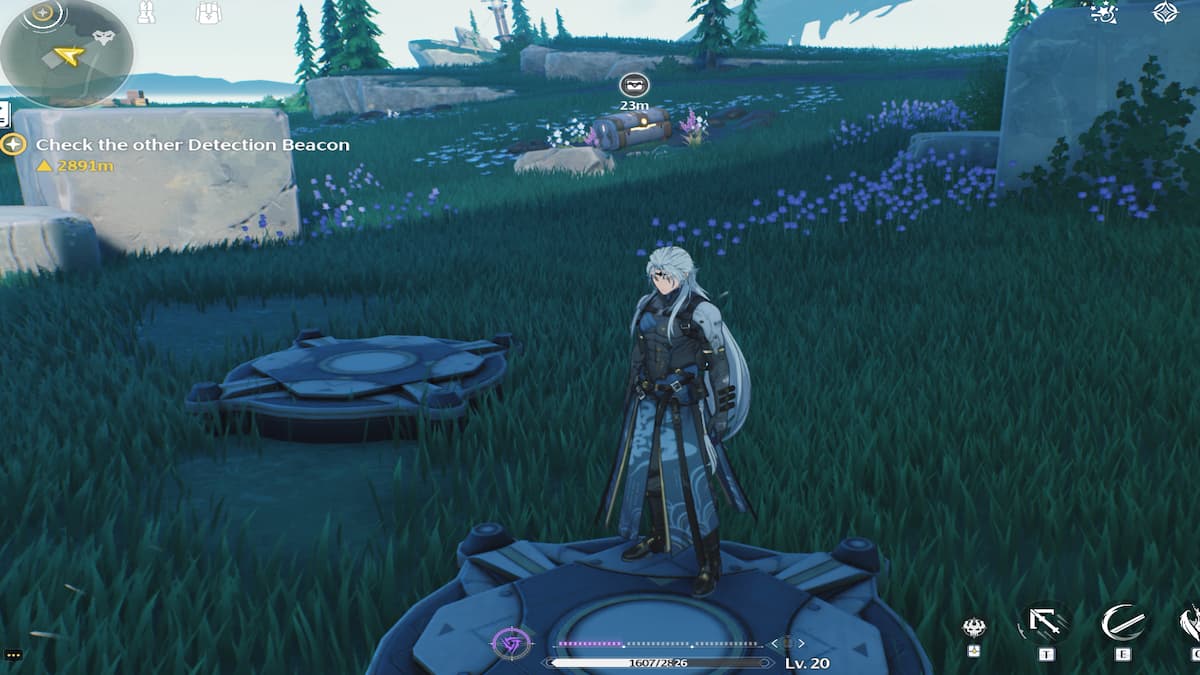
The first puzzle is just southeast of the Huanglong-Whining Aix’s Mire Resonance Beacon. This one has several pressure plates in a circle that you have to stand on in the correct order to open the door of the ruins and earn two different chests.
Advanced Chest in Ruins
The first chest is within the ruins, which you can open by stepping on the correct pressure plates. Since you’ll need several pressure plates lit simultaneously, you’ll need to use the two cubes to help you do that. One cube is free in the center of the plates, and the other is locked on the rock. To figure out which ways to light the pressure plates, use the two peg plates behind the circle of plates.
Step 1 – Unlock the Second Cube
The first step to opening the ruins is unlocking your second cube. When facing the door, look at the peg plate on your right, and it will show you two blue-lit pegs, revealing the pressure plates to stand on.
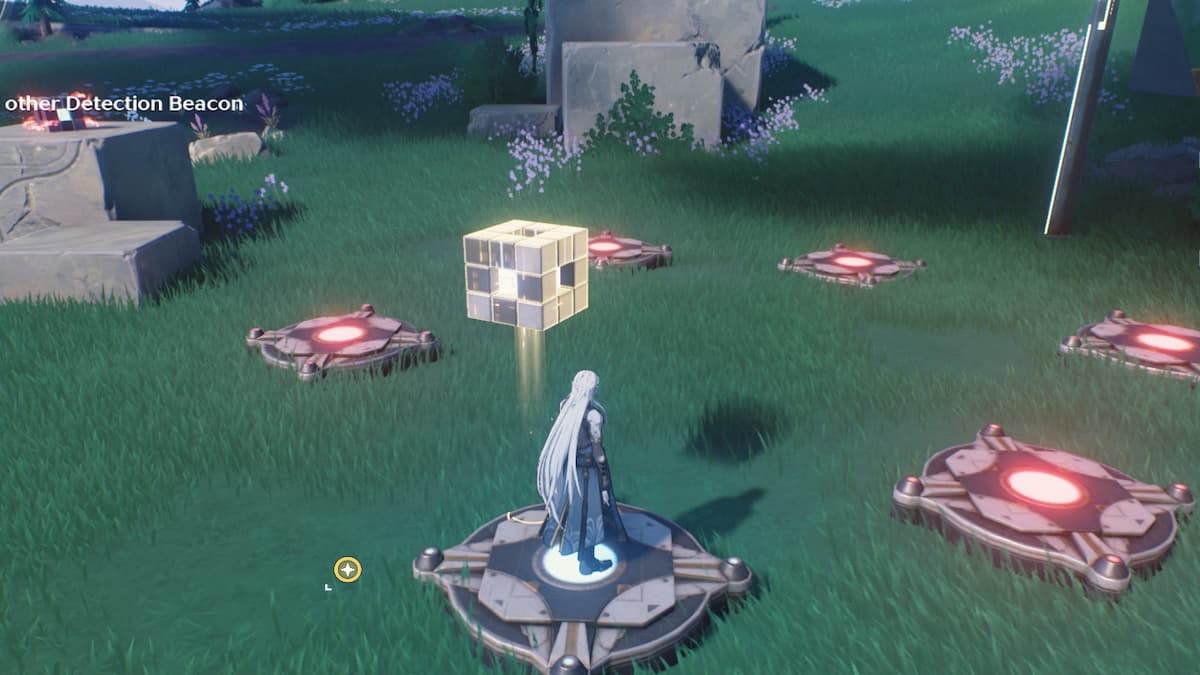
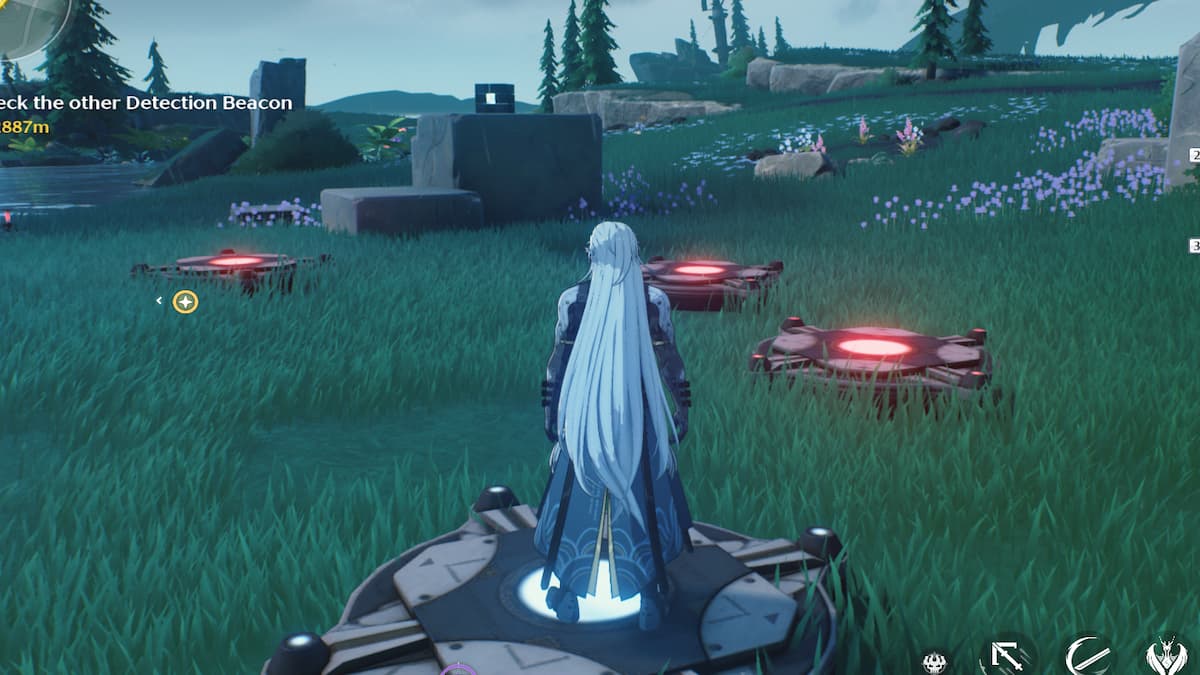
First, take the unlocked cube in the center of the circle and place it on the middle plate on the right side of the door (about 3 o’clock if you’re looking at it like a clock). Then, stand on the very top plate directly in front of the door (12 o’clock). Once you trigger these two plates, the second cube will unlock.
Step 2 – Open the Ruins Door
Now that you have the second cube, you can use both cubes to open the door. Check the peg plate on the left side this time (when facing the door). It will have three pegs lit up in blue. These are the pegs you’ll need to light up:
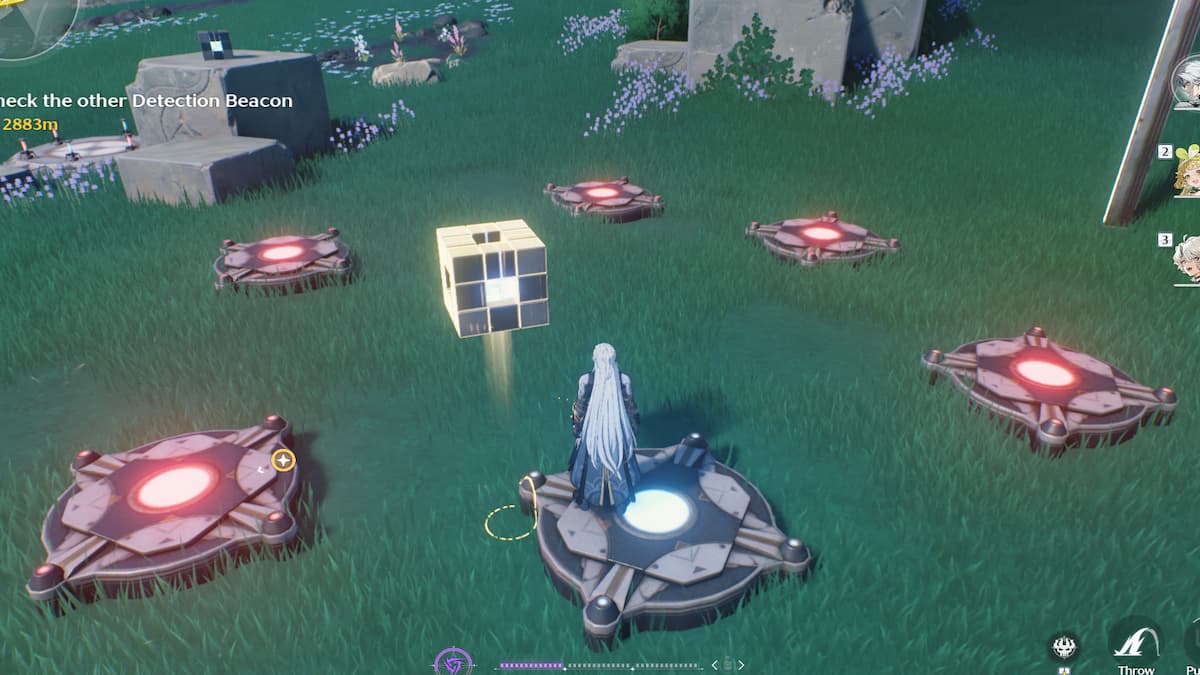
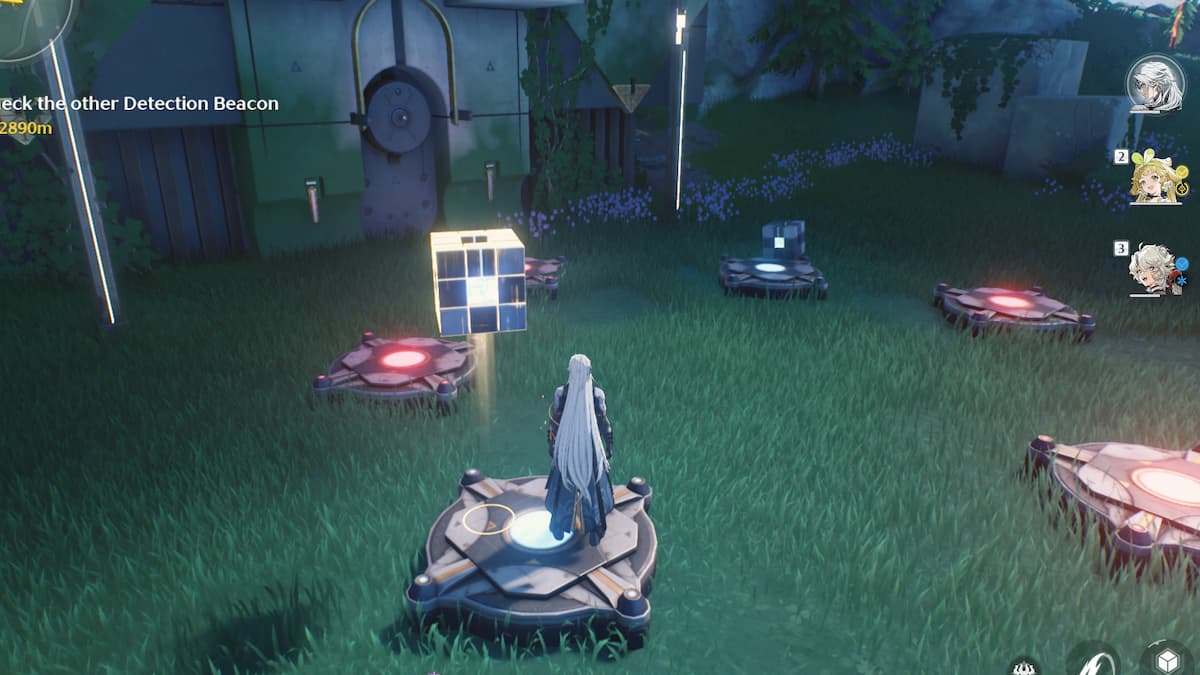
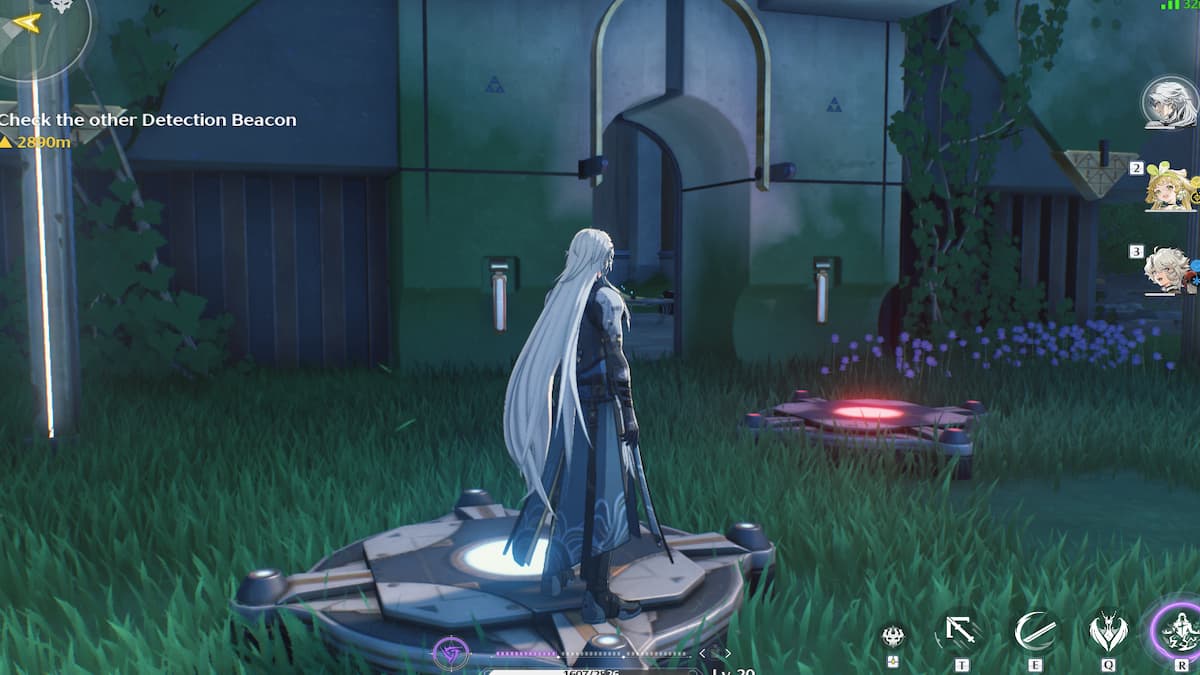
- Place one cube on the top right side (about 1 o’clock).
- Place the second cube on the middle left side (about 9 o’clock).
- Then, stand on the top left side (about 11 o’clock).
Once you have all the plates lit up, the door to the ruins will open. Inside, you can collect the Guide Crystal and open an Advanced Chest with some supplies.
Premium Chest in Flowers
Your thought now is that you may be done with this first puzzle; however, there is one more set of plates you can trigger to receive an even better chest. This is very easy to miss because it is not shown on the peg plates. Instead, look off the left side (when facing the door), and you’ll see a circle of flowers. These flowers are colored the same way as the peg plates, revealing three blue flowers in very specific locations. If you trigger the pressure plates mirroring the position of the flowers, you’ll reveal the second chest.
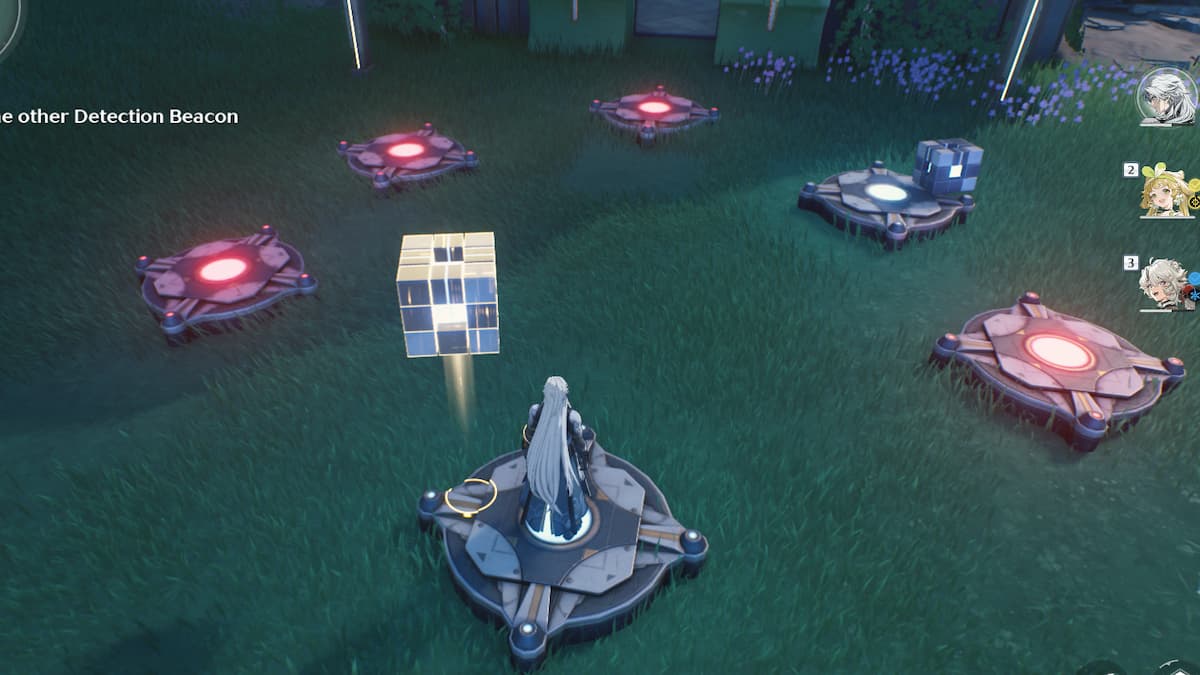
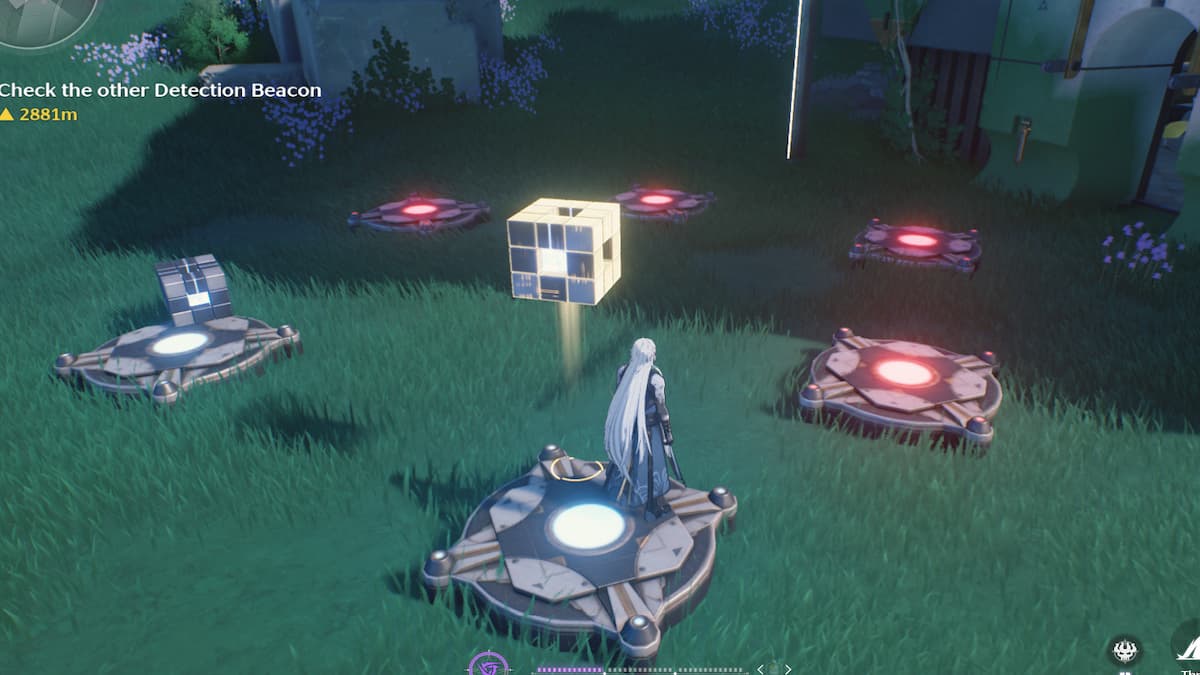
- Place one cube on the very bottom pressure plate (6 o’clock).
- Place the other cube on the middle right pressure plate.
- Then, stand on the top left pressure plate.
The Premium Chest will spawn in the middle of the circle of flowers off to your left side. This has even better crafting materials, XP, and currencies like Astrite.
Guide Crystal Puzzle 2
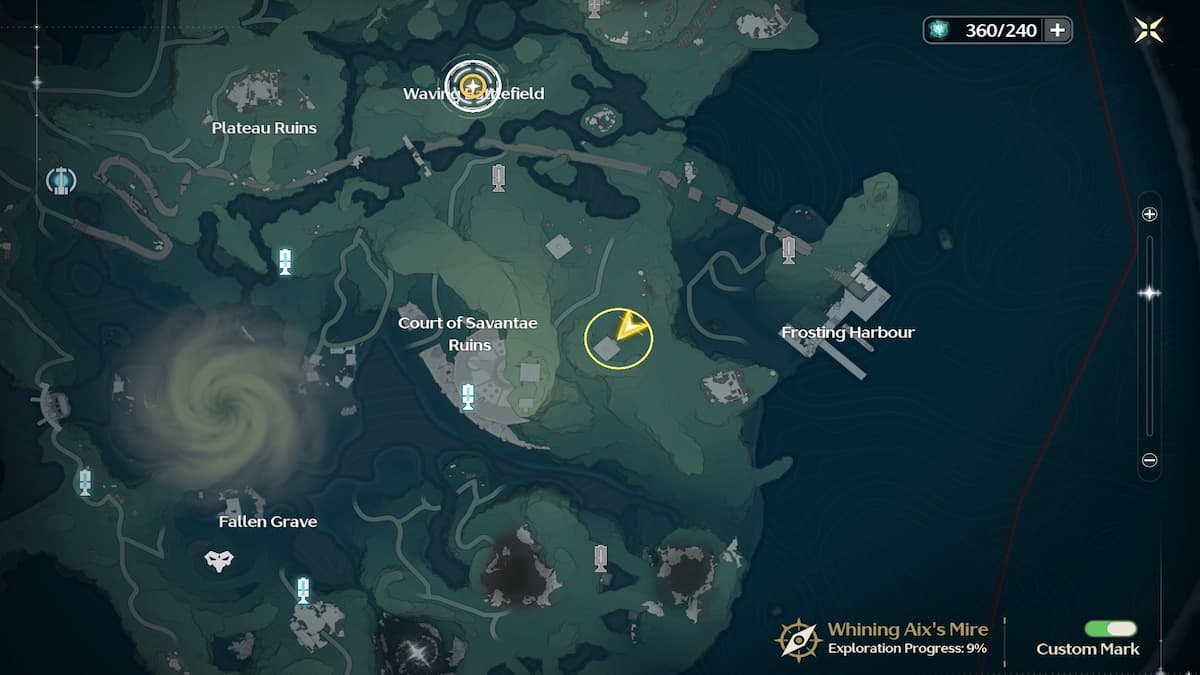
The second puzzle for a Guide Crystal is not too far away. You’ll find it by heading southeast from the first puzzle. This one looks a bit different. It has a grid you need to place pieces in to light up the proper squares, opening the ruin door.
Step 1 – Collect Your Pieces
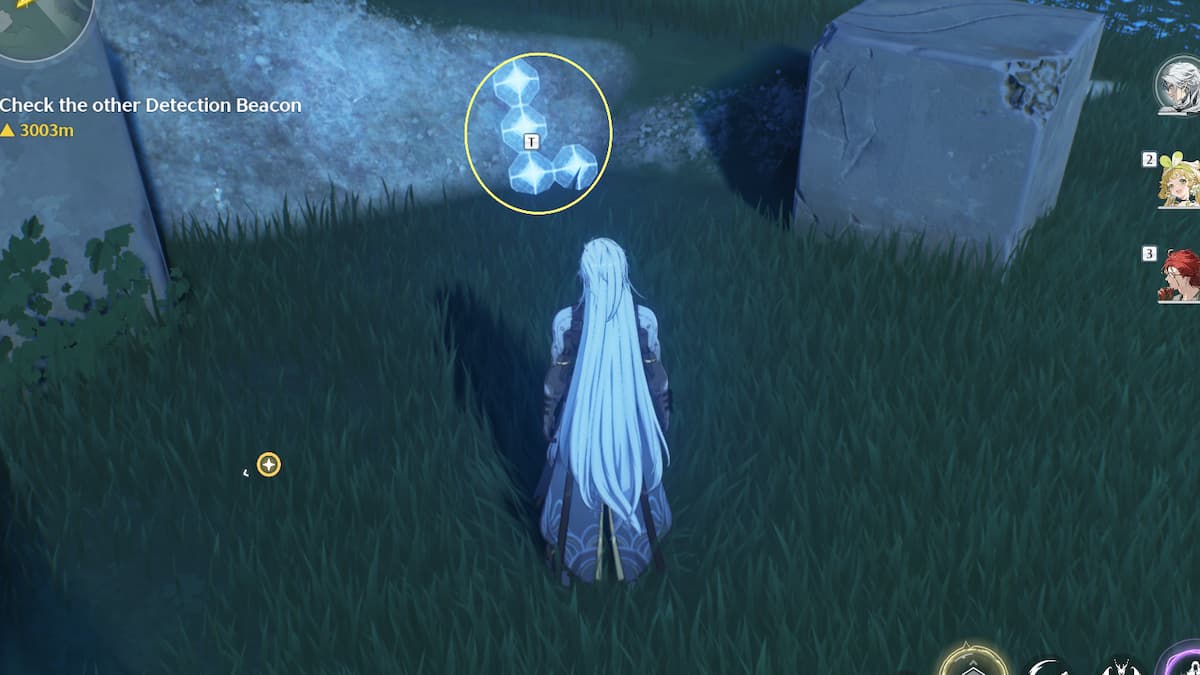
Before you start placing pieces in the grid, you’ll want to know where all your pieces are. Two of them are sat right in front of the grid board, and two others are nearby. One of which, you’ll need to free from some thorns.
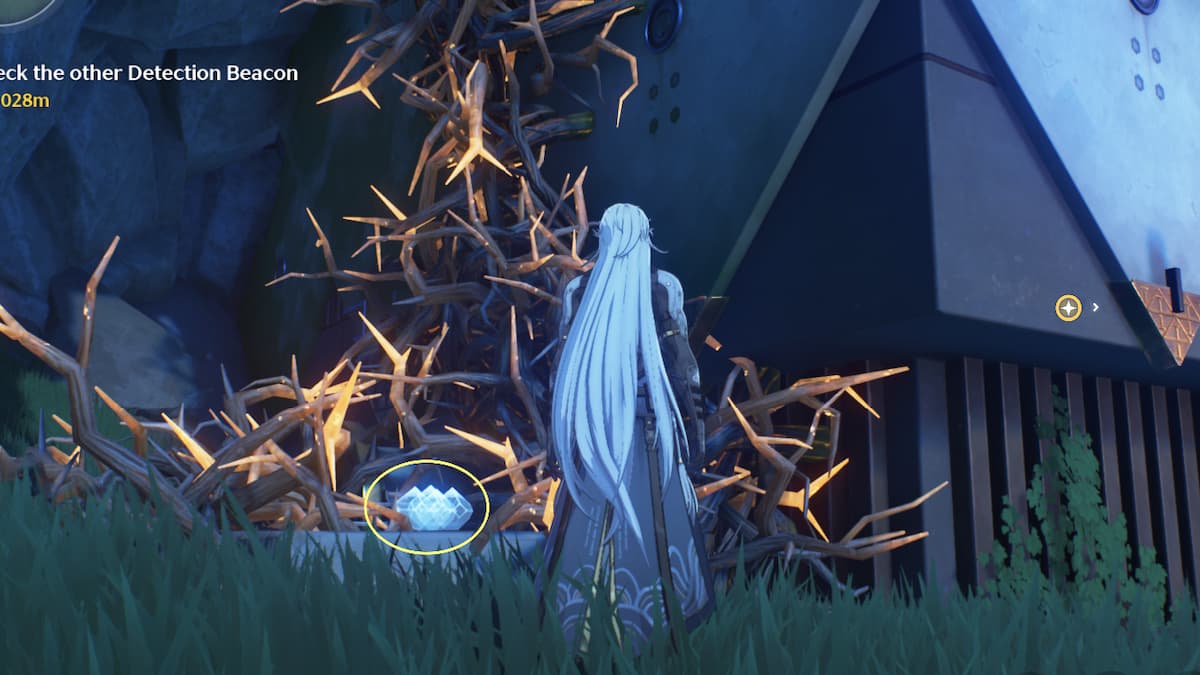
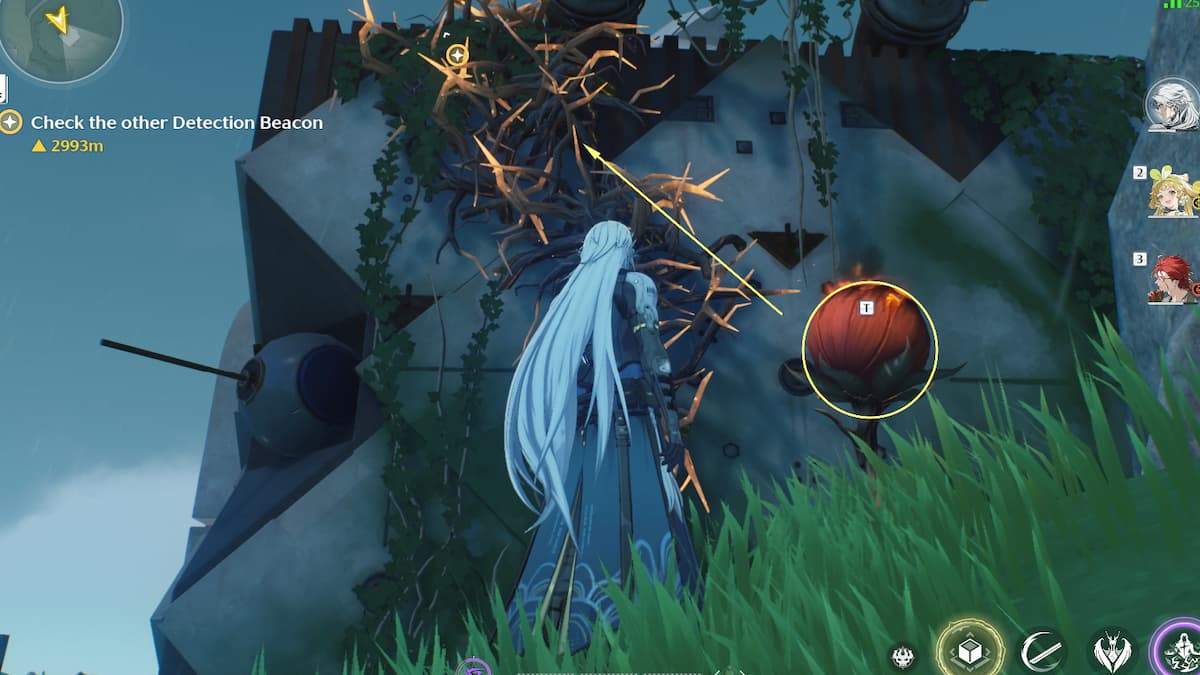
You can see the piece on the left side of the door trapped by the thorns. However, you’ll want to head to the right side and look at the top of the thorns. Hop up onto the slight hill here, grab the flaming red plant bulb there, and throw it at the thorns to start them on fire. The fire will follow over to the left side and burn all the thorns off the piece. Now you’ll have this piece to use.
The second missing piece is a bit easier. You’ll find it by turning away from the door and looking beside the stone cube. It’s an L-shaped piece you’ll need as well. Now that you know where both of these are, you can start putting them into the grid.
Step 2 – Light Up the Grid to Open the Door
With all your pieces accounted for, you can begin placing them in the grid. The goal is to light up all the blue highlighted squares using your pieces. You can rotate them to fit in the grid in different ways. Here’s how to do it:
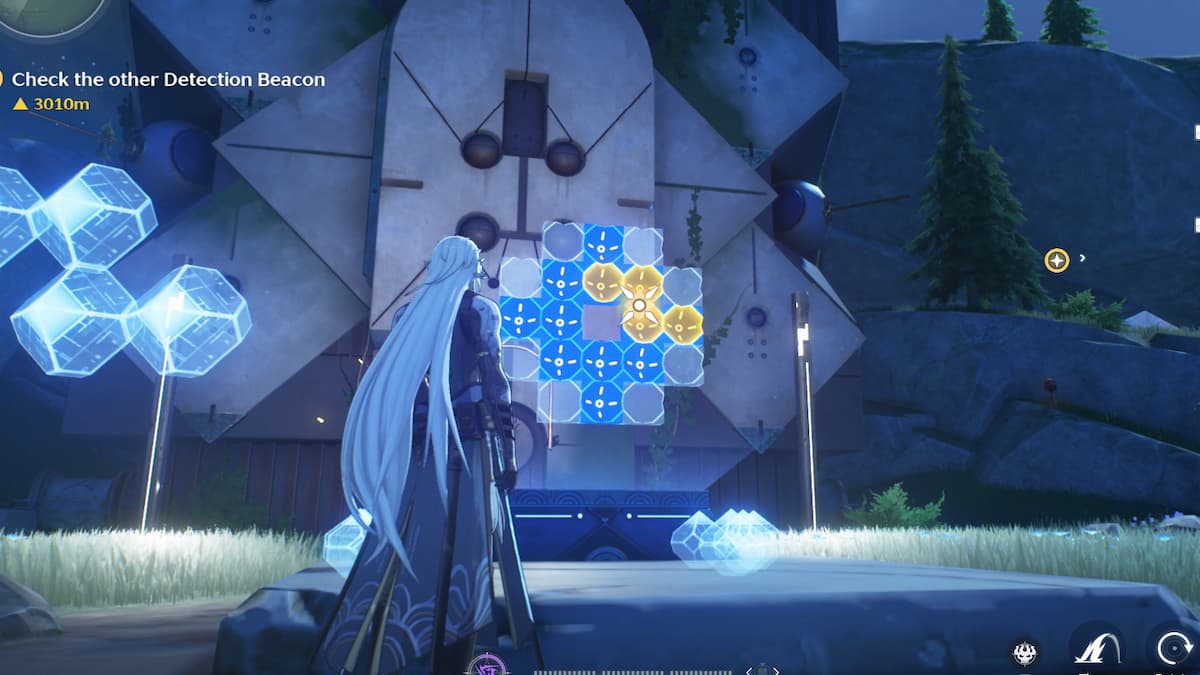
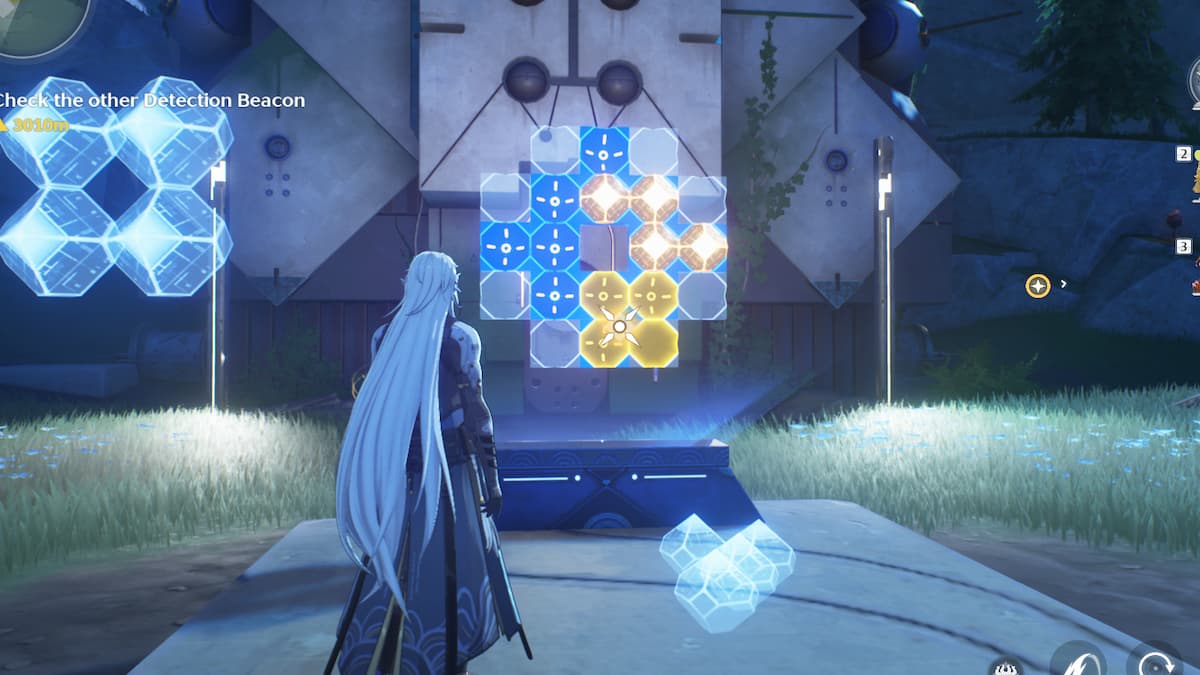
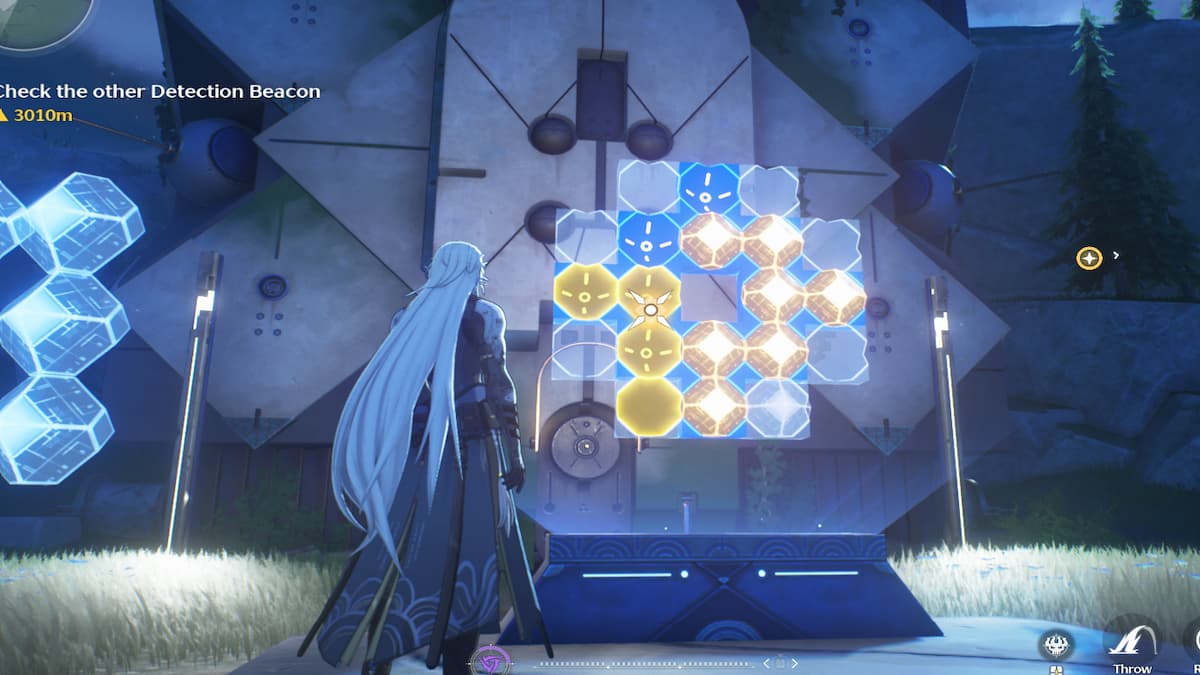
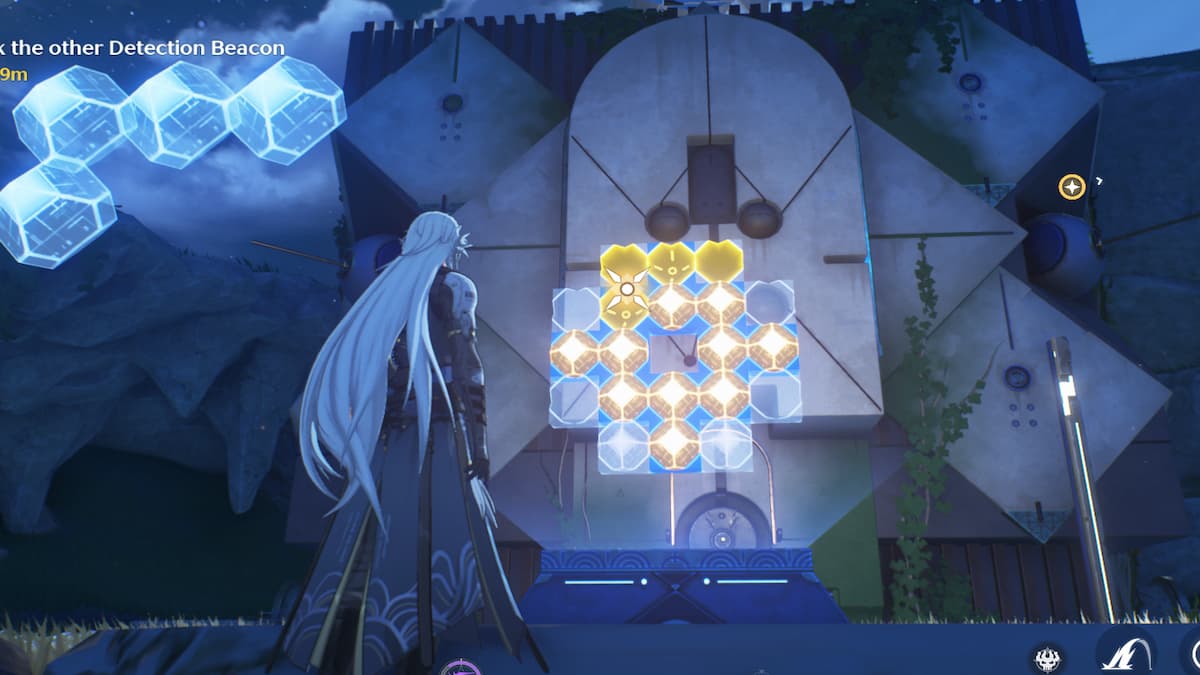
- Grab the piece in the nest on the left side of the door (now free from thorns). Place it in the middle of the second row in a ‘z’ shape, hitting the two blue squares on the right side of the third row as well.
- Now, grab the quad piece on the left of the grid board. Place this one in the middle of the fourth row, extending to the right side of the fifth row.
- Then, grab the l-shaped piece on the right side of the grid board. Rotate it so it’s upside down, and then place it in the third row, second square. This way it hits the two blue squares on the left side of the third row and three blue squares extending straight down to the fifth row.
- You only need one more piece now. Turn around and grab the last l-shape piece by the stone cube. Rotate it so it’s on its side and place it in the top left corner. This way it crosses all three of the top row and the second square in the second row.
All the blue squares should be covered now with the pieces and the door will open. Inside, you can collect your second Guide Crystal and open an Advanced Chest.
Guide Crystal Puzzle 3
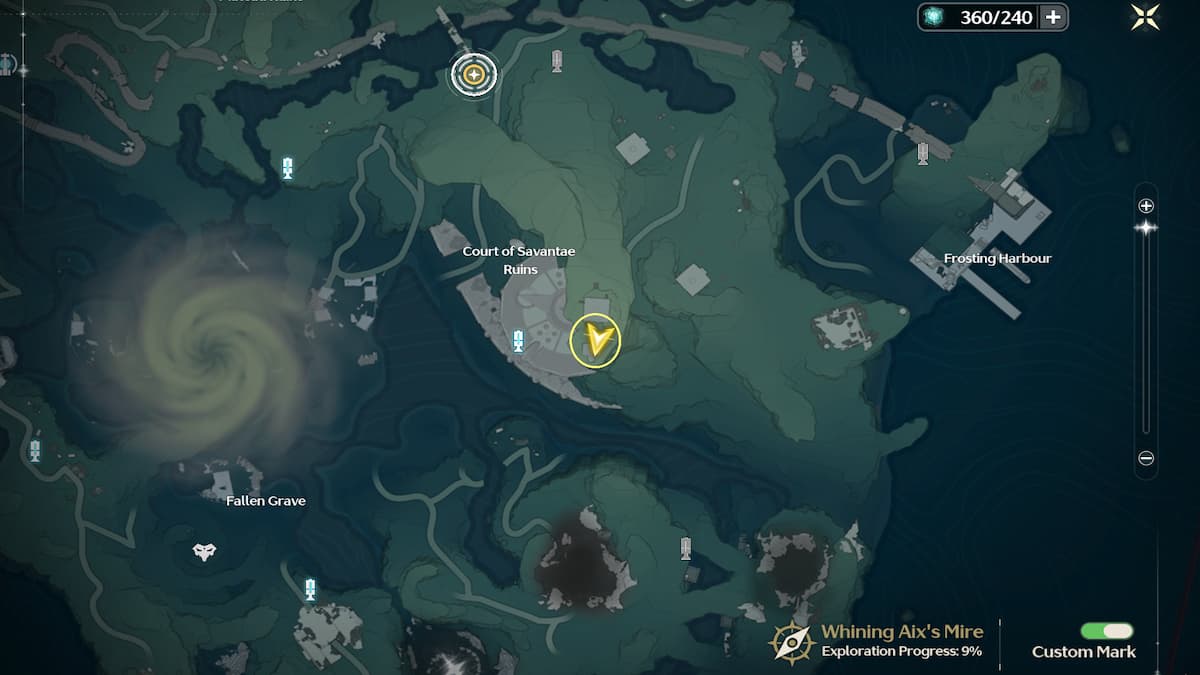
The last part of the Guide Crystal Puzzle isn’t so much of a puzzle at all. However, you can get one more chest out of it by using the two Guide Crystals you collected from the last two puzzles. Head to the east side of the Court Savantae Ruins and climb all the way up to the top of the hill.
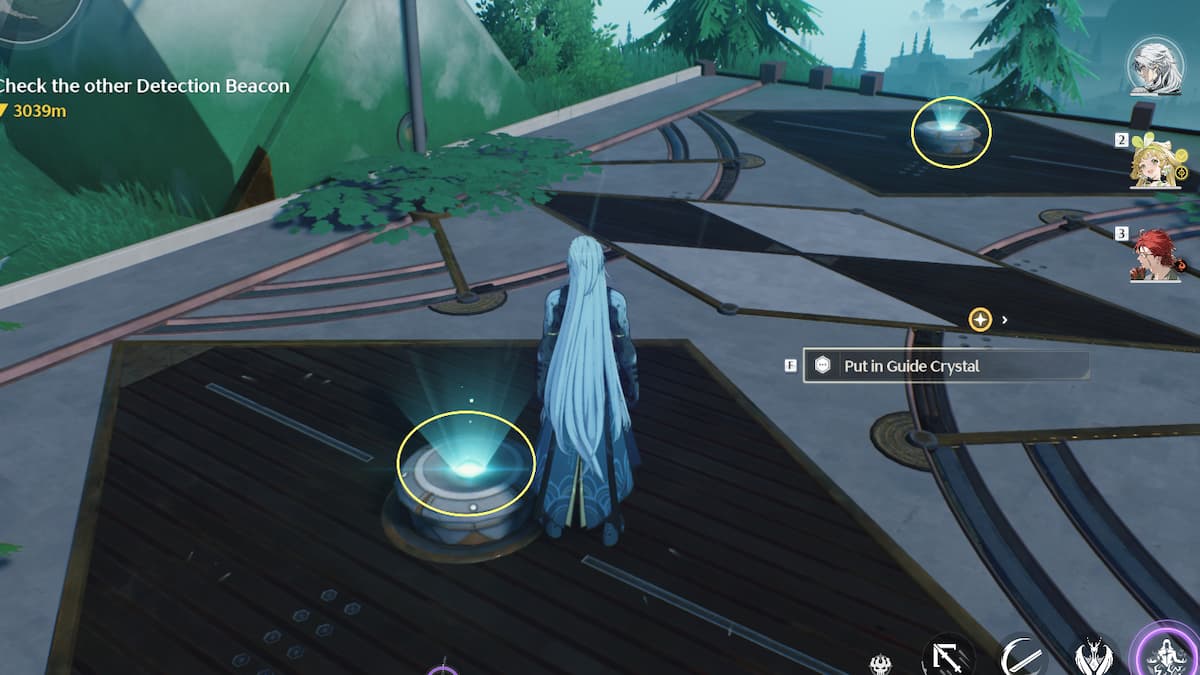
Here you’ll see a giant floating Guide Crystal and just beyond it, two blue slots where you can insert items. Approach both of the slots and deliver Guide Crystals to them. This will reveal another Premium Chest.
Those are three of the Guide Crystal puzzles you’ll come across. Hopefully, you were able to collect some worthwhile loot of the deal. Keep your eyes peeled for more puzzles like this as you explore!
Want more helpful tips? Check out GameSkinny’s Wuthering Waves guides hub.



Published: May 30, 2024 11:29 am