Like Resident Evil: Revelations 2 before it, the 2019 Resident Evil 2 remake has its own built-in set of quasi-achievements, which it calls Records. There are 87 of them in total, many of which are locked or unexplained when you first start the game.
When you complete a Record, the game doesn’t fully track it until the next time you open the Records screen, available from the pause menu in-game, or under Bonuses in the main menu.
Most of the Records in the game, when achieved, unlock entries in the Gallery, such as concept art or character models; a handful also unlock bonus weapons, character costumes, and extra gameplay modes.
Finishing the 86 other Records in the game unlocks the last one, Raccoon City Native, which is also the Platinum Trophy on the PlayStation 4 version.
Records that are also trophies or achievements are marked with an asterisk(*) in this guide.
Naturally, due to the nature of the beast, this whole thing is a big list of major spoilers. The following is a list of the Records that pertain to the game’s story, various in-game accomplishments or objectives, and your ending rank when you complete a scenario.
In part two, we’ll discuss Records that are obtained through combat, by finding various collectible items, and by solving various puzzles throughout the game.
Story Mode Records
Welcome to the City of the Dead*
Reach the RPD at the start of the game.
Path to the Goddess*
Find all three medallions and open the secret passage under the goddess statue.
Never-Ending Rain*
Find the parking permit in either scenario and use it to escape the police station.
Hack Complete*
Finish Ada’s stage in Leon’s campaign.
Hide and Seek*
Finish Sherry’s stage in Claire’s campaign.
A Great Need for a Shower*
Take the cable car ride out of the sewers.
Survival
Finish a first run as either character.
A Hero Emerges*
Complete Leon’s scenario on either run.
A Heroine Emerges*
Complete Claire’s scenario on either run.
Broken Umbrella*
Complete one character’s first run, then the other’s second run, to fight the real last boss and see the true ending.
Gameplay Records
The Basics of Survival*
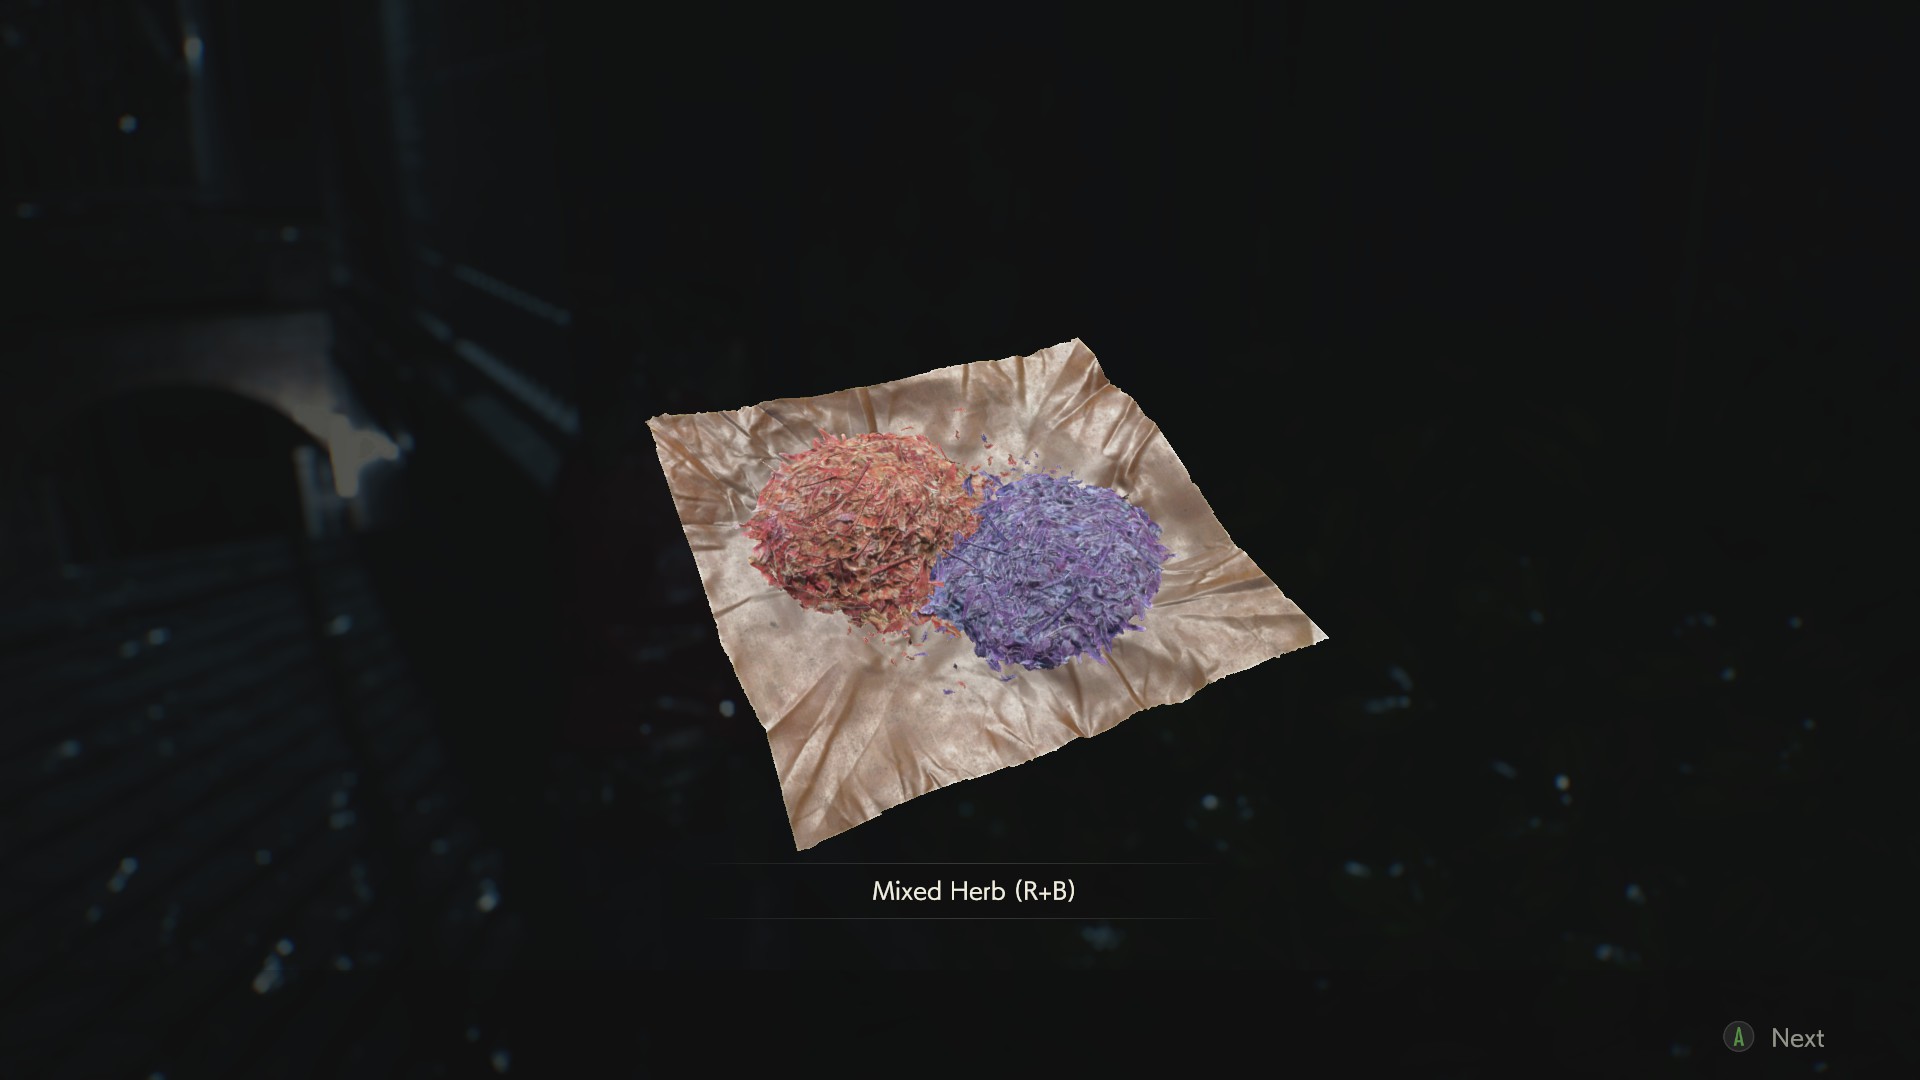
Make a mixed herb, or create ammunition by mixing gunpowder.
Customizer*
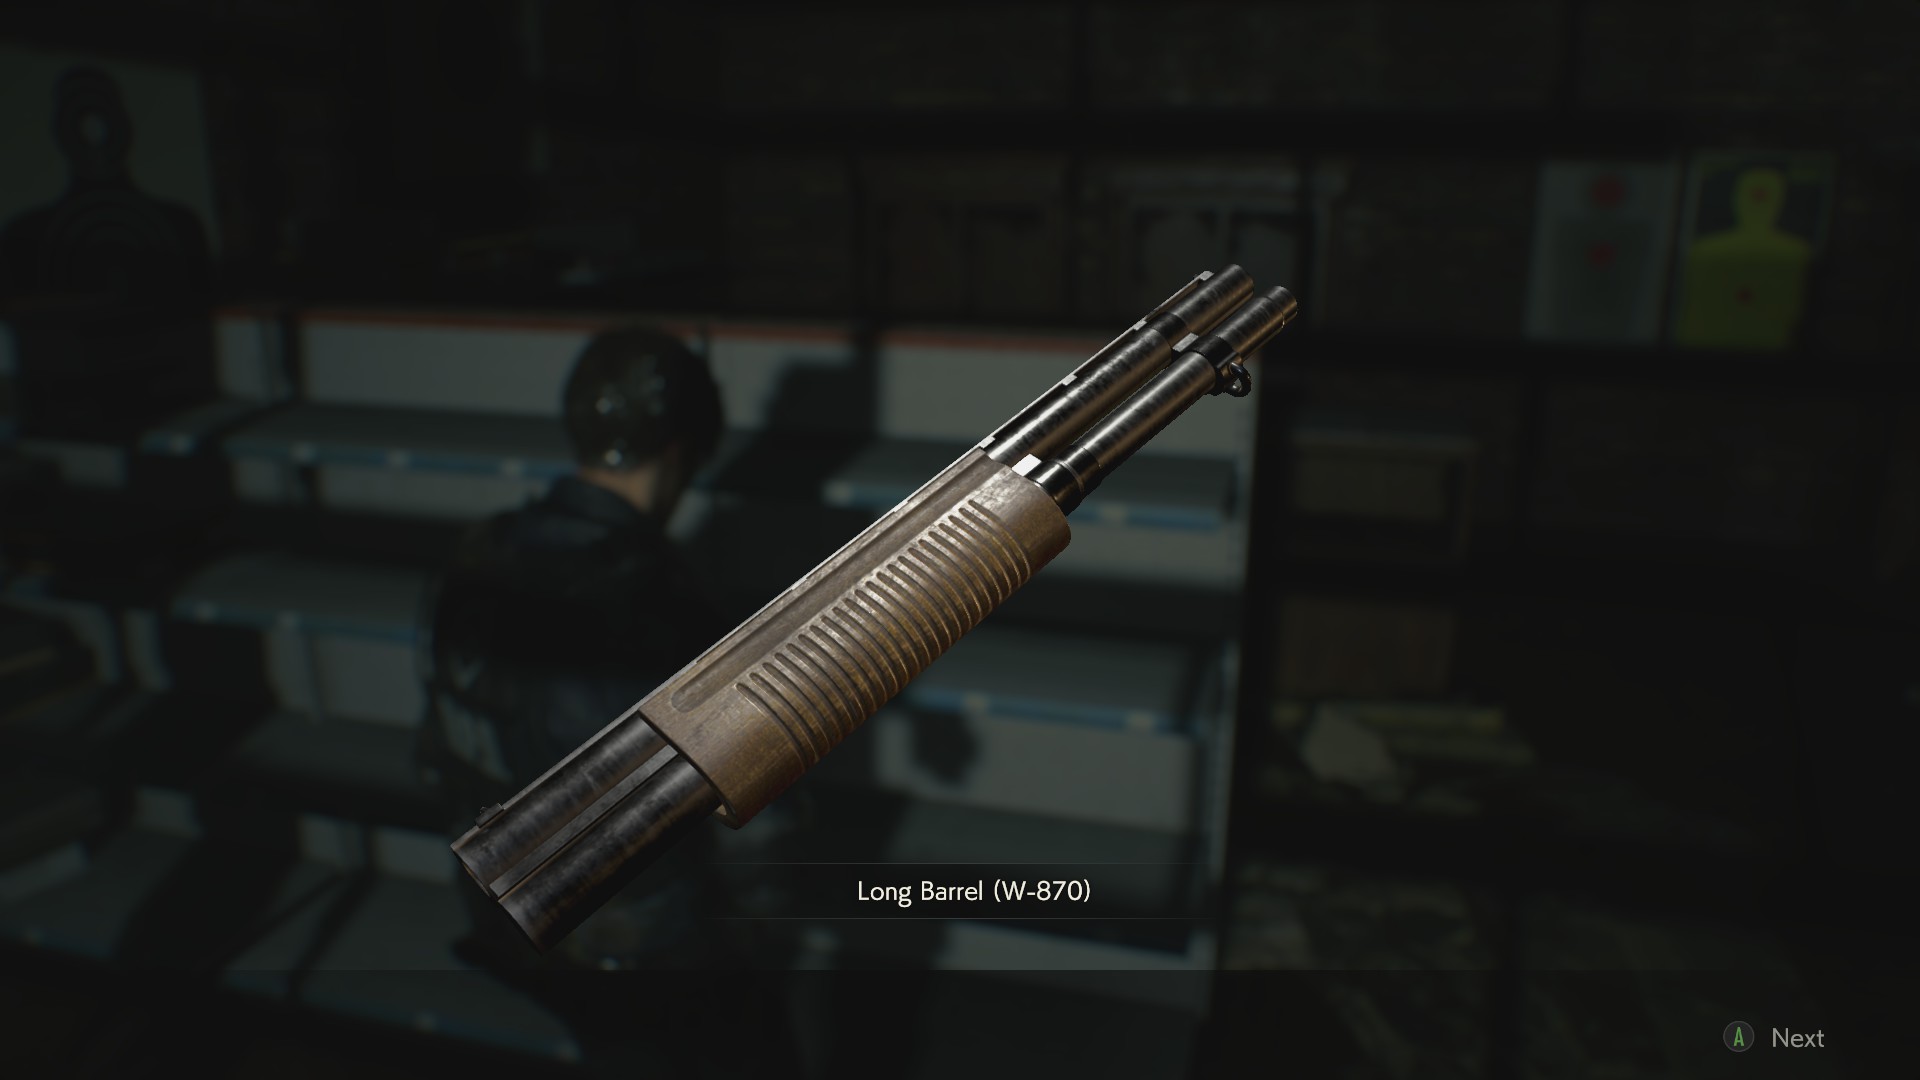
Install a weapon mod.
The easiest one to find is locked inside Leon’s desk in the RPD’s west office, so you can get this Record within about 20 minutes of starting a new game.
That’ll Hold ‘Em*
Use a set of wooden boards on any open window in the RPD.
First Break-In*
Open one of the combination safes.
You can find them behind the captain’s desk in the RPD’s West Office, behind the secretary’s desk in the Waiting Room on the RPD’s second floor, and in the Flow Control Room in the sewers. All three safes’ combinations can be found in various files.
Or, in one case, written on the side. Look, if they were that good at security around here, there wouldn’t be a zombie outbreak happening right now.
One Slick Super-Spy*
During Leon’s campaign, when you play as Ada, clear her section without firing a shot from her handgun. You can find and use a flash grenade without failing the requirements, however.
This is relatively easy after some practice, particularly once you learn the map. There are a couple of zombies in the first big area that never activate if you don’t get close, and a few more that can be led into roundabout areas and dodged.
When Mr. X shows up, you can actually finish the whole sequence before he gets anywhere near you as long as you already know where the contact points for the Visualizer are.
Story Master
Clear both characters’ first and second Runs.
Hardcore Rookie*
Complete Leon’s story on Hardcore difficulty.
Hardcore College Student*
Complete Claire’s story on Hardcore difficulty.
Sprinter
Clear either scenario on any difficulty in four hours or less.
You’ll be surprised how easy this is to get once you’ve cleared the game. Even just knowing what to do can knock a lot of time off your initial run, and there are shortcuts and skips you can take to make things even easier. The sewers, in particular, fly by once you’ve learned the intricacies of the map.
Frugalist*
Clear either scenario on any difficulty without ever using a recovery item.
Notably, red-blue herb mixes and blue herbs do not count as “recovery items” for the purposes of this record. You’d also do better to try it on Assisted difficulty, as random leap attacks from dogs can throw the whole run away on Standard, let alone Hardcore.
Minimalist*
Clear either scenario on any difficulty without ever opening an item box.
This is a test of your ability to plan ahead. You can discard plot items once they’ve served their purpose, which does require you to make an unnecessary detour in the sewers to open one last door with the T-shaped handle. (Go down the narrow stairs on the far side of the bridge outside the workroom and cut across to the shutter.)
Don’t be afraid to leave resources in place if you don’t actually need them at the time, especially gunpowder, and plan on backtracking to the RPD from the sewers to clean out anything you missed.
A Small Carbon Footprint*
Complete a run through either scenario on any difficulty in 14,000 steps or less. You can track how many steps your character has taken by checking the Record in your pause menu during play.
This is harder than it sounds. It requires you to know the map, to have a plan, to never make a wrong move, and perhaps most crucially, to never have to make a big detour around the RPD because of Mr. X.
It also limits you to only going for objectives. You can’t take any detours just for resources, such as backtracking for the last Hip Pouch. Every step you can save, you have to save.
Grim Reaper*
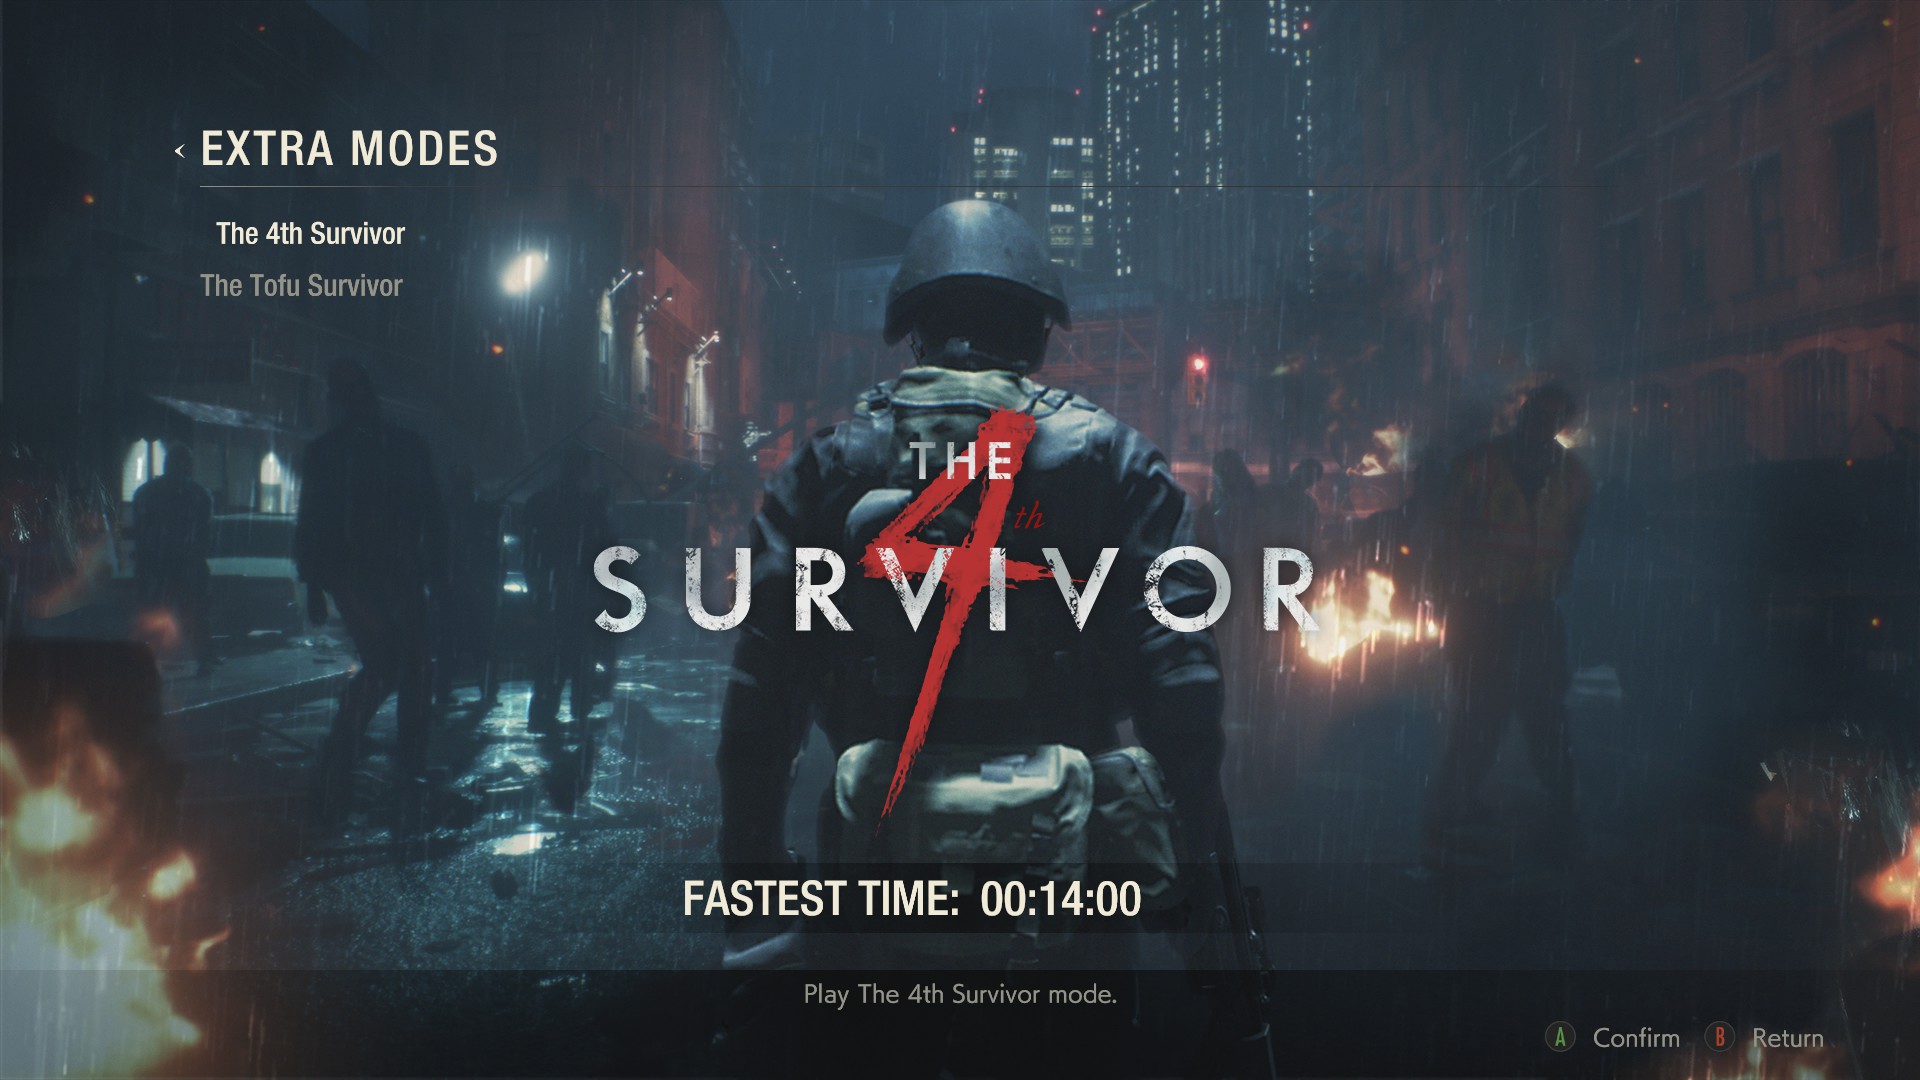
Unlock the 4th Survivor bonus mode by getting the Broken Umbrella Record, then clear it.
As per tradition, 4th Survivor asks you to make a dangerous run back through the newly-overrun RPD as the Umbrella operative codenamed Hunk, with a set loadout of weapons, ammo, and healing items, and no pickups to be had along the way.
The best that can be said about it is that it isn’t as impossible as it initially looks. With practice, you’ll discover what you can dodge, when you should fight, and what to save for the last stretch.
That Jiggly Deliciousness
Clear 4th Survivor to unlock Tofu Survivor, and clear it as Tofu.
Again, as per tradition, Tofu has to take on the same challenge as Hunk did. Tofu, however, only has a handful of herbs and 16 combat knives. In some ways, it’s actually a little easier to clear Tofu’s game than Hunk’s, as Tofu is faster, has a slightly smaller hitbox, and you can get through some tricky rooms by deliberately getting grabbed.
For example, the Treatment Pool Room, where you have to deal with two zombies and a whole pack of undead dogs, is tricky for Hunk. Tofu can run up, bait a grab from a zombie, and counterattack, exploiting the whole sequence to get a long series of invincibility frames.
The Perfect Chewiness
Clear the Tofu Survivor bonus mode as Konjac.
You unlock Konjac and Uiro-Mochi when you clear Tofu Survivor. Konjac is armed with a flamethrower, a grenade launcher, and plenty of flame rounds. He has more than enough ammo to kill almost everything that gets in your way, but he’s so dependent on fire that it’s easy for him to get in over his head, especially against zombies.
An Acquired Taste
Clear the Tofu Survivor bonus mode as Uiro-Mochi.
All Uiro-Mochi has is a nearly full inventory of frag grenades, with no healing items. You can actually clear out rooms very effectively with him, and grabs aren’t much of a concern, but you can’t afford to make any real mistakes.
An Exquisite Sweetness
Clear the Tofu Survivor bonus mode as Flan.
Beating the bonus mode as either Konjac or Uiro-Mochi unlocks Flan and Annin Tofu. Flan is probably the easiest of the “Tofus” to beat the mode with, as she comes equipped with a minigun, a four-shot rocket launcher, and a Spark Shot with 200 needles in reserve. Her biggest weakness is that it’s easy to burn all your minigun ammo by mistake, which leaves you holding the bag in a few later rooms.
Can’t Get Enough
Complete the Tofu Survivor bonus mode as Annin Tofu.
Annin Tofu is armed with both Claire’s .45 revolver and Leon’s .45 handgun, with a ton of ammunition, and nothing else. He’s strictly a gunslinger.
Ranking Records
You are ranked at the end of a scenario based solely upon the time it took you to clear the game. For Standard difficulty on a first run, you have to reach the end in 3 hours and 30 minutes to receive an S rank; for Hardcore, you only have 2 hours and 30 minutes. On a second Run, you need to come in under 3 hours and 2 hours, respectively.
On Hardcore mode, you can achieve an S+ rank for a scenario if you’ve saved no more than 3 times over the course of the run. You are not allowed to use any unlockable infinite weapons except the combat knife you obtain from the Complete Vermin Eradication Record; if you do so, your rank cannot get any higher than S.
While S+ rank isn’t necessary for any Records, it does unlock either an infinite rocket launcher (Leon’s game) or an infinite minigun (Claire’s game), and it’s one of the challenges on ResidentEvil.net.
A-rank Player
Complete either scenario with an “A” rank or better on Standard or Hardcore difficulty.
S-rank Player
Complete either scenario with an “S” rank or better on Standard or Hardcore difficulty.
Leon “A.” Kennedy
Complete Leon’s story on Standard or Hardcore difficulty with an “A” rank.
Leon “S.” Kennedy*
Complete Leon’s story on Standard or Hardcore difficulty with an “A” rank.
Courageous Crimson Hero
Complete Claire’s story on Standard or Hardcore difficulty with an A rank.
Sizzling Scarlet Hero*
Complete Claire’s story on Standard or Hardcore difficulty with an S rank.
Hardcore S-rank Player
Complete both characters’ scenario on Hardcore with an S rank.
Rookie No More
Complete Leon’s story on Hardcore difficulty with an S rank.
The Redfield Way
Complete Claire’s story on Hardcore difficulty with an S rank.
—
In our second part of this guide, we’ll cover Records that are obtained through combat, by finding various collectible items, and by solving various puzzles throughout the game.


Published: Feb 14, 2019 01:34 am