It isn’t a proper apocalypse without a few diaries. Dead Island 2’s Hell-A is no exception. Here’s where to find all the notes, sketches, flyers, warnings, and ominous last words for your Journals collection throughout the main quest.
If you’re looking for other Journal collectibles in Dead Island 2, follow the links to our other mini-guides, generally broken up by category:
- All Side Quest Journal Locations
- All Beforetimes Journal Locations
- All It Begins Journal Locations
- All Life in Hell-A Journal Locations
- All the Truth Journal Locations
Dead Letters Office: All Main Quest Journal Locations in Dead Island 2
The primary benefit of collecting Journals is to complete the Well Read Exploration Challenge. You only need to complete 35 Journals to max out Well Read. Your reward at each rank is a small sum of cash, with a hidden Skill Card, Pay It Forward, becoming available at Rank 4.
Technically, you can get a total of 36 completed Journals in DI2 simply by running through all the main, side, and Lost & Found quests. There’s a lot of the game’s background and story that’s hidden in the files, however, particularly under the heading of “The Truth.”
You can also get the Bookworm trophy/achievement for collecting any 50 individual Journals. Since there are 59 Journals between all the main and side quests, you shouldn’t have to go out of your way for this.
A lot of the lore collectibles that relate to quests in DI2 are also quest objectives, so you have to grab them to progress.
There are a few files that you don’t have to get, though, and you may end up having to backtrack for them if you’re trying to round out the Well Read Challenge, and at that point, they’re much harder to find. Hence, the following guide.
Note that in co-op play, all Journals, keys, and blueprints get added to every player’s inventory once one player picks them up.
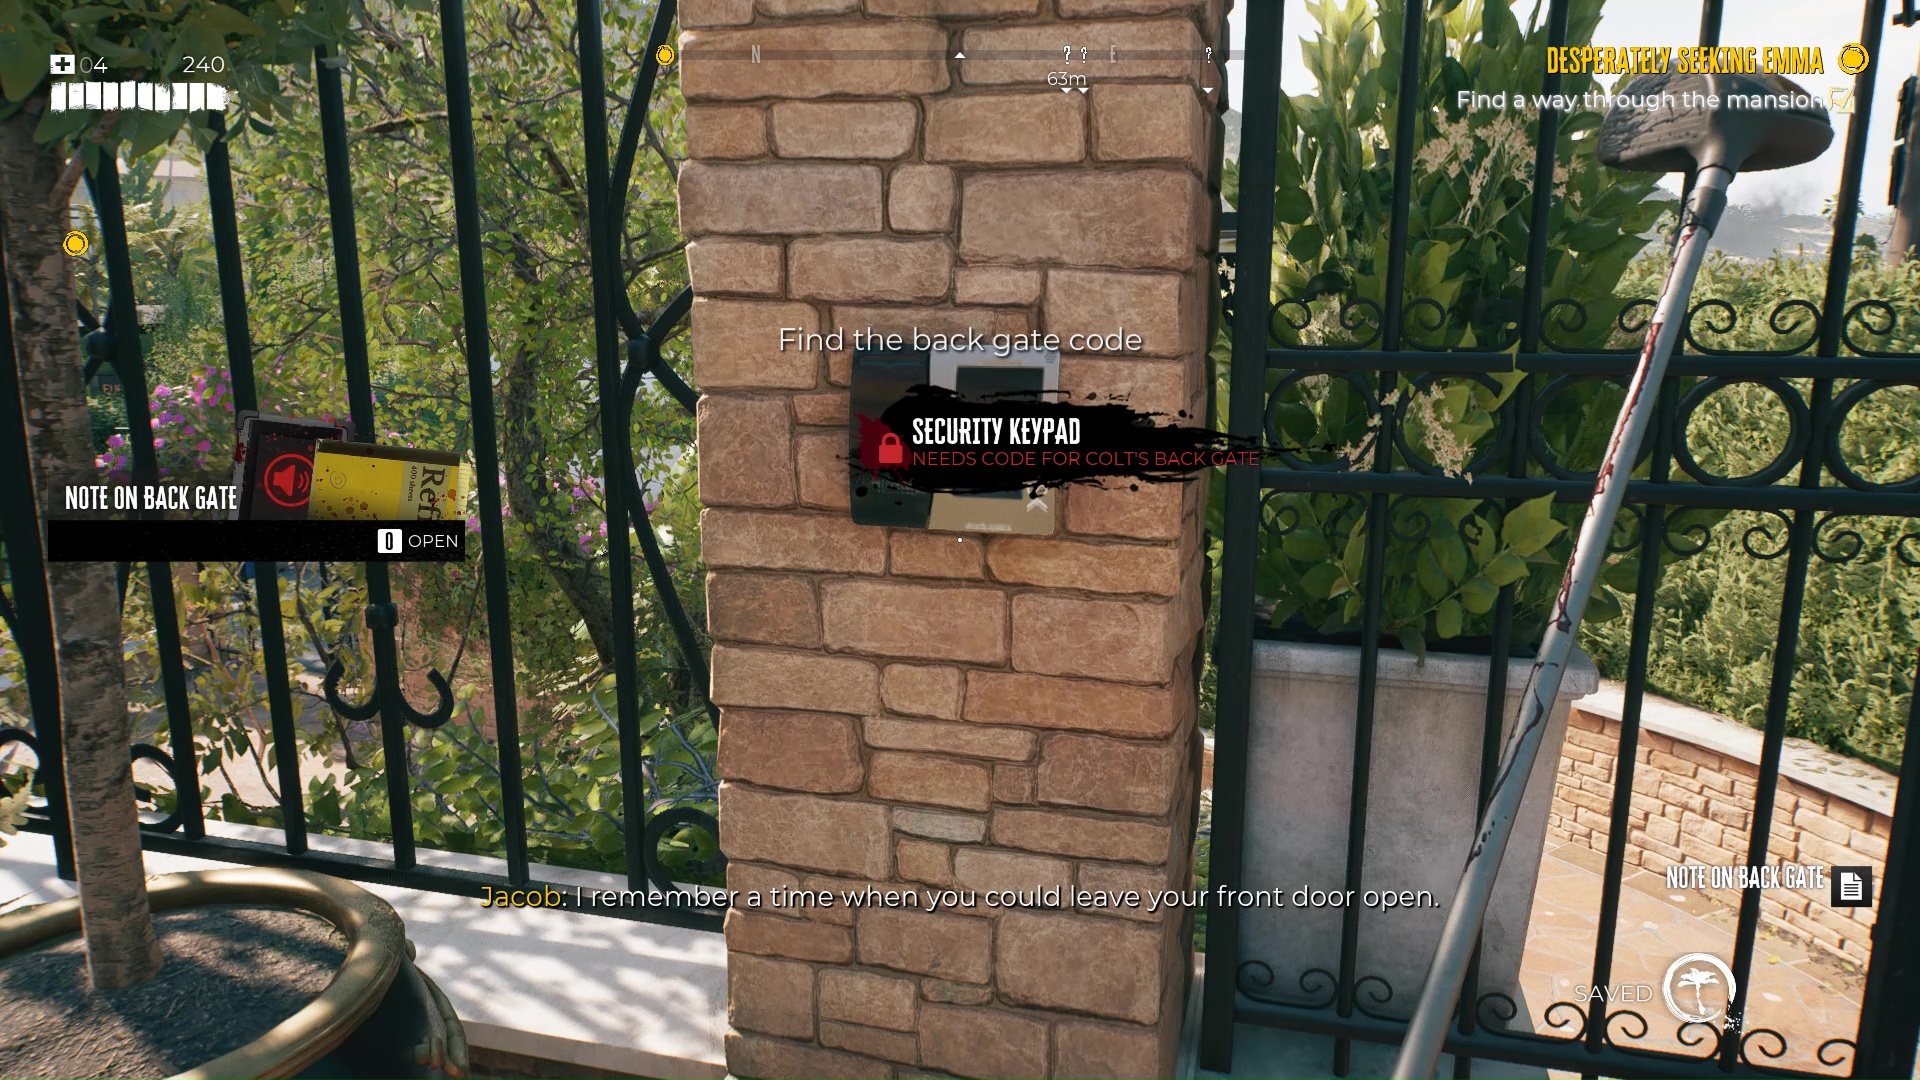
Desperately Seeking Emma: 2
- #1: Note on Back Gate: Check the piece of paper wedged behind the keypad on Colt Swanson’s back gate.
- #2: Back Gate Code: Look at the sticky notes on the cabinet in Colt’s kitchen.
Room Service for Major Booker: 1
- #1: Note for Engineer: On the second floor of the Halperin Hotel, read the paper taped to the wall between the elevators next to the utility room.
O, Michael, Where Art Thou?: 4
- #1: Flyer for Michael’s Class: In Michael’s living room in Beverly Hills, read the flyer that he’s left under his TV.
- #2: Mentor of the Year Award: Check out the framed certificate on the bookcase next to Michael’s TV.
- #3: Jessie’s Note: Once you’ve completed the first round of your investigation in Michael’s living room, check the corkboard on his kitchen wall.
- #4: Rolodex Address Card: Jessie Kwon: Check the Rolodex in Michael’s bedroom.
Kwon With the Wind: 1
- #1: Note Left on Fridge: After Roxanne drops Jessie’s note, pick it up off her kitchen floor. Wear gloves.
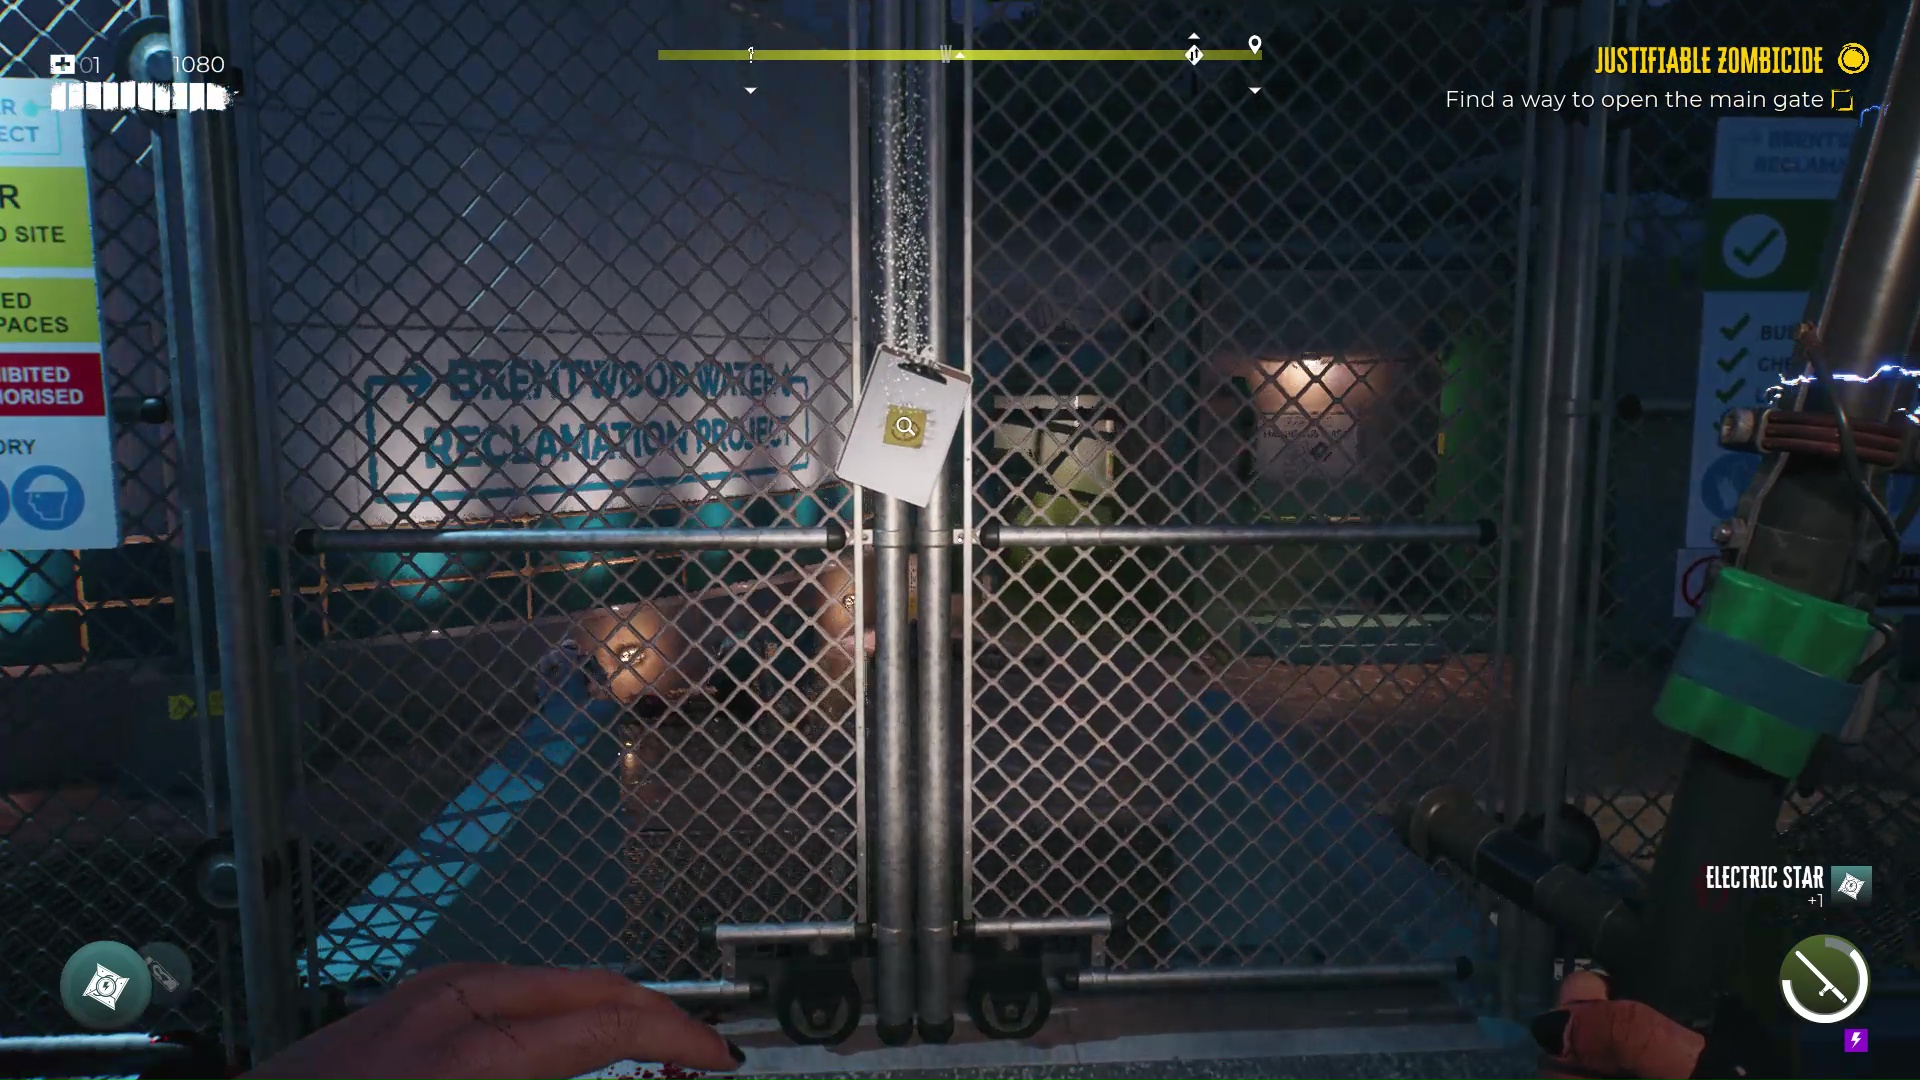
Justifiable Zombicide: 1
- #1: Phil’s Note: After you leave Monarch Studios for Beverly Hills via the Sound Stage 7 exit, you’ll find this pinned to the fence inside the wastewater treatment plant.
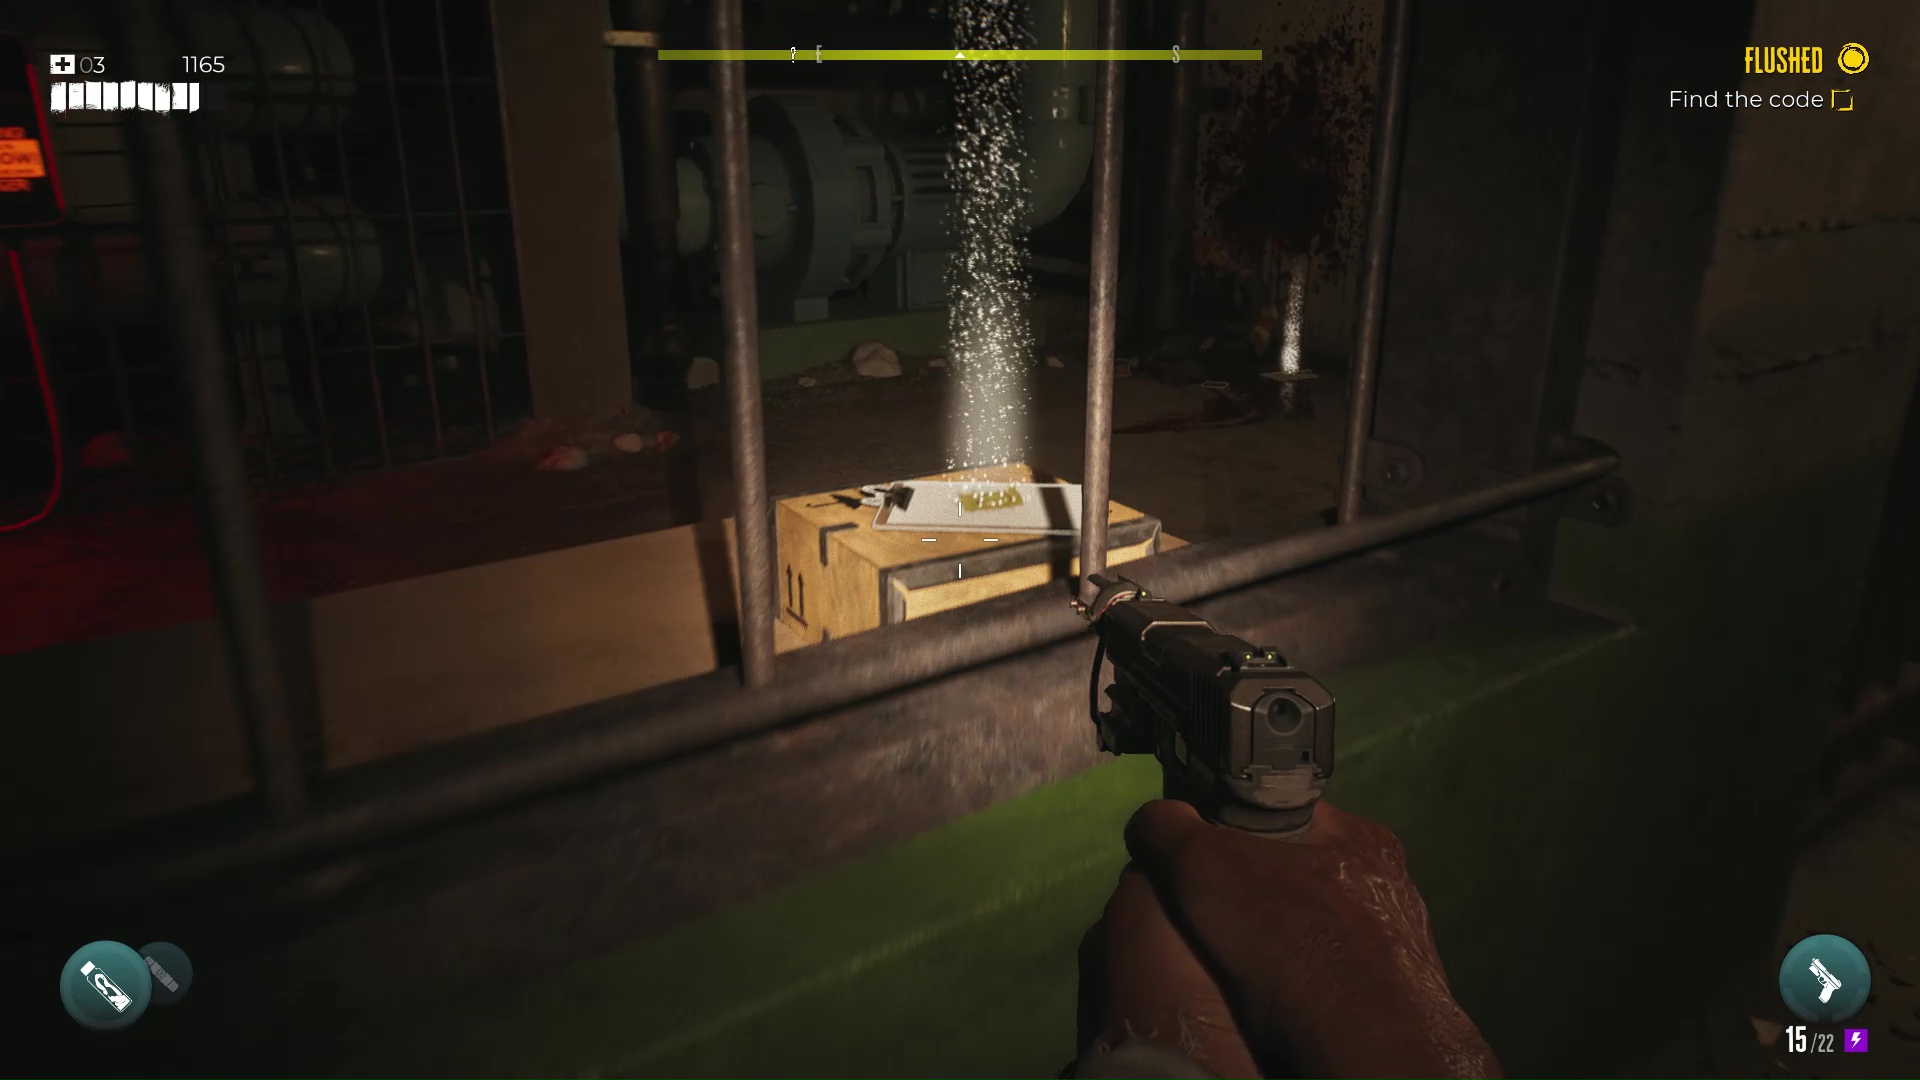
Flushed: 1
- #1: Instruction Manual: You can reach through the bars to grab this clipboard out of the locked office next to the Venice Storm Drain grate.
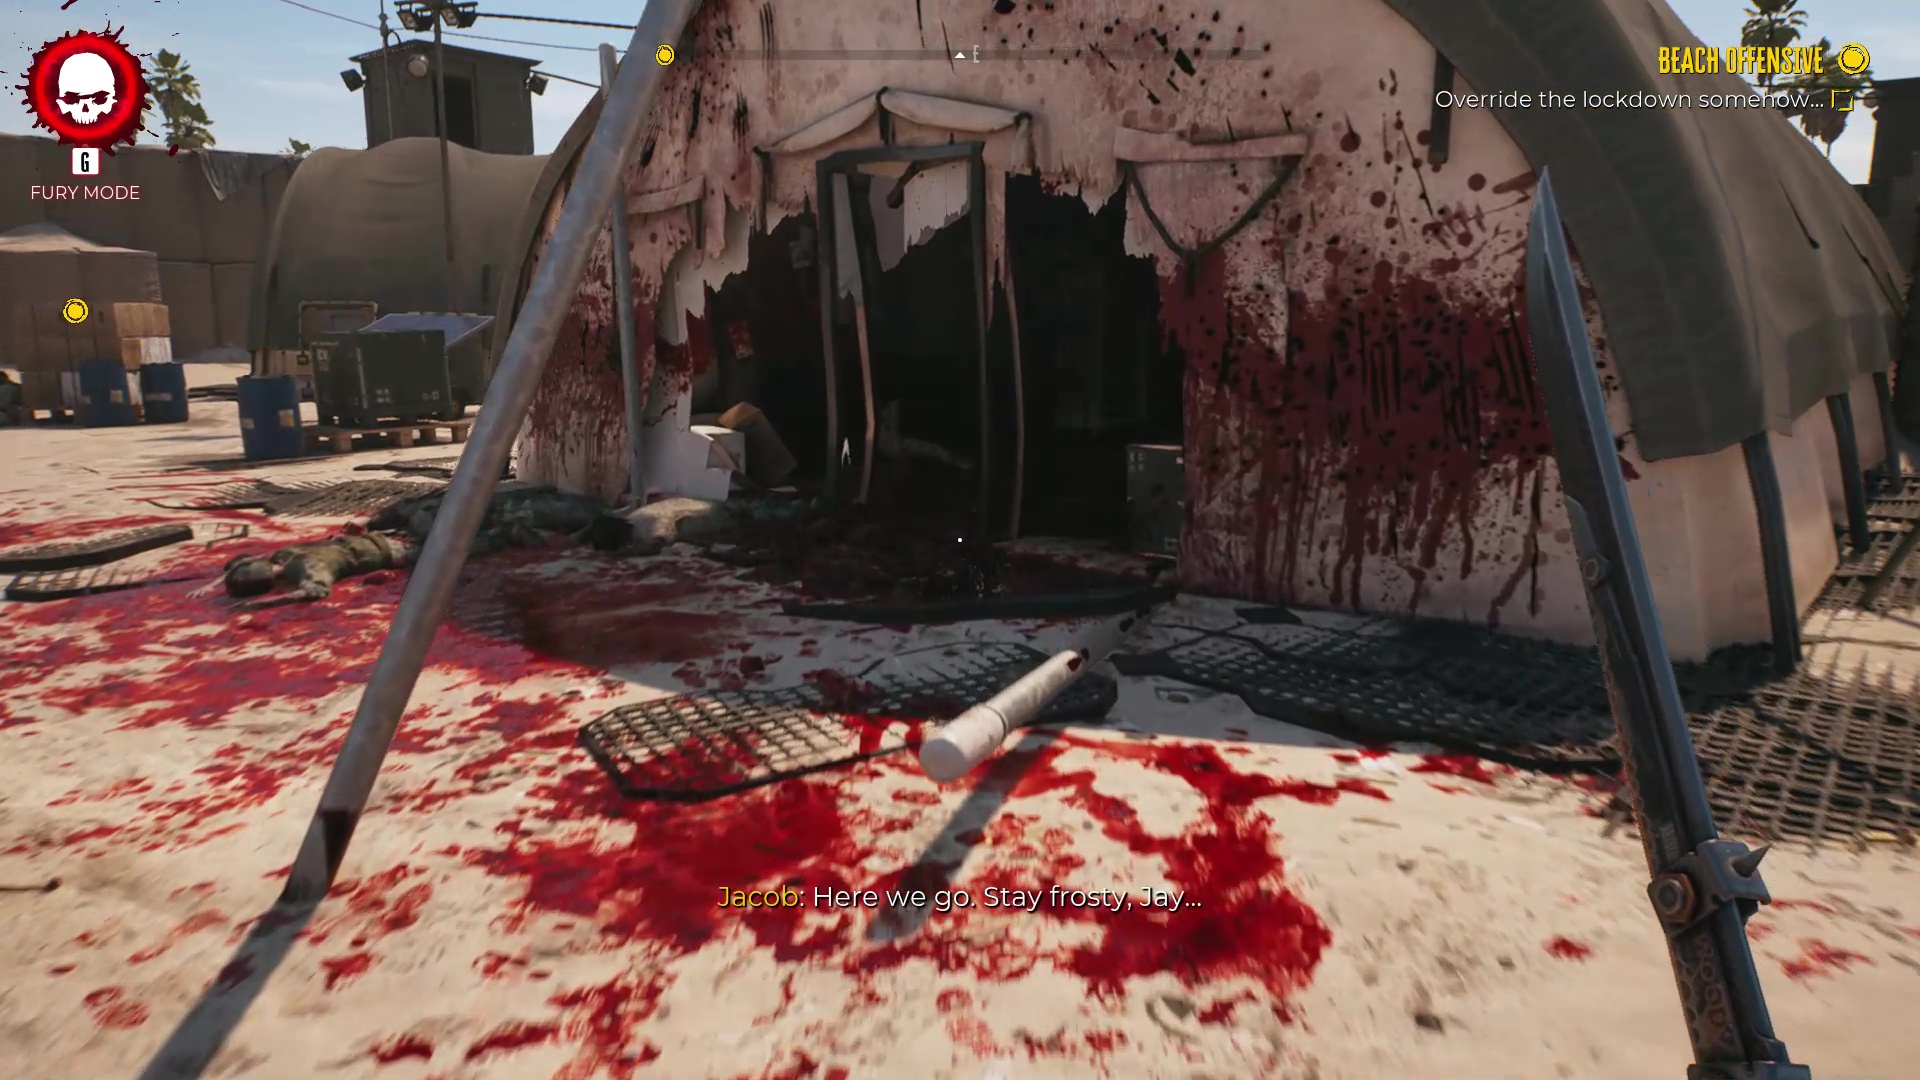
Beach Offensive: 6
- #1: Lockdown Instructions: After you jump the fence into the locked-down communications yard, investigate the wrecked tent and read the piece of paper on the counter.
- #2: Officer of the Day Duty Roster: Move a little further into the tent and grab this off the table.
- #3: Land’s Weekly Report: This is right across the tent from #3.
- #4: Hicks’ Lucky Number: After you’ve found the above 3 files, leave the destroyed tent and go into the officers’ barracks next door. Hicks’ backpack is on one of the bunks and contains this Journal entry.
- #5: Hicks’ Birthday Photo: Check out the framed photo next to Hicks’ bunk.
- #6: Hicks’ Dog Tags: Having found all 5 of the previous clues, you can now track down Hicks, who had the bad luck to die inside one of the portable toilets. Kill him, and he’ll drop these.
Plumbing the Depths: 3
- #1: Note for Bob: Go to Bob’s office in the hotel basement and take this off his desk.
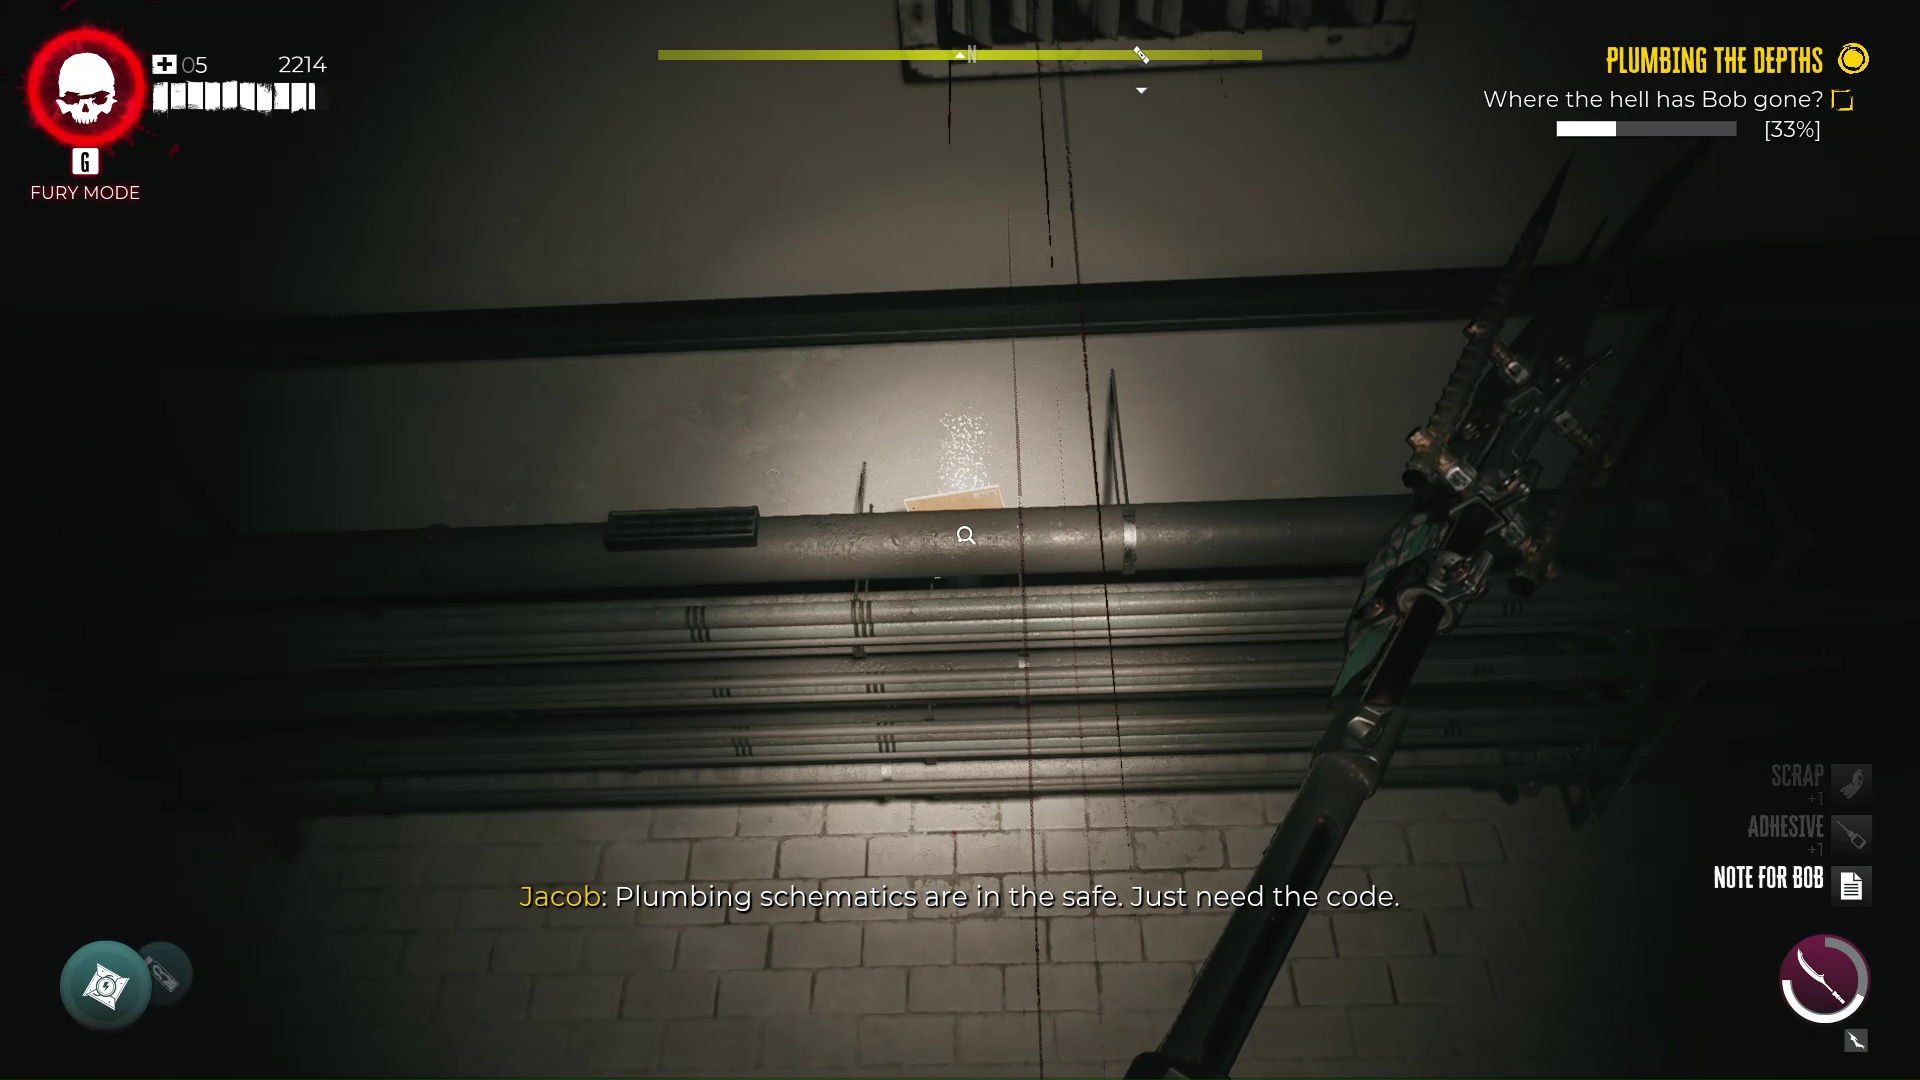
- #2: Janitor’s Office Safe Code: This is tricky, and the only clue to its location you get is the mention that it’s been stashed where Bob keeps his weed. Look up to spot this file in the ductwork over Bob’s chair (above).
- #3: Plumbing Schematic: After finding the safe code, you can open the safe behind Bob’s desk to get this schematic.
Blood Drive: 1
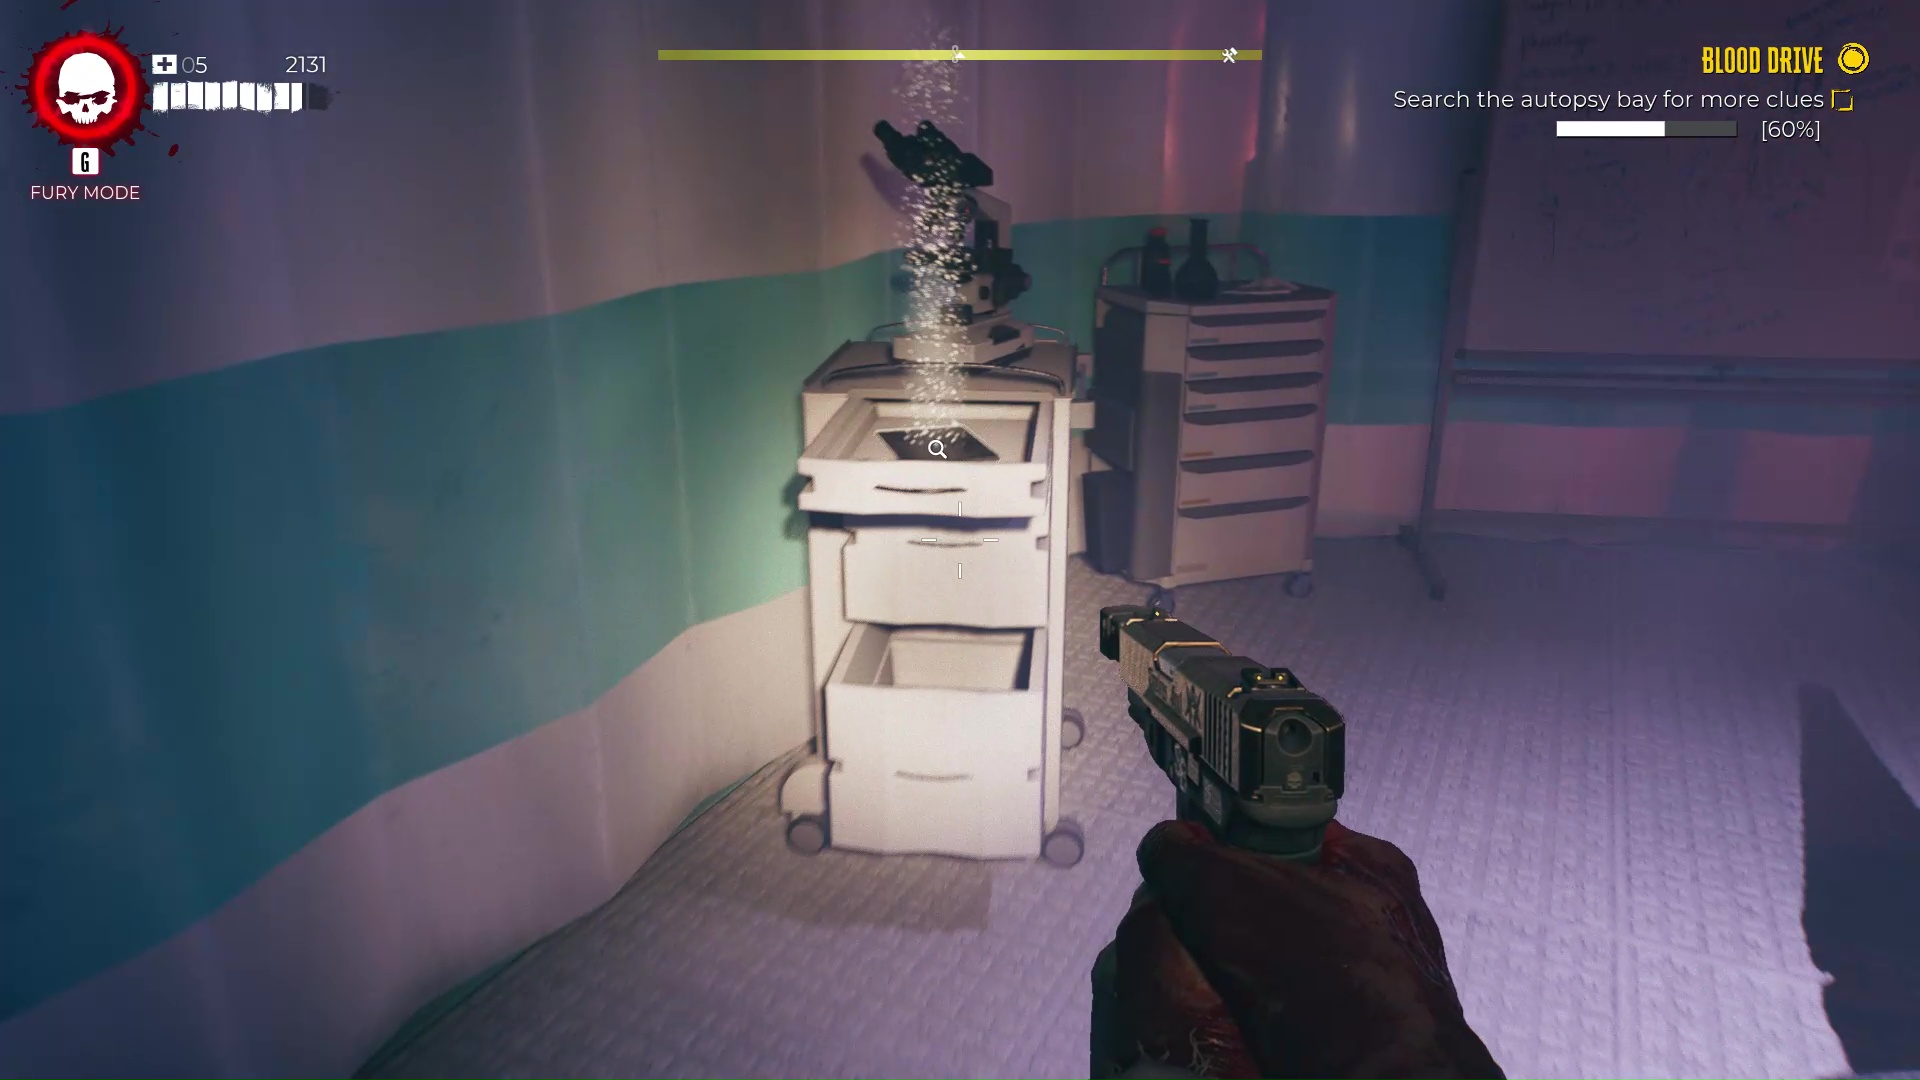
- #1: CDC Log Voice-to-Text Transcript: You’ll automatically grab this from Project Echo as part of your attempts to find Dr. Dorian’s body.
The Search for Truth: 2
- #1: Staff Notice: GTFO: You’ll get this automatically off the sales counter in the OSK store.
- #2: OSK Push Notification — Image File: You’ll get this automatically as a clue about where to go next. For your ease of reference, here’s the image file, cleaned up and enlarged a bit.
Those are all of the collectible notes, sketches, flyers, warnings, and ominous last words for your Journals collection in the main quest of Dead Island 2. In the meantime, if you’ve got questions about other parts of the game, check out our dedicated DI2 guides hub.
Featured image by GameSkinny.




Published: Apr 22, 2023 11:45 pm